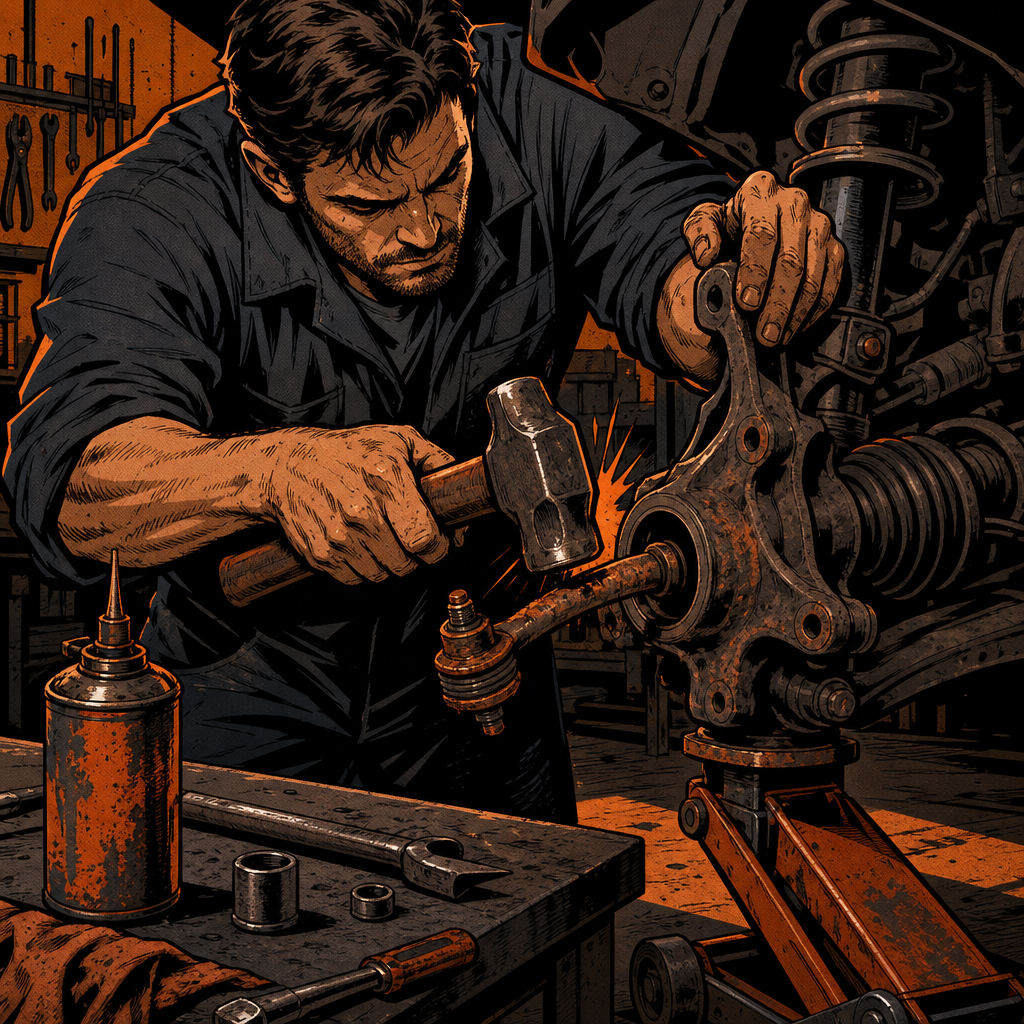
Tie rod end removal should be straightforward: remove the castle nut, pop the taper, and thread out the old part. In rust belt states, however, corrosion transforms this simple job into a test of technique and persistence. When tie rod ends seize in the steering knuckle or threads lock solid with rust, knowing the right removal sequence and tool selection makes the difference between a quick repair and hours of frustration. This guide covers the professional techniques mechanics use daily to extract seized tie rod ends without damaging expensive steering components.
Understanding Why Tie Rod Ends Seize
Tie rod ends fail in rust belt conditions for predictable reasons. The tapered connection between the tie rod ball stud and the steering knuckle creates a tight metal-to-metal interface that traps moisture and road salt. Over years of exposure, corrosion bonds these surfaces together with oxide layers stronger than the original press fit. The threaded connection between the tie rod end and the tie rod sleeve experiences similar degradation as salt water penetrates the threads and creates rust that expands and locks the components together.
The castle nut itself often becomes the first failure point. Road salt corrodes the threads until the nut either spins freely without advancing or rounds off completely when you apply torque. In severe cases, the stud mushrooms from previous impact or over-torquing, creating a mechanical lock even after the nut is removed. Understanding these failure modes helps you select the right removal approach before you start swinging hammers and risk damaging the steering knuckle.
The Hammer Method: Proper Technique for Stuck Tapers
The most reliable method for popping a seized tie rod end taper requires nothing more than a heavy hammer and correct strike placement. This technique works because the taper connection, while corroded, still relies on friction and mechanical wedging. Sharp impacts to the side of the knuckle create vibration and shock that breaks the corrosion bond and allows the taper to drop free.
Remove the castle nut completely before attempting hammer strikes. If the nut spins without backing off, cut it with a nut splitter rather than fighting with penetrating oil for hours. With the nut removed, position yourself to strike the side of the steering knuckle boss where the tie rod stud enters, not the top of the stud itself. Hitting the top risks mushrooming the stud end, making it physically larger than the hole and creating a mechanical lock that no amount of additional hammering will free.
Use a three-pound or larger ball peen hammer or small sledge. Strike the knuckle boss with sharp, solid hits rather than light taps. The goal is shock transmission through the knuckle to break the taper free. You will typically need five to fifteen solid strikes before the taper pops. While striking, have a helper pull down on the tie rod or position a pry bar under the tie rod end to maintain downward pressure. This preload helps the taper drop immediately when the corrosion bond breaks.
If the hammer method fails after twenty strikes, apply penetrating oil to the joint and let it sit for fifteen minutes before resuming. Heat from a propane torch applied to the knuckle boss can also help by expanding the knuckle slightly and breaking the oxide bond, but avoid heating the tie rod end itself as this can damage the boot and internal components.

Pickle Fork and Separator Tool Techniques
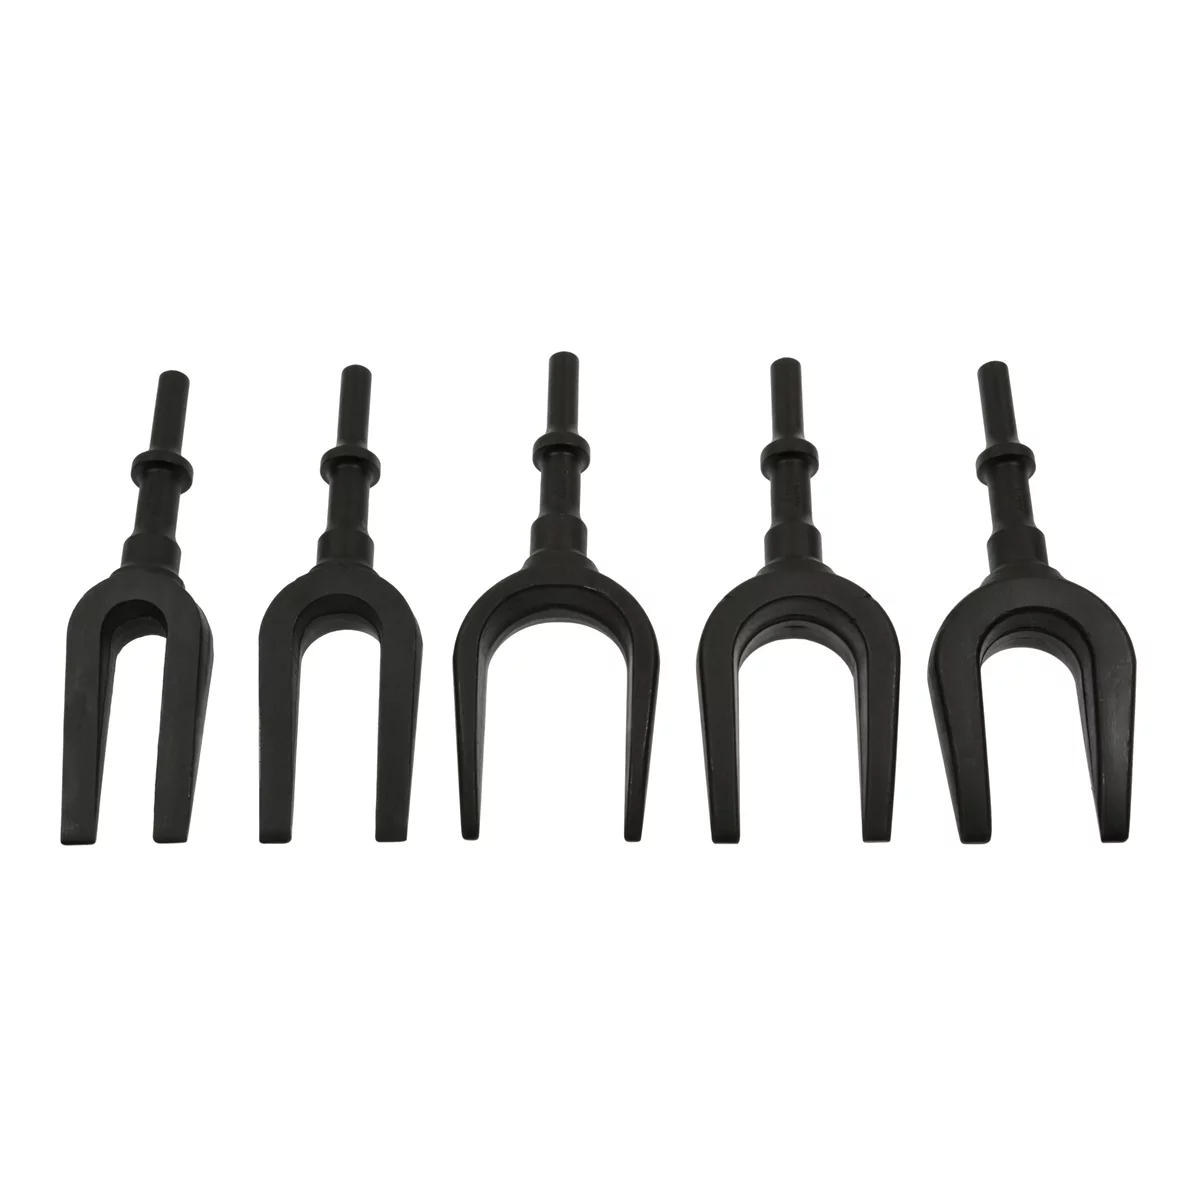
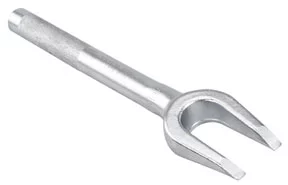
When the hammer method proves insufficient, ball joint separators provide mechanical advantage for breaking severely corroded tapers. The traditional pickle fork wedges between the tie rod end and knuckle, spreading the joint until the taper releases. Modern screw-type separators apply controlled force without the violent hammering that risks knuckle damage.
Pickle forks work by creating a wedging action that forces the knuckle and tie rod end apart. Select a pickle fork with fork width appropriate to your tie rod end size. Position the fork between the tie rod dust boot and the knuckle, with the fork tips entering from opposite sides of the stud. Strike the fork with heavy hammer blows, driving it deeper into the joint with each hit. The fork will destroy the dust boot, so this method only makes sense when you are replacing the tie rod end anyway.
The primary risk with pickle forks is knuckle damage. Excessive force or incorrect fork positioning can tear the knuckle or create stress cracks in the casting. Always ensure the fork is properly seated and advancing straight into the joint rather than cocking sideways. If the fork begins bending or you have delivered thirty solid strikes without progress, stop and switch to a screw-type separator.
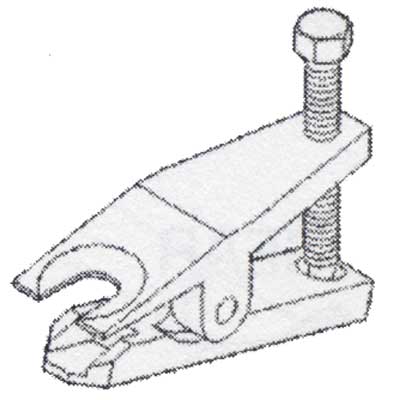
Screw-type ball joint separators provide controlled force without impact. These tools use a threaded screw to press against the tie rod stud while jaws grip the knuckle. Turn the screw to apply steady pressure until the taper pops free. This method is slower but much safer for the knuckle. The main limitation is access—some tie rod configurations do not provide enough clearance for the separator body.
Dealing with Seized Threads and Spinning Tie Rods
Once you pop the taper free from the knuckle, you still need to thread the tie rod end off the tie rod sleeve. Severe corrosion often locks these threads solid or damages them to the point where the tie rod spins freely without advancing. This situation requires different approaches depending on whether you are reusing the tie rod sleeve or replacing the entire assembly.
If the tie rod end spins on corroded threads but will not back off, try applying upward pressure while turning. Position a floor jack under the tie rod end to force it upward into the knuckle while you turn the tie rod end counterclockwise. This pressure can help bind the threads enough to advance the tie rod off. If the outer tie rod end is already separated from the knuckle, you will need to grip the tie rod end in a vise while turning the sleeve with a pipe wrench.
When threads are completely destroyed and nothing advances, cutting becomes necessary. Use a cutoff wheel or reciprocating saw to cut through the tie rod end body, being extremely careful to avoid damaging the tie rod sleeve threads if you plan to reuse the sleeve. Make your cut on the tie rod end side of the jam nut, cutting through the tie rod end hex until it splits. You can then remove the pieces and chase the tie rod sleeve threads with a tap to clean them for the new tie rod end.
Before installing the new tie rod end, count the number of complete turns required to remove the old one from the sleeve. This thread count gives you a baseline for installing the replacement at approximately the same position, which keeps your toe setting close enough to drive to an alignment shop safely. Clean the tie rod sleeve threads thoroughly with a wire brush and apply anti-seize compound to the threads before installing the new tie rod end.
Essential Tool Selection for Rust Belt Tie Rod Work
Having the right tools ready before you start saves time and prevents knuckle damage when tie rod ends fight back. The minimum tool set for seized tie rod work includes a three-pound ball peen hammer or small sledge, a quality penetrating oil, and a proper tie rod end puller or pickle fork. Beyond these basics, certain tools dramatically improve your success rate on severely corroded suspensions.
A nut splitter should be standard equipment for any rust belt technician. These tools split rounded or seized nuts in minutes without damaging the stud threads. When a castle nut spins freely due to stripped threads, the nut splitter cuts through one flat of the nut, allowing you to pry it open and remove it. This beats spending an hour with a chisel trying to split the nut manually.
An air hammer with a fork attachment or tie rod separator bit makes quick work of seized tapers. The rapid hammering action breaks corrosion bonds more effectively than hand striking because it maintains consistent force without operator fatigue. If you regularly work on corroded vehicles, an air hammer pays for itself in reduced time and effort on every suspension job.
A propane or MAP gas torch provides heat for expansion and corrosion breaking. Heating the knuckle boss to around 300-400 degrees Fahrenheit expands the metal slightly and can break the taper free when combined with hammer strikes. Avoid acetylene torches which provide too much heat and can damage the knuckle metallurgy or nearby components.
Quality penetrating oil is essential. Products specifically formulated for breaking corrosion work better than standard WD-40. Apply penetrating oil twelve to twenty-four hours before starting the job when possible, and reapply it periodically as you work. The oil needs time to wick into the corroded threads and taper joint to be effective.
Quick Reference Checklist for Seized Tie Rod Removal
- Apply penetrating oil to castle nut, tie rod threads, and taper joint; let soak minimum 15 minutes
- Remove or split castle nut completely before attempting taper separation
- Strike the side of the knuckle boss, never the top of the tie rod stud
- Use 3-pound or heavier hammer with sharp, solid strikes
- Apply downward pressure on tie rod end while striking to help taper drop
- Count threads or turns when removing old tie rod end for installation reference
- Clean tie rod sleeve threads with wire brush before installing new end
- Apply anti-seize to threads during installation to prevent future seizure
- Torque castle nut to specification and install new cotter pin
- Schedule alignment after tie rod replacement to verify toe setting
Preventing Damage to the Steering Knuckle
The steering knuckle represents the most expensive component at risk during seized tie rod removal. Knuckle castings crack or tear when excessive force is applied incorrectly, turning a simple tie rod job into a major repair requiring knuckle replacement. Understanding the knuckle’s weak points helps you apply force safely.
The knuckle boss that accepts the tie rod taper is a relatively thin casting designed to handle the mechanical load of steering forces, not the shock of hammer strikes or wedging tools. When you strike the knuckle, aim for the thickest section of the boss and avoid hitting edges or thin sections. Multiple medium strikes are safer than single extreme impacts that can crack the casting.
Watch for knuckle movement while striking. If the entire knuckle assembly is moving with each hammer blow rather than the tie rod end dropping, you are wasting energy and increasing damage risk. Support the knuckle by placing a second hammer or block on the opposite side to provide mass that absorbs the impact energy. This backing support helps transfer shock to the taper joint rather than flexing the knuckle.
Pickle forks pose the highest risk of knuckle damage because they concentrate force at the fork tips. Inspect the knuckle carefully before using a fork—if you see existing cracks or damage, switch to a screw-type separator instead. When using a fork, advance it gradually and ensure it is not cocking sideways or binding against one side of the knuckle. Stop immediately if you feel resistance that suggests the fork is deforming the knuckle rather than spreading the taper joint.
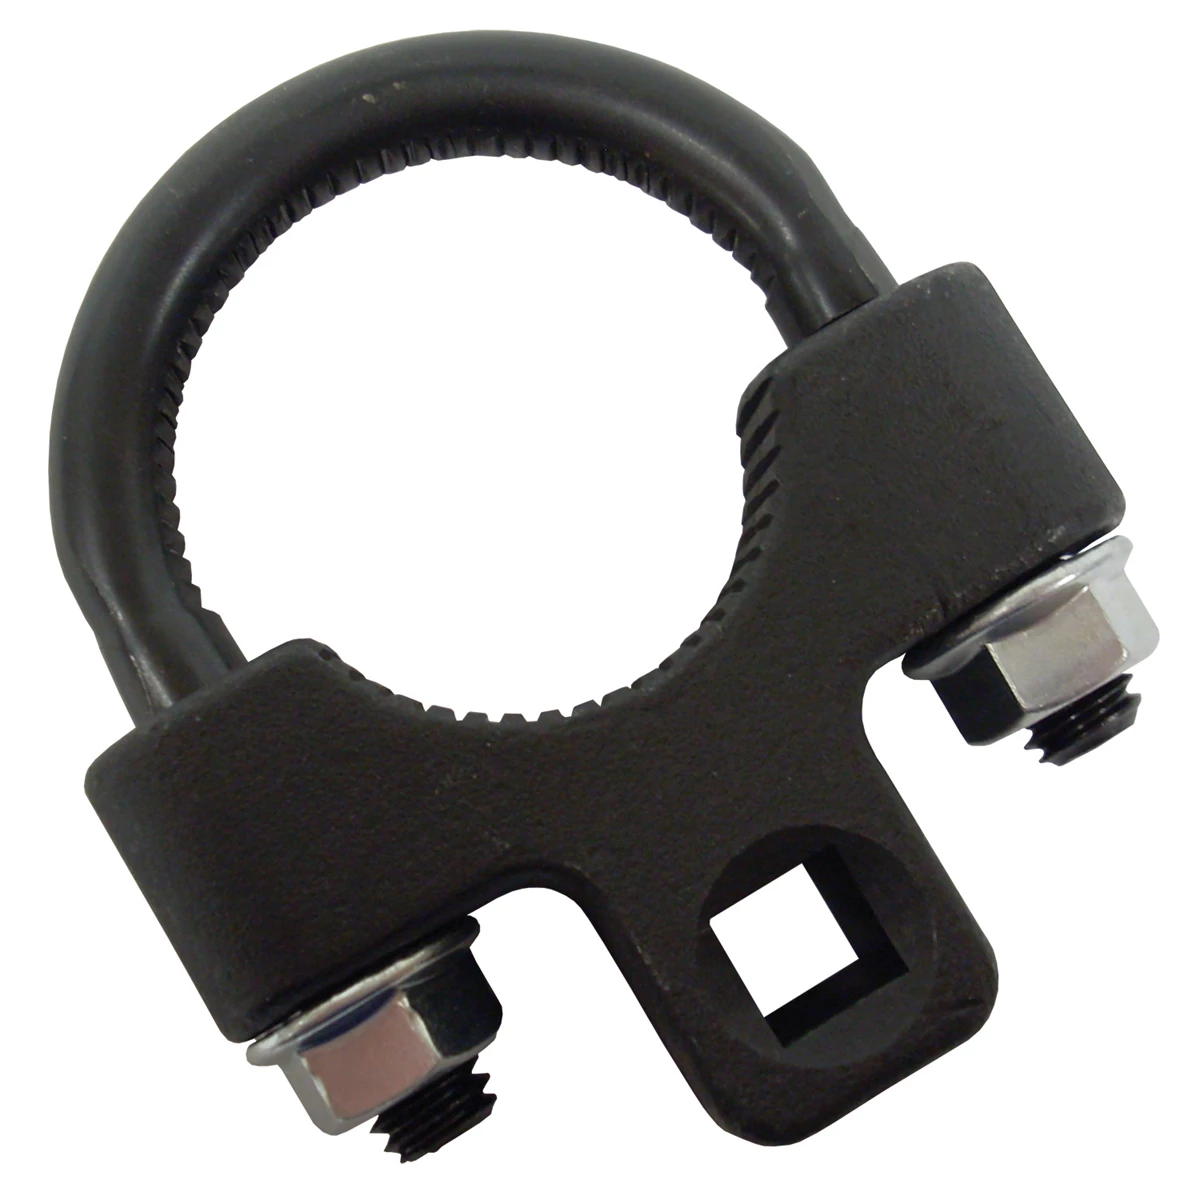
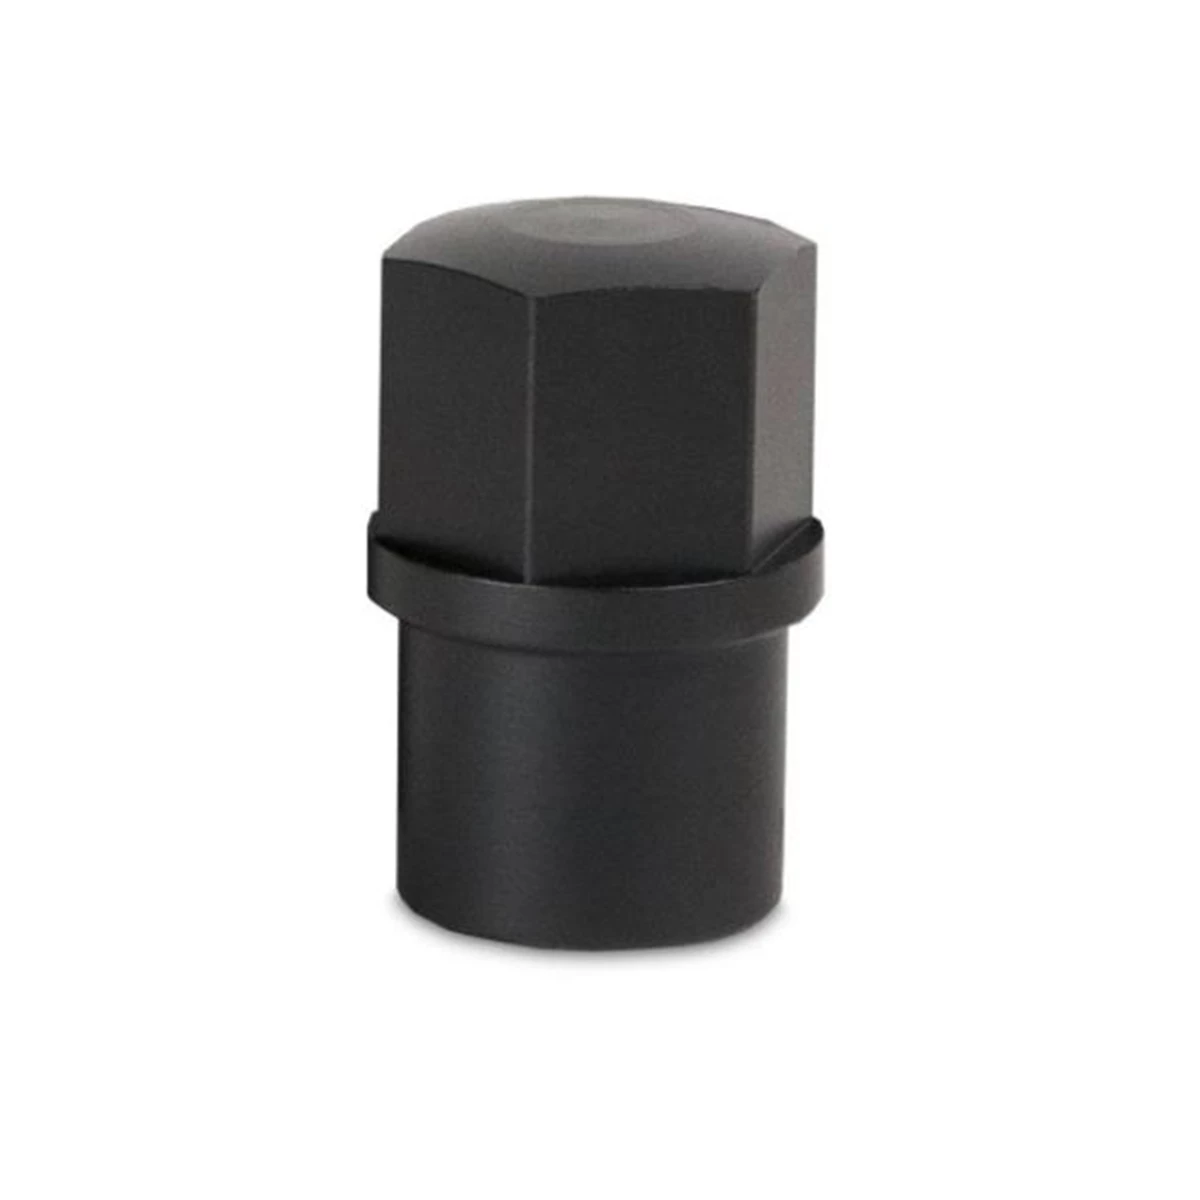
Tie Rod End Removal Tool - K Tool International KTI71519
Mfg: K Tool International
Part #: KTI71519
Frequently Asked Questions
How many times should I hit the knuckle before the tie rod end pops out?
Most seized tie rod tapers release within five to fifteen solid hammer strikes to the side of the knuckle boss. If you have delivered twenty strikes with no movement, stop and apply penetrating oil, heat, or switch to a separator tool rather than continuing to hammer. Excessive hammering without progress indicates the taper may be mechanically locked due to a mushroomed stud or severe corrosion that requires separator tools.
Can I reuse a tie rod end after removing it from a corroded knuckle?
Tie rod ends removed using hammer or separator methods should not be reused. The dust boot is typically damaged during removal, and the hammer impacts or separator pressure can damage the internal ball and socket joint. The cost of a replacement tie rod end is minimal compared to the safety risk of reusing a component with compromised internal integrity.
What should I do if the castle nut spins but will not come off?
A spinning castle nut indicates stripped threads on either the nut or the tie rod stud. Use a nut splitter to cut through one flat of the nut, then pry it open and remove it. Do not waste time trying to force a stripped nut—the splitter will remove it in two to three minutes. After removing the nut, inspect the stud threads to determine if the stud is damaged and needs replacement.
How do I prevent the new tie rod end from seizing?
Apply a quality anti-seize compound to the tie rod sleeve threads before installing the new tie rod end. This prevents corrosion from bonding the threads. For the taper joint, ensure the taper and knuckle bore are clean and dry before assembly—any dirt or corrosion will accelerate future seizing. Torque the castle nut to specification and install a new cotter pin to prevent the nut from loosening and allowing water intrusion.
Will heating the knuckle damage it?
Moderate heat from a propane or MAP gas torch will not damage a steel knuckle. Keep the flame moving and heat the knuckle boss to around 300-400 degrees Fahrenheit—hot enough to expand the metal slightly but not hot enough to affect the metallurgy. Avoid heating aluminum knuckles above 400 degrees as this can affect the heat treatment. Never use an acetylene torch which produces excessive heat that can warp components.
Should I replace both tie rod ends at the same time?
If one tie rod end has failed or seized due to corrosion, the opposite side has experienced the same environmental exposure and is likely in similar condition. Replacing both ends during the same service prevents a return visit for the second side shortly after. This is particularly true in rust belt conditions where corrosion affects both sides equally. Plan to replace both outer tie rod ends and schedule an alignment to set toe properly on both sides.
Shop Ball Joint & Tie Rod Tools
Removing seized tie rod ends requires the right tools on hand before you start. Our Ball Joint – Tie Rod Tools selection includes everything from hammers and pickle forks to nut splitters and separator tools.
- Heavy hammers, ball peen, and small sledges for impact separation
- Pickle forks and screw-type separators for mechanical advantage
- Nut splitters and specialized pullers for corroded fasteners

The Toolsource Technical Team blends decades of real-world automotive service experience with up-to-date technical research. Our writers collaborate with professional mechanics, shop owners, and diagnostic specialists to deliver practical, workshop-ready guidance you can trust.


Follow us on social media