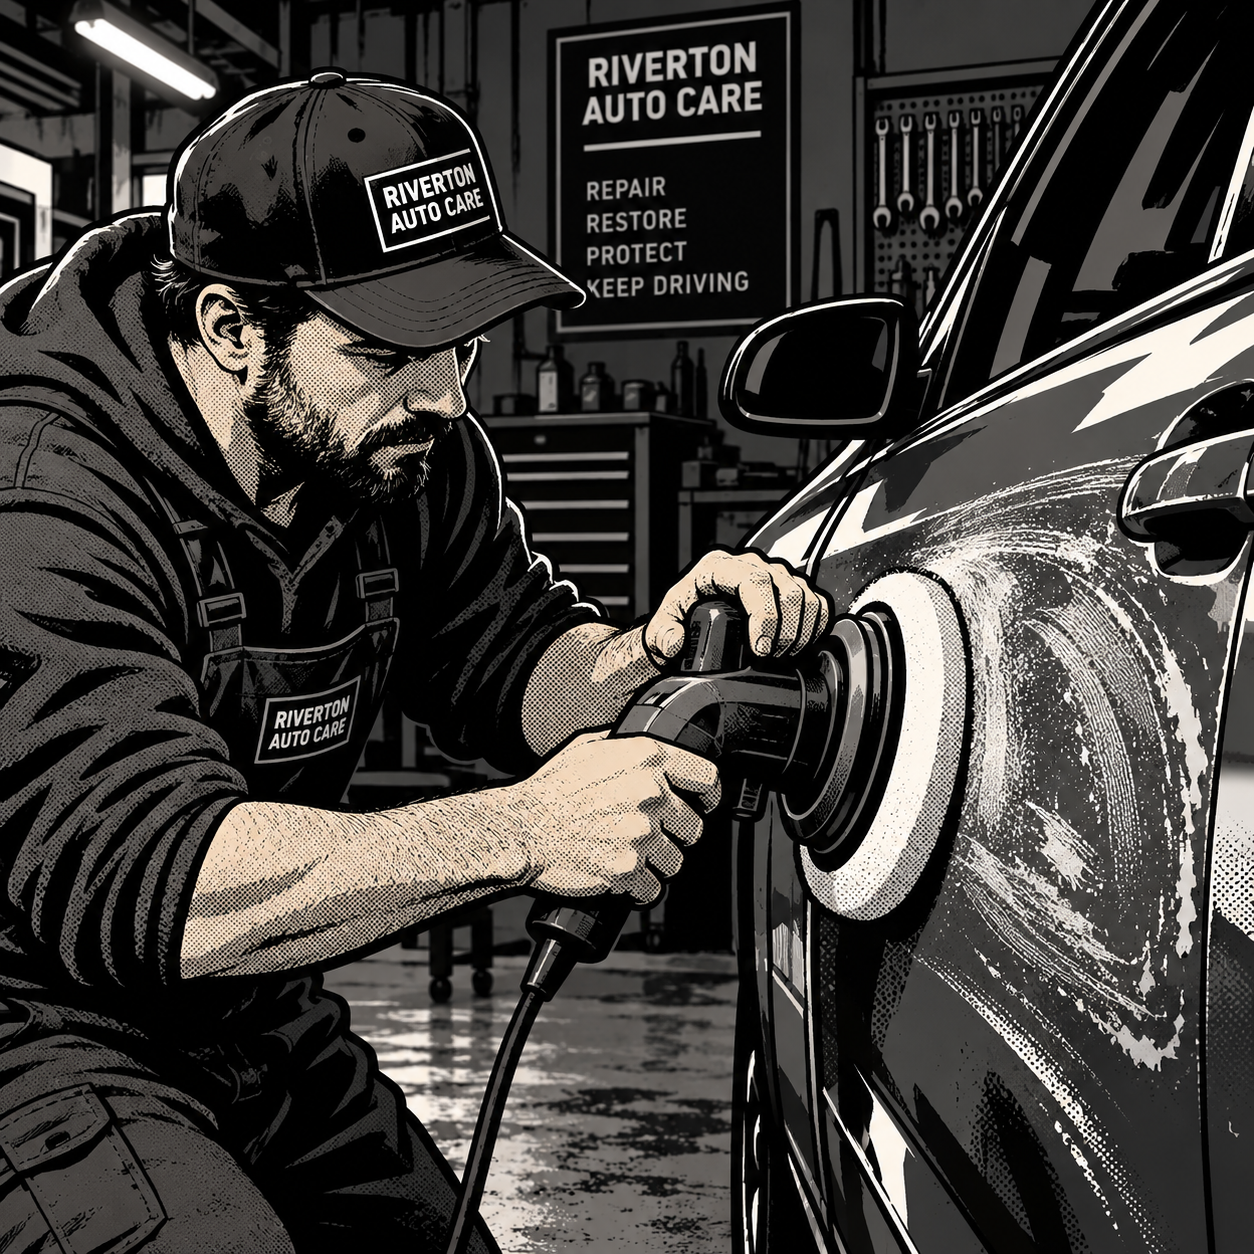
A fresh key scratch across a door panel triggers panic in most car owners, but the actual repair path depends entirely on how deep the damage goes — and that’s a judgment call technicians make dozens of times a year. Some scratches buff out with a can of compound and twenty minutes of elbow grease; others have already cut through the clear coat, base coat, and primer, and no amount of polishing will touch them. Walking a customer (or yourself) through a correct depth assessment before quoting a repair saves time, saves money, and keeps you from either underselling a job that needs paint or overselling one that doesn’t.
Step 1: Run the Fingernail Test to Gauge Depth
Before touching a buffer or ordering touch-up paint, do a simple tactile check. Clean the area with isopropyl alcohol or a quick detail spray to remove grit, then drag a fingernail perpendicular across the scratch.
- Nail glides smoothly with no catch: damage is likely confined to the clear coat. This is buffable.
- Nail catches or snags: the scratch has broken through the clear coat into the base color coat, or deeper into primer/metal. Buffing alone won’t fully remove it — you’re looking at touch-up paint at minimum, possibly a blend or full panel repaint.
- You can see a different color (gray primer or bare metal) at the bottom of the scratch: this needs paint, full stop. Leaving bare metal exposed invites rust, especially with winter road salt or coastal humidity.
Good lighting matters here — inspect under direct sun or a work light at a low raking angle, not under shop fluorescents, which hide depth. If you’re unsure, most body shops will do a five-minute test spot (wet sand a small section and check for color loss) before writing an estimate, and that test costs nothing to ask for.
Step 2: Attempt a Buff-and-Compound Repair on Clear-Coat-Only Scratches
If the fingernail test comes back clean, a compound-and-buff repair is almost always the cheaper first move, and it’s a legitimate professional technique — not just an internet shortcut. The process:
- Wash and clay-bar the panel so no grit gets dragged through the clear coat during buffing.
- Apply a cutting/rubbing compound rated for clear coat (not a general all-purpose polish) to a foam or wool pad.
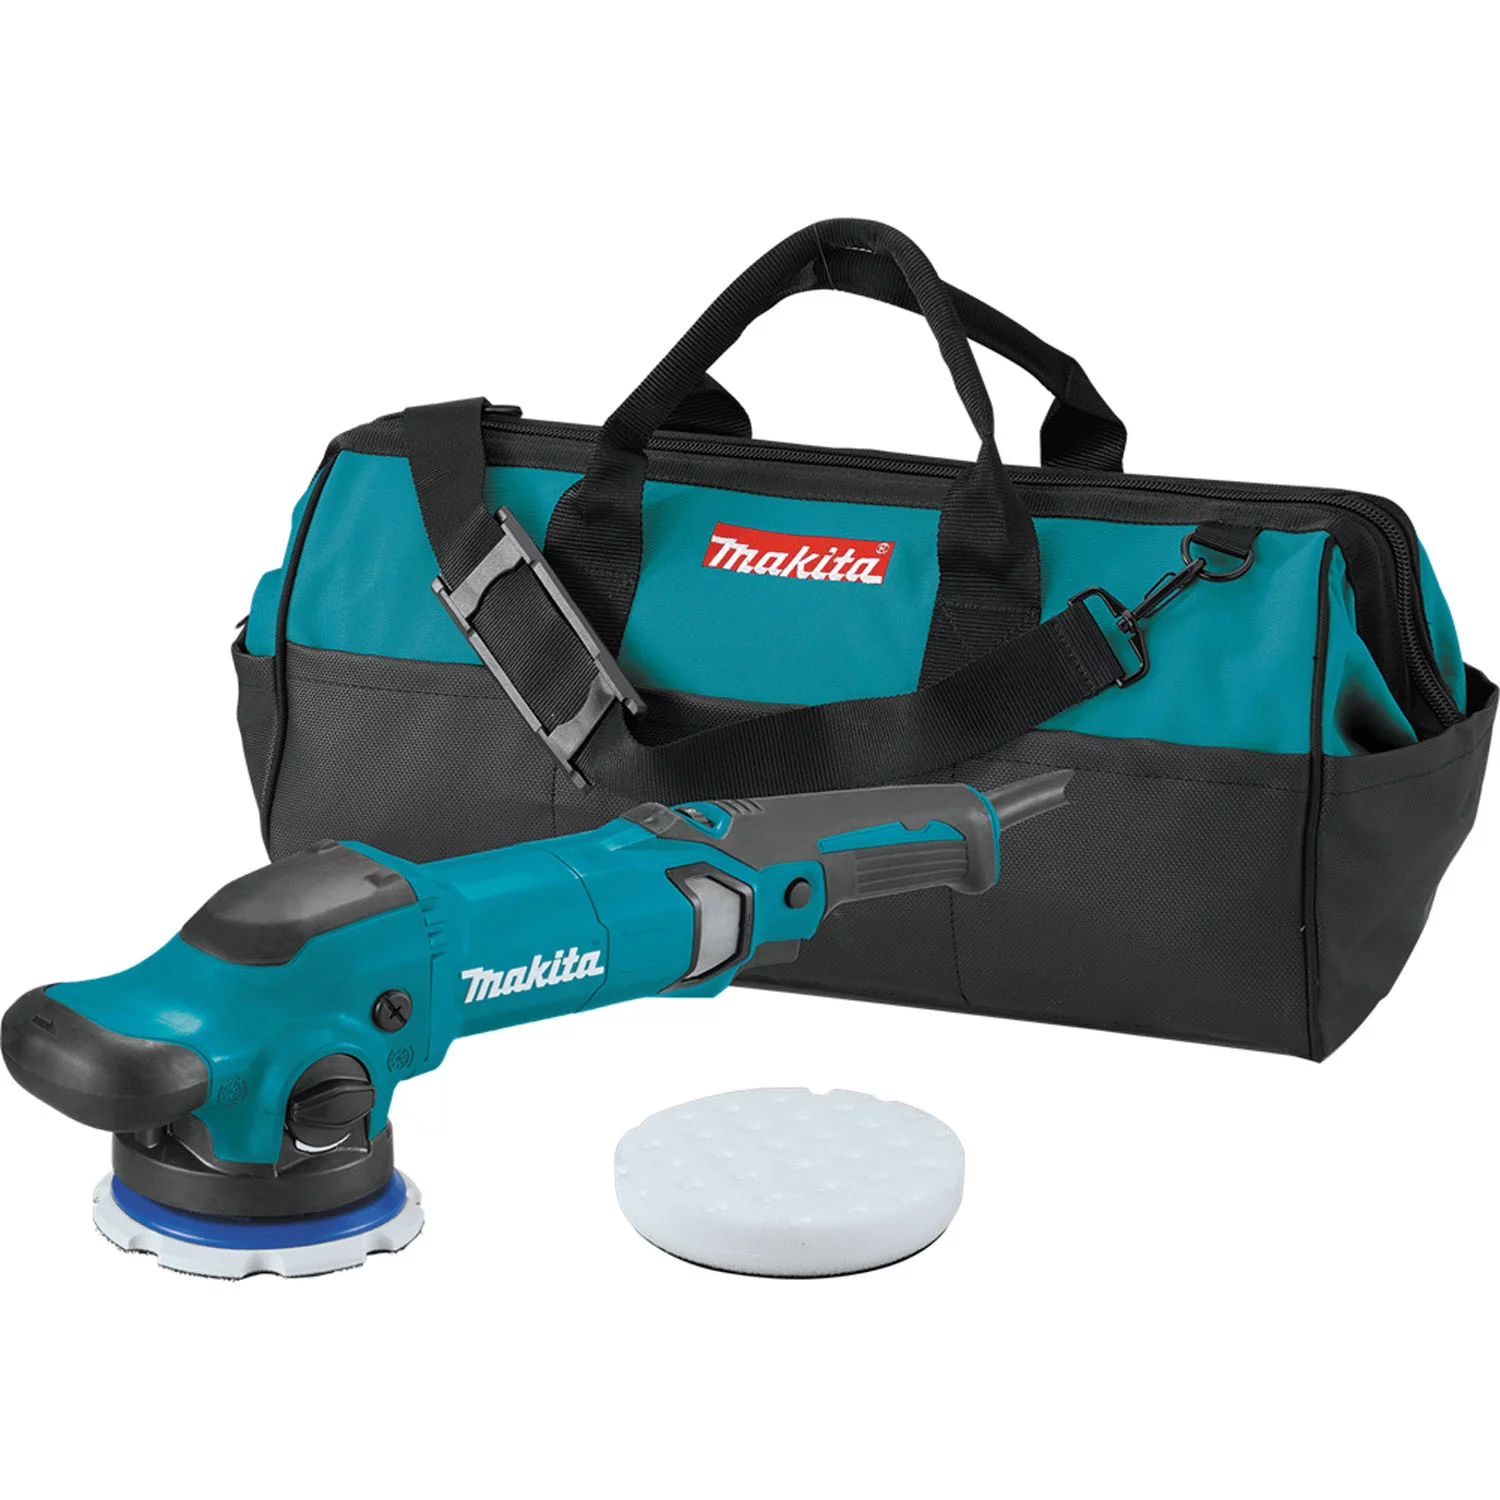
- Work a dual-action (DA) polisher at low-to-medium speed in overlapping passes, checking progress every 30–60 seconds — clear coat is thin, and it’s easy to burn through it with too much heat or pressure in one spot.
- Follow with a finishing polish to restore gloss and remove any haze the cutting compound left behind.
- Seal with wax or a synthetic sealant to protect the freshly leveled clear coat.
This is the same approach that routinely turns a shop’s “that’ll need a repaint” quote into a $10–$50 material cost and less than an hour of labor. It only works when the scratch truly hasn’t broken the clear coat — forcing it on a deeper scratch just thins the surrounding clear coat without removing the line, and can leave swirl marks or a visible halo around the repair.


Step 3: Handle Deeper Damage with Wet Sanding and Touch-Up Paint
When the scratch has reached the color coat but hasn’t gone to bare metal, wet sanding followed by a touch-up/blend is the next tier up before a full repaint:
- Wet sand with progressively finer grits (starting around 2000–3000 grit, working to 5000+) using plenty of water to keep the surface lubricated and prevent new scratching.
- Fill the scratch line with color-matched touch-up paint applied in thin layers, letting each layer flash off before the next.
- Level and blend with clear coat, then buff and polish to match the surrounding panel’s sheen.
This is more skill-intensive than a basic buff — matching color and blending the clear coat edge so it’s invisible takes practice, and it’s where a lot of DIY attempts go wrong and end up needing a shop fix anyway. If the scratch runs across multiple panels or wraps a body line, blending gets exponentially harder and a professional repaint is usually the more reliable (and ultimately cheaper) outcome versus a botched DIY patch that has to be corrected later.
Realistic cost expectations matter for setting customer expectations: a single-panel touch-up and blend typically runs a few hundred dollars at a shop, while a job spanning two doors and a quarter panel is a multi-panel respray and should be quoted accordingly — lowball estimates for multi-panel work usually signal an inexperienced shop or a quote that doesn’t include full prep and blending.
Step 4: Document the Damage Before Any Repair Work
Whether the repair is a $10 buff-out or a $1,500 repaint, documentation should happen first — before any sanding, buffing, or paint touches the panel.
- Photograph the scratch in good light from multiple angles, including a wide shot showing where the car was parked.
- Photograph the surrounding area — other cars, security cameras, light poles, building entrances — to establish parking context.
- File a police report. Even without an identified suspect, the report number is typically required by insurers for a vandalism claim and helps if a pattern of vandalism emerges in the same lot.
- Pull any available camera footage immediately — parking lot, dashcam, or nearby business cameras — before it’s overwritten or deleted on a rolling cycle (many systems only retain 48–72 hours).
Vandalism is typically processed under comprehensive coverage, not collision, and is usually treated as a no-fault claim since there’s no at-fault driver to assign liability to — most policies don’t raise premiums for a single comprehensive claim the way they would after an at-fault collision. Deductibles for comprehensive claims commonly range from $300 to $1,000 depending on the policy, so get a repair estimate before deciding whether the damage is even worth filing — a buff-out under $100 almost never clears a deductible and isn’t worth a claim.
Step 5: Reduce the Odds of It Happening Again
If the vehicle was parked somewhere it returns to regularly — a workplace lot, an apartment complex, a regular street spot — repeat vandalism is a real risk, especially if the first incident was targeted rather than random. A few practical mitigations:
- Install a 24/7 parked-mode dashcam with front, rear, and ideally side coverage, wired through a hardwire kit so it doesn’t rely on an internal battery that drains quickly in parking mode.
- Park under existing security cameras when possible, even if it means a slightly longer walk.
- Consider a paint protection film (PPF) on vulnerable panels for high-value or frequently-parked-in-risky-areas vehicles — it won’t stop a determined vandal, but it adds a sacrificial layer that’s cheaper to replace than repainting.
- Avoid broadcasting a new vehicle purchase to coworkers or neighbors if vandalism risk is a concern in that environment — target selection is often opportunistic and tied to visible reactions, not the car itself.
Quick Reference Checklist
- Clean the area and run the fingernail test to gauge scratch depth
- Photograph damage and surrounding area before any repair
- Check for footage from lot cameras, dashcams, or nearby businesses
- File a police report for the vandalism incident
- Get a repair estimate before deciding whether to file an insurance claim
- Attempt buff-and-compound only if the clear coat is intact
- Escalate to wet sand + touch-up or full repaint if color coat or primer is exposed
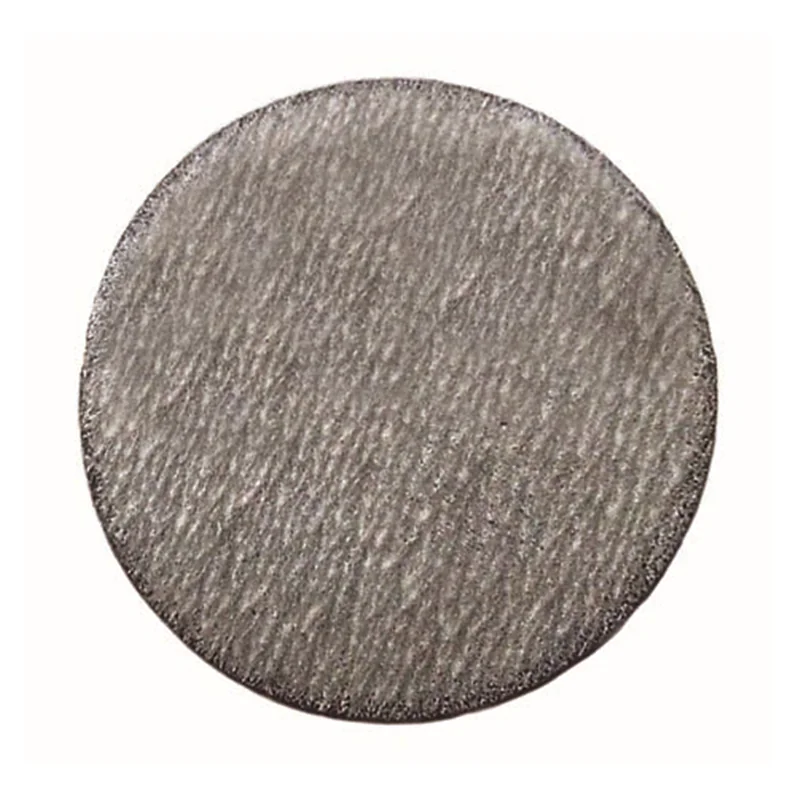


Dual-Side Touch-Up Pads, for PSA and Hook and Loop Touch Up
Mfg: Eagle Abrasives
Part #: 971-0023
FAQs
Will filing a vandalism claim raise my insurance premium?
Comprehensive claims for vandalism are generally no-fault and have minimal to no effect on premiums compared to an at-fault collision claim, though this varies by insurer and state/province, so it’s worth confirming with your specific carrier.
How can I tell if a scratch is just in the clear coat or deeper?
Run a clean fingernail across the scratch under good lighting. If it glides smoothly, it’s likely clear-coat-only and buffable. If it catches, or you see a different color at the bottom of the scratch, it has reached the base coat or primer and needs paint.
Can a deep scratch ever be fully removed by buffing?
No. Buffing only levels and polishes the clear coat; it cannot fill or hide damage that has reached the base color or metal. Attempting to buff out a deep scratch just thins the surrounding clear coat without eliminating the line.
Is it worth filing an insurance claim for a minor scratch?
Only if the repair cost exceeds your deductible. Get an estimate first — a buff-out repair often costs less than the deductible itself, making a claim pointless.
What’s the best way to protect a car from future keying incidents?
A combination of a parked-mode dashcam, parking in camera-covered areas, and paint protection film on vulnerable panels offers the most practical deterrence, though no measure fully prevents a determined vandal.
Should I try a DIY touch-up kit before going to a shop?
For clear-coat-only scratches, yes — a basic buffing compound and polisher kit is low-risk and low-cost. For scratches that have reached the base coat, DIY touch-up pens often leave visible color mismatch and uneven blending, so a professional repair is usually worth the extra cost for anything beyond a very small chip.
Recommended Paint & Body Tools
Quick repairs and complex restorations both rely on having the right compounds, pads, and paints ready to go. Our Paint & Body category stocks everything you’ll need for buffing, sanding, and touch-up work.
- Cutting and finishing compounds, polishing pads, and DA polisher accessories
- Wet sanding supplies: sandpaper grits, sanding blocks, and water buckets
- Touch-up paints, clear coat, and blending tools for color-matched repairs

The Toolsource Technical Team blends decades of real-world automotive service experience with up-to-date technical research. Our writers collaborate with professional mechanics, shop owners, and diagnostic specialists to deliver practical, workshop-ready guidance you can trust.


Follow us on social media