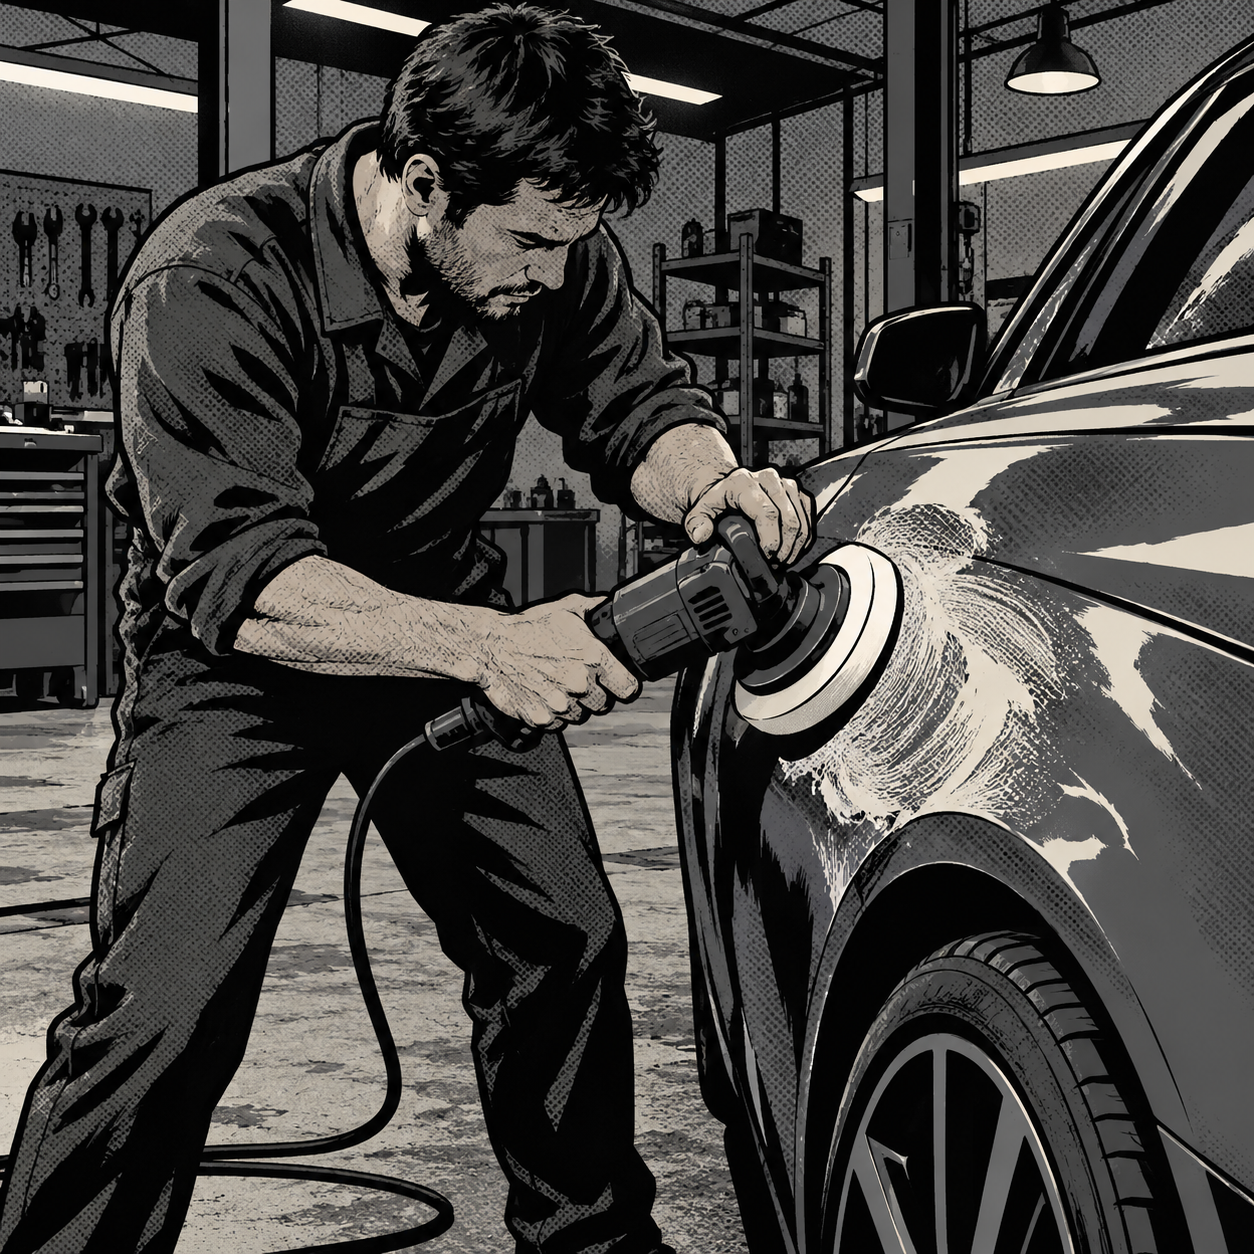
A viral photo of a brand-new car with a burned-through clear coat panel and a crooked spoiler is a nightmare for the customer, but it’s an even bigger red flag for the shop that did the prep work. Every mark in that photo — the burn, the swirls hiding under a freshly applied ceramic coating, the crooked trim holes — traces back to a specific, preventable technique or QC failure. For techs doing new-vehicle prep, pre-delivery inspection (PDI), or paint correction, this is a useful case study in exactly what not to do, and what separates a shop customers trust from one they lawyer up against.
How Buffer Burn Actually Happens
Buffer burn is almost never a mystery once you know what to look for. It happens when a rotary polisher is left in one spot too long, run at too high an RPM with too aggressive a pad/compound combination, or run dry without enough product to keep friction (and heat) in check. Clear coat is thin — typically 1.5 to 2 mils on most factory finishes — and a rotary generates heat fast. Once the clear coat gets hot enough to soften and lift, you get the hazy, scorched halo visible in burn photos: a ring of dulled, discolored finish around a fisheye-looking center.
The usual causes on a shop floor are predictable:
- Losing focus mid-pass — talking, looking away, or working distracted while the rotary is still spinning on the panel
- Using a wool or aggressive foam pad with heavy-cut compound on a panel that only needed a light polish
- Working a single section too long instead of keeping the pad moving in overlapping passes
- Skipping test spots on high-crown areas (edges, trunk lids, roof rails) where heat builds up fastest
A dual-action (DA) polisher is far more forgiving than a rotary because the oscillating action self-limits heat buildup — it’s why most detailing trainers now recommend DA as the default tool for anyone without extensive rotary hours, and reserve rotary work for experienced techs tackling deep defects.
Inspecting Paint Before You Touch It
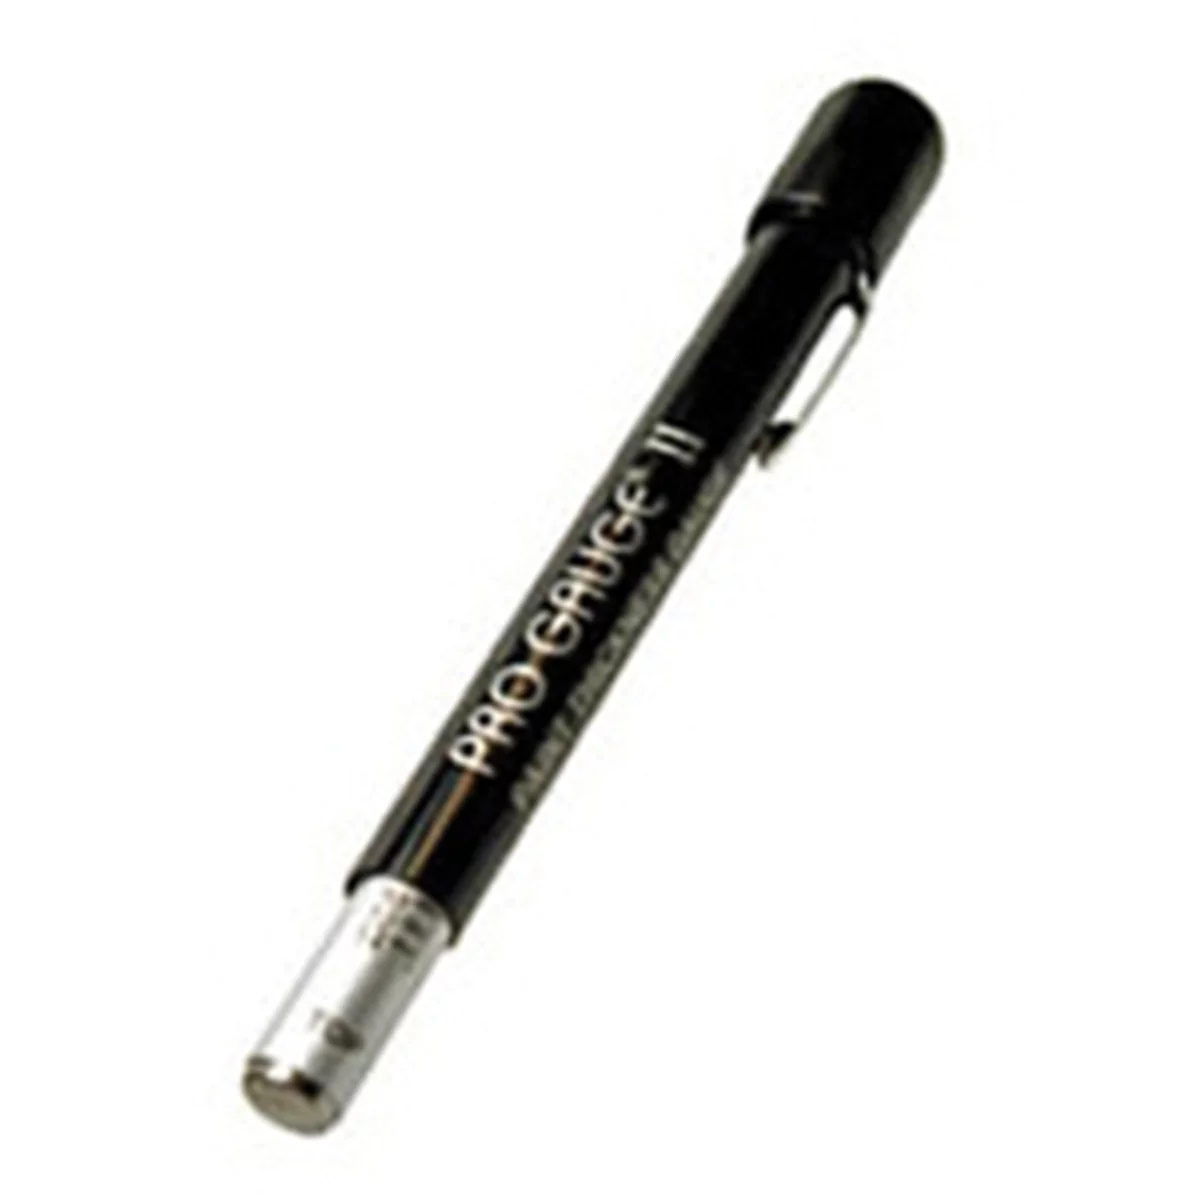
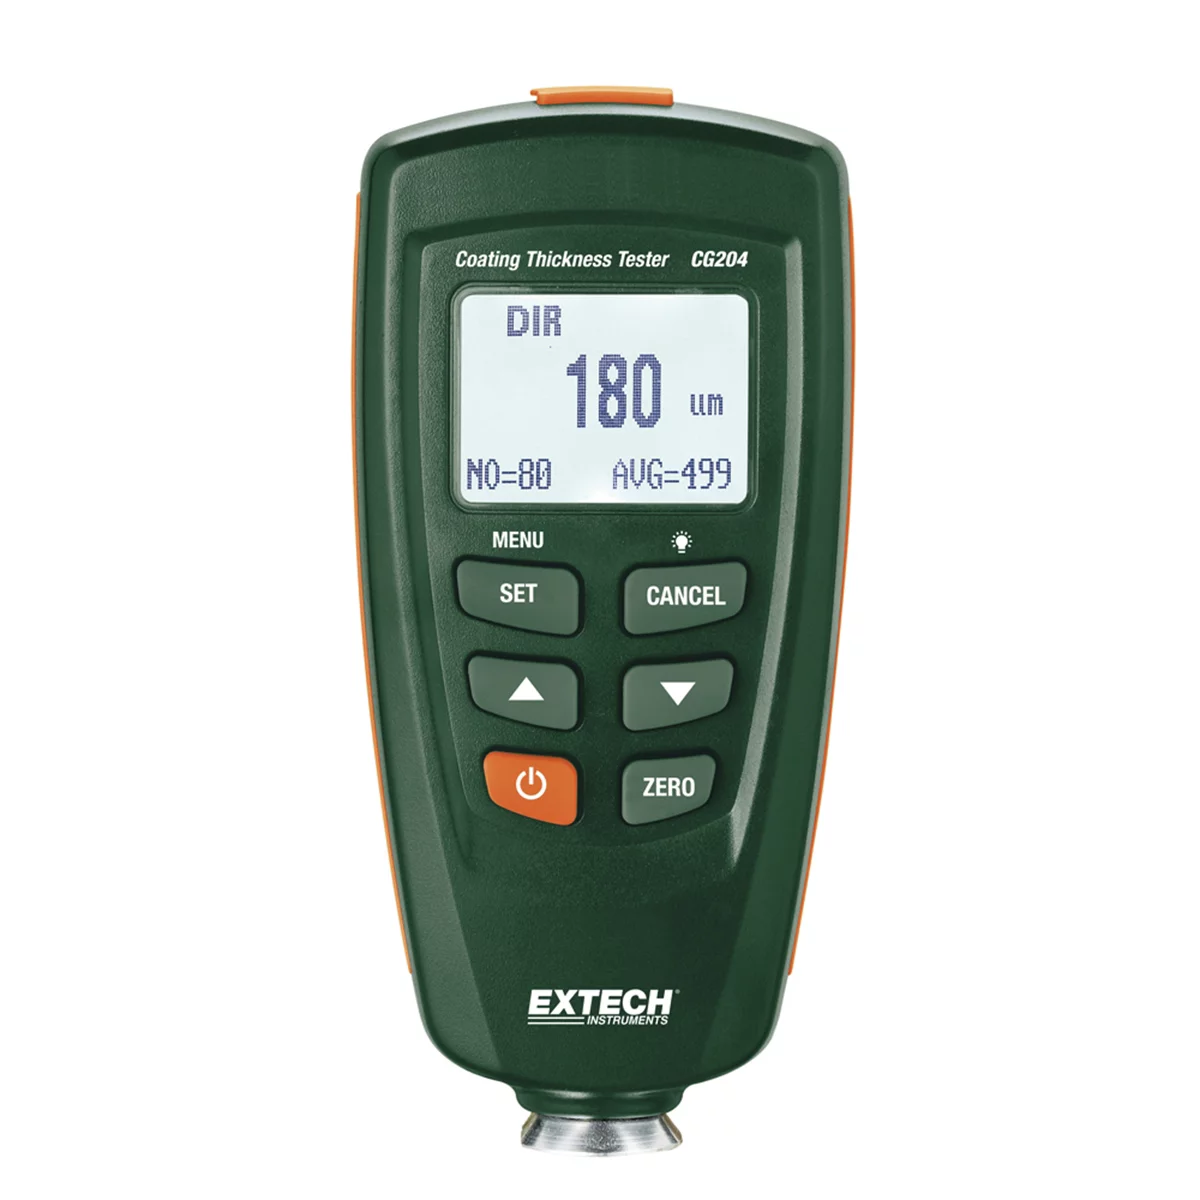
Before any correction work — and before a vehicle ever leaves a dealership lot — a proper inspection takes two steps most shops skip under time pressure. First, walk the vehicle in raking light (a work light held low and angled across the panel) to reveal swirls, scratches, and orange peel that aren’t visible under showroom lighting. Second, use a paint thickness gauge on every panel before and after any correction work, logging the readings.
This matters for two reasons. Factory orange peel — the slightly bumpy texture visible up close on nearly all modern factory paint — is normal and not a defect; customers often mistake it for damage. But a thin reading on one panel compared to its neighbors is a real flag, and it’s the only objective way to tell a tech-caused burn-through from a factory defect that was spot-sanded at the plant or port (a common and usually harmless occurrence that looks similar to a dealer error but didn’t happen on your watch). Document readings panel-by-panel so you have evidence either way if a comeback happens.
[PRODUCT_SEARCH: paint thickness gauge]

Correcting Swirl Marks Without Creating New Damage
Swirl marks — the fine circular scratches that show up under direct sun or shop lights — come from improper wash technique, dirty towels, or machine polishing with a pad that’s loaded with grit. They’re common enough on new vehicles that techs should expect to find them during any pre-delivery or detail job, especially underneath an upsold ceramic coating applied over unprepped paint.
The fix is a standard paint correction sequence, not a shortcut:
- Wash and decontaminate first — clay bar or iron remover to pull embedded contaminants before any machine work touches the surface
- Start with the least aggressive pad/polish combination that resolves the defect, and step up only if needed
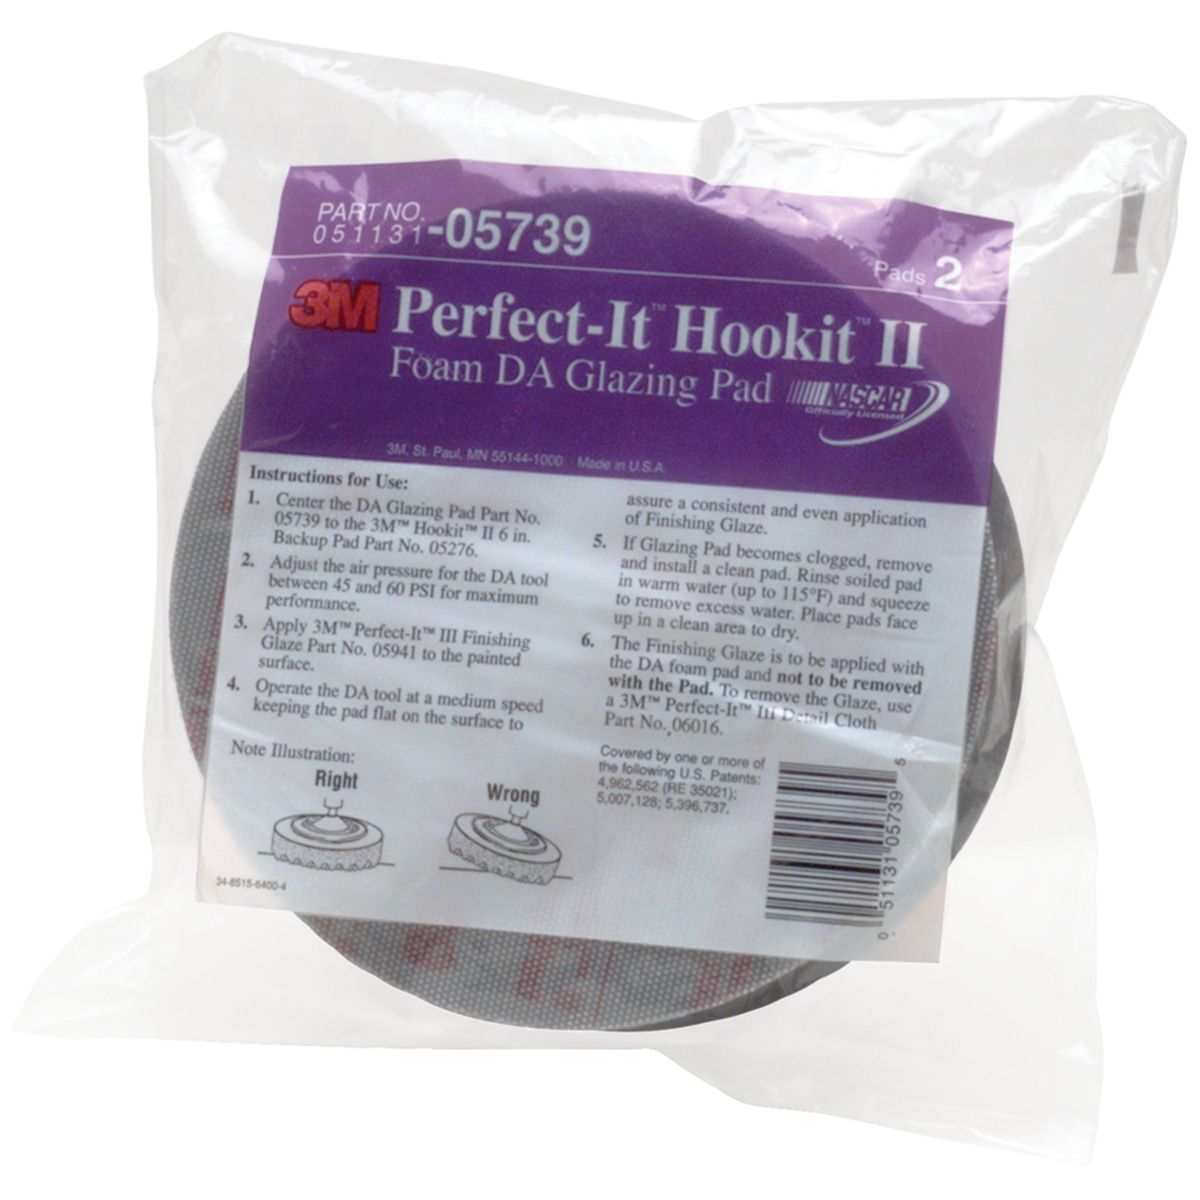
- Keep the polisher flat on the panel, moving in slow overlapping passes, and never let it dwell on an edge or raised body line
- Wipe down and inspect under a work light between passes rather than assuming one pass solved it
- Never apply a ceramic coating over paint with unresolved swirls — the coating locks in the defects and makes future correction harder
If a customer paid for a ceramic coating and it was applied over swirled, uncorrected paint, that’s not a flaw in the coating, it’s a shop sequencing failure. Correction always comes before coating, with no exceptions.
Trim and Spoiler Installation: Measure Twice, Drill Once
A misaligned spoiler with crooked drill holes is a different category of error than paint damage, but it’s just as damaging to trust because it’s irreversible — once a hole is drilled in a trunk lid, there’s no undoing it. The standard practice that prevents this:
- Use the OEM template or alignment guide provided with the part — never eyeball spoiler placement by cross-referencing body lines
- Mask and mark all mounting points with painter’s tape before drilling, and confirm symmetry against the centerline and rear glass before committing
- Dry-fit the part fully before drilling a single hole to confirm the mounting bracket sits flush
- Have a second tech verify alignment on any permanent modification before the drill comes out — a second set of eyes catches crooked alignment that the installer, staring straight down at the part, often misses
- Pilot-drill undersized and step up, rather than drilling full-size on the first pass, so a minor correction is still possible
Any shop letting a new or unsupervised tech drill into a customer’s panel without a verification step is one bad install away from an expensive comeback.
Shop QC Checklist Before Any Vehicle Leaves
- Panel walked in raking light, front to back, both sides
- Paint thickness gauge readings logged per panel, compared against neighboring panels
- Any machine correction work inspected under a work light between passes, not just at the end
- Ceramic coating or sealant applied only after correction is fully complete and verified
- Any drilled or permanently mounted part dry-fit and second-checked before the first hole is drilled
- Photos taken of panel condition before and after any correction or install, timestamped and filed
When to Recommend Repaint vs. Correction
Not every defect needs a repaint, and recommending one when it isn’t needed can do more harm than good — a repainted panel on an otherwise all-original vehicle can raise questions at resale and, depending on the extent, may need to be disclosed. True buffer burn that has gone through the clear coat into the base coat cannot be polished out; that panel needs to be resprayed by a qualified painter who can blend and match correctly. Surface-level swirls, light oxidation, and most factory orange peel respond fully to machine correction and don’t justify a repaint. The paint thickness gauge is again the deciding tool: if the reading on the damaged area is meaningfully lower than the surrounding panel, you’re looking at a repaint, not a buffing job.
[PRODUCT_SEARCH: automotive detailing and paint correction kit]


Frequently Asked Questions
Is orange peel texture a paint defect?
No. Orange peel is a normal texture found on most modern factory clear coats and isn’t, by itself, evidence of damage or poor workmanship. It becomes a concern only if it’s dramatically worse on one panel than its neighbors.
Can buffer burn always be polished out?
No. If the burn only affected the clear coat’s surface, careful machine correction can often restore it. If heat pushed through to the base coat — visible as a change in color or texture, not just haze — the panel needs to be repainted.
Why does a paint thickness gauge matter so much during inspection?
It’s the only objective, repeatable way to distinguish a technician-caused defect from a factory or port-applied touch-up, and it gives you a before/after record if a comeback or dispute happens later.
Should ceramic coating be applied over swirl marks to hide them?
No. Coatings lock in whatever condition the paint is in when applied. Swirls need to be corrected first; a coating applied over them just seals in the defect and makes later correction harder.
What’s the safest polisher for a tech without extensive rotary experience?
A dual-action (DA) polisher. Its oscillating motion is far less likely to generate burn-through heat than a rotary, making it the standard training and default tool for most correction work.
What’s the single biggest prevention step for drilled trim installs like spoilers?
Dry-fitting the part and having a second tech verify alignment against the body’s centerline before any hole is drilled. Once a hole is drilled, misalignment can’t be undone.
Paint & Body Prep Tools
Quality buffer burn prevention and paint correction require proper polishers, inspection tools, and materials. Our Paint & Body selection covers the equipment and supplies needed for effective prep, correction, and trim work.
- Polishers—dual-action and rotary for safe, controlled correction
- Paint thickness gauges and inspection tools
- Compounds, pads, clay bars, and masking supplies

The Toolsource Technical Team blends decades of real-world automotive service experience with up-to-date technical research. Our writers collaborate with professional mechanics, shop owners, and diagnostic specialists to deliver practical, workshop-ready guidance you can trust.


Follow us on social media