Engine bay cleaning generates more myths per square foot than almost any other shop task. Half the internet insists a pressure washer will fry your ECU on contact; the other half has been blasting engine bays with a wand for twenty years without a comeback. Both camps have a point — modern engine compartments are built to shed rainwater and road spray, but they are not built for a concentrated, high-pressure stream aimed directly at a connector from six inches away. The difference between a clean bay and a diagnostic headache usually comes down to technique, not the equipment. This guide covers how to degrease and rinse an engine bay safely, what to shield first, and what to do if a tech (or a DIYer) drives off with the oil filler cap still sitting on the fender.
What Actually Needs Protection Before You Spray
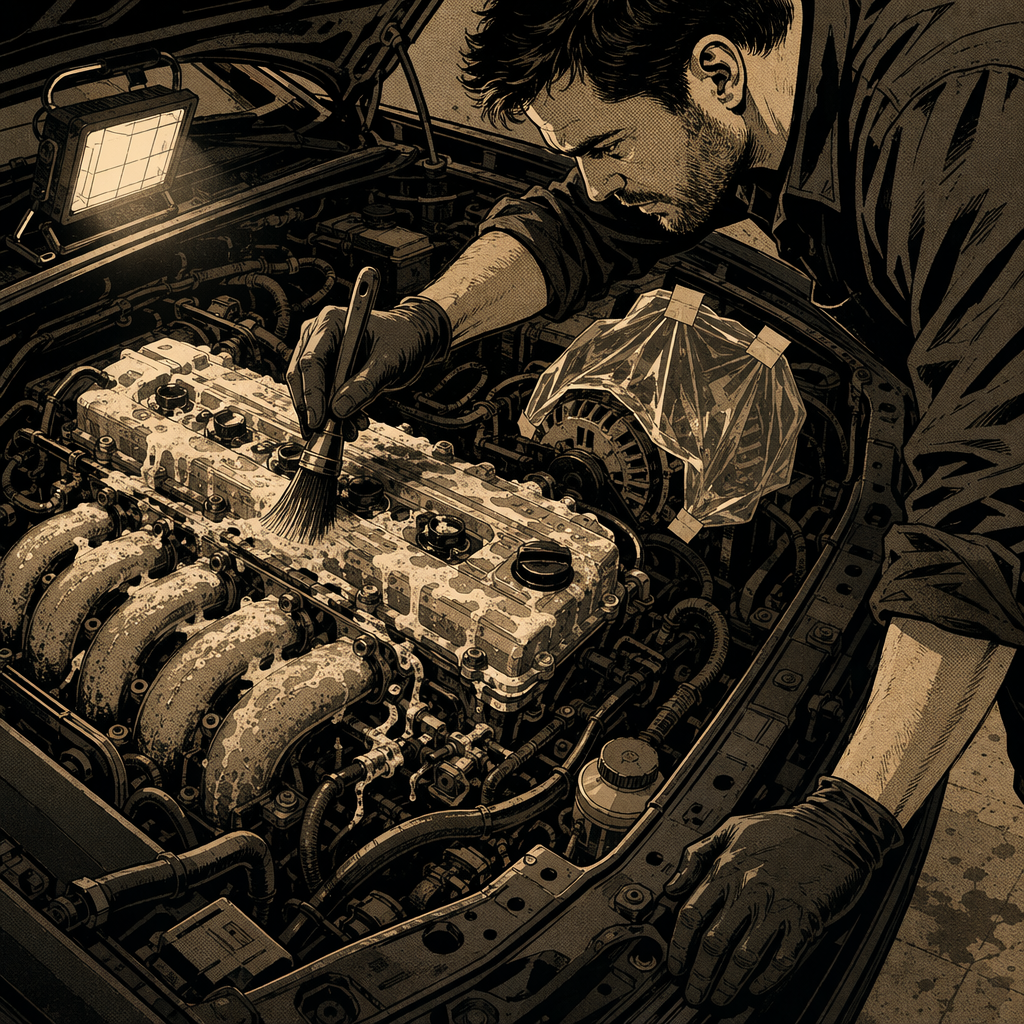
Most engine bay components built since roughly the early 2000s are sealed against splash and spray as part of normal certification — connectors are weather-pack or equivalent, and control modules are gasketed. That’s why daily driving in the rain doesn’t take out ignition coils or the ECU. The risk isn’t water exposure in general; it’s concentrated, pressurized water forced into a seam, vent, or open connector at close range. Before you pick up a hose or a pressure washer, identify and cover:
- The alternator — it has open vents by design and is one of the few components genuinely vulnerable to saturation.
- The fuse/relay box, especially if the lid seal looks worn or is missing.
- Any exposed connectors, splices, or aftermarket wiring that isn’t factory-sealed.
- The air intake opening — never spray water toward it, and don’t let pooled water sit near the filter housing.
- Spark plug tubes on engines where they’re recessed into wells (a known water-trap spot on many V6/V8 layouts).
A grocery bag or a piece of cardboard secured with a zip tie or tape over the alternator and fuse box takes under a minute and eliminates the majority of the real risk. The battery terminals don’t need a bag, but avoid direct, sustained spray on the terminal connections.
Degreasing and Washing the Bay Safely
The actual cleaning sequence that keeps techs from generating comebacks is straightforward:
- Cold engine, or at least not hot. Spraying degreaser and water on a hot exhaust manifold or turbo housing can crack the part from thermal shock and creates a steam/fume issue.
- Cover the sensitive spots as outlined above.
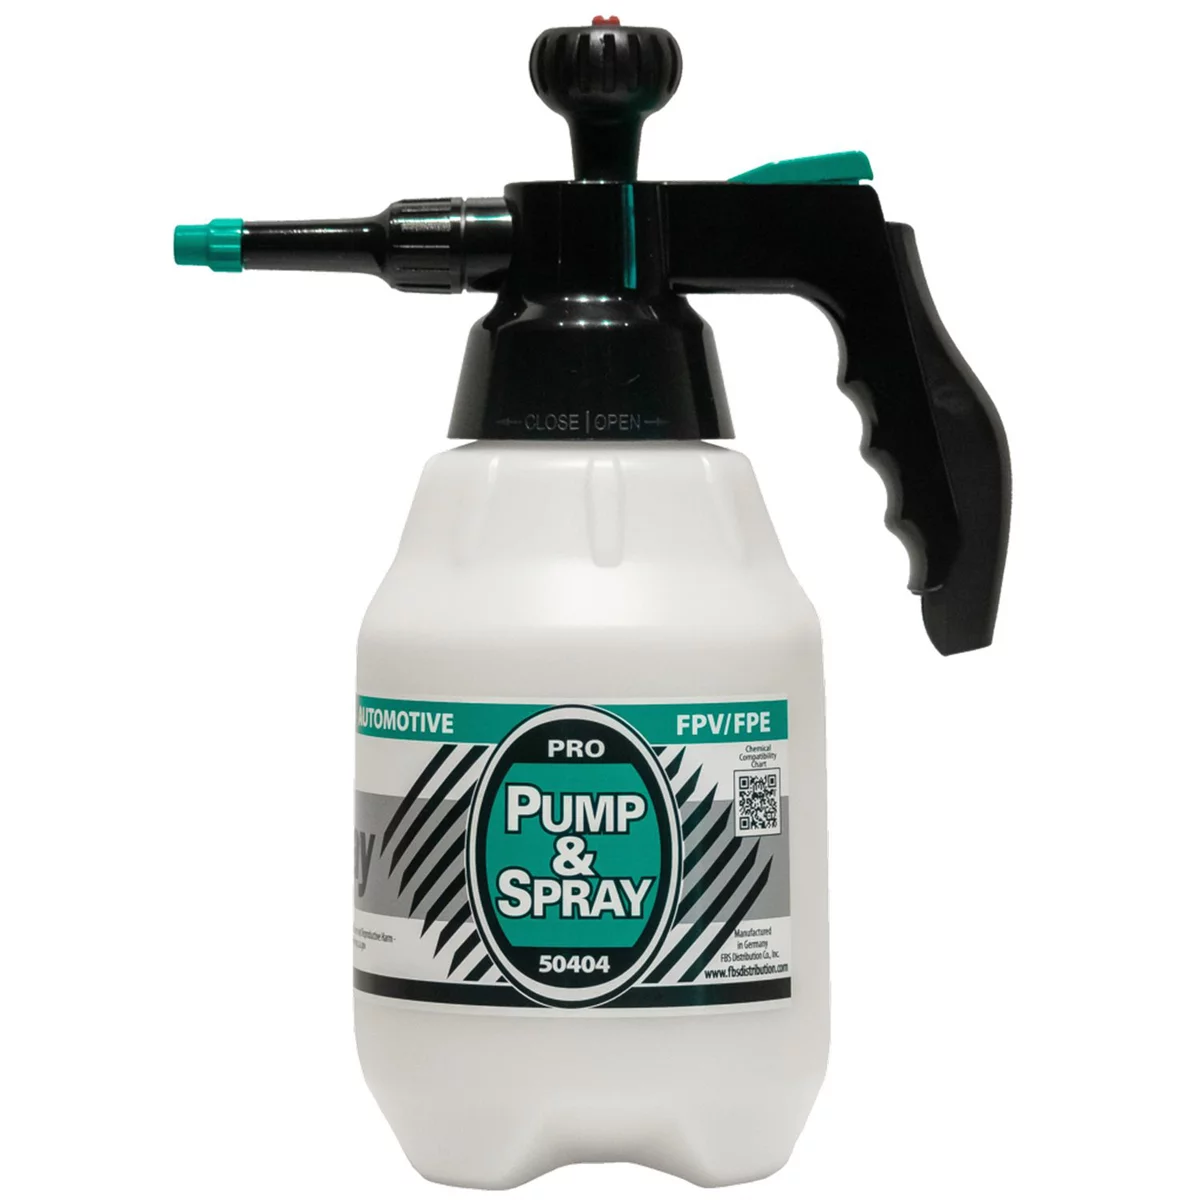
- Apply degreaser heavily and let it dwell — a couple of minutes is usually enough to break down road grime and oil film. Don’t let it dry on the surface first.
- Agitate with a soft-bristle detailing or parts brush, focusing on caked-on areas around the valve cover, intake manifold, and firewall.
- Rinse. A regular garden hose on a shower setting is sufficient for 90% of jobs and is the lower-risk option. If using a pressure washer, keep the nozzle on a wide fan pattern, stay at least 12-18 inches back, and never hold a stream stationary on a single seam or connector.
- Avoid direct blasts into the alternator vents (even under cover), the fuse box seam, the air intake, and any electrical harness connector you can identify.
Expect the engine to smell like hot degreaser and steam off residual moisture the first time it’s started and run afterward — that’s normal and clears up within a few minutes of idle.

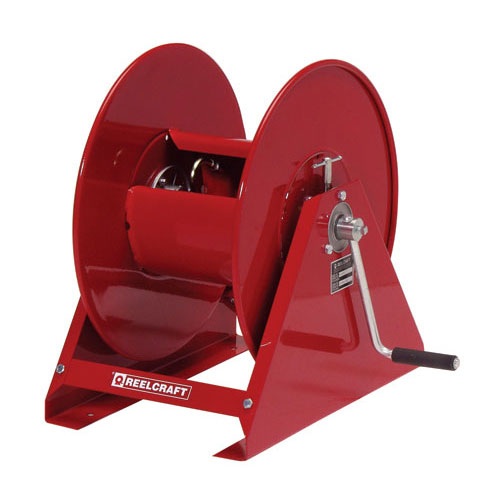
Series H Hand Crank Pressure Wash Reel for 3/8 x 100 3000 PSI
Mfg: Reelcraft
Part #: H18006M
Drying and the First Startup After a Wash
Letting the bay air dry for an hour or two before starting the engine reduces the odds of any trapped moisture causing a hesitation or rough idle. If you’re on a shop schedule and can’t wait, a compressed air blower is the standard fix — walk it across connectors, the alternator, and any recessed areas (spark plug wells, sensor plugs) to push out standing water. On the first start after a wash, expect brief roughness or a check-engine light on some vehicles if water did find its way into a plug well or a marginal connector — this typically clears once things dry out, but if a code sets, pull it and inspect the specific circuit rather than assuming it will resolve on its own.
If the Oil Filler Cap Was Left Off
This is one of the most common post-service comebacks, and it’s entirely avoidable but also entirely fixable. If a vehicle was started and driven with the cap off, oil gets slung around the top of the engine, valve cover, and surrounding bay components from crankcase pressure and belt/pulley splash. Here’s the recovery sequence:
- Verify oil level first. Check the dipstick with the vehicle level. If the level is low from splashing out or from the vehicle being driven a distance with the cap off, top up to the correct mark before doing anything else.
- Reinstall or replace the cap. If the cap was damaged (cross-threaded, cracked, or crushed under the hood when it closed), replace it — don’t reuse a compromised cap, since a poor seal defeats the point of fixing this.
- Degrease and clean the affected area using the same process above: degreaser, dwell, agitate, rinse, keeping it away from electrical components.
- Consider an oil change if it ran any real distance with the cap off or at a notably low level — contamination risk and the chance the engine ran low on oil pressure both justify it as a precaution, even if a top-up “solved” the level issue.
- Do a visual double-check before the next start — cap seated and hand-tight, no tools or shop rags left in the bay.
One practical trick some techs use: set the oil cap on top of the hood latch or somewhere else that physically blocks the hood from closing. It’s a low-tech but effective forcing function — you can’t finish the job without noticing the cap.
Building a Habit That Prevents This
The recurring theme in shop war stories about this mistake isn’t bad tools, it’s a missing FOD (foreign object debris) check — a term borrowed from aircraft maintenance, where a walk-around before first engine start is mandatory. Applying the same discipline to automotive work costs seconds: before turning the key after any service, do a visual sweep of the bay for tools, rags, the oil cap, and any loose caps or covers. This one habit eliminates the majority of “drove off and it was a mess” comebacks entirely.
Quick Reference Checklist
- Engine cold or warm (not hot) before washing
- Alternator and fuse box covered
- Degreaser applied, dwell time given, agitated with a brush
- Rinse with hose or wide-fan pressure washer, avoiding direct hits on connectors
- Oil level and cap verified before and after any bay work
- Visual FOD sweep before every first start after service
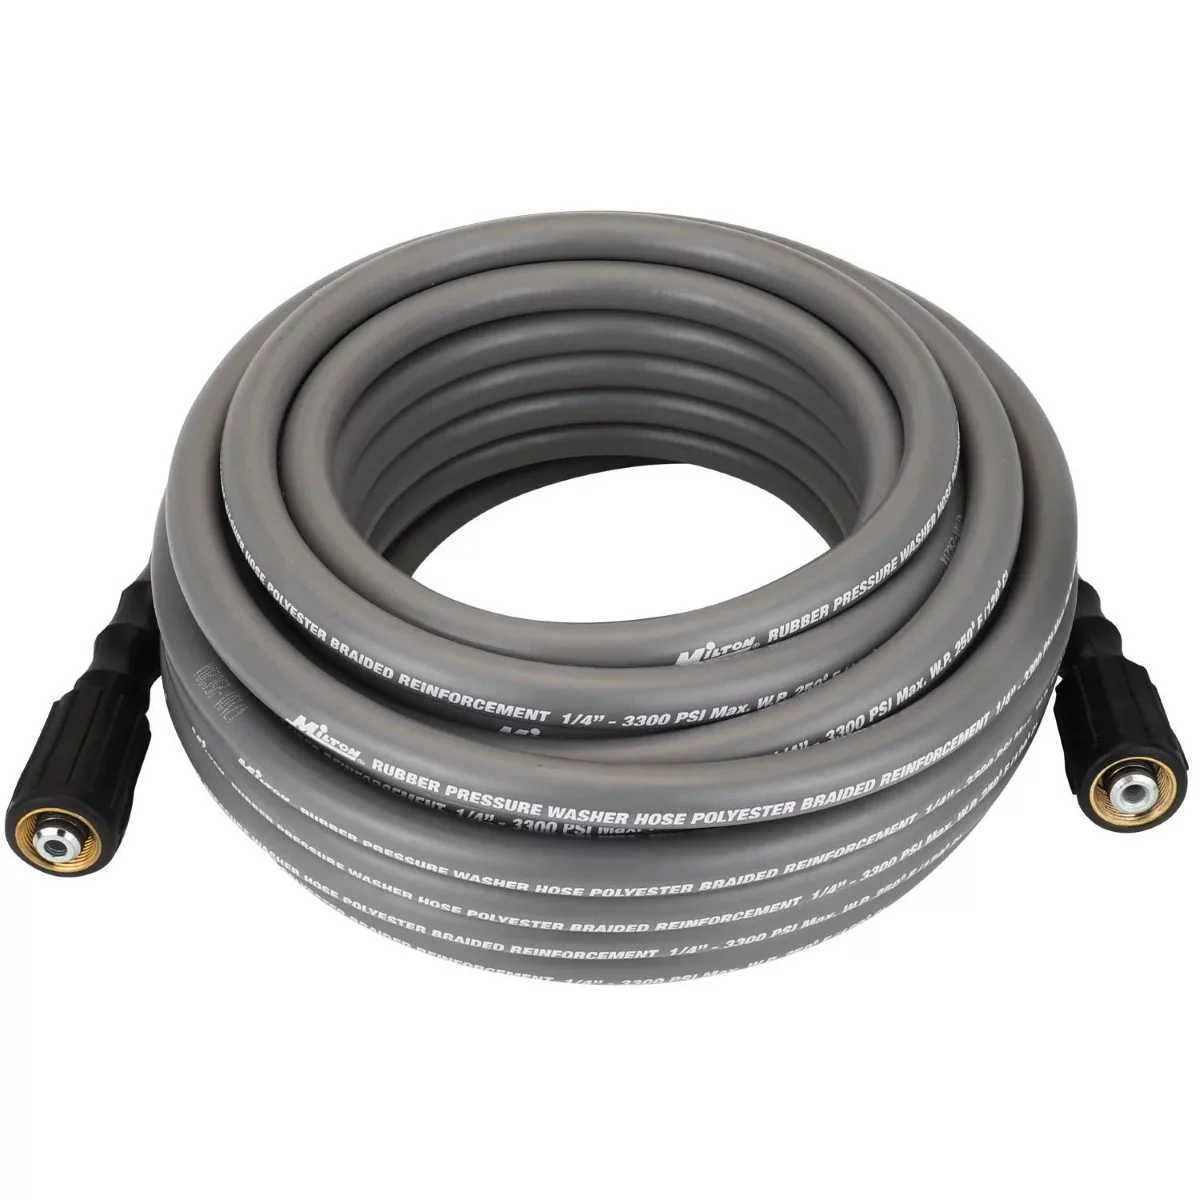
1/4-inch x 50-feet Poly Braided Pressure Washer Hose Assembly
Mfg: Milton Industries
Part #: PW31450
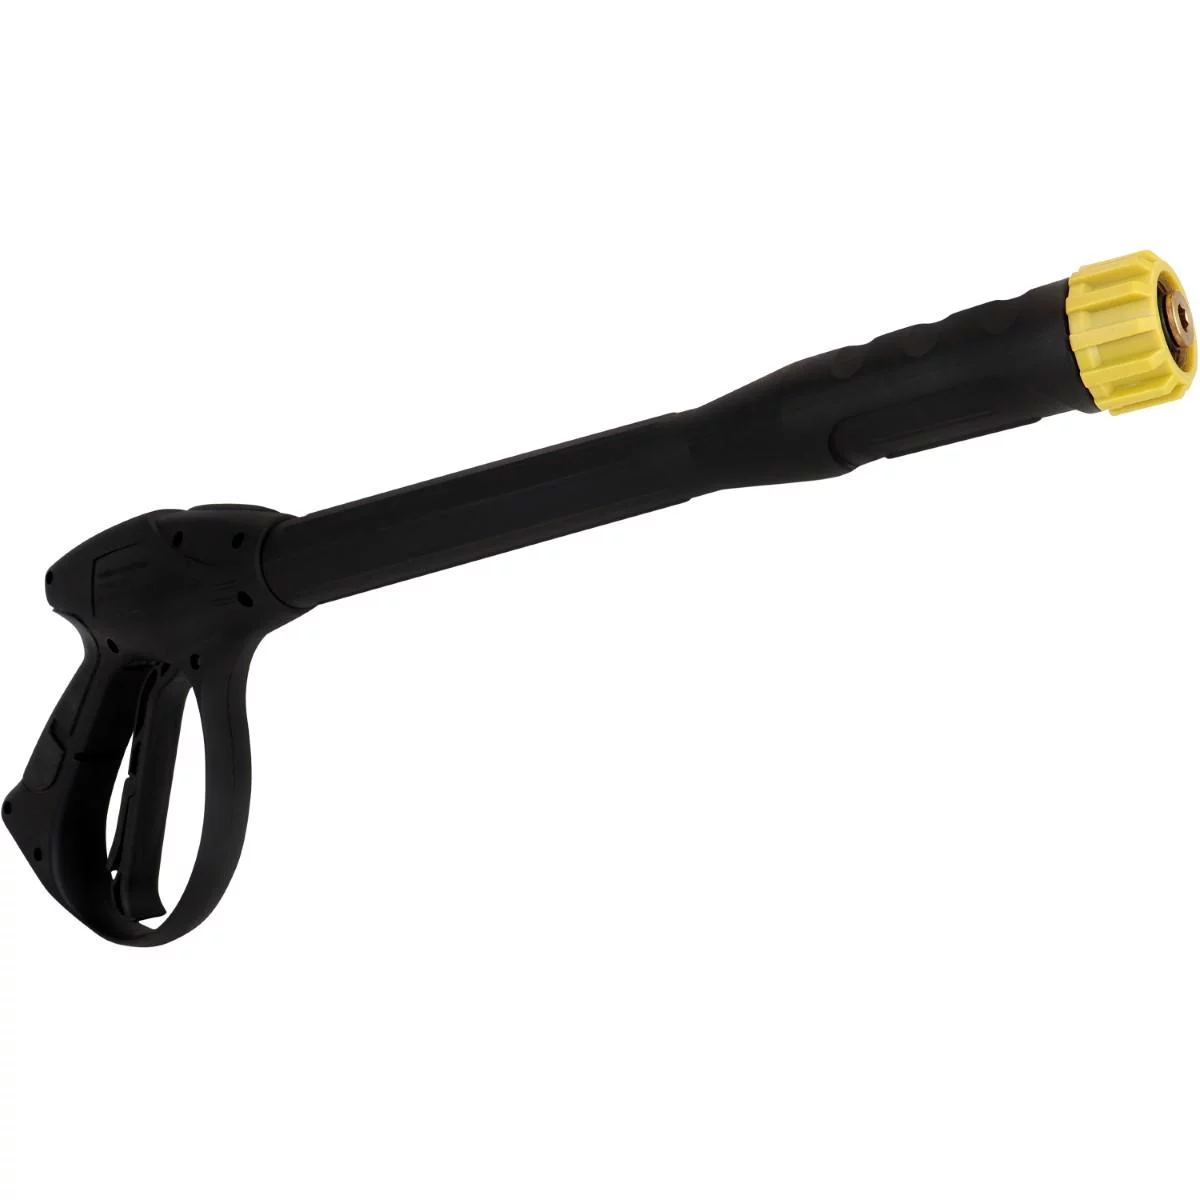
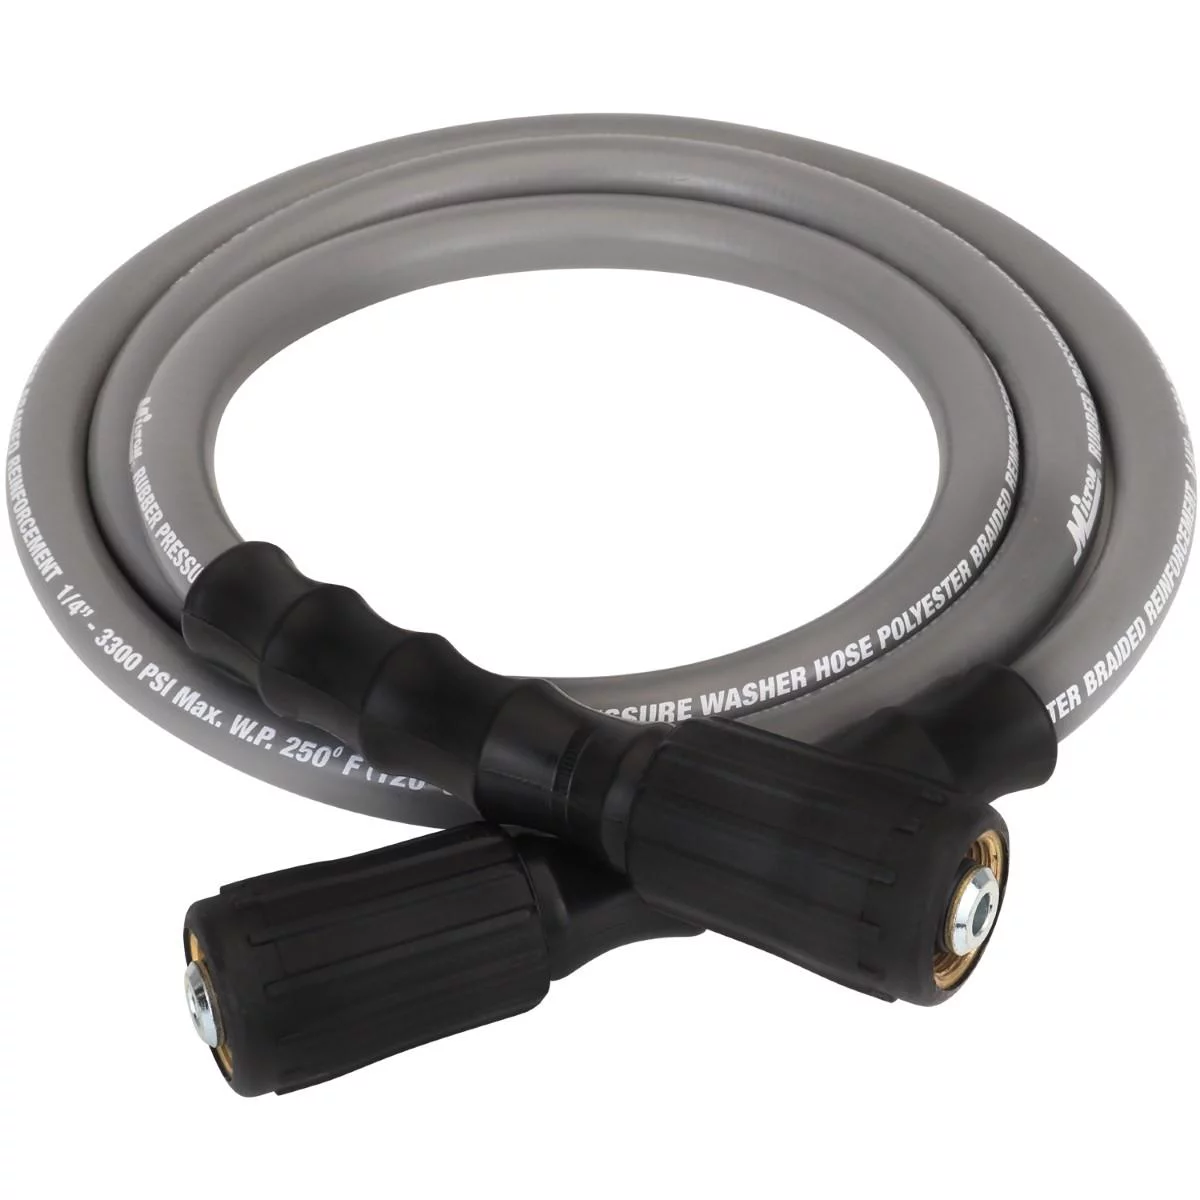
1/4-inch x 6-feet Poly Braided Pressure Washer Hose Assembly
Mfg: Milton Industries
Part #: PW31406
FAQs
Can I pressure wash any engine bay?
Most vehicles from roughly model year 2000 onward tolerate a careful pressure wash, since connectors and modules are sealed for splash resistance. Older vehicles, vehicles with aftermarket wiring, or anything with exposed/modified electronics warrant a hose instead of a pressure washer.
Is it true that ECUs never get wet?
No — ECU location varies widely by make and model. Some are in the cabin or footwell, fully isolated from the bay; others sit directly in the engine compartment. A sealed ECU handles incidental moisture fine, but that’s different from direct pressurized spray at close range, which can force water past a seal that’s only rated for splash.
What’s the single highest-risk component in the bay?
The alternator, due to its open venting for cooling. It’s the component most consistently called out as needing a cover before any washing.
I drove several miles with the oil cap off — is the engine damaged?
Usually not, as long as oil pressure stayed in range and the level didn’t drop critically low. Check and correct the oil level, clean up the spray, and change the oil as a precaution if it ran any real distance or ran low.
Why does the engine smell burnt after washing or after an oil cap incident?
Residual oil or degreaser contacting hot exhaust or manifold surfaces will smoke and smell during the next run. It typically clears within a few minutes of idling and isn’t a sign of damage on its own — but if it persists, inspect for oil pooling on hot components.
Should I use a pressure washer or just a garden hose?
A garden hose on a shower setting is the lower-risk default and handles most degreasing jobs fine. A pressure washer speeds things up but requires more discipline — wide fan pattern, distance from the surface, and avoiding direct hits on seams and connectors.
Recommended Shop Equipment
Engine bay cleaning requires the right supplies on hand — degreaser, a quality brush, and proper protective covers to shield sensitive components. Browse our shop equipment and supplies to find what you need for safe and effective bay cleaning.
- Degreasing products and soft-bristle detailing brushes
- Pressure washers and wide-fan nozzles for controlled rinsing
- Protective covers, masking tape, and zip ties for securing covers

The Toolsource Technical Team blends decades of real-world automotive service experience with up-to-date technical research. Our writers collaborate with professional mechanics, shop owners, and diagnostic specialists to deliver practical, workshop-ready guidance you can trust.


Follow us on social media