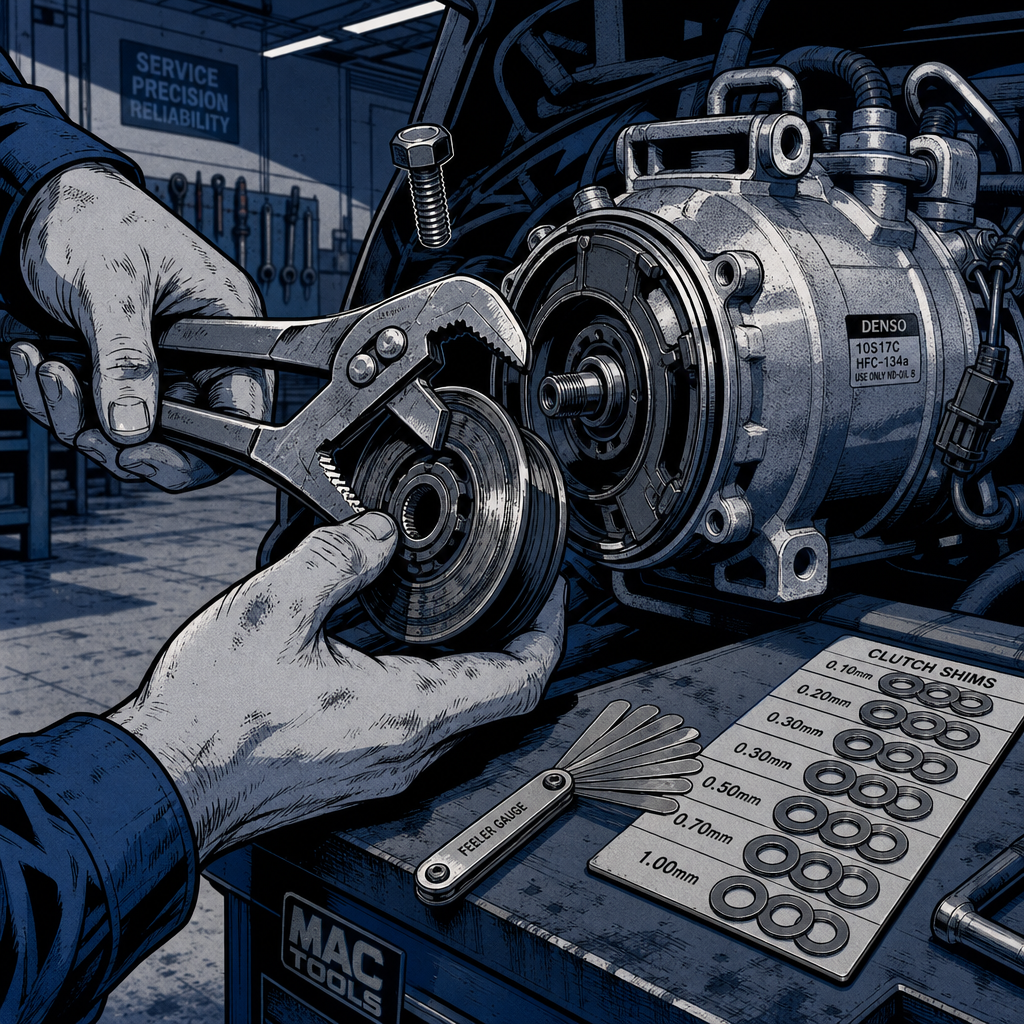
When your vehicle’s air conditioning fails and the compressor isn’t engaging, the immediate assumption is often that you need a complete compressor replacement—a repair that can easily run $1,400 or more at a shop. However, experienced technicians know that the clutch assembly often fails independently of the compressor itself. Replacing just the clutch is a repair you can tackle without opening the sealed refrigerant system, which means no expensive evacuation and recharge cycle, no EPA 609 certification requirements, and significantly lower parts costs. This guide walks you through diagnosing whether your AC compressor needs full replacement or if a clutch repair will get you back to cold air.
Understanding the AC Compressor Clutch System
The AC compressor clutch serves as an electromagnetic coupling between your engine’s serpentine belt and the compressor itself. When you activate your AC, the clutch coil energizes, pulling the clutch hub against the pulley. This mechanical connection allows the engine to drive the compressor. When the AC cycles off, the electromagnetic field releases and the clutch hub separates from the pulley, which continues spinning freely on its bearing.
The clutch assembly consists of three main components: the pulley and bearing assembly that constantly rotates with the belt, the electromagnetic coil that mounts to the compressor housing, and the clutch hub (also called the clutch plate or friction disc) that bolts to the compressor shaft. Each of these components can fail independently. The pulley bearing can seize or become noisy, the coil can develop electrical faults, or the clutch hub can wear out and fail to engage properly.
Visual diagnosis is straightforward. With the engine running and AC off, the pulley should spin smoothly. When you activate the AC, you should hear an audible click as the clutch engages, and the clutch hub should begin rotating with the pulley. If the pulley spins but the hub never engages—or if you hear the click but see the hub slipping against the pulley—you’ve identified a clutch problem rather than a compressor failure.
Diagnosing Clutch Failure vs Compressor Failure
Before ordering parts, confirm whether you’re dealing with a simple clutch issue or a failed compressor. Start with the electrical side. Use a multimeter to verify that the clutch coil receives battery voltage when the AC is commanded on. Check the ground circuit as well. If voltage and ground are present but the clutch doesn’t engage, the coil has likely failed internally. Measure the coil’s resistance; most specifications fall between 3 and 5 ohms, though this varies by application.
If the electrical circuit checks out, examine the clutch hub for physical damage. Look for cracks, missing material, or excessive wear on the friction surface. A severely worn hub won’t make solid contact with the pulley face even when fully energized. Measure the air gap between the clutch hub and pulley face using feeler gauges. Specifications typically range from 0.014 to 0.030 inches depending on the vehicle, but any gap exceeding 0.040 inches usually prevents reliable engagement.
Here’s the critical question: is the compressor itself functional? A seized compressor will destroy a new clutch in short order. With the system depressurized and the clutch removed, try rotating the compressor shaft by hand. It should turn with moderate resistance. If it won’t budge or turns with grinding noises, internal damage has occurred. In that scenario, clutch replacement alone is throwing money away—you need the full compressor assembly.
Metal contamination provides another clue. If the compressor has catastrophically failed, metal particles circulate throughout the entire AC system. You’ll see evidence of this as metallic debris in the refrigerant oil or visible damage to internal components. When a compressor grenades internally, proper repair requires replacing not just the compressor but also flushing all lines and replacing the receiver-drier or accumulator. Some technicians advocate replacing hoses as well since flushing never removes 100% of contamination. This distinction matters because a simple clutch failure leaves the refrigerant system clean, while compressor failure potentially damages every component downstream.
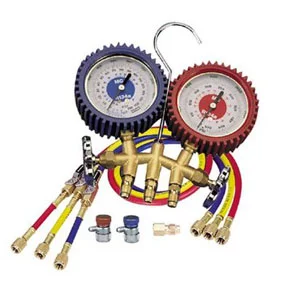
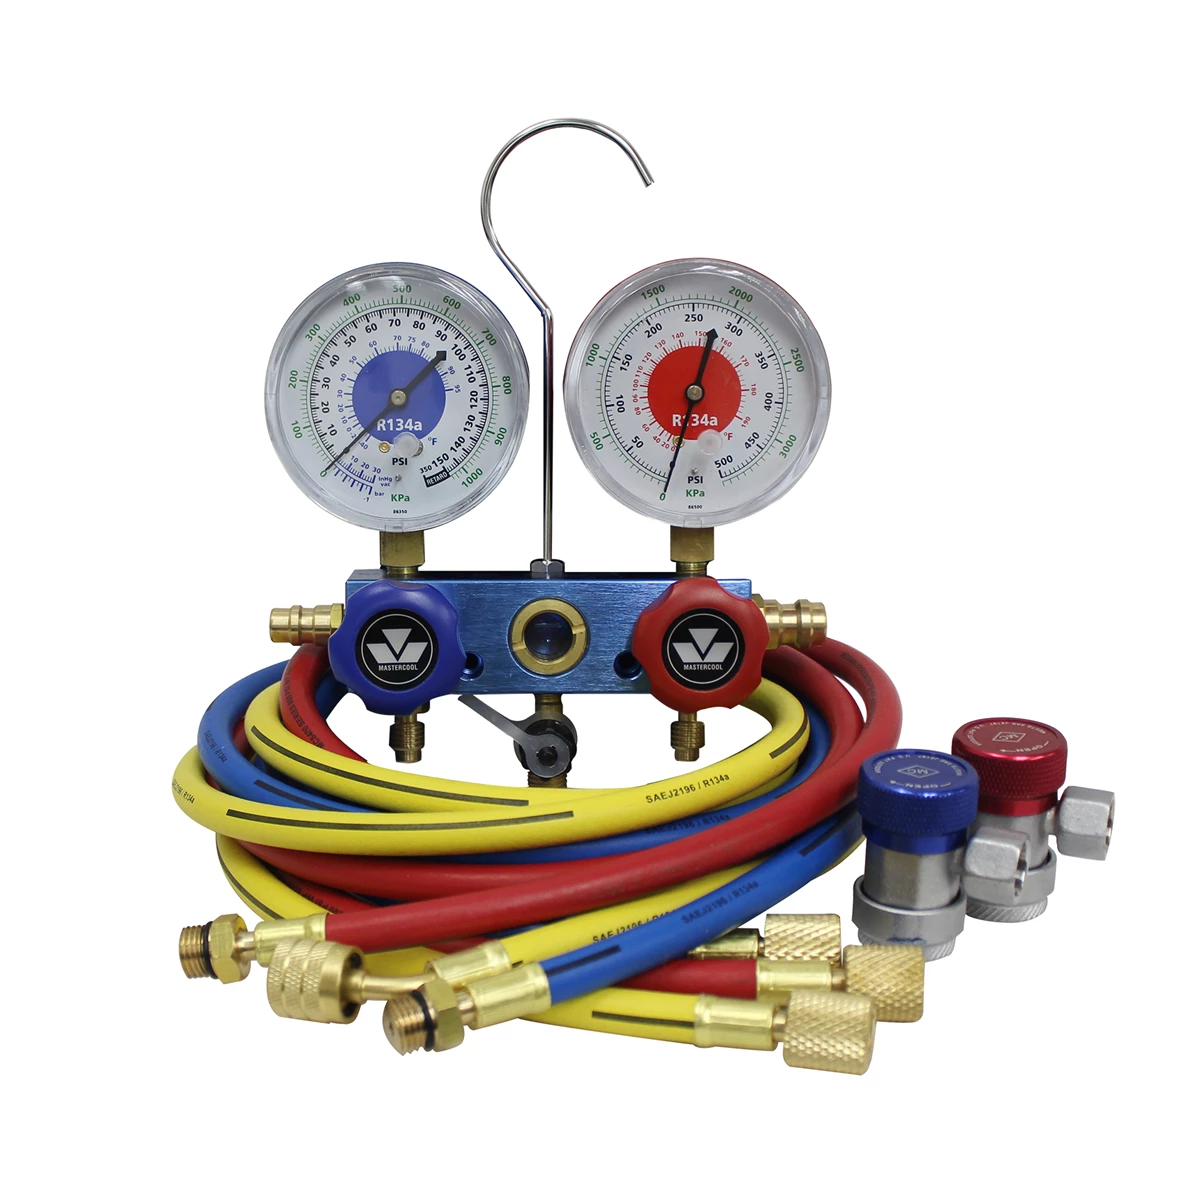
Clutch Replacement Procedure
Replacing the clutch assembly doesn’t require opening the refrigerant system, which is the procedure’s primary advantage. You’ll need basic hand tools, a clutch hub holding tool or sturdy water pump pliers, feeler gauges, and the replacement parts. Some applications use special pullers for the clutch hub and pulley, though many can be serviced with standard tools.
Begin by disconnecting the battery negative terminal and removing the serpentine belt. Access to the compressor varies dramatically by vehicle—some are right up front, while others hide behind engine mounts or require wheel removal. Disconnect the clutch coil electrical connector. The coil itself typically secures with one bolt or several smaller fasteners that thread into the compressor housing. Remove these and slide the coil off the compressor nose.
The clutch hub attaches to the compressor shaft with a single center bolt, normally a 6mm, 8mm, or 10mm hex head. This bolt is often torqued to 15-20 ft-lbs and may have thread-locking compound. To prevent the shaft from rotating while you loosen this bolt, grip the clutch hub firmly with large water pump pliers or a dedicated clutch hub holding tool. Remove the bolt, and the clutch hub will pull straight off the shaft. Pay attention to any shims located between the hub and the shaft—these set the air gap clearance and must be reinstalled.
If you’re replacing the pulley assembly as well, you’ll need to remove the retaining ring (snap ring) from the groove on the compressor nose. This circlip retains the pulley and bearing assembly. Use snap ring pliers to compress and remove it, then the pulley slides off. Installation reverses this process. Slide the new pulley onto the compressor nose, install the snap ring, mount the clutch hub with its shims, and secure with the center bolt torqued to specification.
Before final assembly, set the air gap correctly. Measure the clearance between the pulley friction surface and the clutch hub using feeler gauges at three points around the circumference. If the gap exceeds specification, add shims behind the clutch hub to bring it closer to the pulley. If the gap is too tight, remove shims. Getting this adjustment right prevents premature wear and ensures reliable engagement. Install the electromagnetic coil, reconnect the wiring, reinstall the belt, and you’re done.
When You Actually Need the Full Compressor
Sometimes the compressor itself has failed, and clutch replacement won’t solve the problem. Variable displacement compressors and pressure-regulated designs have largely replaced traditional clutch-cycled systems in modern vehicles. These compressors run continuously when the AC is active, modulating capacity internally rather than cycling on and off. When these fail, you’re replacing the entire assembly because the clutch isn’t designed to disengage under normal operation.
Internal compressor failure shows up as reduced cooling capacity, unusual noises, or visible oil leaks around the compressor body or shaft seal. A seized compressor is obvious—the clutch may engage but the belt squeals or the engine bogs down under the load. If you’ve confirmed the compressor is seized or making grinding noises internally, replacement is mandatory. Attempting to drive a vehicle with a locked compressor can damage the belt, tensioner, and potentially other belt-driven accessories.
Refrigerant leaks from the compressor shaft seal also necessitate replacement in most cases. While shaft seal kits exist for some older compressor designs, modern units typically aren’t serviceable. If you see oily residue accumulating around the compressor shaft or clutch area, suspect a seal leak. This contamination will eventually destroy the clutch through slippage, but the underlying problem is the failed seal.
Here’s the hard truth about metal contamination: if your compressor has failed catastrophically, you’re looking at a complete system overhaul. The receiver-drier or accumulator must be replaced, the condenser may need replacement (it cannot be effectively flushed), and all refrigerant lines should be flushed or replaced. The expansion valve or orifice tube traps debris and must be changed. Shops use specialized flushing equipment to clean lines, though even then, some technicians prefer hose replacement on high-value repairs to eliminate any risk of contaminated refrigerant oil circulating through a new compressor. This level of service easily runs $1,200-$1,800, which is why correctly diagnosing a simple clutch failure can save serious money.
Refrigerant Handling and Professional Services
The legal and practical realities of automotive AC work create an interesting divide. Professional technicians must hold EPA Section 609 certification to service mobile AC systems. This certification covers refrigerant handling, recovery procedures, and environmental regulations. Venting refrigerant to atmosphere is illegal under federal law, with penalties reaching $37,500 per violation. Shops invest $6,000-$11,000 in refrigerant recovery, evacuation, and recharge equipment that captures used refrigerant and measures precise quantities during refills.
DIY mechanics face fewer regulatory constraints. While intentionally venting refrigerant is technically illegal, enforcement is practically nonexistent outside commercial settings. This creates the paradox where a certified technician using professional equipment faces fines for improper venting, while someone in their driveway can buy refrigerant in retail cans and add it to a contaminated system without consequence. That said, environmental responsibility and repair quality both favor proper evacuation and recharge procedures.
If your repair requires opening the refrigerant system, having a shop evacuate the system before you start work is the smart move. Many shops charge $100-$250 for evacuation and will credit the recovered refrigerant value toward your eventual recharge. They’ll document how much refrigerant was removed, which tells you whether the system was fully charged or had already leaked down. After completing your repair, return for vacuum testing and recharge. This approach saves you the labor cost of component replacement while ensuring proper refrigerant handling.
R-1234yf refrigerant, now used in most vehicles from 2017 onward, costs significantly more than older R-134a. Retail pricing runs $40-$60 for an 8-ounce can, putting the cost around $80-$120 per pound. A typical passenger car system holds 1-2 pounds, so refrigerant alone can cost $100-$240. Professional recovery and reuse of the original refrigerant makes economic sense on these systems. Additionally, R-1234yf operates at higher pressures than R-134a and is mildly flammable, making proper handling equipment more critical.
For clutch-only repairs, you avoid this entire issue since the sealed refrigerant circuit remains closed. This is perhaps the strongest argument for trying a clutch replacement first when diagnosis points that direction. You get your AC working again for the cost of a $50-$150 clutch kit and an afternoon of your time, with no refrigerant handling required.
Quick Reference Checklist
- Verify clutch receives power and ground when AC is commanded on
- Check clutch coil resistance (typically 3-5 ohms)
- Confirm pulley spins freely when AC is off
- Listen for clutch engagement click when AC activates
- Measure air gap between clutch hub and pulley (0.014-0.030″ spec typical)
- Inspect clutch hub for cracks, missing material, or excessive wear
- Test compressor shaft rotation by hand if accessible
- Look for oil residue indicating shaft seal leaks
- Save shims when removing clutch hub for air gap adjustment
- Torque clutch hub bolt to specification (typically 15-20 ft-lbs)
- Recheck air gap after installation before final assembly
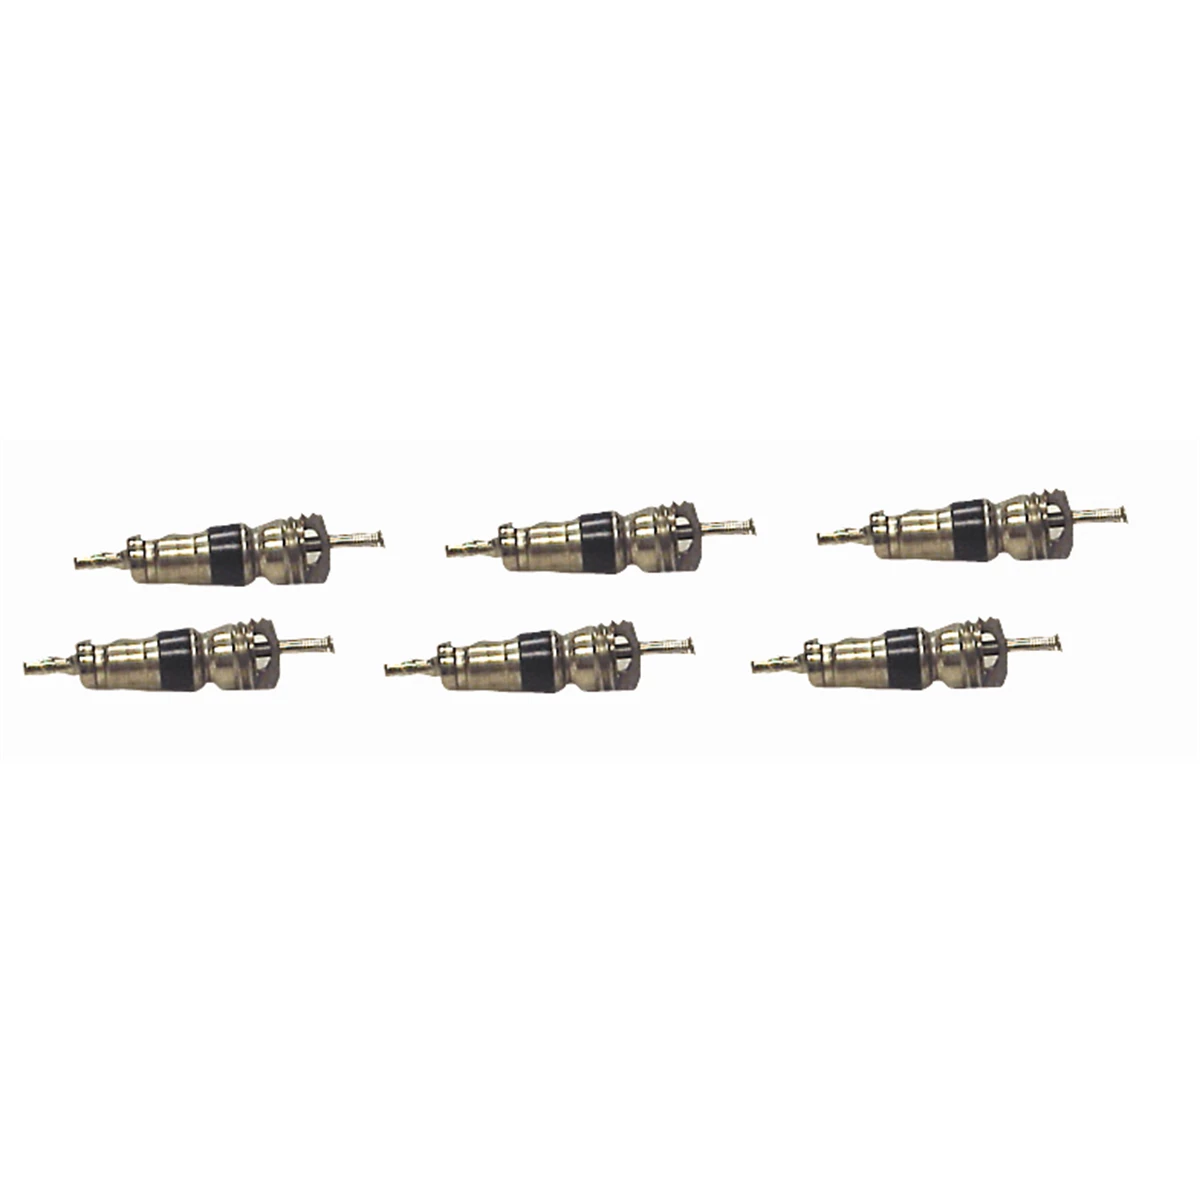


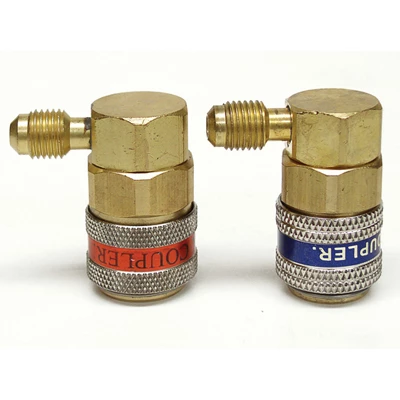
Robinair 13192 Durable Replacement Coupling for A/C Systems
Mfg: Robinair
Part #: 13192
Frequently Asked Questions
Can I replace just the clutch hub instead of the entire clutch assembly?
Yes, in many cases you can purchase just the clutch hub (friction disc) separately. This is the component that actually wears out most often. The electromagnetic coil and pulley bearing assembly frequently remain serviceable. Check with your parts supplier using your compressor part number—some applications offer the hub alone for $30-$75, while complete clutch kits run $100-$200.
How do I know if I need to add or remove shims during installation?
Measure the air gap between the clutch hub and pulley face at three points around the circumference after installing the hub with the original shims. Compare your measurements to the specification in your service manual, typically 0.014-0.030 inches. If the gap is too large, add shims behind the clutch hub. If too small, remove shims. Each shim typically changes the gap by 0.010-0.015 inches.
What causes premature clutch failure?
The most common cause is a failing compressor that creates excessive load on the clutch. A compressor with failing internal components or inadequate lubrication puts stress on the clutch hub every time it engages. Incorrect air gap adjustment also accelerates wear—too much gap prevents full engagement, causing slippage, while too little gap leads to partial contact even when the clutch should be disengaged. Refrigerant oil leaking onto the clutch surface from a failing shaft seal will cause slippage and rapid deterioration.
Do I need special tools to replace an AC compressor clutch?
Most clutch replacements can be accomplished with standard hand tools. You’ll need sockets or wrenches for the coil mounting bolts, a hex bit or Allen key for the clutch hub bolt (typically 6mm, 8mm, or 10mm), snap ring pliers for the pulley retaining ring, and feeler gauges for air gap measurement. Large water pump pliers or locking pliers work to hold the clutch hub while loosening the center bolt. Some vehicles benefit from a specific clutch hub holding tool or a pulley puller, but these aren’t universal requirements.
Should I replace the clutch or the whole compressor?
Replace only the clutch if the compressor shaft rotates smoothly, shows no signs of internal damage or noise, and the failure is isolated to the clutch components. Replace the entire compressor if the shaft is seized, the unit makes grinding noises, there’s evidence of metal contamination in the system, or refrigerant oil is leaking from the shaft seal. When in doubt, test compressor rotation with the clutch removed—smooth rotation with moderate resistance indicates the compressor is likely fine.
Can I drive my car with a failed AC compressor clutch?
If the clutch simply won’t engage but the pulley spins freely, you can drive the vehicle normally—you just won’t have air conditioning. However, if the pulley bearing has failed and the pulley won’t spin, or if the compressor itself is seized, you risk belt damage and potential overheating of other belt-driven components. In these cases, you may need to remove the serpentine belt from the AC compressor pulley or install a shorter bypass belt until repairs are completed.
Recommended Tools for AC Compressor Clutch Service
Replacing an AC compressor clutch doesn’t require specialized equipment, but having the right hand tools and diagnostic instruments makes the job smoother and more accurate. Our Auto Air Conditioning Tools selection includes everything you’ll need for clutch diagnosis and replacement.
- Feeler gauges for measuring air gap clearance between clutch hub and pulley
- Multimeters and testing equipment for clutch coil electrical diagnosis
- Snap ring pliers, holding tools, and specialized wrenches for clutch hub and pulley service

The Toolsource Technical Team blends decades of real-world automotive service experience with up-to-date technical research. Our writers collaborate with professional mechanics, shop owners, and diagnostic specialists to deliver practical, workshop-ready guidance you can trust.


Follow us on social media