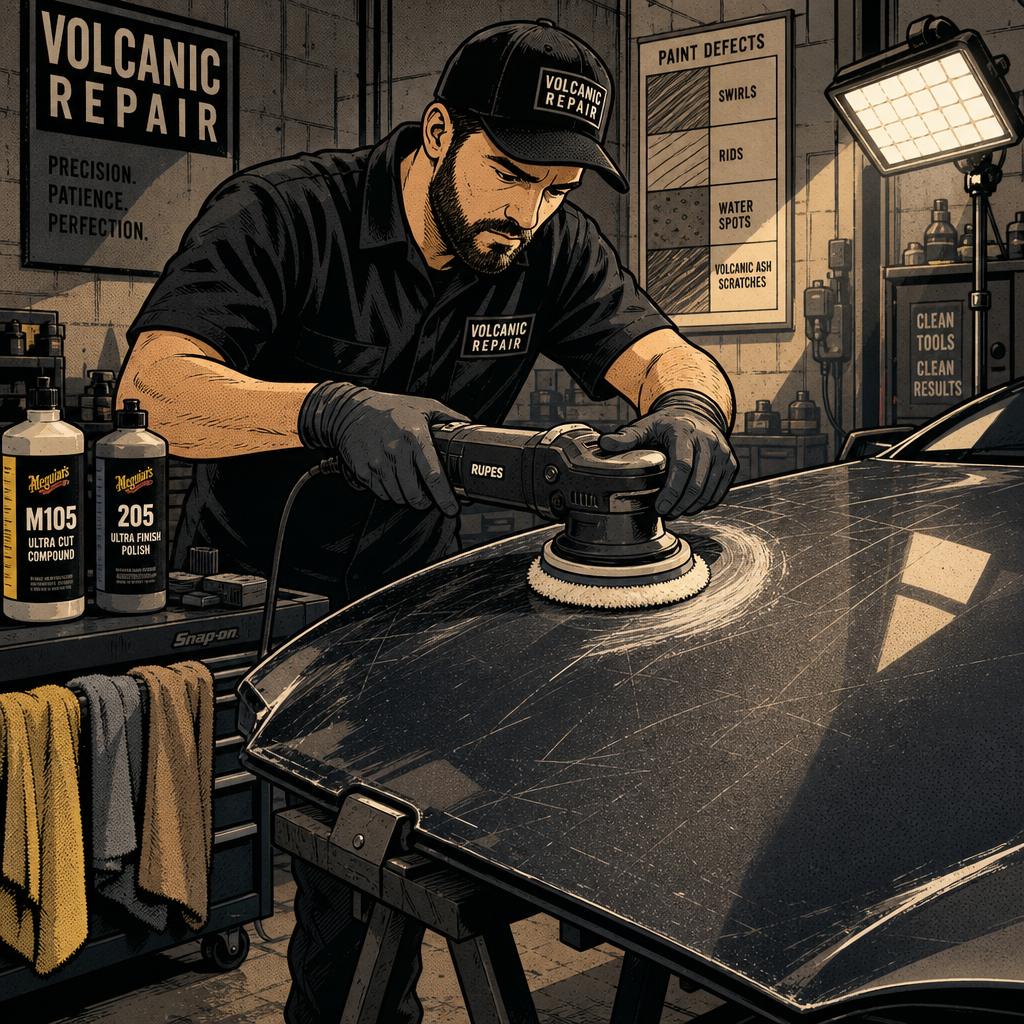
Volcanic ash presents a unique challenge for vehicle owners. Unlike regular dust or dirt, volcanic ash consists of fine, jagged mineral particles—essentially natural abrasive material similar to scouring powder or fine-grit sandpaper. When ashfall blankets your vehicle, the instinct is to wipe it clean immediately. However, this seemingly simple action can cause significant damage to your paint’s clear coat, leaving behind scratches, swirl marks, and permanent marring that requires professional intervention. Understanding the abrasive nature of volcanic ash and following proper removal protocols is critical to protecting your vehicle’s finish, whether you’re experiencing a one-time ashfall event or live in a region where volcanic activity occurs regularly.
Understanding Why Volcanic Ash Damages Paint
Volcanic ash differs fundamentally from ordinary environmental contaminants. The particles are angular fragments of rock, mineral crystals, and volcanic glass created during explosive eruptions. These microscopic shards have sharp edges and irregular surfaces that act like sandpaper when dragged across your vehicle’s clear coat.
The damage mechanism is straightforward: when you apply pressure to a towel, cloth, or sponge containing ash particles, those particles become embedded in the cleaning material. As you wipe, they’re dragged across the paint surface under pressure, creating scratches. The harder you press, the deeper the scratches penetrate. On dark-colored vehicles, this damage becomes immediately visible as a network of fine scratches that appear lighter than the surrounding paint.
Clear coat is designed to protect the color coat beneath it, but it has finite thickness—typically 1.5 to 2 mils (thousandths of an inch) on factory paint. Every scratch removes microscopic amounts of clear coat. While minor scratches can be polished out, deep scratches that penetrate through the clear coat into the base coat require more extensive correction or may be permanent.
The abrasive quality of volcanic ash means that even gentle wiping with a wet cloth can cause damage. The ash doesn’t dissolve in water like dirt or mud—it remains as solid particles that maintain their abrasive properties when wet. This is why standard washing techniques fail and why special procedures are necessary.
The Correct Method for Removing Volcanic Ash
Safe ash removal requires a systematic approach that prioritizes particle removal without contact. The fundamental principle is to eliminate as much ash as possible before any wiping or washing occurs.
Step 1: Initial Rinse
Use a pressure washer or high-volume water flow to rinse the vehicle thoroughly. Hold the nozzle at a safe distance (12-18 inches) and use moderate pressure—high enough to dislodge ash but not so high that it damages seals or forces water into unwanted areas. Start from the top and work downward, allowing gravity to assist removal. Rinse each section multiple times until water runs clear. Do not touch the surface with your hands, towels, or any other material during this phase.
Step 2: Gentle Wash
After removing the bulk of ash with water, prepare a proper car wash solution using pH-neutral automotive shampoo in a clean bucket. Use a soft wash mitt or microfiber towel—not a sponge, which can trap particles. Work in straight lines rather than circular motions, using minimal pressure. Let the soapy water do the work of suspending remaining particles. Rinse the mitt frequently in a separate rinse bucket to prevent recontamination.
Step 3: Thorough Final Rinse
Rinse the entire vehicle again with clean water, ensuring all soap and suspended particles are removed. Use a clean microfiber drying towel or forced air to dry the surface. If using a towel, use light pressure and frequently check for any grit that might have been picked up.
Step 4: Inspection
Examine the paint under good lighting, preferably bright LED or sunlight. Look for any remaining ash deposits, water spots, or visible scratches. Feel the surface gently with a clean hand protected by a plastic bag—properly cleaned paint should feel smooth without grit.
===PRODUCT-SEARCH-1===
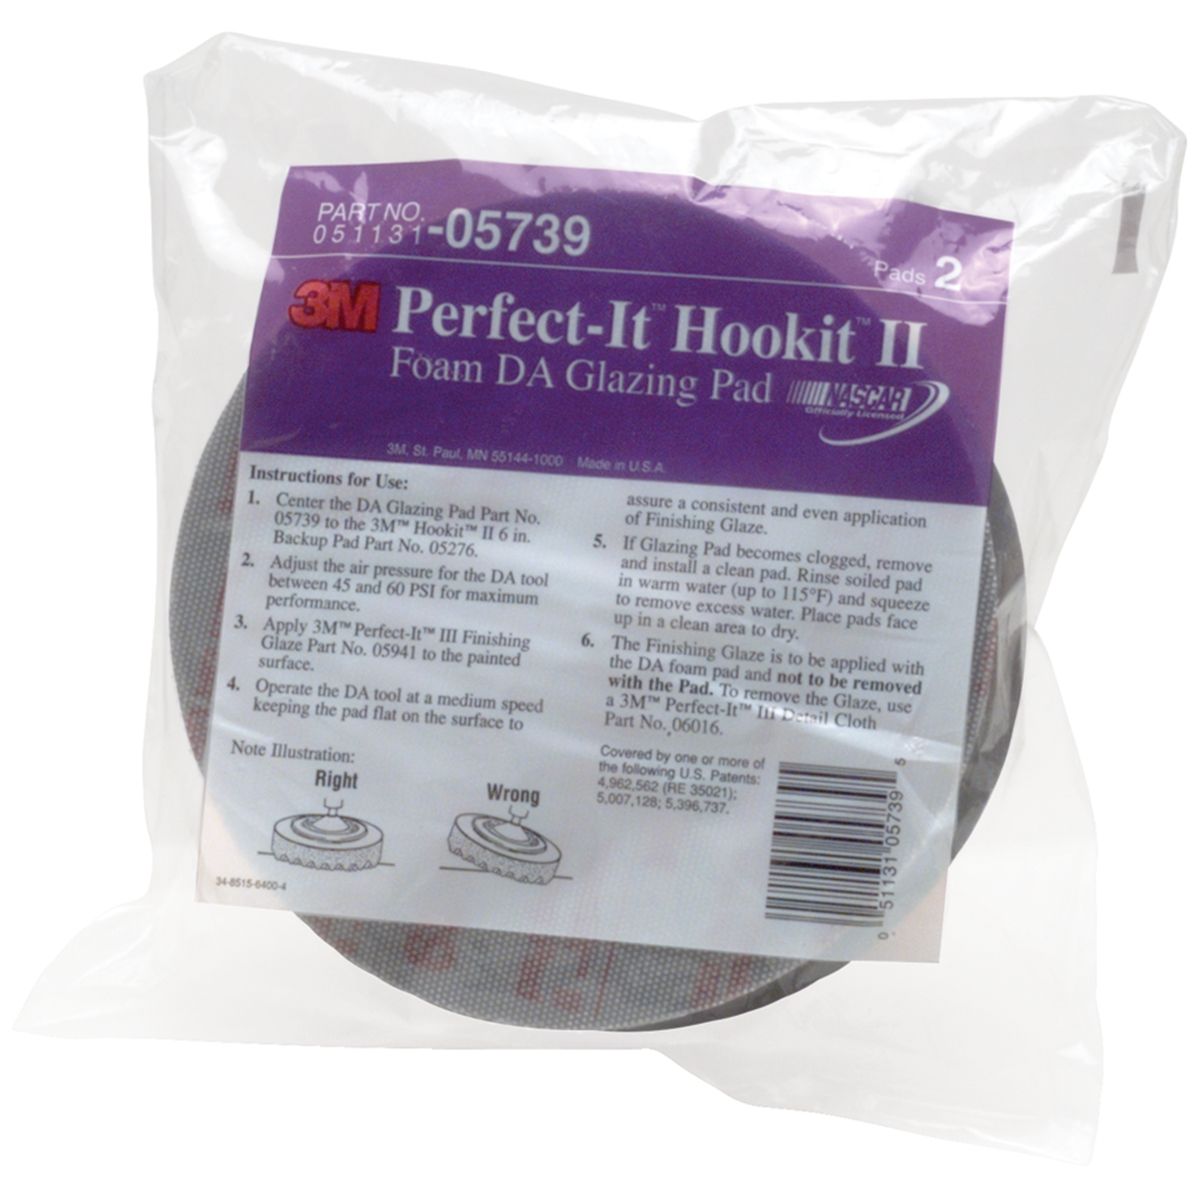
6 Inch Perfect-It Hookit II Foam DA Glazing Pad, 2/Bag
Mfg: 3M Automotive
Part #: 5739
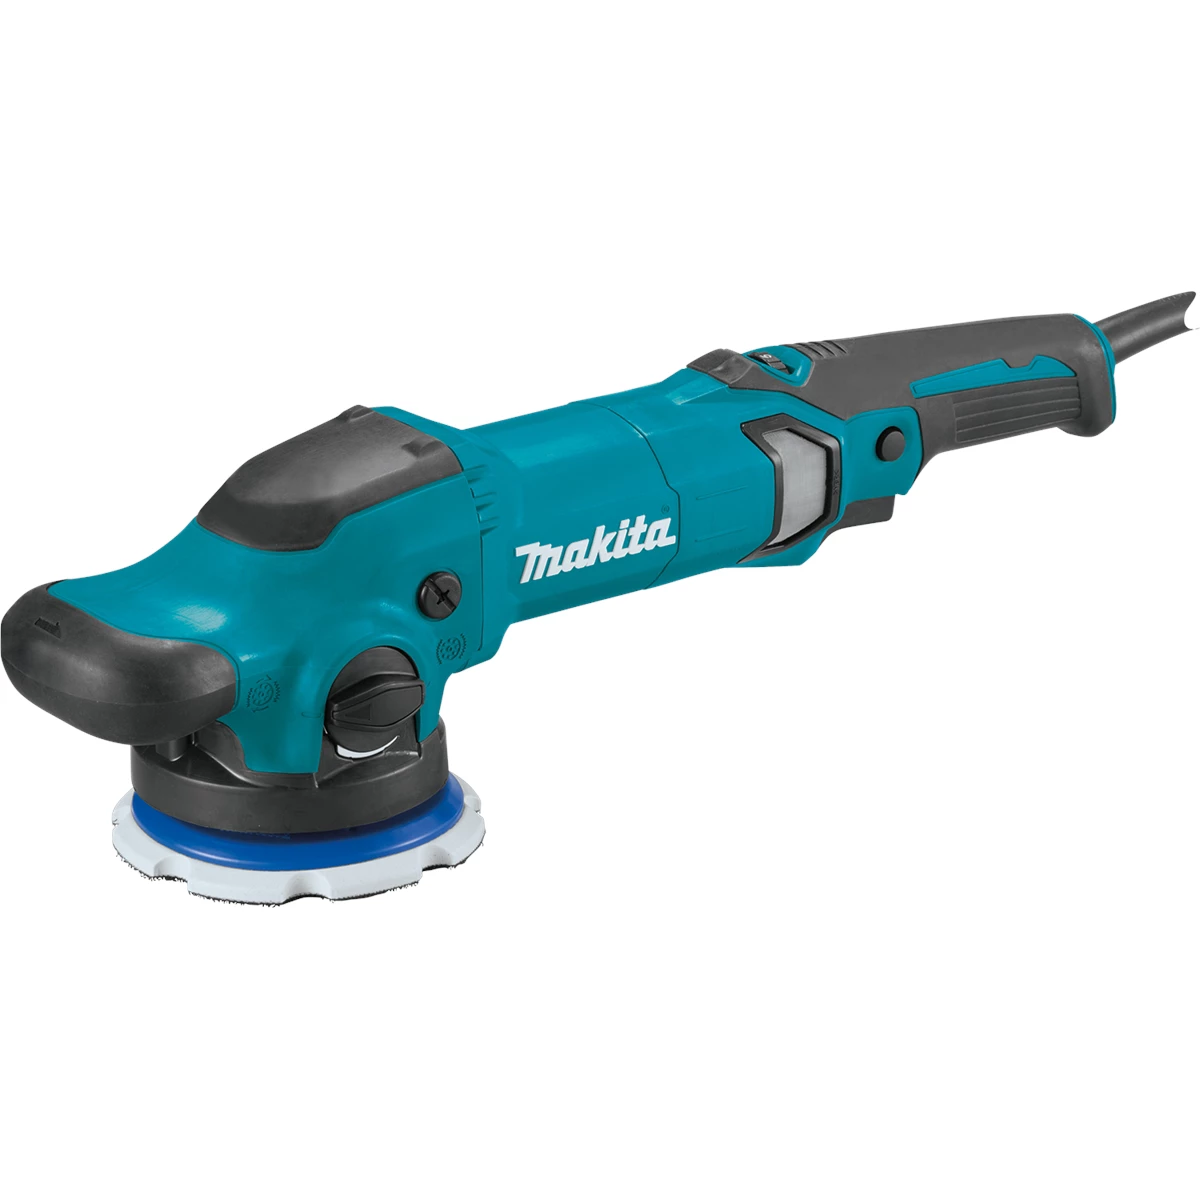
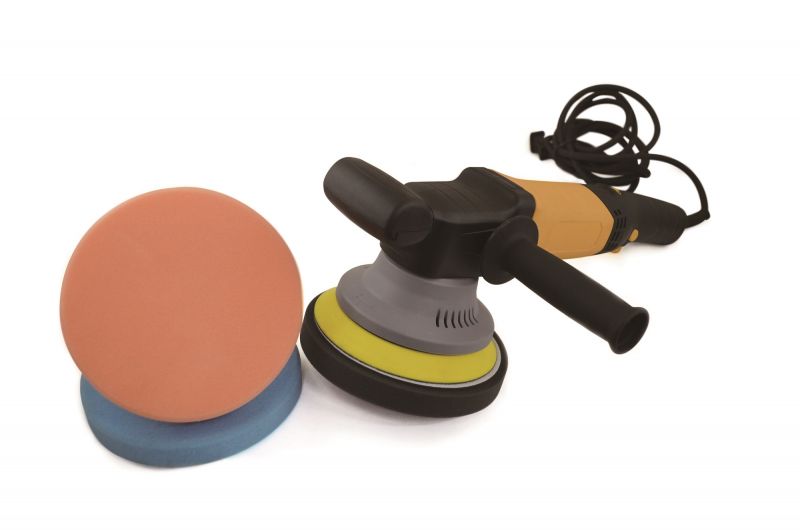
Electric 6" Dual Action Random Orbital Polisher W/ 3pc Pad Kit -
Mfg: Astro Pneumatic
Part #: 3058
Assessing Clear Coat Damage
Once the ash is safely removed, you need to evaluate whether damage occurred and determine its severity. This assessment dictates whether DIY correction is feasible or professional help is required.
Visual Inspection
Examine the affected area under strong, direct lighting. Use a flashlight or LED inspection light held at various angles. Scratches will appear as lighter lines on dark paint or as shadows on light paint. Check whether the scratches form patterns (indicating wiping direction) or appear random (suggesting contamination during washing).
Depth Assessment
Run your fingernail gently across suspected scratches. If your nail catches in the scratch, it’s relatively deep and may have penetrated the clear coat. Scratches you can feel are more challenging to remove and typically require machine polishing. Scratches visible only under specific lighting conditions are usually clear-coat level and more responsive to correction.
Coverage Evaluation
Determine the extent of damage. Is it confined to one panel (like a hood) or spread across multiple surfaces? Small, localized damage is more practical for DIY correction, while widespread scratching across the entire vehicle warrants professional paint correction.
Paint Thickness Consideration
Factory paint has limited clear coat thickness. If the vehicle has been previously polished or corrected, less clear coat remains available for correction. Older vehicles or those with extensive sun exposure may have thinner clear coat. Professional detailers use paint thickness gauges to measure remaining clear coat before correction.
DIY Paint Correction: Tools and Technique
For technicians comfortable with automotive detailing and willing to invest in proper equipment, minor clear coat scratches can be addressed through machine polishing. This process removes microscopic layers of clear coat to level the surface, eliminating scratches.
Required Equipment
- Dual-action (DA) orbital polisher (5-inch or 6-inch)
- Microfiber cutting pad
- Foam polishing pad
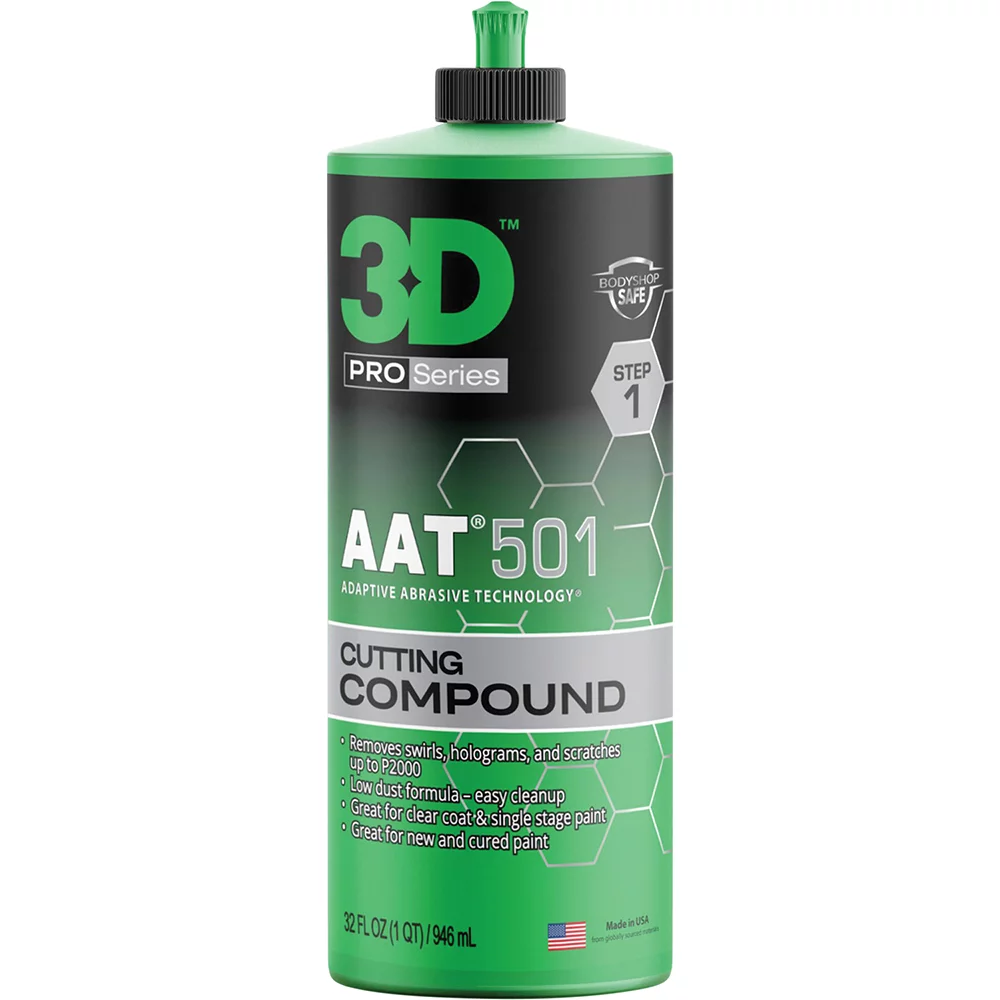
- Rubbing compound (medium-cut)
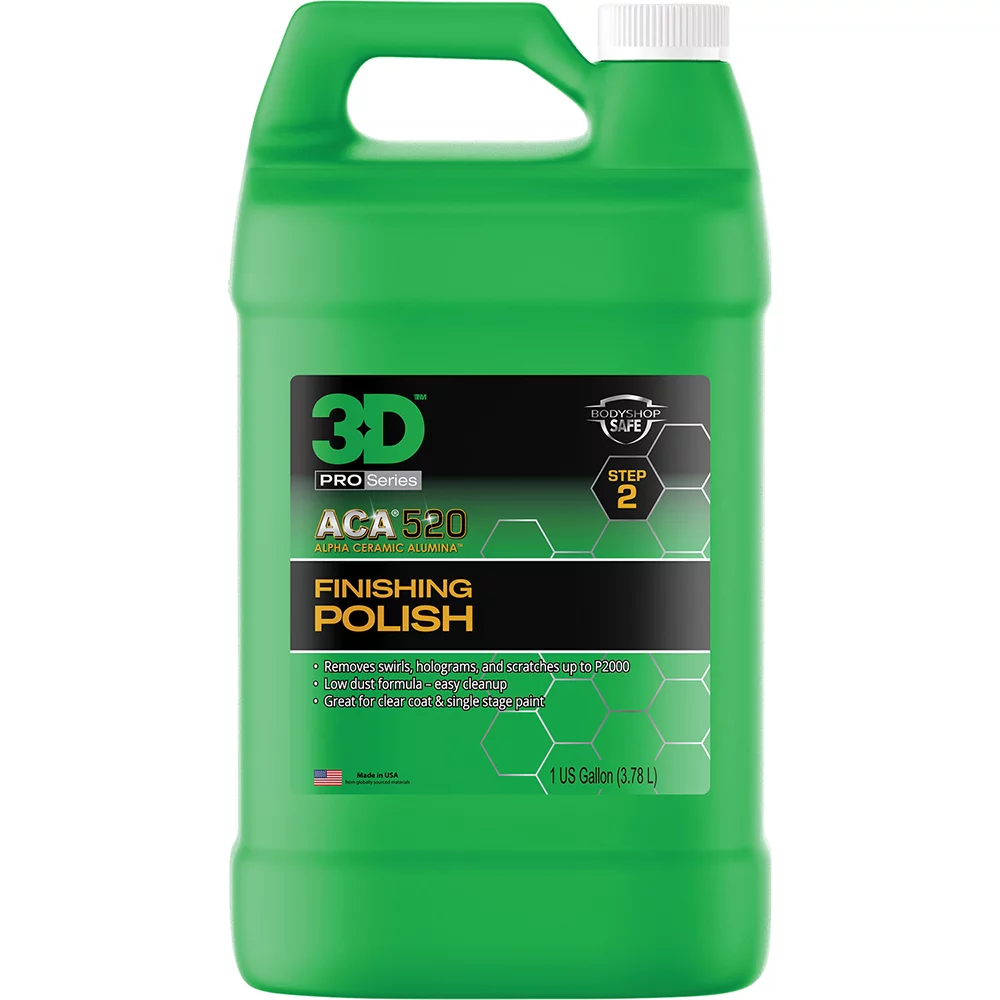
- Finishing polish
- Clay bar and lubricant
- Detail spray
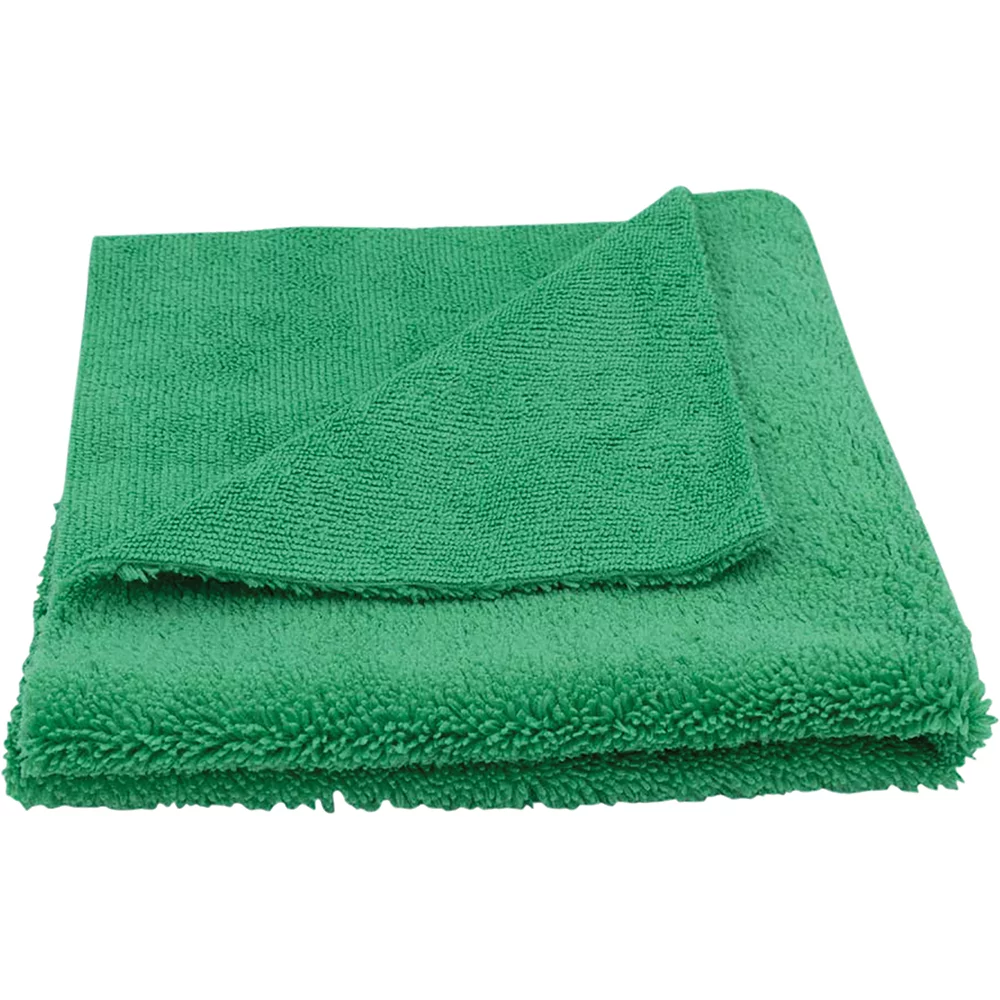
- Multiple clean microfiber towels
- Bright LED inspection light
Surface Preparation
Before polishing, the paint must be perfectly clean and decontaminated. Spray the affected area with clay bar lubricant or detail spray and gently work a clay bar across the surface using straight-line motions. The clay bar removes embedded contaminants that washing missed. Wipe clean and inspect—the surface should feel glass-smooth.
Compounding Process
Work in a shaded area or indoors to prevent product drying. Apply 4-5 pea-sized drops of rubbing compound to a clean microfiber cutting pad. Spread the compound on the affected area with the polisher turned off. Set the polisher to medium speed (setting 3-4) and work the compound using overlapping passes. Apply only the weight of the machine—do not push down. Work in 2-foot by 2-foot sections. After 4-6 passes, wipe the area clean with a microfiber towel and inspect under bright light.
Polishing Stage
Switch to a foam polishing pad and finishing polish. This step removes micro-marring left by compounding and restores gloss. Use the same technique: apply polish to the pad, spread it on the surface, and work at medium speed with light pressure. Make 3-4 overlapping passes, then wipe clean and inspect.
Blending
To avoid visible transitions between corrected and uncorrected areas, blend the polishing beyond the damaged zone into adjacent panels. Gradually taper your correction work rather than stopping abruptly at panel edges.
Time and Effort
For a small area (one square foot), expect to spend 45-90 minutes including preparation, compounding, polishing, and cleanup. Larger areas require proportionally more time. Machine polishing is physically manageable but requires patience and attention to detail.
When to Seek Professional Paint Correction
Professional detailers possess specialized equipment, accumulated expertise, and techniques that deliver results beyond typical DIY capabilities. Several scenarios warrant professional intervention rather than self-correction attempts.
Deep Scratches
If scratches catch your fingernail or appear white against dark paint, they may have penetrated the clear coat into the base coat. These require aggressive correction that risks burning through the clear coat if performed inexpertly. Professionals use paint thickness gauges to measure remaining clear coat and adjust their approach accordingly.
Extensive Damage
Scratches covering multiple panels or the entire vehicle represent significant work. While DIY correction is theoretically possible, the time investment (potentially 8-12 hours for a full vehicle) and risk of inconsistent results make professional correction more practical. Professionals also achieve uniform appearance across all panels through proper blending techniques.
Dark or Sensitive Paint
Black, dark blue, and dark red paints show every imperfection—both existing scratches and any new marring from correction attempts. These colors require exceptional technique to avoid leaving buffer trails, holograms, or hazing. Soft Japanese paints (Honda, Mazda, Subaru) and certain European clear coats are also more challenging to correct without creating new defects.
Lack of Equipment
Quality dual-action polishers cost $150-400, plus another $100-150 for pads, compounds, polishes, and supplies. If you don’t already own this equipment and don’t anticipate regular detailing work, paying a professional $150-300 for localized correction is more economical than purchasing equipment for a single use.
Previous Paint Work
Vehicles with aftermarket paint, body repairs, or multiple previous corrections have unknown clear coat thickness. Attempting further correction without measuring paint thickness risks burning through to the base coat, creating permanent damage requiring repainting.
What Professionals Call This Work
When contacting detailers, use the term “paint correction.” Explain that you accidentally created scratches through improper cleaning and need correction work on specific panels. Request quotes for single-stage polish (light scratches) or two-stage correction (medium scratches requiring compounding and polishing). Be specific about the affected area—localized correction costs significantly less than full-vehicle correction.
Cost Expectations
Professional correction pricing varies by region and damage extent. Single-panel correction (hood only) typically ranges from $150-350. Two-stage correction on multiple panels costs $400-800. Full-vehicle paint correction runs $800-2000 depending on vehicle size and condition. Mobile detailers may charge less than shop-based professionals, though shop environments provide better lighting and climate control for optimal results.
Prevention Strategies for Future Ashfall Events
For technicians in volcanic regions or those who experienced ashfall during travel, implementing preventive measures reduces the risk of paint damage during future events.
Immediate Vehicle Protection
If volcanic ashfall is forecast or occurring, move vehicles to covered parking immediately. Garages, carports, or even temporary canopies prevent ash accumulation. If covered parking is unavailable, vehicle covers provide protection—ensure the cover is properly secured to prevent wind from grinding ash against the paint as the cover moves.
Paint Protection Film (PPF)
Clear paint protection film creates a sacrificial barrier over paint. Quality PPF resists scratching better than clear coat and can be replaced if damaged. Full-vehicle PPF is expensive ($3000-6000) but worthwhile in volcanic areas. Partial coverage (hood, fenders, mirrors) costs $1000-2000 and protects the most vulnerable horizontal surfaces where ash accumulates.
Ceramic Coatings
While ceramic coatings don’t prevent scratching from abrasive particles, they do create a slicker surface that helps ash slide off during rinsing and reduces the force needed for cleaning. This marginally reduces scratch risk. Ceramic coatings cost $500-1500 professionally applied and last 2-5 years.
Regular Washing Protocol
Maintain regular washing using proper two-bucket technique and quality microfiber wash mitts. Clean paint is less likely to have existing contamination that could contribute to scratching. Regular washing also maintains any protective coatings or waxes that aid ash removal.
Emergency Kit
Keep an ash-removal kit in your vehicle if you live in volcanic areas: pressure sprayer or garden hose nozzle, multiple microfiber towels, car wash soap concentrate, and several gallons of water. This allows immediate proper cleaning if ashfall occurs while traveling.
Windshield Protection
Never use windshield wipers on ash-covered glass. Ash will permanently scratch the windshield and destroy wiper blades. Thoroughly rinse windshields with water before operating wipers. Keep spare wiper blades available—ash-contaminated blades should be replaced, as embedded particles will continue scratching the glass.
===PRODUCT-SEARCH-2===
Quick Reference Checklist: Volcanic Ash Removal
- ☐ Do NOT wipe or touch ash-covered paint
- ☐ Rinse thoroughly with high-volume water from top to bottom
- ☐ Repeat rinsing until water runs completely clear
- ☐ Prepare two-bucket wash system with pH-neutral car soap
- ☐ Wash gently using soft mitt with straight-line motions
- ☐ Rinse mitt frequently in rinse bucket
- ☐ Final rinse to remove all soap and suspended particles
- ☐ Dry with clean microfiber or forced air
- ☐ Inspect paint under bright light for damage
- ☐ If scratches present, assess depth and coverage
- ☐ For minor damage: clay bar, then machine polish if equipped
- ☐ For moderate/deep damage: contact professional detailer for paint correction quote
- ☐ Consider PPF or ceramic coating for future protection
Frequently Asked Questions
Can I just leave volcanic ash on my car until it rains?
No. Ash is acidic and can etch paint if left for extended periods. Additionally, wind will move the ash across your paint, causing scratching. Rain may help rinse loose ash but won’t provide the thorough removal needed. Remove ash as soon as safely possible using proper techniques.
Will car wax or quick detailer spray help remove ash safely?
No. While wax and detail sprays provide lubrication, they don’t eliminate the abrasive nature of volcanic ash particles. Only thorough water rinsing removes the bulk of ash safely. Wax applied before ashfall may help ash slide off more easily during rinsing but doesn’t prevent damage if you wipe contaminated surfaces.
How deep can scratches be polished out?
Scratches confined to the clear coat can typically be polished out, though deep clear coat scratches require aggressive compounding that removes significant material. Scratches penetrating to the base coat cannot be polished out—they require touch-up paint or repainting. As a rough guide, if your fingernail catches in the scratch, it’s challenging to remove completely.
Is it worth fixing minor scratches that are only visible in certain light?
This depends on personal standards and vehicle value. Minor scratches don’t compromise paint protection and won’t lead to rust or further damage. For daily drivers, many owners accept minor scratching as normal wear. For show vehicles, collectibles, or cars being prepared for sale, correction improves appearance and value. Consider correction cost versus benefit for your specific situation.
Can I use a rotary buffer instead of a dual-action polisher?
Rotary buffers are professional tools that remove material faster but also burn through clear coat much more easily if misused. They require significant skill and experience. Dual-action polishers are safer for inexperienced users because their oscillating motion is more forgiving. If you’re asking this question, stick with a DA polisher for your first correction attempts.
Will automated car washes remove volcanic ash safely?
Absolutely not. Automated car washes—both touchless and brush-based—are unsuitable for volcanic ash removal. Touchless washes lack the water volume and pressure to remove ash effectively. Brush washes will grind ash into your paint with devastating results. Only hand washing following the proper protocol is safe.
Paint & Body Tools for Ash Removal and Correction
Proper volcanic ash removal and paint correction require the right equipment. Our Paint & Body category carries the tools and supplies needed for safe cleaning and minor scratch repair.
- Dual-action polishers, cutting pads, and foam pads for machine polishing
- Rubbing compounds and finishing polishes for clear coat correction
- Clay bars, detail sprays, and microfiber towels for surface preparation

The Toolsource Technical Team blends decades of real-world automotive service experience with up-to-date technical research. Our writers collaborate with professional mechanics, shop owners, and diagnostic specialists to deliver practical, workshop-ready guidance you can trust.


Follow us on social media