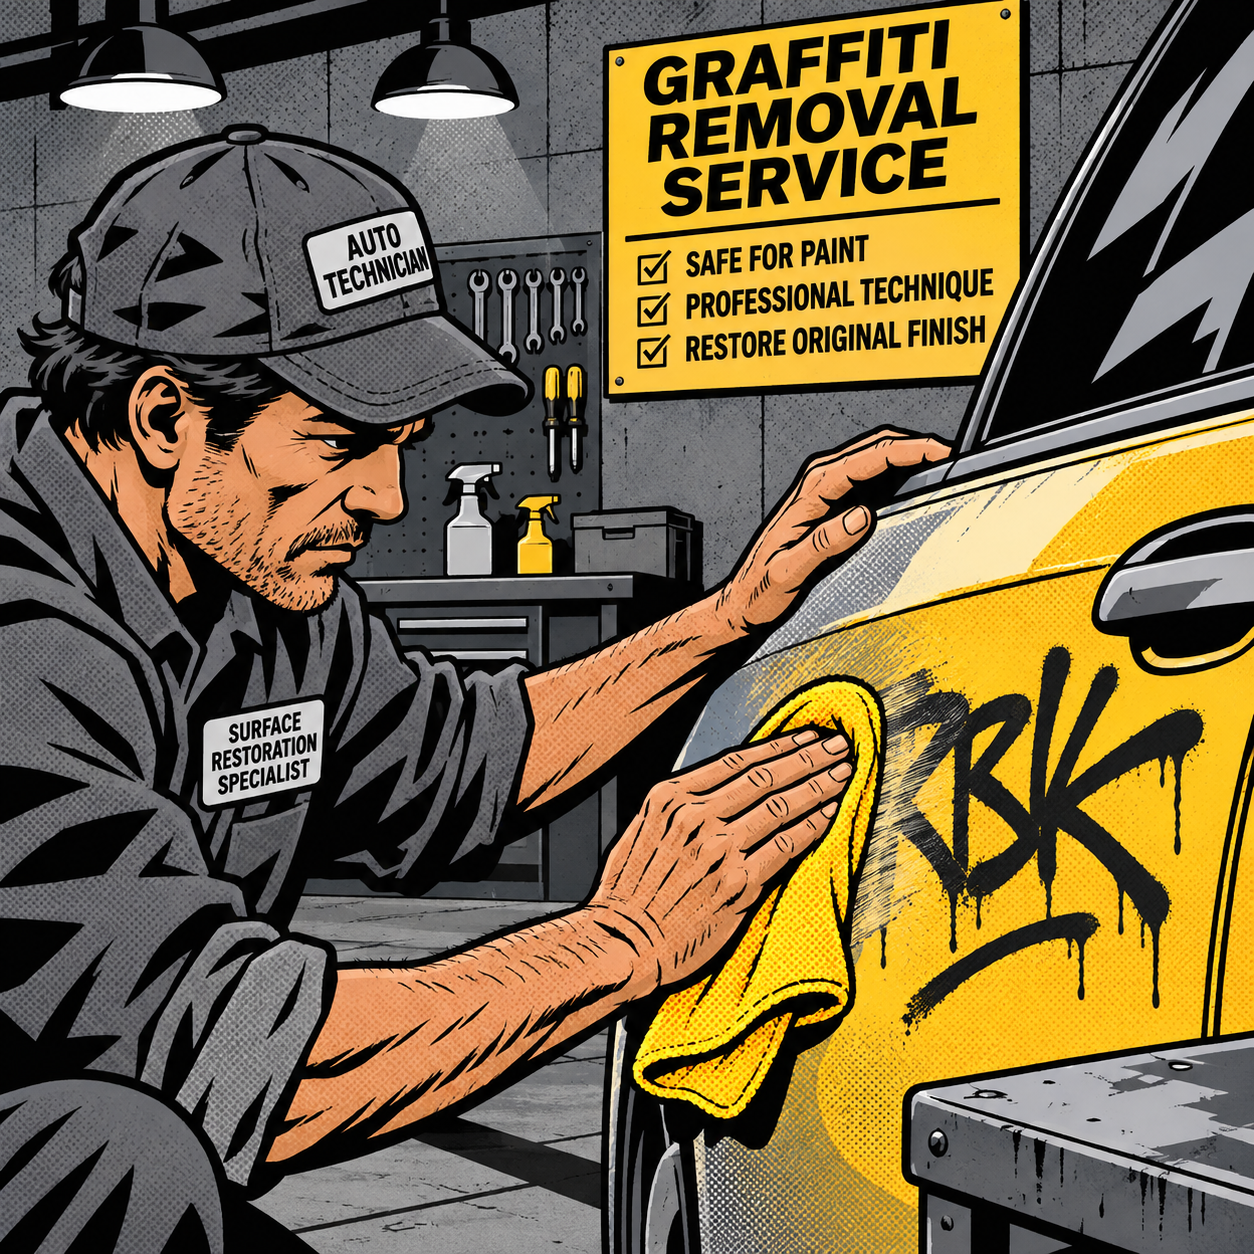
Finding your vehicle tagged with spray paint is frustrating, but most graffiti sits on top of the clear coat rather than bonding into it, which means it can usually be removed without a repaint. The catch is that the wrong product or technique turns a simple cleanup job into a paint correction job. This guide covers the methods technicians actually reach for, the ones to avoid, and how to finish the job so there’s no evidence anything happened.
Assess the Damage Before You Grab Anything
Before touching a chemical to the panel, figure out what you’re dealing with. Fresh, still-wet overspray is the easiest case — in many instances a pressure washer alone will lift it before it has a chance to cure. If the paint has dried and cured, you’re working against a bonded film sitting on the clear coat, and removal gets harder the longer it sits. Check whether the clear coat itself looks intact underneath the graffiti (no cracking, lifting, or discoloration) — if it does, you’re almost certainly dealing with a surface-level removal job, not a repaint. Also note the panel location and curvature; flat panels are forgiving, while edges, trim, and body lines are where over-aggressive technique causes burn-through.
Start With Purpose-Built Removers, Not Household Products
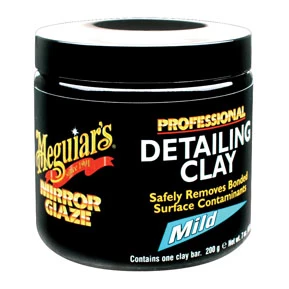
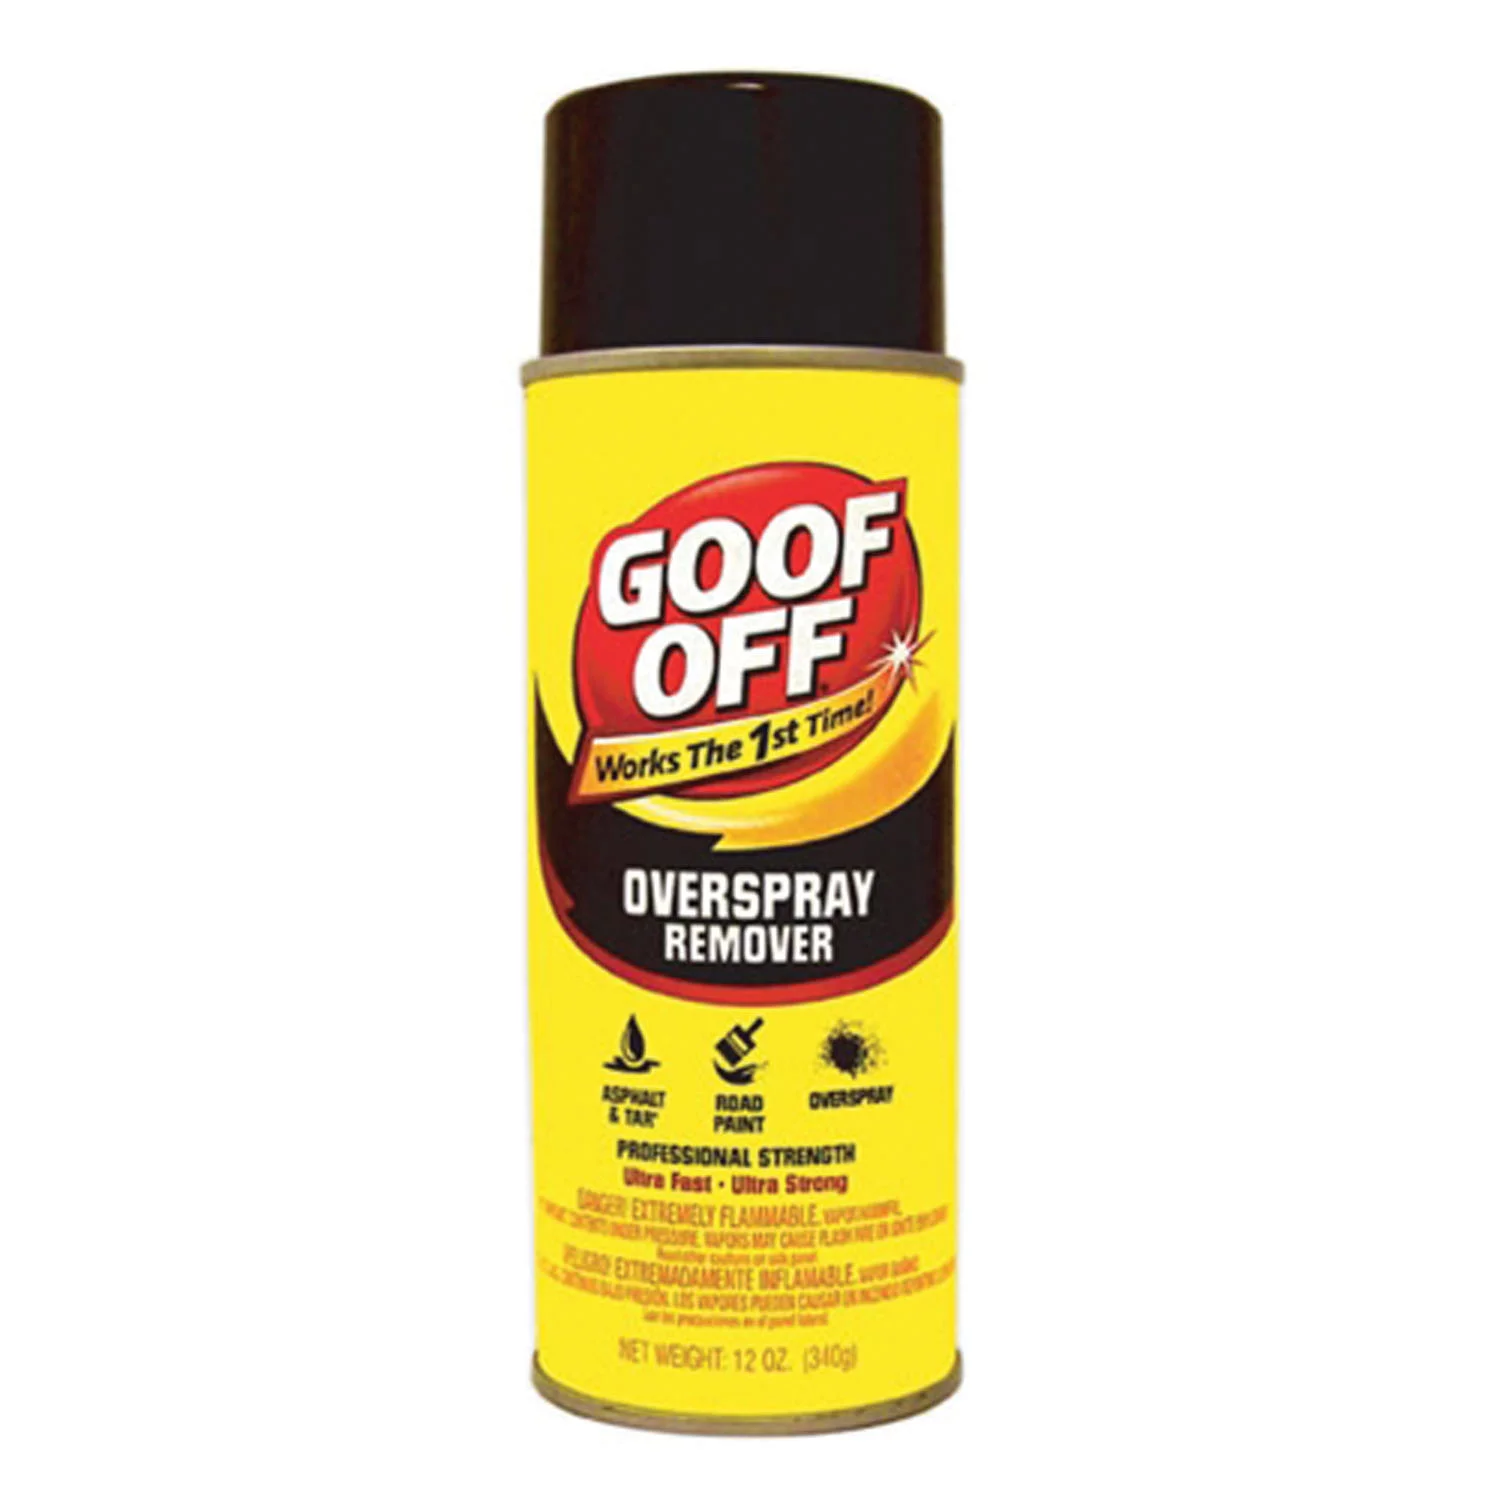
The safest starting point is a dedicated automotive remover made for exactly this problem: bug and tar remover, graffiti remover, or a 3M-style adhesive/specialty remover. These are formulated to break down paint, adhesive, and tar residue without attacking factory clear coat. Spray the product on, let it dwell for the time listed on the label (usually a few minutes), and wipe with a clean microfiber towel — don’t scrub or scrape. Reapply and repeat rather than pressing harder. This category of product is the first thing to try because it carries the lowest risk of damaging the finish, and it’s effective often enough that you won’t need to move to stronger solvents at all.
{{PRODUCT_SEARCH:bug and tar remover spray automotive}}

When You Need a Solvent: Technique Matters More Than the Chemical
If a dedicated remover doesn’t fully lift the graffiti, acetone or lacquer thinner are the next step, and both are commonly used by detailers for exactly this purpose. The reason they’re considered acceptable on clear coat is dwell time and quantity — a few seconds of contact on a cloth won’t soften factory clear coat, but a solvent-soaked rag left sitting on the paint for an extended period can. Work in small sections, apply the solvent to the cloth (not directly to the panel), wipe in one direction, and move to a clean section of the cloth frequently so you’re not grinding dissolved paint back into the surface. Test on a small, inconspicuous area first — if the base color or the clear coat starts looking dull or tacky, stop and move to a milder product. Always follow with a wash to remove solvent residue before it has a chance to sit.
Products and Shortcuts to Avoid
Several “quick fix” methods show up often in forums and they consistently cause more damage than the graffiti itself:
- Magic erasers are a fine abrasive, functionally similar to very high-grit sandpaper. They can strip spray paint, but they also dull and can burn through clear coat, especially on repeated passes over the same spot — damage that often requires wet sanding and buffing to correct.
- Raw gasoline will remove spray paint, but it’s an unnecessary fire and inhalation hazard with no real advantage over purpose-made removers or solvents, and it still carries some risk of affecting the finish if left on too long.
- Harsh paint strippers are made for stripping cured enamel or primer down to bare metal — far too aggressive for a clear coat surface and likely to cause visible damage immediately.
- Scraping or using anything abrasive (razor blades, scouring pads, stiff brushes) to physically pry paint off risks scratching through the clear coat even on a single pass.
The common thread: anything abrasive or anything that stays in prolonged contact with the panel is the real risk, not the chemical class itself.
Finish With Compound and Polish, Not Just a Wipe-Down
Even a clean chemical removal usually leaves the treated area looking slightly duller than the surrounding clear coat, because solvents and removers can strip wax and leave micro-haze. Once the graffiti is fully gone, go over the area with a rubbing/polishing compound on a microfiber applicator or a dual-action polisher on a low-aggression pad. This restores gloss and evens out the sheen so the repaired section doesn’t stand out next to the rest of the panel. Finish with a coat of wax or sealant — this is also a good time to rewax the whole panel, since the surrounding area likely needs it too after a cleanup like this.
When to Call a Detailer or Body Shop Instead
If the graffiti covers a large area, wraps around body lines, or sits on a panel where you can’t keep your technique consistent, it’s worth getting a quote from a detailer or body shop before working on it yourself. Professional-grade adhesive removers and controlled polishing equipment can clear large tagged areas without the compounding risk of inconsistent hand technique across a big surface. This is especially true on leased vehicles, where any visible correction marks can trigger a return inspection penalty — in that case, professional removal is cheaper than a DIY attempt gone wrong.
Quick Reference Checklist
- Check if paint is wet or cured, and confirm clear coat looks intact underneath
- Try a pressure wash first if the paint is still fresh
- Apply a dedicated bug/tar or graffiti remover, dwell, then wipe — don’t scrub
- If needed, move to acetone or lacquer thinner on a cloth (never directly on paint), working in small sections
- Avoid magic erasers, raw gasoline, paint strippers, and any scraping tools
- Wash the panel to clear solvent residue as soon as the paint is removed
- Finish with rubbing compound/polish and a fresh coat of wax
- Get a professional quote for large areas or lease vehicles before DIY attempts
{{PRODUCT_SEARCH:clear coat polish and rubbing compound kit}}

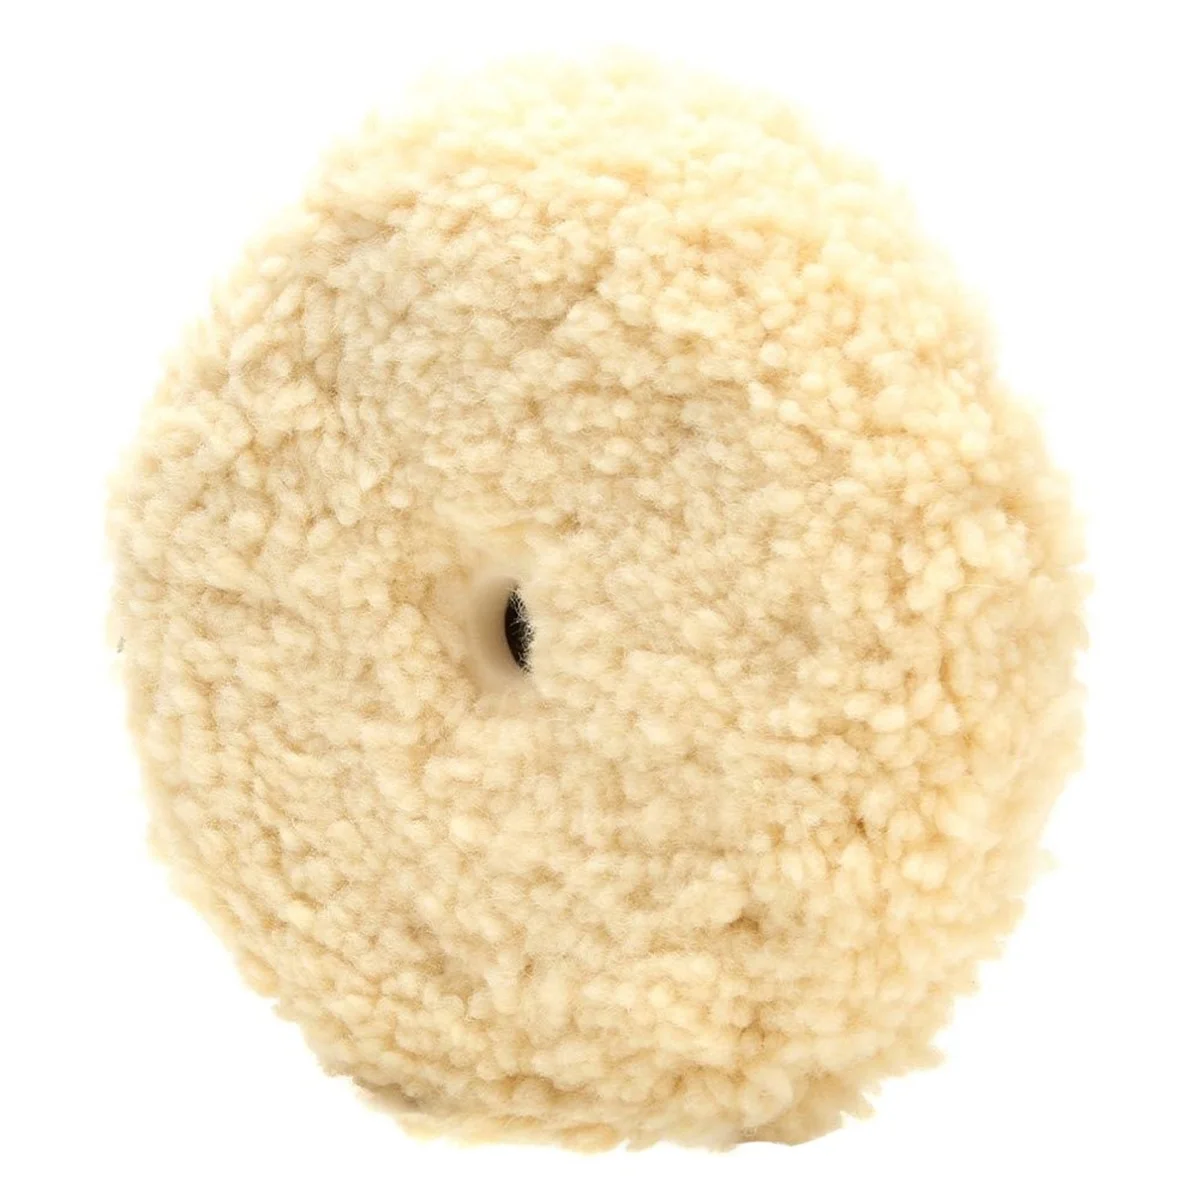

Perfect-It EX Rubbing Compound 36061 Automotive Polish
Mfg: 3M Automotive
Part #: 36061
FAQs
Will gasoline actually damage my clear coat?
A quick wipe with gasoline on a rag generally won’t harm clear coat because clear coat resists petroleum products. The risk comes from leaving a gas-soaked rag sitting on the panel for an extended time, and from the fire/fume hazard of handling it. A dedicated remover does the same job more safely.
Can I use a magic eraser on car paint?
Not recommended. It’s an abrasive pad roughly equivalent to very fine sandpaper, and repeated scrubbing can dull or burn through clear coat, leaving marks that require wet sanding and buffing to fix.
How do I know if the graffiti has bonded into the clear coat instead of sitting on top?
If a dedicated remover or solvent lifts it cleanly within a few applications, it was sitting on the surface. If the color seems to persist after the clear coat itself starts looking affected (dulling, softening), it may have etched in, and that’s a sign to stop and consult a body shop.
What’s the safest product to try first?
A purpose-made bug and tar remover or graffiti remover. These are designed to dissolve paint and adhesive residue without attacking automotive clear coat, and they’re available at most auto parts stores.
How long should I let a remover or solvent sit before wiping?
Follow the product label for dedicated removers, typically a few minutes. For solvents like acetone, don’t let them dwell unattended — apply to the cloth, wipe promptly, and avoid leaving a soaked rag resting on the panel.
Will the treated area match the rest of the panel afterward?
It should, once you follow up with a rubbing compound or polish and a coat of wax. Skipping this step is the most common reason a graffiti-removal spot looks slightly duller than the surrounding paint.
Shop Paint & Body Care Products
Having the right remover and polish on hand makes the difference. Find what you need in our Paint & Body selection.
- Dedicated graffiti and bug/tar removers for safe clear coat cleaning
- Rubbing compounds and polishes to restore gloss
- Protective wax and sealants to finish and protect the work

The Toolsource Technical Team blends decades of real-world automotive service experience with up-to-date technical research. Our writers collaborate with professional mechanics, shop owners, and diagnostic specialists to deliver practical, workshop-ready guidance you can trust.


Follow us on social media