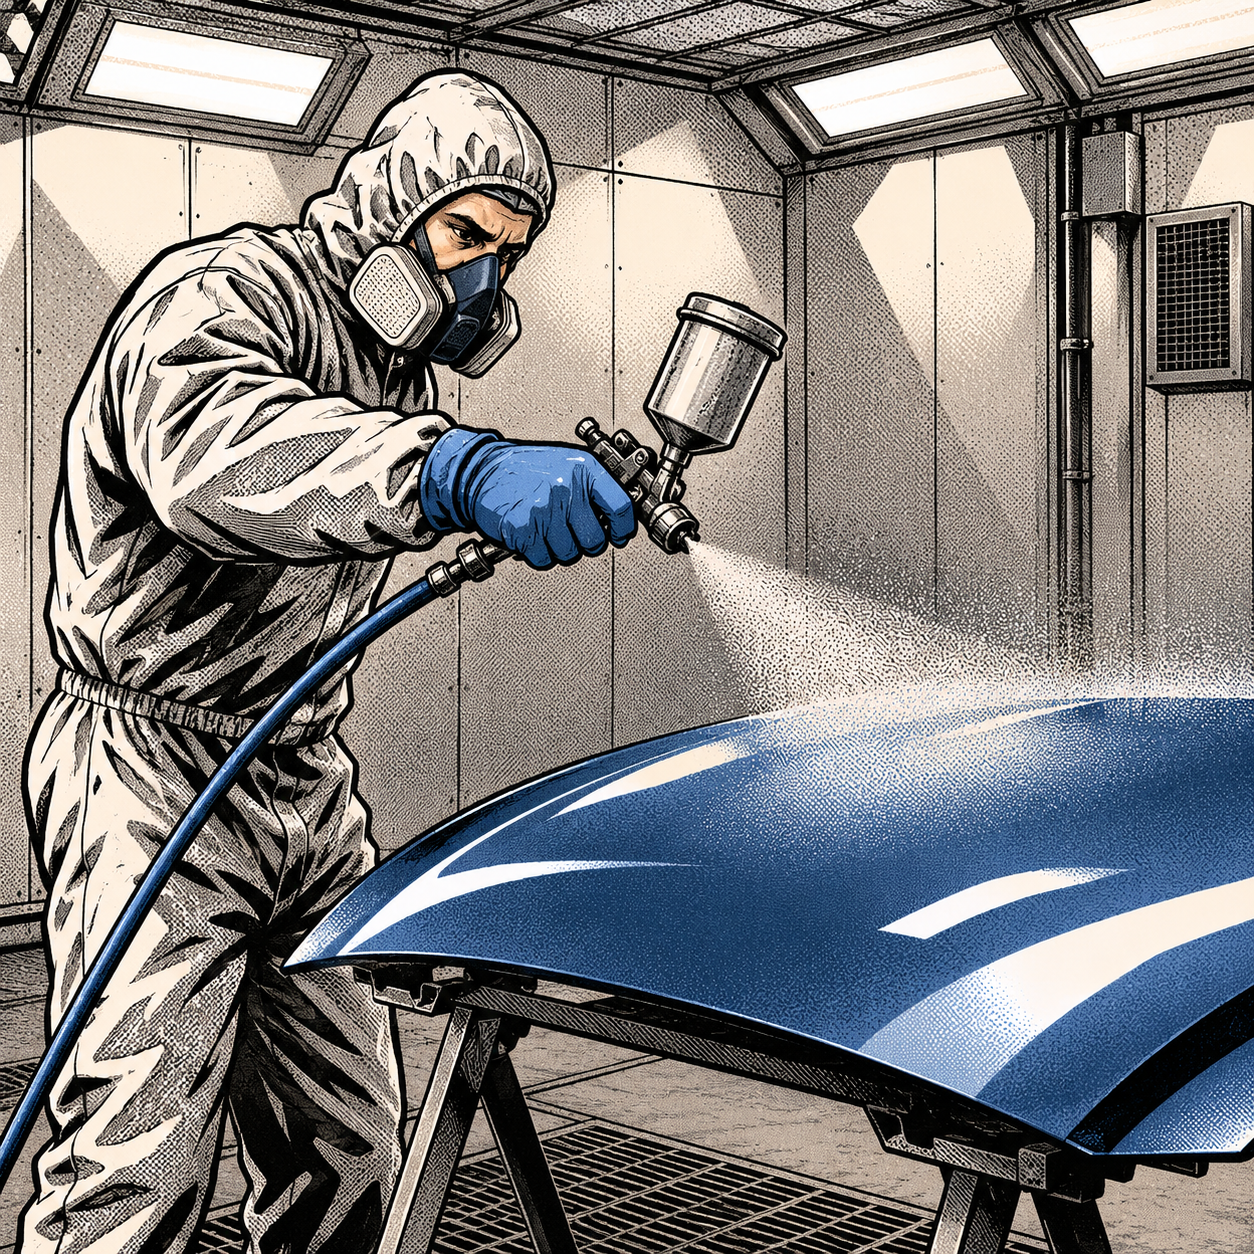
Painting in an open garage works fine for the occasional touch-up, but once you’re doing full panels or full vehicles regularly, overspray, dust contamination, and fumes turn the space into a liability. A dedicated spray setup — whether it’s a permanent downdraft booth or a portable inflatable unit — solves most of that, but only if the airflow, seals, and support stations are sized and installed correctly. Get any one of those wrong and you end up with a booth that pulls dust in through every gap, reeks up the shop, or can’t keep up with a 5,000 CFM fan pulling air from everywhere except where you want it. Here’s what actually matters when you’re setting one up.
Inflatable vs. Permanent Booth: Picking the Right Setup
Inflatable paint booths have gotten popular with independent techs and small shops because they pack away when not in use and cost a fraction of a steel-panel booth. For a tech who paints occasionally — a few vehicles a month — an inflatable unit with a built-in filtered intake and exhaust fan is usually enough, and it beats spraying in open garage air by a wide margin on both dust contamination and overspray containment.
If you’re running a business doing regular volume, a permanent panel booth is worth the investment. Panel booths hold a tighter seal at the door, support heavier-duty exhaust fans, and don’t flex or shift under fan suction the way fabric walls can. The tradeoff is footprint and cost — an inflatable can be deflated and stored, a panel booth is a fixture. Match the choice to your actual volume, not to what looks impressive; a shop running a handful of jobs a month doesn’t need a steel booth collecting dust between uses.
Sizing Airflow and CFM Without Starving the Booth
CFM (cubic feet per minute) determines how fast air moves through the booth, how well it carries overspray and solvent vapor out, and how much makeup air you need coming in. A booth pulling 5,000 CFM is moving a serious volume of air — enough that if the structure isn’t sealed well, it’ll pull dust and debris in through every crack, gap, or loose seam instead of pulling filtered air through the intake where you want it. Before you spec a fan, walk the booth and identify every possible air path: door gaps, wall seams, floor-to-wall transitions, and any penetrations for lighting or hose runs.
As a rule of thumb, size your exhaust fan to the booth’s cubic footage and your intended air-change rate, then make sure your makeup air intake (filtered) can actually supply that volume — an exhaust fan with no matching intake just pulls negative pressure and sucks unfiltered air in from every unsealed gap in the structure. If you’re not sure your intake filtration can keep up with a 5,000 CFM exhaust, it’s often better to go with a slightly undersized fan matched to a well-sealed booth than an oversized fan fighting a leaky one.
{{PRODUCT_SEARCH:spray booth exhaust fan with filtered intake}}

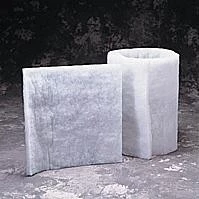
20"x100' Fiberglass Spray Booth Filter Roll PA201
Mfg: Air Filtration Company Inc
Part #: PA201
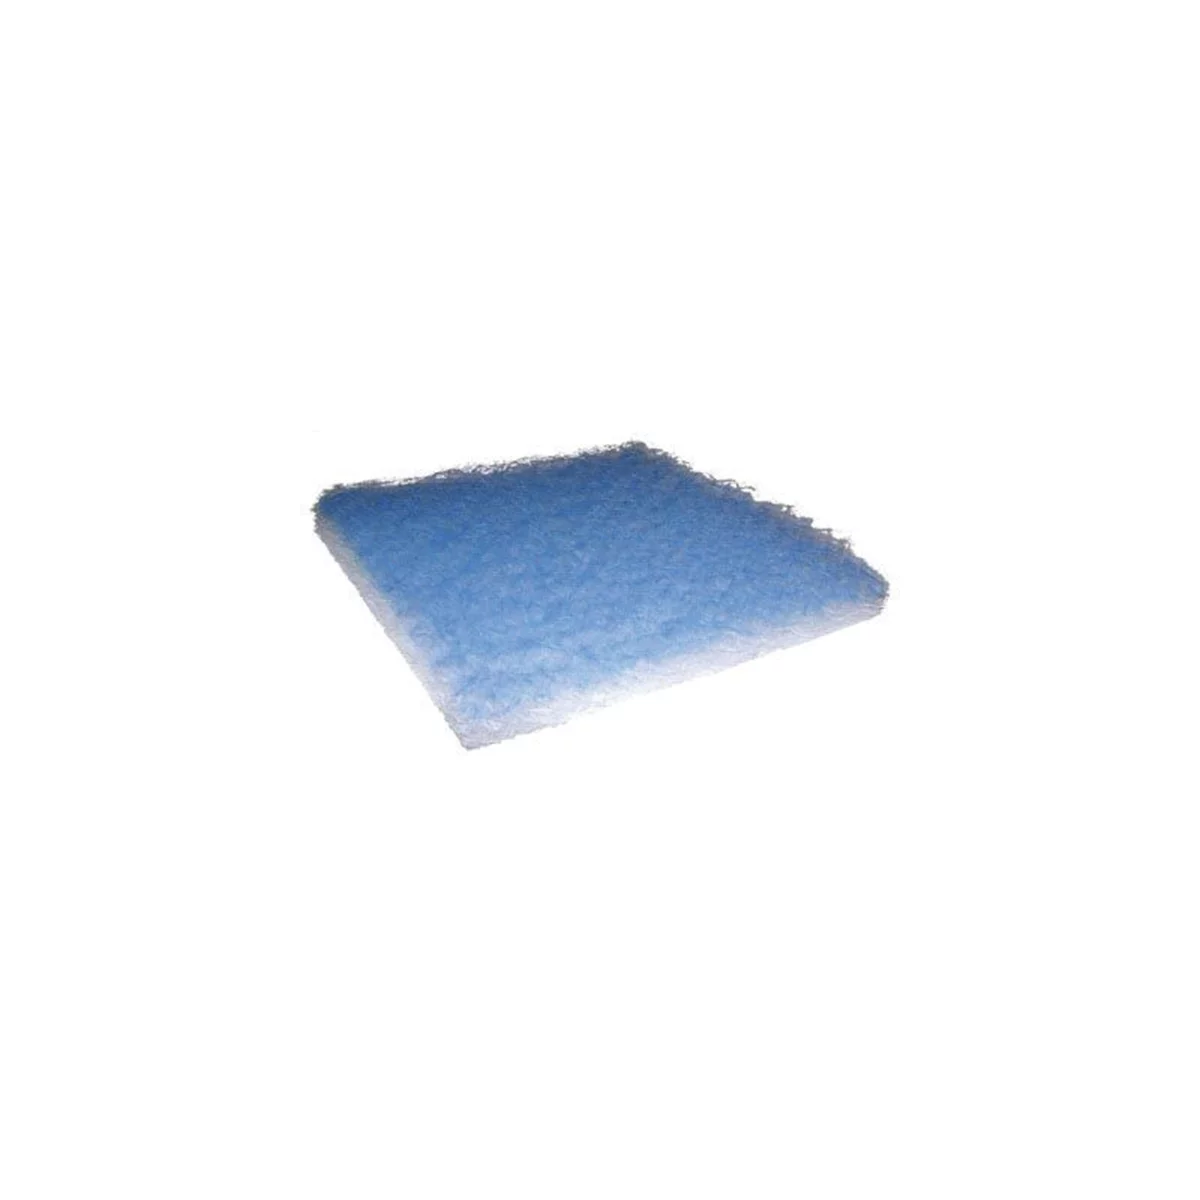
Viskon-Aire Filters 48"W x 100 (FT) x 2.5"D 107X Paint Arrestor
Mfg: Viskon-Aire
Part #: VIS.017-244
Sealing the Booth: Doors, Panels, and Light Leaks
Door seals are the single biggest point of failure in a garage-converted booth. A panel garage door that isn’t gasketed will flex and gap under negative pressure from a strong exhaust fan, and that gap is exactly where dust and debris get pulled in mid-spray. Adding continuous weatherstripping or a dedicated door seal kit around the full perimeter of the door — not just the sides — closes off that path. The same goes for where the door panel meets the frame and where the frame meets the floor; those transitions are easy to overlook but leak just as much as the door itself.
A good field test: once the booth is sealed and the fan is running, walk the perimeter in low light and look for any visible light bleeding through from outside. If you can’t see daylight coming through a seam, you’ve got a reasonably tight seal. If you can see light, air (and the dust riding on it) is getting in there too. This is also a good opportunity to check for gaps around any conduit, duct penetrations, or light fixtures mounted through the booth walls — foam gap sealant or gasket tape handles most of these cheaply.
Setting Up a Mixing and Gun Cleaning Station
A mixing and gun cleaning area should sit outside or at the edge of the spray zone itself, not in the middle of your overspray path. Dedicate a bench with a solvent-rated gun washer (manual or automatic), a graduated mixing cup system, a scale for ratio accuracy, and sealed waste solvent containers. Keep this area under its own local ventilation or at minimum within the booth’s exhaust path so solvent vapor from cleaning doesn’t linger in the shop air after you’re done spraying.
Ventilation at the mixing station matters as much as at the spray area — gun cleaning solvent flashes off fast and in an enclosed space that vapor builds up quickly. If your booth’s main exhaust fan only runs during spray cycles, consider a smaller secondary fan or at minimum keep the booth’s ventilation running while you’re cleaning guns and mixing material, not just while the gun trigger is pulled.
Fume and Odor Control for Shops Near Other Buildings
Where your shop sits matters for how much fume control you need to engineer in. A booth in a rural area with no neighbors for hundreds of yards has a lot more leeway than one in a residential area or a shared commercial building. If you’re anywhere near other occupied buildings, exhaust discharge location and direction matter — vent away from neighboring structures, air intakes, and foot traffic, and check local rules on exhaust stack height and filtration before you install anything permanent.
Even in a low-density location, it’s worth treating odor control as a default rather than an afterthought — carbon filtration on the exhaust stream cuts down on solvent smell significantly, and it’s far cheaper to add during initial setup than to retrofit after a complaint. A well-sealed booth with correctly sized CFM intrinsically helps here too: tighter seals mean less fugitive vapor escaping from gaps instead of going out through the filtered exhaust path where it belongs.
Quick Setup Checklist
- Match booth type (inflatable vs. permanent) to actual job volume, not aspiration
- Size exhaust CFM to booth cubic footage and confirm filtered makeup air can match it
- Seal the full door perimeter, frame-to-floor transition, and all wall penetrations
- Do a dark-room light test around every seam before first use
- Locate mixing/gun cleaning stations outside the direct spray path with their own ventilation
- Check local exhaust discharge rules and consider carbon filtration if neighbors are nearby
{{PRODUCT_SEARCH:automotive paint spray booth equipment}}
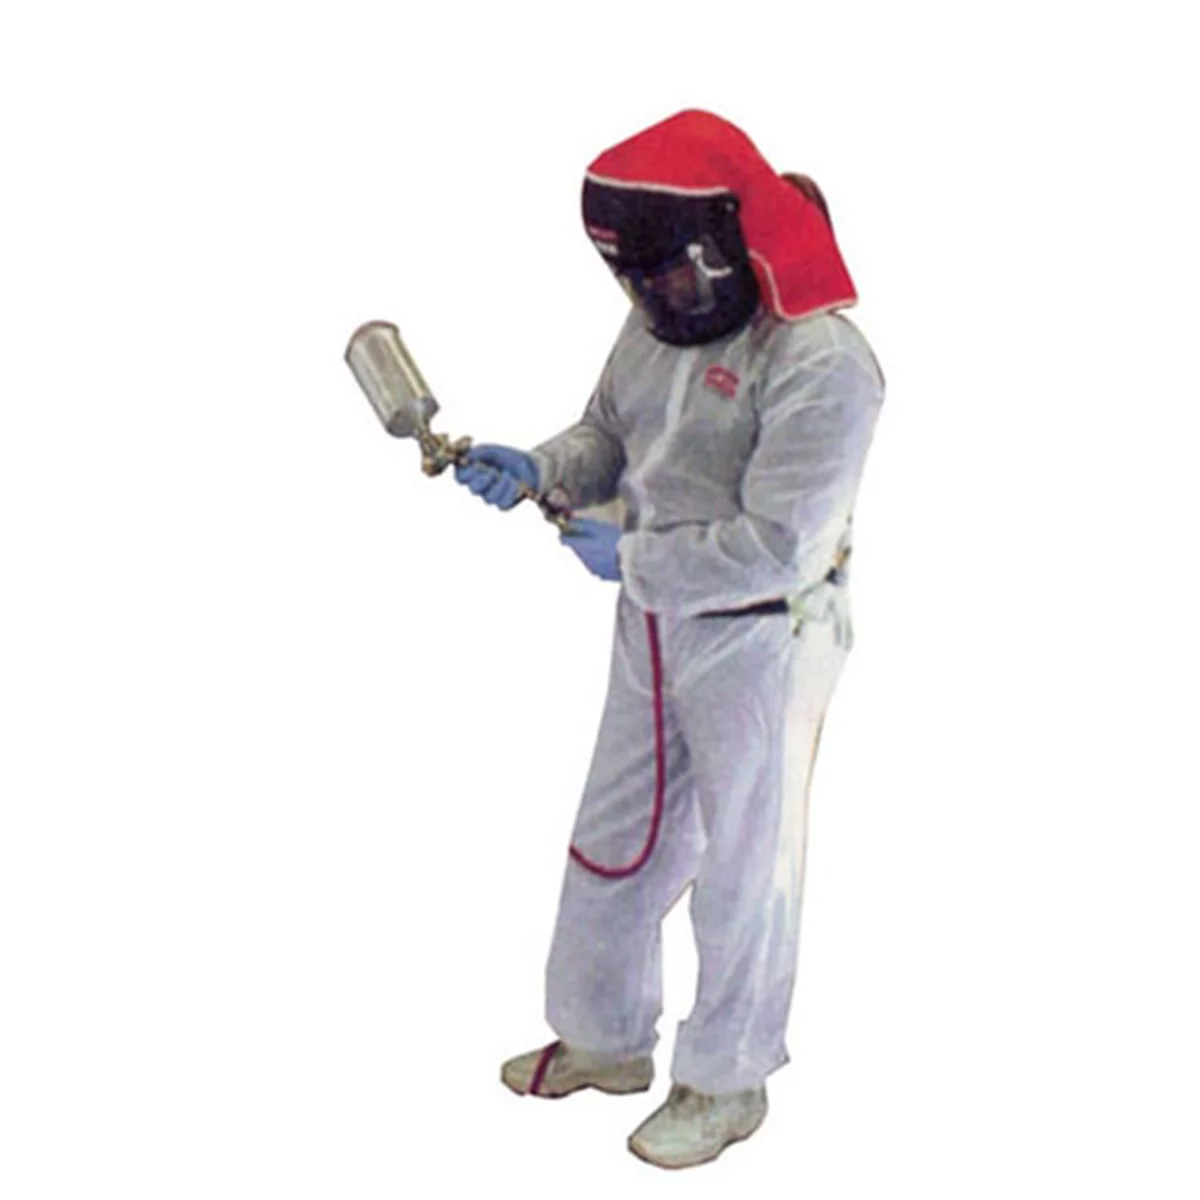

Pro Series Paint Suit, Black, Medium - Mask Not Included
Mfg: Sata Spray Equipment
Part #: 550054BK

Professional Series Half Facepiece Paint Spray Packout, Large
Mfg: 3M Automotive
Part #: 37079
FAQs
How much CFM do I actually need for a one-car garage booth?
It depends on booth volume and desired air changes per minute, but most small garage-converted booths run somewhere in the 2,000–5,000 CFM range for the exhaust fan. The number matters less than matching it to a sealed structure and adequate filtered intake — an oversized fan on a leaky booth performs worse than a right-sized fan on a tight one.
Can an inflatable booth handle a full vehicle respray?
Yes, for low-to-moderate volume use. Quality inflatable booths include their own intake filtration and exhaust fan sized for the enclosed volume. They won’t match a steel panel booth’s seal integrity over years of heavy use, but for occasional full respray jobs they contain overspray and dust far better than an open garage.
Do I need a permit or local approval to run a spray booth?
In most jurisdictions, yes — especially for permanent installations with exhaust discharge. Rules vary widely by county and by whether you’re zoned residential, commercial, or rural/agricultural. Check with your local building or fire code office before installing ductwork or a fixed exhaust stack.
How do I stop dust from getting pulled in through door gaps?
Install continuous weatherstripping or a gasket seal around the full door perimeter, not just the sides, and seal the frame-to-floor transition. A strong exhaust fan creates negative pressure that will find and exploit any unsealed gap, so the seal needs to be continuous, not spot-treated.
What’s the best way to control paint fumes with no sewer or ductwork infrastructure?
A filtered exhaust fan discharging away from occupied areas, combined with carbon filtration on the outflow, handles most odor concerns without needing permanent ductwork. Rural locations with distance from neighbors have more flexibility, but filtration is still worth the cost to avoid buildup inside the shop itself.
Should the mixing and gun cleaning area be inside or outside the booth?
Ideally outside the direct spray zone but still within or adjacent to the booth’s ventilation path. This keeps solvent vapor from gun cleaning and mixing from drifting into the open shop while keeping it out of your overspray area.
Shop Paint & Body Equipment
Everything you need to build and maintain a spray booth is available in our Paint & Body category — from intake and exhaust fans to door seals and ventilation components.
- Spray booth fans and exhaust equipment
- Door seals, gaskets, and weatherstripping
- Intake filters and ventilation accessories

The Toolsource Technical Team blends decades of real-world automotive service experience with up-to-date technical research. Our writers collaborate with professional mechanics, shop owners, and diagnostic specialists to deliver practical, workshop-ready guidance you can trust.


Follow us on social media