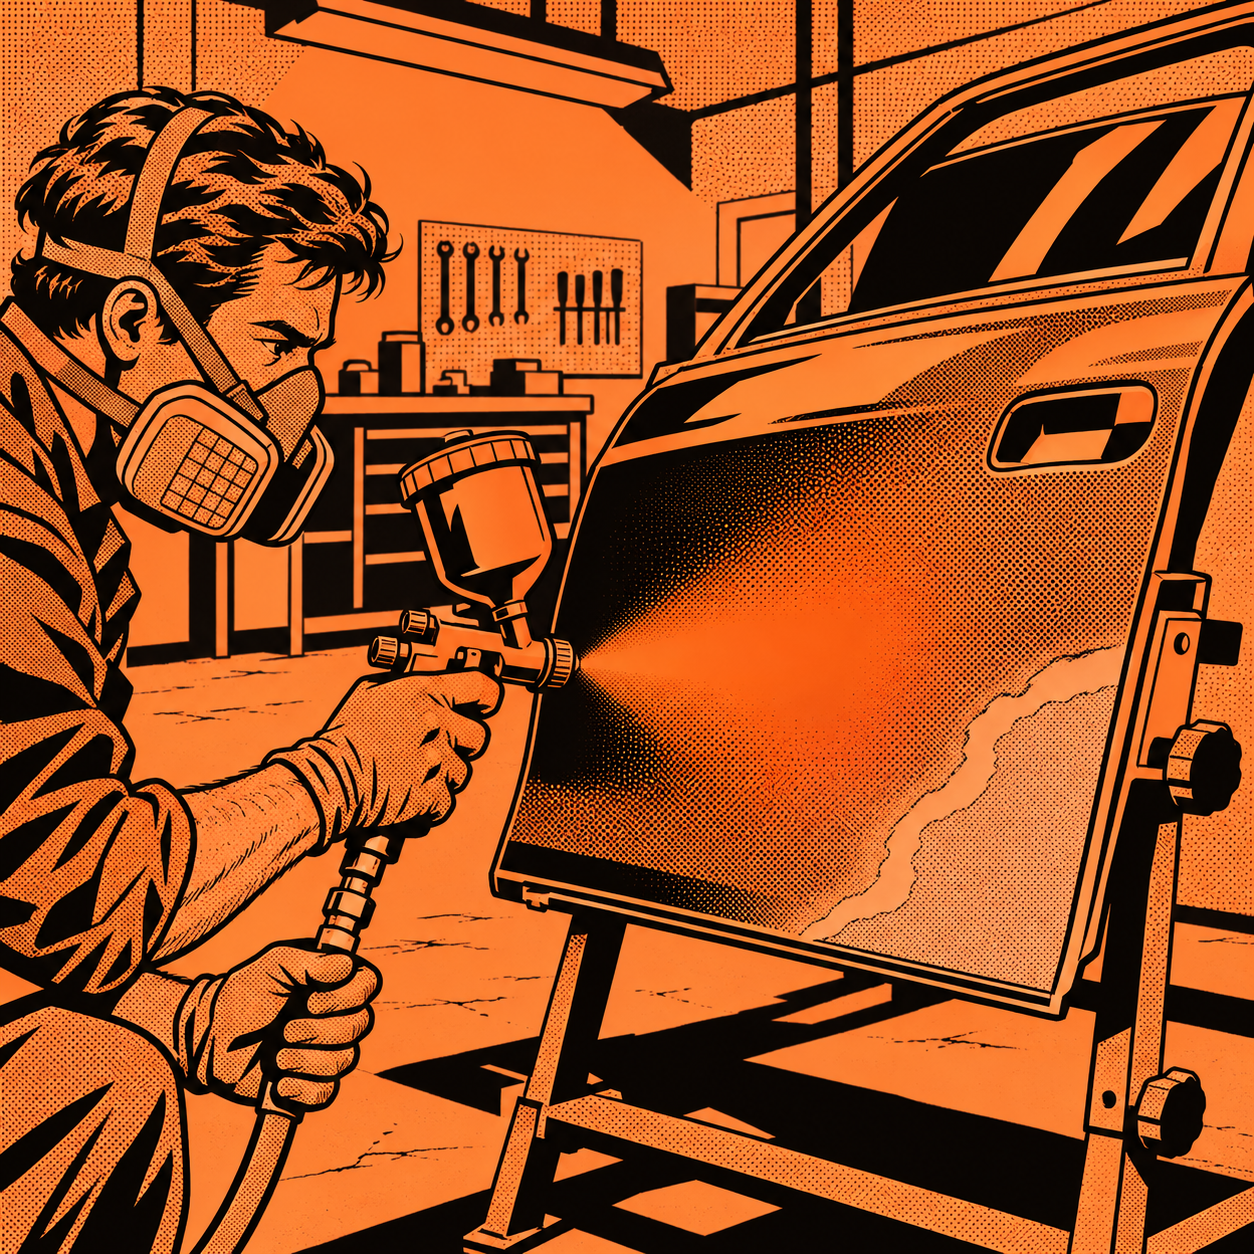
A recent thread showing an $800 “repair” made the rounds for all the wrong reasons: a scratch that got buffed over a visible color mismatch, no blend line, and what commenters immediately identified as pre-existing body filler under the damage. The photos are a useful teaching tool precisely because every mistake is visible from across the parking lot. If you’re a technician fielding customer questions about why their cheap scratch fix looks worse than the scratch, or you’re trying to explain to a shop owner why “just buff it” isn’t a repair method, this breaks down what actually went wrong and how to do it correctly.
Reading the Damage Before You Touch It
Before any sanding, grinding, or filling, every scratch repair starts with an honest assessment of what you’re actually dealing with. In the viral example, multiple commenters pointed out what looked like several millimeters of old body filler sitting directly under the fresh scratches — meaning this panel had already been in a prior accident or poor repair, and the new damage simply exposed it. That changes the entire scope of the job.
Run a magnet or a paint depth gauge over the area first. If the panel reads thick in spots, you’re not dealing with a simple clear-coat or base-coat scratch — you’re dealing with a panel that’s been built up with filler before, and that filler may be cracked, lifting, or improperly keyed to the metal. Skipping this step is how a tech ends up sanding into old bondo, finding pinholes or rust underneath, and having to explain scope creep to a customer who was quoted for a quick touch-up.
Also check scratch depth against a fingernail test: if your nail catches in the groove, it’s gone through clear coat into base coat or primer, and spot blending alone won’t fully hide it without proper leveling first.
Assessing Depth and Deciding on a Repair Method
Once you know what’s under the surface, match the repair method to the actual depth of damage:
- Clear coat only, light hazing: Wet sand with 2000–3000 grit, then machine polish. No filler, no paint needed.
- Through clear into base coat, metal untouched: Spot prime, color coat, clear, and blend outward from the repair.
- Through to bare metal or filler is already present: Treat it as a body repair, not a paint touch-up. Sand back to sound substrate, re-fill and block as needed, then prime and paint the full panel section — not just the scratch itself.
The comments on the viral photo repeatedly used the word “blend” as something that clearly did not happen — one commenter noted the repair was obviously visible as a distinct patch, essentially creating a two-tone panel. That’s the signature of someone who sprayed a small, tight area and skipped the blend-out entirely.
[PRODUCT_SEARCH: DA sander and body filler kit]

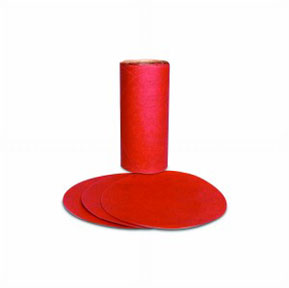
ONYX 6 Inch Finishing Palm Sander w 6 Inch PU Velcro Backing Pad
Mfg: Astro Pneumatic
Part #: 325

Matching Color and Running the Blend Line Correctly
Color match failure and visible blend edges are the two complaints that showed up most often in the thread. Both are avoidable with the right process:
Color matching: Factory color codes are a starting point, not a guarantee, especially on vehicles with any age or prior repaint history where UV exposure has shifted the original color. Spray a test card and check it against the panel in direct daylight, not shop lighting. If it’s off even slightly, a tint adjustment before committing paint to the car will save hours of rework later.
Blending the line: A proper blend doesn’t stop at the edge of the damage — it feathers the repair into the surrounding factory paint so there’s no visible transition. That means:
- Extending sanding and primer beyond the visible damage, not just covering the scratch itself.
- Applying color coat with a gradually lighter pattern as you move away from the repair center, letting it fade into the original finish rather than stopping at a hard edge.
- Clear-coating past the blend zone and buffing the transition so there’s no texture or gloss step visible under raking light.
Several commenters noted that the repair in question should have had the line “run” across a larger section of the panel or door to disguise the transition — instead it was treated as a spot the size of the scratch, which is why the patch reads as an obvious rectangle of mismatched color under any angle of light.
Tools That Separate a Blend From a Patch
A lot of the frustration in the thread boiled down to tooling and technique, not just the painter’s skill. Stock the following for jobs that need to actually disappear:
- Dual-action (DA) sander with variable speed for leveling filler and feathering edges without burning through clear coat.
- Guide coat (a contrasting dry-guide spray) to confirm the panel is truly flat before priming — this is what catches the low spots that create visible waves after paint.
- Quality body filler and glazing putty rated for the panel’s substrate (steel vs. aluminum require different fillers).
- HVLP spray gun with adjustable fan pattern for controlling how far color and clear extend past the repair.
- Variable-speed polisher with foam and microfiber pads for buffing the blend zone without creating holograms or burning through fresh clear.
- Paint depth gauge and tack cloths for quality control at each stage.
Cutting corners on any of these — sanding by hand when a DA is needed, skipping the guide coat, using a cheap gravity gun with no fan control — shows up exactly the way it did in the photos: visible edges, uneven texture, and a color transition anyone can spot from ten feet away.
DIY vs. Professional: Setting Expectations
Not every scratch needs a full repaint, and not every budget repair is a bad one — several commenters pointed out that for $800, a rough result is roughly what you’d expect, and that a shop-quality blend on that panel would run closer to $3,000. The issue isn’t that cheap repairs exist; it’s that customers often aren’t told what “cheap” actually buys them.
If you’re advising a customer or quoting a job, be explicit about what tier of repair they’re paying for:
- Budget/mobile repair: Scratch is filled and covered, color may be close but the blend will likely be visible under certain light or angles. Fine for daily drivers headed for trade-in or sale as-is.
- Standard shop repair: Panel is blocked, primed, and blended properly with a feathered transition. Should not be visible under normal lighting.
- Full panel repaint: Required when filler is already present, rust is found, or the owner wants a guaranteed invisible match — this is the only way to fully reset a panel that’s been poorly repaired before.
Setting that expectation before the job starts prevents the exact outcome in the viral post: a customer who paid for a “repair” and got a result that reads as damage from a different, more obvious cause.
Quick Checklist Before Approving Any Scratch Repair
- Check for existing filler or prior repair with a magnet or depth gauge
- Determine scratch depth (clear coat only vs. into base coat vs. to metal)
- Test color match on a spray card in daylight before committing to the panel
- Confirm the blend plan extends beyond the damage, not just over it
- Verify guide coat and block sanding were used to confirm a flat surface
- Set the customer’s expectations on which repair tier they’re paying for
[PRODUCT_SEARCH: auto body paint and blending supplies]


Frequently Asked Questions
Why does a repaired scratch sometimes look worse than the original damage?
Usually because the color wasn’t matched correctly or the blend line wasn’t feathered far enough into the surrounding paint, leaving a visible patch instead of an invisible transition.
How can I tell if a panel has old body filler before starting a new repair?
Run a magnet over the surface — it won’t stick to areas with filler underneath — or use a paint depth gauge to check for abnormal thickness compared to surrounding factory panel sections.
Can a deep scratch really “buff out” on its own?
Only if it’s confined to the clear coat. Once a scratch reaches base coat or primer, buffing alone will not restore color or fill the groove — it needs color and clear applied first.
Is it worth paying more for a full panel blend instead of a spot repair?
If the goal is an invisible repair, yes. Spot repairs save money but carry a higher risk of a visible edge or slight color mismatch, especially under direct sunlight.
What’s the biggest giveaway of a rushed paint blend?
A hard-edged transition where the new paint clearly stops — visible as a distinct patch, step in gloss, or texture change under raking light.
Should I worry about rust if a repair reveals old filler?
Yes — any time old filler is removed, inspect the metal underneath for rust or pitting before refilling. Painting over corrosion will cause the repair to fail again within months.
Stock Your Shop for Proper Blending
A scratch repair that truly disappears requires the right tools and materials. Our Paint & Body selection stocks everything needed—from dual-action sanders and guide coat to body fillers, primers, and variable-speed polishers that separate a professional blend from a visible patch.
- Dual-action sanders and sanding supplies for feathering edges without burning clear coat.
- Quality body fillers, primers, and paint systems matched to substrate and color requirements.
- Blending tools—polishers, pads, and paint depth gauges for professional finish control.

The Toolsource Technical Team blends decades of real-world automotive service experience with up-to-date technical research. Our writers collaborate with professional mechanics, shop owners, and diagnostic specialists to deliver practical, workshop-ready guidance you can trust.


Follow us on social media