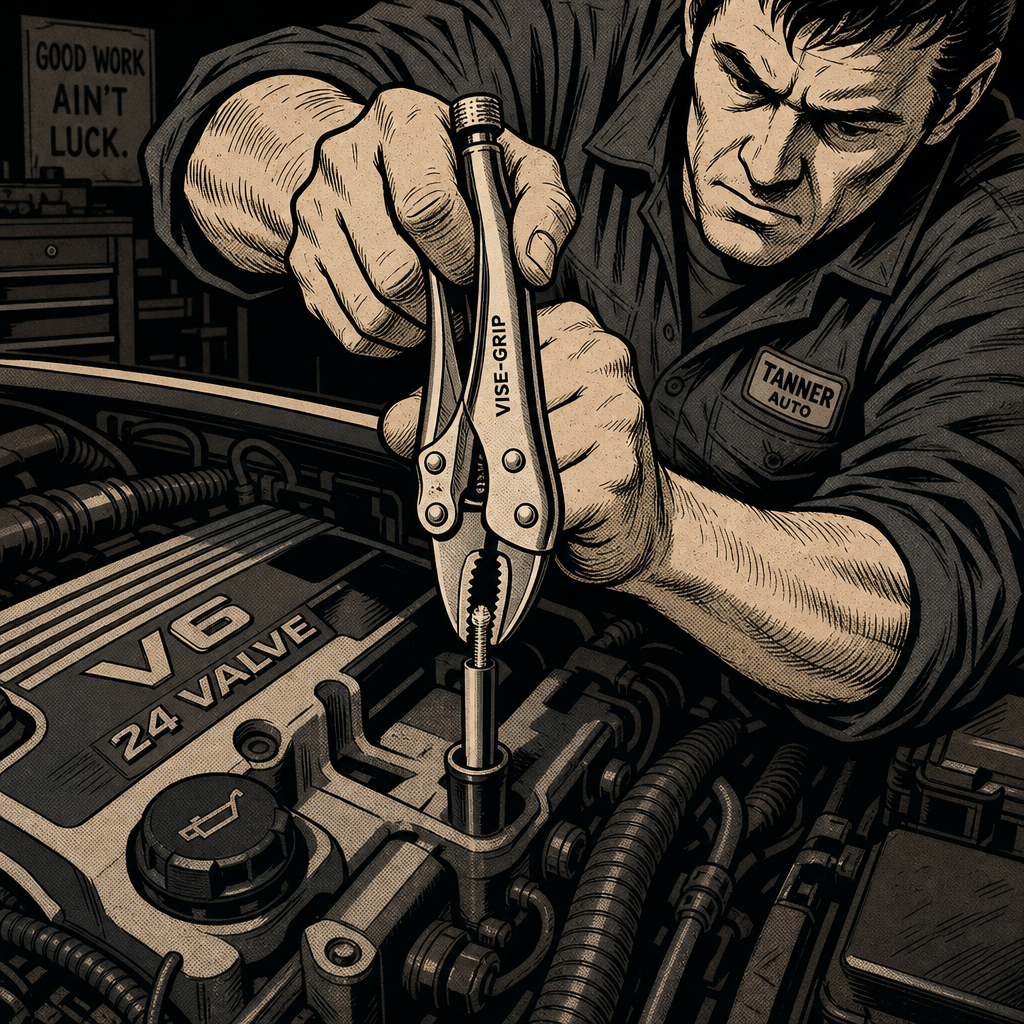
A snapped dipstick handle is one of those frustrating problems that can turn a routine oil check into a real headache. Whether the plastic became brittle from heat cycling or just gave out from age, you’re now staring at a broken stub lodged in the dipstick tube with no easy way to grab it. The good news is that dealership and quick-lube techs have been dealing with this exact scenario for years, and there are several reliable extraction methods that don’t require pulling the engine apart. This guide covers six shop-tested techniques ranked from simplest to most involved, so you can get that stubborn piece out and get back on the road.
Why Dipsticks Break in the First Place
Before diving into extraction methods, it’s worth understanding why this happens so often. The dipstick handle and upper portion are typically made from nylon or similar thermoplastics that sit directly above the engine. Over time, constant heat cycling causes the plastic to become brittle and lose flexibility. The dipstick tube seal or O-ring is designed to be lubricated by regular oil checks—when you pull the dipstick in and out frequently, the action keeps the rubber soft and pliable. If you’re only checking oil during oil changes (or less frequently), that seal can dry out, harden, and create significant friction. When you finally do pull the dipstick, the aged plastic snaps rather than flexing.
This is why the issue is so common on vehicles that see infrequent oil level checks but regular oil changes. The oil itself stays clean and full, so there’s no burning or leaking to prompt a check, but the dipstick mechanism itself deteriorates from lack of use. Vehicles with plastic dipstick tubes are particularly prone to this issue as both the stick and tube age together.
Method 1: The Drywall Screw Extraction (Most Common Shop Fix)
This is the go-to method at most dealerships and independent shops because it’s fast, requires common tools, and has a high success rate. The concept is simple: thread a screw into the broken plastic stub to create a handle you can grip and pull.
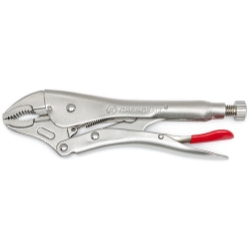
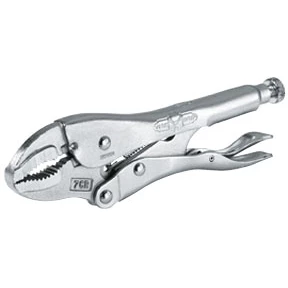
What you’ll need: A drill with a small bit (1/16″ or 3/32″), a drywall screw or deck screw (1.5″ to 2″ length works well), and locking pliers or Vise-Grips.
Step-by-step process:
Start by drilling a small pilot hole into the center of the broken plastic piece. Keep the drill speed moderate and use very light pressure—you want to let the bit do the cutting rather than forcing it. The goal is to create a starter hole for the screw without pushing the broken piece deeper into the tube. If you do push it down slightly, don’t panic; it should bottom out on the oil pan and won’t fall in completely.
Once you have your pilot hole, thread in your screw. A drywall screw works particularly well because the aggressive thread pattern bites into plastic effectively. Thread it in about halfway to three-quarters of the way—you want good purchase but don’t want to split the plastic by going too deep. Some techs heat the screw tip with a torch first so it melts into the plastic slightly as it threads, creating an even stronger bond. If you try this variation, let the screw cool completely before attempting to pull.
Grip the screw head firmly with your Vise-Grips and pull straight out with steady pressure. Avoid jerking or twisting motions that might break the screw free from the plastic. The piece should slide out with the screw embedded in it. Clean any small plastic debris from the tube with a lint-free cloth or cotton swab before installing your replacement dipstick.

Method 2: Heated Wire or Coat Hanger Insertion
This method works well when the broken piece is relatively intact and has enough mass to accept an embedded wire. It’s popular at quick-lube facilities because it doesn’t require any drilling.
Straighten a section of metal coat hanger or use a similar gauge steel wire. Sharpen one end to a point using a grinder or file. Heat the pointed tip with a propane torch or lighter until it’s red-hot, then immediately press it into the center of the broken plastic stub. The hot metal will melt into the plastic and embed itself. This is the critical part: you must let it cool completely before attempting to pull. Waiting 60 to 90 seconds ensures the plastic has re-solidified around the wire.
Once cooled, pull slowly and steadily on the wire. The embedded section acts as an anchor. This method works best on larger broken sections; if only a thin sliver of plastic remains in the tube, there may not be enough material for the wire to grab effectively.
Method 3: Crankcase Pressure Technique
This is a clever shop trick that uses air pressure to pop the broken piece out from below. It’s particularly useful when the broken section has been pushed deep into the tube or when screw extraction has failed.
The basic principle is to pressurize the crankcase, forcing air up through the dipstick tube and pushing the broken piece out like a cork. There are two common approaches. The first method involves removing the oil fill cap and directing compressed air into the filler opening while partially blocking it with a shop rag. The pressure buildup forces air down into the crankcase and back up through the dipstick tube. Have someone ready to catch the piece when it pops out.
The second variation is more controlled: pinch off or block the crankcase breather/PCV valve while applying suction to the top of the dipstick tube with a shop vacuum. This creates a pressure differential that draws the piece upward. Both methods work best when the oil has been drained first, reducing the risk of an oil fountain if something goes wrong.
A word of caution: excessive pressure can potentially damage crankcase seals, though this is rare with brief, moderate air pressure. Use short bursts rather than sustained pressure, and stop immediately if you hear any unusual sounds or see oil leaking from unexpected places.
Method 4: Vacuum Extraction
For broken pieces that are sitting relatively high in the tube and haven’t been pushed all the way down, a shop vacuum can provide a simple solution. Remove the oil fill cap to equalize pressure, then place the vacuum hose opening directly over the dipstick tube. You may need to cup your hand around the connection to create a better seal. The suction often grabs the plastic piece and pulls it right out.
This method is hit-or-miss depending on the shape and position of the broken section, but it’s worth trying before moving to more invasive techniques since it requires no tools and creates no additional mess. It works best on pieces that broke cleanly and left a relatively large stub rather than a thin sliver.
Method 5: Dipstick Tube Removal
When all else fails, removing the dipstick tube itself gives you direct access to push the broken piece out from the bottom. The feasibility of this approach depends entirely on your vehicle’s design. On many four-cylinder and V6 engines, the dipstick tube is held by a single bolt or bracket and can be removed in under ten minutes. On others, it may require removing intake components or other parts, making it a much more involved job.
If tube removal is straightforward on your vehicle, drain the oil first to avoid spills. Locate the mounting bolt or bracket—it’s typically at the lower end of the tube near the block. Once unbolted, the tube usually slides straight up and out. With the tube removed, you can push the broken piece out from the bottom or simply shake it out. This is also an excellent opportunity to inspect the tube for cracks or damage and replace both the tube and dipstick as a set if needed.
Method 6: Valve Cover Removal (Last Resort)
On some engines, particularly those where the dipstick tube runs through or near the valve cover area, removing the valve cover provides access to push the broken piece up from below. This is definitely the most labor-intensive option and only makes sense if your vehicle was already due for valve cover gasket replacement or if all other methods have failed and tube removal isn’t feasible.
With the valve cover off, you can often reach the bottom of the dipstick tube and use a long pick or wire to push the broken section upward while pulling from above. Given the time and parts cost (new valve cover gasket, possibly spark plug seals), this approach is rarely the most efficient unless you’re already planning other work in that area.
Quick Prevention Checklist
- Check your oil level at least once between oil change intervals to keep the dipstick seal lubricated
- Pull the dipstick slowly when the engine is cold to reduce stress on aged plastic
- Replace dipsticks showing cracks, discoloration, or brittleness before they break
- Consider upgrading to an aftermarket metal dipstick on engines known for plastic failures
- Use a small amount of silicone grease on the dipstick seal if it feels sticky during removal
What to Do After Extraction
Once you’ve successfully removed the broken piece, don’t just jam the old dipstick back in if it’s damaged. Thoroughly clean the inside of the dipstick tube with a lint-free cloth wrapped around a long screwdriver or similar tool to remove any plastic fragments. Even small pieces of debris can affect future dipstick operation or potentially migrate into the engine.
Order a replacement dipstick from the dealer or a quality aftermarket source. OEM dipsticks are usually inexpensive (typically $15-$30) and are marked with the correct fluid level indicators for your specific engine. Some techs have successfully used the screw-in-dipstick as a temporary solution by wrapping the screw head with electrical tape or duct tape, but this is really only advisable as an emergency measure until the proper replacement arrives.
If your dipstick tube itself shows cracks, splits, or damage from the extraction process, replace it as well. A damaged tube can allow oil mist to escape or dirt to enter the crankcase. Most tubes are inexpensive and easy to replace once you know the removal procedure.
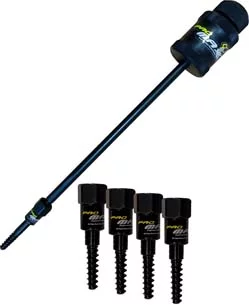
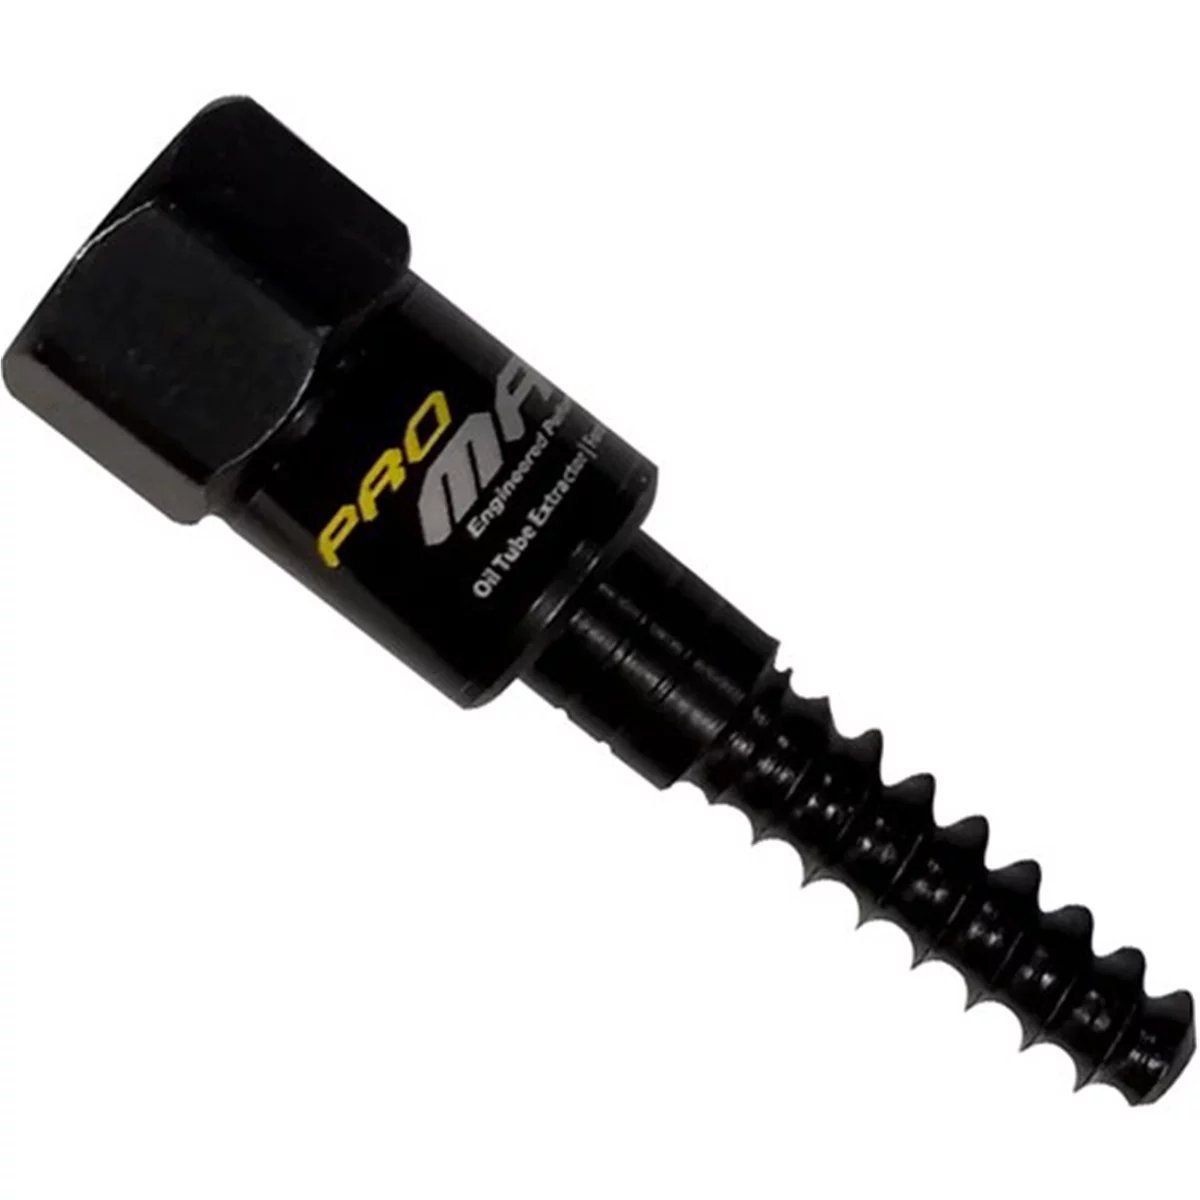
ProMaxx Ford 6.2L PowerPull Oil Tube Extractor ProKit 11" Sl
Mfg: ProMaxx Tool by Milton
Part #: OTE360
Frequently Asked Questions
Can I just leave the broken piece in the tube and not use the dipstick?
While technically possible on modern vehicles with oil level sensors, it’s not recommended. You lose the ability to visually inspect oil condition, and the broken piece can potentially work its way down into the oil pan where it might be drawn into the pickup screen. The extraction methods above are straightforward enough that leaving it in place creates more risk than fixing it properly.
Will the broken piece fall into my engine and cause damage?
The dipstick tube typically extends down close to the oil pan bottom, so the broken piece will usually just rest at the bottom of the tube rather than falling free into the oil. Even if it does drop into the pan, modern oil pickups have screens that would prevent a piece of plastic from entering the oil pump. That said, you still want to remove it rather than leaving it to rattle around.
How much does a shop charge to remove a broken dipstick?
Most shops will handle this as a minor repair, typically charging 0.3 to 0.5 hours of labor (roughly $30-$75 depending on local rates) plus the cost of a replacement dipstick. If tube removal or more extensive work is required, expect 1.0 to 1.5 hours of labor. Many quick-lube places will attempt the fix for free or minimal cost, especially if it broke during their service.
Should I heat the screw before threading it in?
Heating the screw tip causes it to melt into the plastic slightly as it threads, creating a stronger mechanical bond. However, you must let it cool completely before pulling—attempting to extract while hot can cause the plastic to deform and release the screw. If you’re patient, heating can improve success rates, but the standard room-temperature screw method works fine in most cases.
Can I prevent this from happening in the future?
Regular oil level checks (at least once between changes) keep the dipstick seal lubricated and the mechanism exercised. This is the single best prevention measure. On vehicles known for plastic dipstick failures, consider upgrading to a metal aftermarket dipstick. Apply a thin coat of silicone grease to the seal if you notice increased resistance during removal.
What if the screw just spins in the plastic and won’t grab?
This usually means the plastic is too brittle or the pilot hole was too large. Try a slightly larger diameter screw with more aggressive threads, like a coarse-thread deck screw. Alternatively, switch to the heated wire method or the pressure technique, both of which don’t rely on threading into damaged plastic.
Shop Specialty Tools for Dipstick Extraction
The methods outlined above rely on a few key items you may not have on hand—specialty extraction tools, heat sources, and precision fasteners. Browse our Automotive Specialty Tools collection to find everything from screw extractors and heat guns to compressed air equipment and vacuum systems that make this job faster and more reliable.
- Screw extractors and pilot bit sets for safe, controlled removal
- Shop vacuums and air pressure systems for non-invasive extraction
- Precision picks, hooks, and retrieval tools for stubborn pieces

The Toolsource Technical Team blends decades of real-world automotive service experience with up-to-date technical research. Our writers collaborate with professional mechanics, shop owners, and diagnostic specialists to deliver practical, workshop-ready guidance you can trust.


Follow us on social media