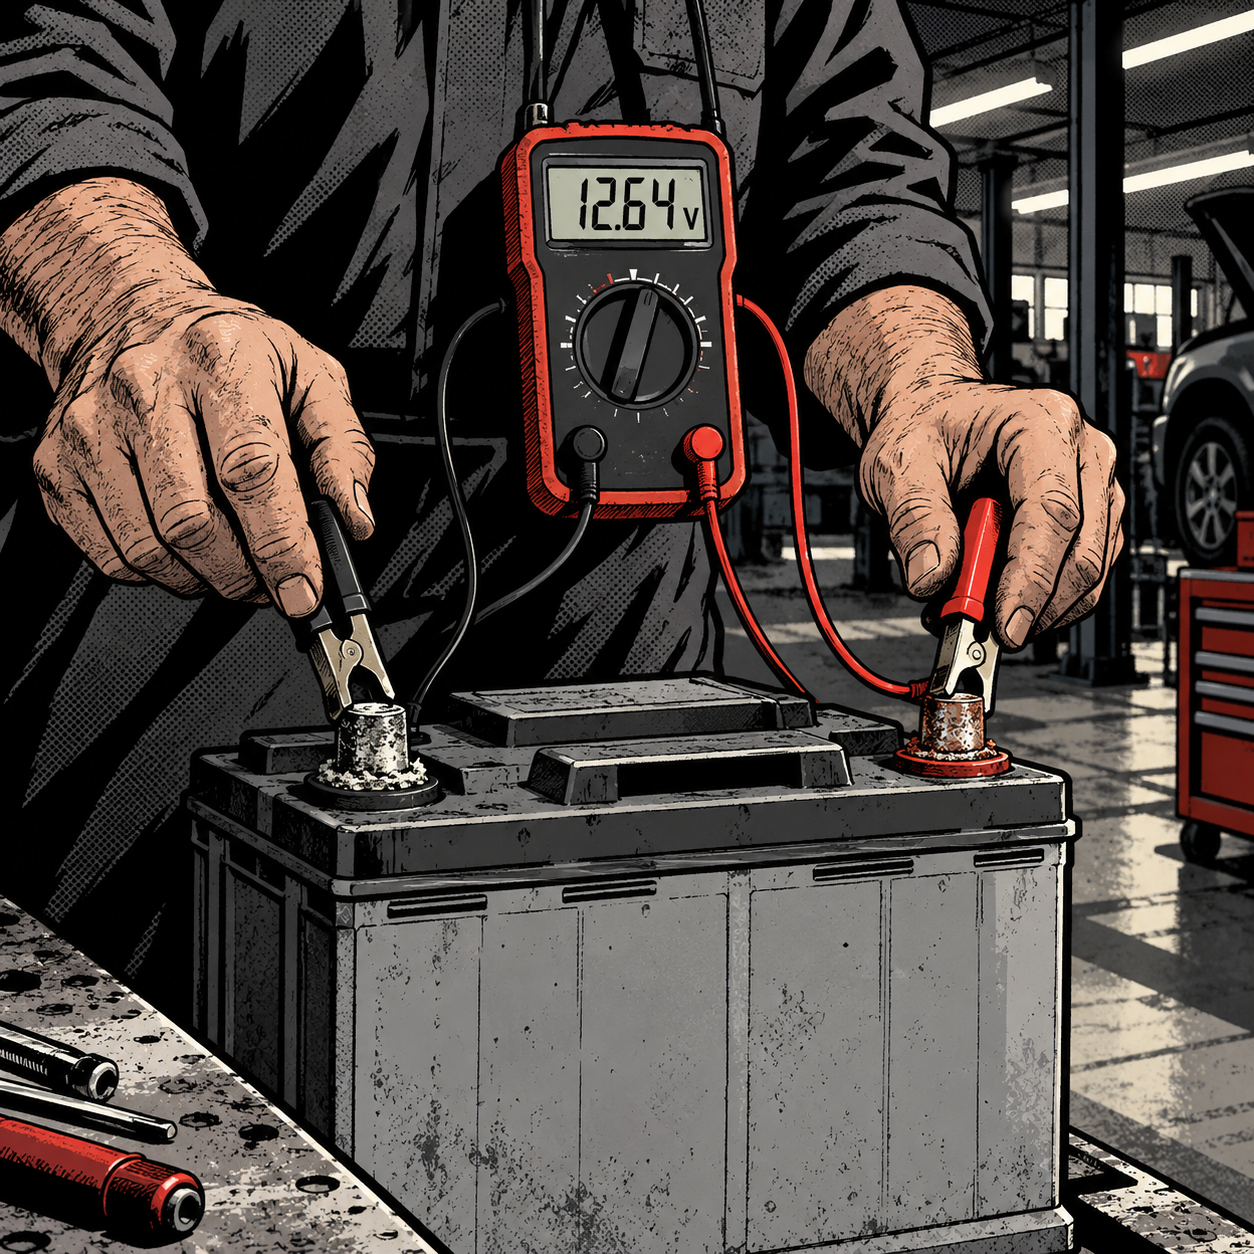
A customer comes in with a dead battery, you replace it, maybe even replace the alternator because “it must be the charging system,” and two weeks later they’re back with the same complaint. Nine times out of ten this is a parasitic draw problem, not a charging problem, and it only gets solved by testing it correctly. A sloppy parasitic draw test produces a number that means nothing, and a lot of comebacks start with a tech who pulled the leads off too soon or never let the vehicle’s modules go to sleep in the first place. Here’s how to do it right, how to isolate the offending circuit without creating false leads, and what actually causes most of these drains.
Know What “Normal” Actually Looks Like
Before you condemn anything, you need a target number. The commonly cited ASE ceiling is 50 mA of key-off current draw, but that’s a worst-case allowance, not a healthy baseline. On most modern vehicles with multiple modules on the bus, expect somewhere in the 20-40 mA range once everything is fully asleep. On an older vehicle with fewer modules, you should be looking at closer to 10-20 mA. If you’re reading 100-190 mA after the vehicle has had plenty of time to go to sleep, something is staying awake that shouldn’t be, and that vehicle will eat batteries regardless of how good the battery or alternator is.
Don’t rely on a single snapshot reading either. Set your meter to average/min-max if it has that function and watch the trend over several minutes. Current draw on a sleeping vehicle isn’t perfectly flat — modules wake briefly to check sensors, and you’ll see periodic spikes. What matters is where the baseline settles, not the spike.
Set Up the Test So the Reading Means Something
The single most common mistake is disturbing the circuit mid-test. Reconnecting a battery terminal, unplugging and replugging your meter, or opening a door resets the sleep timer and wakes modules that were just settling down — so your “45 minute” test becomes a 45-second test repeated over and over, and the number you get is meaningless. Do it like this:
- Fully charge the battery first. A weak battery under load produces artificially low system voltage, and low voltage can actually prevent some modules from going into sleep mode, which inflates your draw reading for reasons that have nothing to do with the real fault.
- Close all doors and the hood, and confirm every door/hood/trunk latch switch is actually registering closed. A door ajar switch that’s stuck or misaligned will keep interior lighting and body control modules awake indefinitely and will look exactly like a parasitic draw.
- Take the key fob out of range if the vehicle has proximity/push-button start, since a fob sitting on the dash can keep the BCM polling.
- Connect your meter leads (clamp them, don’t just touch probes to terminals) and leave them physically connected for the entire test — this includes the “off time.” The leads stay closed the whole time; you are not opening and closing the circuit at any point.
- Give it real time. Many vehicles take 20-45 minutes to fully go to sleep, and some take longer. Walk away and come back rather than reading it at the 5-minute mark.
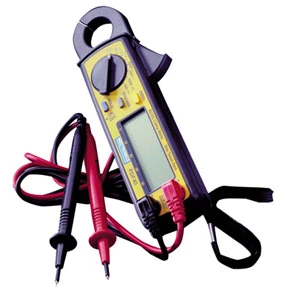
Looking for a meter that can actually hold a stable reading over a long soak period without you babysitting it? A clamp-style DC current meter or a min/max-logging digital multimeter is worth having in the toolbox specifically for this job.
[PRODUCT_SEARCH: clamp meter DC current parasitic draw test]


Isolate the Circuit Without Waking the Car Back Up
Once you’ve confirmed an abnormal draw, the instinct is to start yanking fuses one at a time and watching for a drop. That works, but it has a real downside: pulling a fuse can itself wake up circuits and modules, creating a temporary draw spike that has nothing to do with the actual fault and sends you chasing the wrong fuse. If you do pull fuses, pull one, then wait — don’t judge the result for at least a minute or two, and understand you may need to let things resettle after each pull.
A cleaner method many techs prefer: leave every fuse in place and measure millivolts across the top of each fuse using the exposed tabs, without breaking the circuit at all. Every fuse has a small amount of internal resistance, so any current flowing through it produces a tiny voltage drop you can read in mV. Fuse amperage ratings correlate to expected mV readings for a given current draw (reference charts are widely available for standard ATO/mini fuse sizes), so you can scan an entire fuse box in a couple of minutes without ever disturbing the circuit or resetting the sleep timer. This only works if the vehicle has already been allowed to fully settle first — do this after your 30-45 minute soak, not instead of it.
A thermal camera is a useful shortcut here too: after the soak period, scan the fuse box and look for fuses or relays running measurably warmer than their neighbors. It won’t give you an exact amperage, but it narrows your candidate list fast before you start the more precise mV check.
Know the Usual Suspects
There’s no universal “top 5” list that applies to every make, but certain categories show up again and again:
- Aftermarket audio amplifiers. A remote turn-on lead that’s stuck high, or an amp with its own internal remote-trigger circuit failing on, will hold a constant draw indefinitely. If the customer has aftermarket audio, check this first.
- Aftermarket alarms and remote start modules. These are wired to stay partially awake by design, and a failing module can draw well past spec.
- Interior courtesy/ignition-area lighting. A bulb or LED that doesn’t shut off after the normal delay (often due to a worn switch contact) is a frequent, easy-to-miss drain — sometimes the fix really is just pulling the bulb.
- Door, hood, and trunk latch switches. As noted above, a switch that reads “open” with the panel closed keeps lighting and modules active.
- Visor mirror lights and glovebox lights. Small, often overlooked, and surprisingly common.
- A module that won’t go to sleep due to a communication fault (a stuck-on dash warning light pattern during startup can be a clue that a module is misbehaving, even if the symptom seems unrelated to the drain itself).
Don’t Skip Ground and Voltage Checks
A parasitic draw test only tells you current is flowing somewhere it shouldn’t — it doesn’t explain why a module refuses to sleep. Low system voltage from corroded or degraded ground straps can prevent modules from powering down normally, which looks identical to a true parasitic draw on your meter. Do a voltage drop test on major chassis and engine grounds before you spend hours chasing fuses. This matters more on older vehicles with exposed, unshielded ground braids that accumulate corrosion and road spray over the years — and it’s also why alternators and batteries sometimes get replaced repeatedly on a vehicle whose actual problem is a bad ground: good parts can’t overcome resistance that’s killing voltage everywhere downstream.
Quick Reference Checklist
- Battery fully charged before testing
- Doors, hood, and trunk closed and latch switches confirmed closed
- Key fob out of range (proximity/push-button vehicles)
- Meter leads clamped and left connected continuously — no disconnect/reconnect during the test
- Minimum 30-45 minutes of settle time before taking a reading
- Use mV-across-fuse method or a thermal scan before pulling fuses
- Check grounds and voltage drop if modules won’t go to sleep
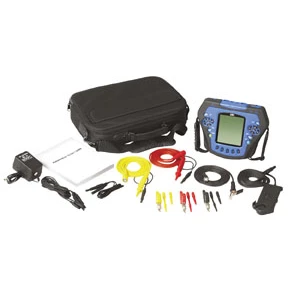
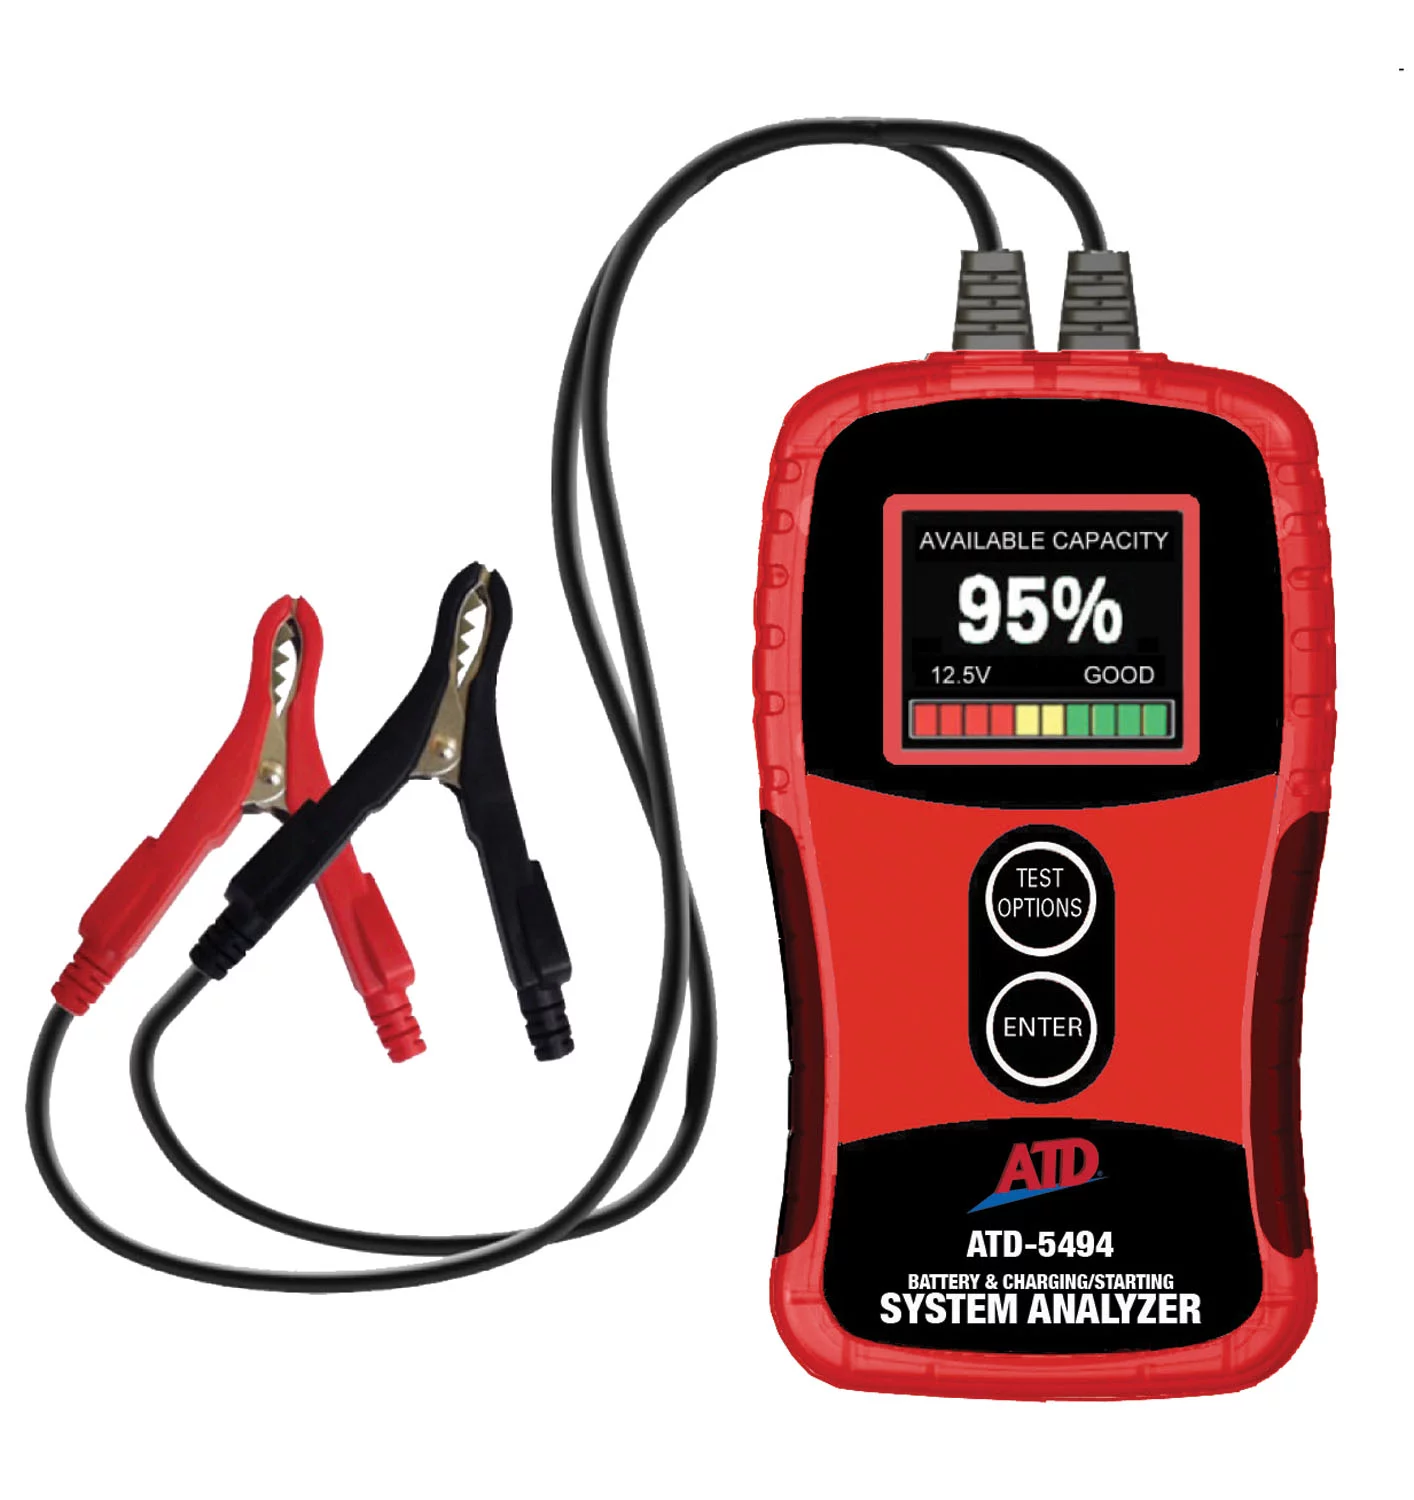
If this is turning into a recurring diagnostic job in your bay, it may be worth equipping with a dedicated parasitic draw testing kit rather than improvising with standard meter leads each time.
[PRODUCT_SEARCH: automotive diagnostic tools battery testing]
FAQs
What’s considered a normal parasitic draw?
Under 50 mA is the generally accepted ceiling, but a healthy modern vehicle usually settles in the 20-40 mA range, and older vehicles with fewer modules should be closer to 10-20 mA. Readings in the 100+ mA range after a full sleep cycle indicate a real problem.
How long should I wait before taking a reading?
At least 30-45 minutes with the leads continuously connected and the circuit undisturbed. Some vehicles take 20+ minutes just to begin the sleep process, so a reading taken at 5 or 10 minutes is not reliable.
Why does pulling fuses sometimes give misleading results?
Removing a fuse can wake dormant circuits or modules, producing a temporary current spike unrelated to the actual fault. If you use the fuse-pull method, wait a minute or two after each pull before judging the result, or use the mV-across-the-fuse method instead to avoid disturbing the circuit at all.
Could a bad alternator or battery actually be the real cause?
Rarely for the drain itself, but a bad alternator or weak battery can mask the real issue or get blamed unfairly. Low voltage from poor charging or bad grounds can keep modules from sleeping, which mimics a parasitic draw. Always check grounds and charging system voltage alongside the draw test.
Are there tools that make this diagnosis faster?
Yes — dedicated parasitic draw testers (such as loaner-program current probes some parts stores offer), min/max-logging multimeters, and thermal cameras for scanning fuse boxes all cut down the time spent on trial-and-error fuse pulling.
What should I check first if the customer has aftermarket electronics?
Start with the amplifier’s remote turn-on lead and any aftermarket alarm or remote start module. These are among the most common sources of excessive key-off draw and are easy to isolate early in the diagnostic process.
Recommended Battery Diagnostics Tools
Proper parasitic draw diagnosis requires the right test equipment. Our Battery Diagnostics & Charging selection includes clamps, meters, and specialized kits designed for accurate testing and charging system analysis.
- DC current clamps and min/max-logging multimeters for long-soak tests
- Dedicated parasitic draw testing kits and current probes
- Battery testing and charging system diagnostic tools

The Toolsource Technical Team blends decades of real-world automotive service experience with up-to-date technical research. Our writers collaborate with professional mechanics, shop owners, and diagnostic specialists to deliver practical, workshop-ready guidance you can trust.


Follow us on social media