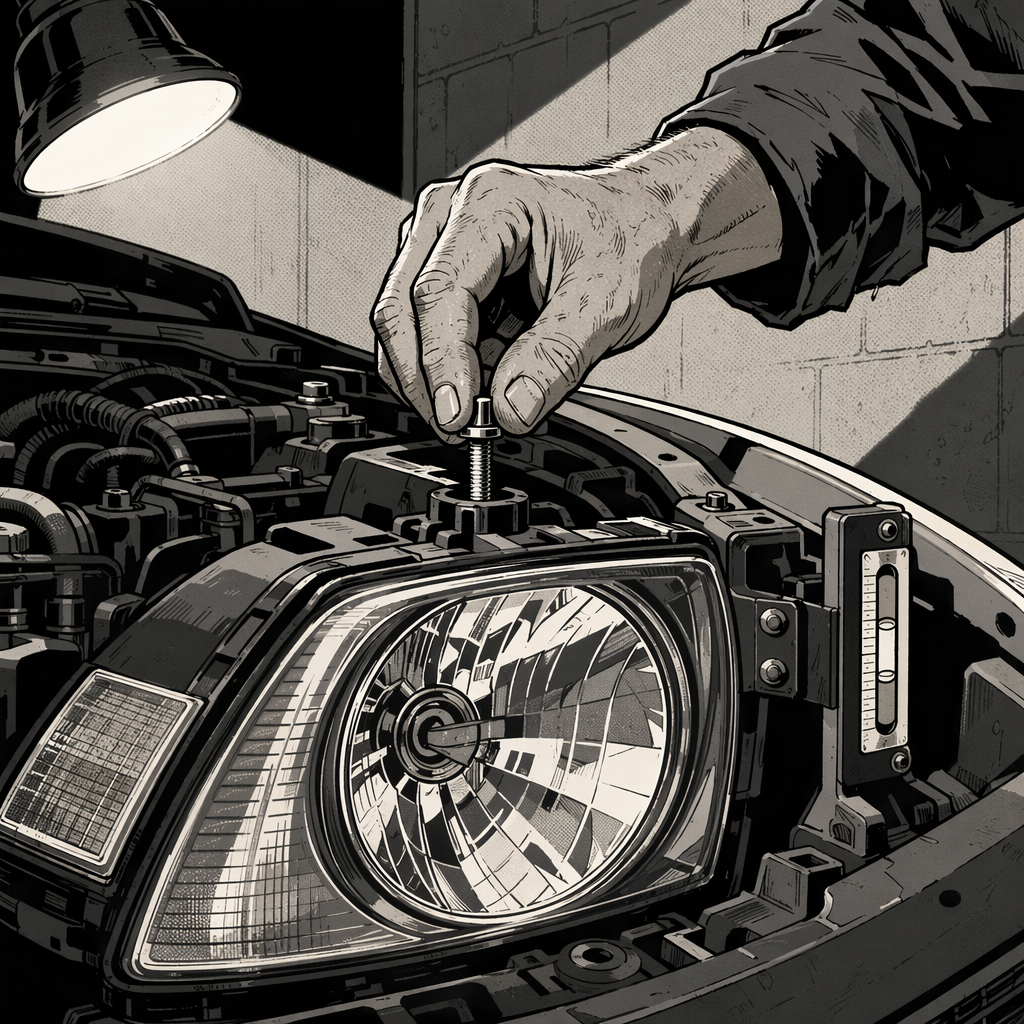
Walk into any shop bay and you’ll hear the same complaint: modern headlights are blinding everyone on the road. But here’s the truth most DIYers and even some techs miss—it’s not always the bulbs themselves. The real culprit is improper headlight aim, especially after modifications like leveling kits, lift installations, or aftermarket bulb swaps. Whether you’re diagnosing a customer complaint or setting up a vehicle after service, understanding headlight geometry and proper aiming procedures separates professional work from hack jobs that put drivers at risk.
Understanding Headlight Optics and Why Aim Matters
Before you touch an adjuster screw, you need to understand what’s happening inside that headlight housing. Modern headlights use precise optical geometry—either reflector-based or projector-based systems—designed around specific light source characteristics. The filament position in a halogen bulb, the arc gap in an HID bulb, and the LED array placement all determine how light bounces off the reflector or passes through the projector lens.
Here’s where most problems start: when someone drops an LED bulb into a housing designed for halogen, they’re changing the emission point. Even if the bulb physically fits, the light source geometry is completely different. Halogen filaments emit from a precise point in the center of the bulb. LED arrays emit from a flat surface or multiple points. This throws off the entire optical design, scattering light in directions the engineers never intended—regardless of how well you aim it afterward.
Projector housings are slightly more forgiving because they use a cutoff shield and lens system, but you’re still degrading performance and creating glare. The parabolic reflector bowl inside the projector was calculated for a specific light source position. Change that, and you’re working with compromised optics. The only legitimate LED upgrades are complete housing replacements with integrated LED systems, not bulb swaps.
The second major issue is vehicle height changes. Install a leveling kit or lift on a truck, and you’ve just tilted the entire headlight assembly upward. What was properly aimed at the factory is now pointed directly at oncoming drivers’ faces. A two-inch lift can raise the beam pattern enough to blind drivers a quarter-mile away. This is why headlight re-aiming is mandatory—not optional—after any suspension work.
When Headlight Aiming Is Required
Know when you need to pull out the aiming equipment. Any time you alter the vehicle’s ride height, you’re changing the headlight angle. This includes leveling kits, lift kits, lowering springs, and even significant load changes in work trucks. If a customer regularly hauls heavy loads in the bed, the headlights aim upward when empty and downward when loaded—this is a known issue with trucks that lack automatic leveling systems.
Headlight aiming is also required after front-end collision repair, headlight housing replacement, or any work that involves removing and reinstalling the headlight assembly. Even careful reinstallation can shift the aim enough to cause problems. Some techs skip this step to save time, but it’s cutting corners on safety.
Here’s the controversial part: if you’re installing aftermarket bulbs—even “direct replacement” LEDs or HIDs in a halogen housing—you should inform the customer that proper aiming can’t fix the fundamental optical mismatch. You can minimize the problem, but you can’t eliminate it. The professional recommendation is always to stick with the bulb technology the housing was designed for, or upgrade to complete LED/HID housings with proper DOT certification.
State inspection requirements vary, but in states with annual safety inspections, headlight aim is supposed to be checked. In practice, enforcement is inconsistent. That doesn’t change your responsibility as a technician to deliver safe, properly functioning vehicles.

Equipment and Setup for Professional Headlight Aiming
The gold standard is a mechanical headlight aimer—the type that uses suction cups or magnetic mounts to attach to the headlight lens and incorporates a level and targeting system. These range from basic bubble-level units to sophisticated optical aimers with prisms and graduated scales. For a professional shop doing regular headlight work, the investment pays for itself in accuracy and efficiency.
If you don’t have access to mechanical aimers, the wall-projection method works when done correctly. You’ll need a flat, level surface for the vehicle, a vertical wall or projection screen at least 25 feet away, and proper measurements. This isn’t a parking-lot eyeball job—you need controlled conditions. Many techs try to aim headlights on sloped shop floors or uneven driveways and wonder why the results are inconsistent.
Before you begin any aiming procedure, verify the vehicle is at correct ride height with proper tire pressure, a full fuel tank (or equivalent weight), and no cargo load unless you’re aiming for the vehicle’s typical loaded condition. Have someone sit in the driver’s seat or add equivalent weight. Suspension must be settled—bounce the vehicle a few times if it’s been sitting static. These aren’t nit-picky details; they directly affect the headlight angle.
Mark the headlight centers on your projection wall using tape. Measure from the ground to the center of each headlight lens, then transfer that height to the wall. Most aiming specifications call for the hot spot (brightest part of the beam) to be slightly below the headlight centerline at 25 feet—typically 2 to 4 inches depending on the vehicle. Check the service manual for exact specifications. European vehicles often have different aiming standards than domestic vehicles.
Step-by-Step Headlight Aiming Procedure
Start by locating the adjustment screws. Most headlights have two adjusters: one for vertical aim (up and down) and one for horizontal aim (left and right). These are usually accessible from the back of the headlight assembly in the engine bay, but some vehicles require removing trim panels or even the headlight unit itself. Consult the service manual if you’re not familiar with the specific vehicle—some manufacturers hide adjusters in non-obvious locations.
Turn on the headlights to low beam. High beams are aimed separately on some vehicles, but low beams are your primary concern since that’s what drivers use most. If the vehicle has separate high beam elements, you may need to aim those afterward, though many modern systems use the same projector for both with a mechanical shutter or additional LED array.
Cover one headlight completely with a piece of cardboard or a dedicated headlight cover. You’re aiming one light at a time to see each beam pattern clearly. Trying to aim both simultaneously leads to confusion and inaccurate results.
Adjust the vertical aim first. Turn the vertical adjuster until the top edge of the beam cutoff (the sharp horizontal line in a proper beam pattern) sits at or slightly below your marked centerline on the wall. For most vehicles, the specification is 2 inches below center at 25 feet, but verify this in the service information. The cutoff should be sharp and distinct—if it’s fuzzy or there’s significant light scatter above the line, you’ve got an optical problem that aiming won’t fix.
Next, adjust the horizontal aim. The hot spot of the beam should be centered on the vertical line you marked, or slightly to the right depending on the beam pattern design. Many headlights use an asymmetrical pattern that kicks up slightly on the right side (in right-hand drive countries) to illuminate road signs without blinding oncoming traffic. This is normal and intentional.
Repeat the process for the other headlight. When both are adjusted, uncover both lights and verify they’re producing symmetrical patterns. Walk around to the front of the vehicle and visually confirm the beams are level with each other—one headlight aimed higher than the other is a clear sign of improper adjustment or a damaged mounting.
Test drive the vehicle at night on roads you know well. The proof is in real-world conditions. Pay attention to whether you’re getting adequate road illumination without high-beam feedback from oncoming drivers. If you’re getting flashed constantly, the aim is still too high.
Special Considerations for Modified Vehicles
Lifted trucks and SUVs present the biggest aiming challenges. A three-inch lift kit can raise the beam pattern enough to illuminate second-story windows. The adjustment range on factory headlight housings is limited—many won’t adjust low enough to compensate for significant lifts. In these cases, you have limited options: advise the customer that their headlights will be a problem, install aftermarket housings with greater adjustment range, or in extreme cases, retrofit projector systems with proper aim capability.
Leveling kits are particularly problematic because they’re marketed as minor cosmetic modifications, but they tilt the front end up just enough to send headlight beams skyward. Every leveling kit installation should include headlight re-aiming as part of the job. Make this clear on the estimate and don’t skip it to hit a labor time.
For vehicles with automatic leveling systems (common on luxury vehicles and some trucks), verify the system is functioning before you aim. These use sensors and actuators to adjust headlight angle based on vehicle load and attitude. If the leveling system is faulty, your manual aim will be wrong as soon as the vehicle moves or loads change. Diagnose and repair the automatic system first.
Aftermarket bumpers and grille guards can obstruct headlight output or alter the beam pattern. If you’re installing these accessories, test the headlights afterward and re-aim if necessary. Some poorly designed accessories create so much interference that the only solution is higher-output lighting or auxiliary lights, which brings its own set of aiming requirements.
Quick Headlight Aiming Checklist
- Vehicle on level surface, proper tire pressure, fuel tank full or weighted
- Driver’s seat weighted to simulate occupied vehicle
- Suspension settled (bounce vehicle before measuring)
- Projection wall or mechanical aimer set up at correct distance
- Headlight centers marked on wall with height transferred from vehicle
- Low beams on, one headlight covered
- Vertical aim adjusted first (cutoff 2-4 inches below center at 25 feet)
- Horizontal aim adjusted (hot spot centered or per service manual spec)
- Repeat for second headlight
- Verify symmetrical patterns with both lights uncovered
- Test drive and confirm no excessive oncoming driver response
Why Aftermarket LED and HID Bulbs Don’t Work
This needs to be said directly: drop-in LED and HID bulbs for halogen housings are not legitimate upgrades, regardless of what the marketing claims. There are no automotive bulb standards built around user-replaceable LEDs. Every factory LED headlight uses a proprietary, integrated system where the LED array, reflector or projector optics, and thermal management are designed as a complete unit.
The problem is emission geometry. A halogen filament produces light from a tiny, precise point in three-dimensional space. The reflector is designed with that exact point as its focal center. An LED array produces light from a flat surface or multiple discrete points. Even if you orient it perfectly, the light source shape is wrong. This creates light scatter, glare, and poor beam pattern definition that no amount of aiming can fix.
HID bulbs are marginally better because the arc gap does produce light from a relatively small central point, similar to a halogen filament. But the arc is longer and the light distribution is still different enough to degrade performance in a halogen reflector. Plus, aftermarket HID kits often lack proper ballast quality and igniter design, leading to electromagnetic interference and reliability issues.
Projector housings are more forgiving, but still compromised by LED retrofits. The cutoff shield and lens help control the beam pattern, but the reflector bowl inside the projector is still designed for a specific light source geometry. You get less wild scatter than in a reflector housing, but you’re still degrading the optical performance the engineers intended.
The professional approach: if a customer wants LED or HID lighting, sell them proper replacement housings or complete assemblies designed for that technology. Yes, it’s more expensive. It’s also the right way to do it. And if you’re working on older vehicles where modern housings aren’t available, high-quality halogen bulbs in good housings with proper aim will outperform cheap LED retrofits every time.
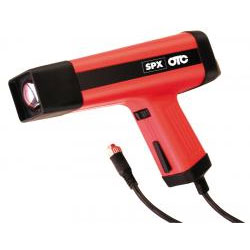
OTC S44555 Vision Premier Timing Light Tool
Mfg: OTC Tools and Equipment
Part #: S44555
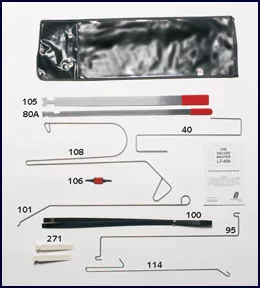
Deluxe Master Automotive Lockout Tool Kit LT-450
Mfg: Lock Technology LTI by Milton
Part #: 450
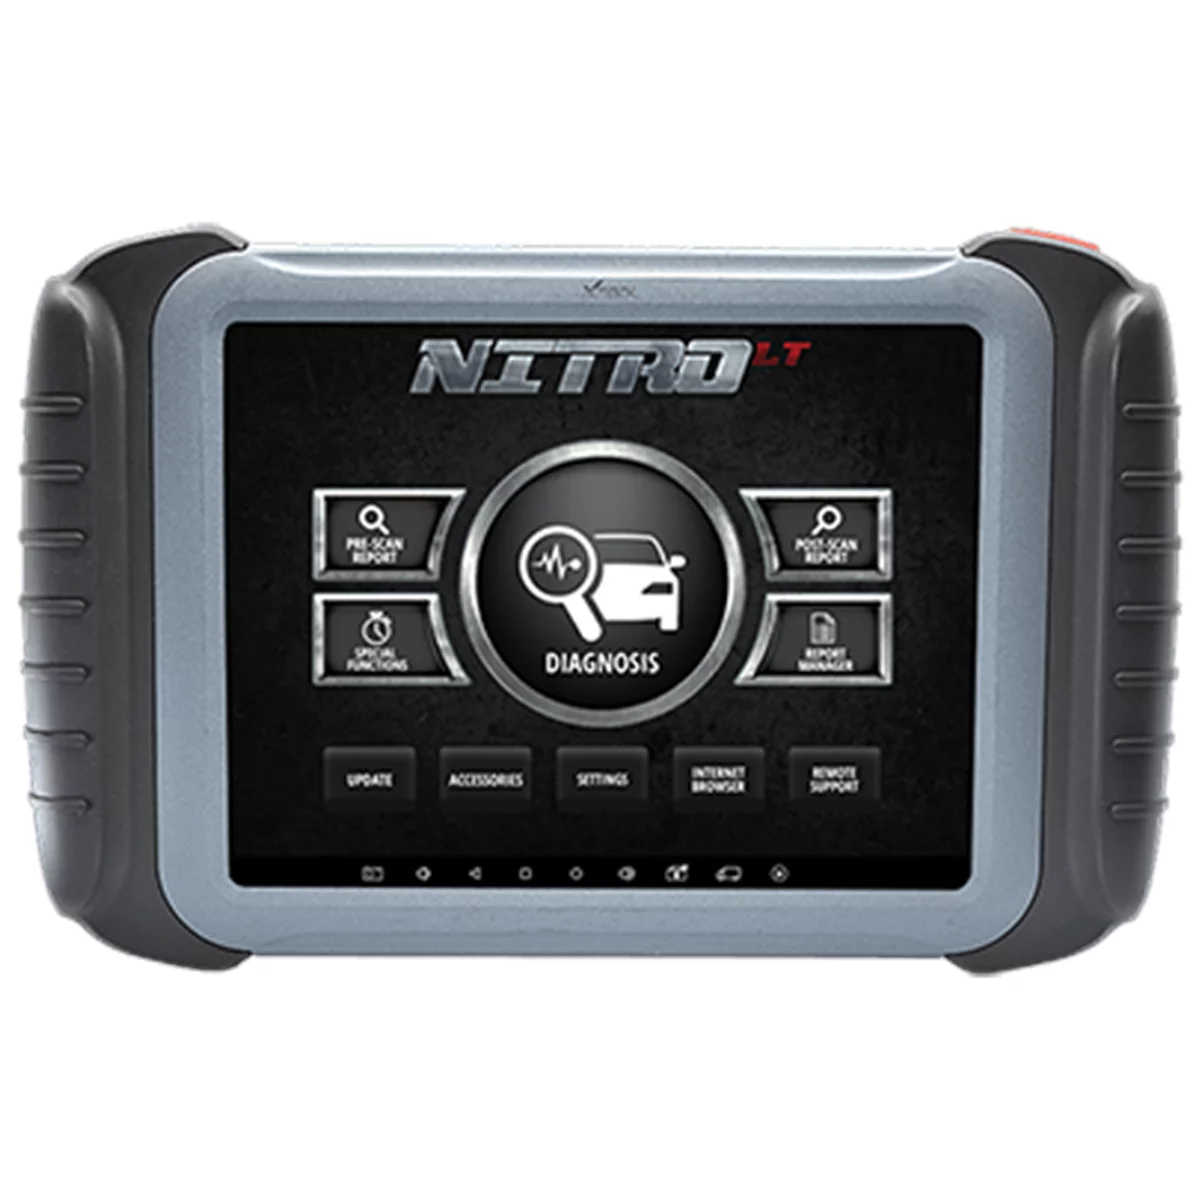
Xtool Nitro LT 8" Bi-Directional Automotive Scan Tool
Mfg: Xtool USA
Part #: NITRO-LT
Frequently Asked Questions
How often should headlights be re-aimed?
Headlights should be checked and re-aimed after any suspension work, collision repair, headlight replacement, or significant vehicle modification. For unmodified vehicles, checking aim during annual inspections or when customers report visibility issues is sufficient. Headlight aim can drift over time due to vibration and housing wear, especially on older vehicles.
Can I aim headlights without professional equipment?
The wall-projection method can produce acceptable results if done carefully on a level surface with proper measurements and distance. However, mechanical headlight aimers provide better accuracy and consistency, especially for high-volume shops. If you’re doing frequent headlight work, the equipment investment is worthwhile. For occasional jobs, the wall method is adequate when performed correctly.
Why do my properly aimed headlights still seem to blind other drivers?
If you’ve confirmed proper aim and you’re still getting high-beam flashes from oncoming traffic, the problem is likely optical—wrong bulb type for the housing, degraded reflectors, or damaged lenses. Aftermarket LED or HID bulbs in halogen housings will scatter light regardless of aim. Clouded or yellowed lenses also diffuse the beam pattern. Address the optical issues before re-aiming.
Do I need to aim high beams separately from low beams?
On vehicles with separate high beam elements (quad headlight systems or separate high beam bulbs), yes, high beams have their own aiming specifications. On modern projector systems that use a shutter or reflector pivot to switch between low and high, aiming the low beam properly will generally result in correct high beam aim as well. Check the service manual for your specific vehicle.
What’s the correct headlight aim specification for my vehicle?
Most vehicles specify the beam cutoff should be 2 to 4 inches below the headlight centerline at 25 feet, but this varies by manufacturer and market. European-spec vehicles often have different requirements than US-spec. Always check the service manual or the label on the headlight housing itself—many have aiming specifications printed directly on the assembly.
Will headlight aiming fix problems caused by aftermarket LED bulbs?
No. Aiming can only point the existing beam pattern in the right direction. If the beam pattern itself is scattered or poorly defined due to optical mismatch between the bulb and housing, aiming won’t fix it. You can minimize the problem by aiming slightly lower, but the fundamental issue is the wrong bulb technology for that housing design. The correct fix is returning to the proper bulb type or upgrading to complete LED housings.
Professional Headlight Aiming Equipment
Proper headlight aim requires the right tools. A mechanical headlight aimer with precise optical geometry ensures accurate, repeatable results that the wall-projection method can’t match. Whether you’re managing high-volume alignment work or occasional re-aiming jobs, investing in professional headlight aimers pays dividends in accuracy and efficiency.
- Mechanical aimers with suction cups or magnetic mounts for consistent beam targeting
- Optical and bubble-level systems for precise vertical and horizontal adjustment
- Professional-grade equipment for shop environments and field applications

The Toolsource Technical Team blends decades of real-world automotive service experience with up-to-date technical research. Our writers collaborate with professional mechanics, shop owners, and diagnostic specialists to deliver practical, workshop-ready guidance you can trust.


Follow us on social media