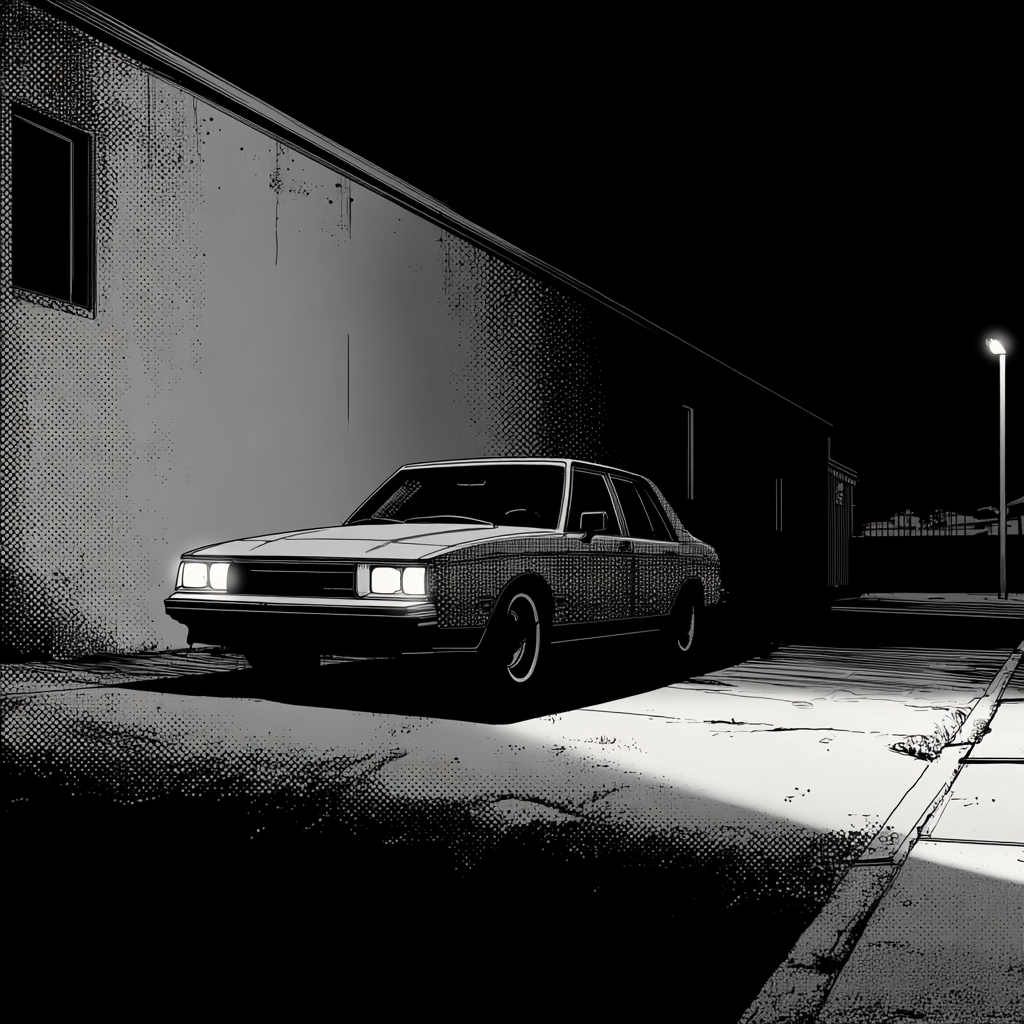
Glare complaints and poor nighttime visibility are often rooted in a few repeat issues: incorrect aim, mismatched or mis-seated bulbs, degraded lenses or reflectors, and retrofits that don’t match the optics of the housing. This guide explains what the black cap on many halogen bulbs does, how to diagnose glare sources, the correct way to aim headlights, and what to consider with LED/HID conversions and loaded vehicles. Use these procedures to deliver a clean cutoff, maximum usable road light, and minimal glare to oncoming drivers.

What the glare cap does on halogen H4/9003 bulbs
Many dual-filament halogen bulbs (H4/9003/HB2) have a non-reflective black or metal cap on the glass tip. On low beam, the forward-facing portion of the filament would otherwise emit light directly out of the lamp and into oncoming traffic. The cap blocks this direct emission so the reflector or projector optics can shape the beam into a controlled pattern with a cutoff. Key points:
- The cap is a glare shield, not a mirror. Its job is to prevent direct forward light that bypasses the optics. It does not “reflect” light back; the reflector or projector bowl handles the light distribution.
- In reflector housings, the low-beam filament sits precisely relative to the reflector. The cap blocks forward emission while the reflector redirects the remaining light into the prescribed pattern.
- In projector systems, a fixed internal cutoff shield inside the projector creates the sharp step. H7 single-filament bulbs usually lack an external cap because the projector’s internal shield controls glare.
- High-beam-only halogen bulbs typically don’t have a tip cap; they are designed for maximum forward throw and lack a low-beam cutoff requirement.
- If a bulb is mis-seated (cocked, rotated incorrectly, or not locked), the cap and filaments will be in the wrong place, creating scatter, hot spots, or a tilted cutoff.
Bottom line: the glare cap is not the cause of poor patterns—incorrect aim, mismatched sources (e.g., LED in halogen reflector), or improperly installed/deteriorated components are the usual culprits.
Diagnose glare and poor visibility before you aim
Investigate symptoms before adjusting aim. Correct the root cause to avoid masking a hardware problem with a bad aim.
- Oncoming drivers flash you: common causes include aim too high, mis-seated bulb, wrong bulb type (e.g., LED in halogen reflector), heavy rear load raising the front, or cloudy lenses causing scatter. Check fog lamps too; using them in clear weather adds foreground light and can dazzle others if mis-aimed.
- Short throw/poor distance visibility: aim too low, oxidized lenses, or burned reflector bowls (common in old projectors where the reflective coating has dulled). Also check supply voltage and grounds—low voltage reduces output.
- Asymmetric pattern (one lamp higher or skewed): defective adjuster, bent mounting bracket from a prior impact, or bulb not fully indexed on its tabs.
- Intense hot spot and streaks: contamination on bulb glass, cracked or dirty inner lens, debris inside housing, or non-OEM optic geometry from a retrofit that doesn’t match the housing.
- Flicker or warning lights after LED/HID swaps: CANbus load sensing, PWM dimming, or incompatible drivers. Fix electrical compatibility first; do not compensate by aiming low.
Pre-aim checklist
Complete this setup once; it prevents chasing your tail with adjustments.
- Verify correct bulb type for the housing; replace damaged or mismatched bulbs as a pair.
- Set tire pressures to spec; confirm suspension isn’t sagging and remove heavy cargo.
- Fuel at roughly half tank; add driver weight (or equivalent ballast) in the seat.
- Set any headlight leveling dial to 0 (neutral) and disable automatic leveling if applicable per OEM procedure.
- Clean lenses inside and out; repair cloudy lenses before aiming.
- Park on level ground, 25 ft (7.6 m) from a flat wall, aligned straight-on.
- Verify fog lamps are off; you will aim low beams only.
How to aim headlights accurately (reflector and projector)
This wall method aligns most DOT/SAE low beams. Use manufacturer specifications when available; if unspecified, the following baseline works for most halogen reflectors and many projectors.
- Locate adjusters: Most composite lamps have vertical and horizontal adjusters (Phillips, Torx, hex, or gear). Free rusted adjusters beforehand to prevent breakage.
- Measure center height: On each headlamp, mark the center of the low-beam emitter (projector lens center or reflector bulb center). Measure its height from the floor and transfer that height to the wall with masking tape as a horizontal reference line. Place a vertical tape line per headlamp centerline.
- Mark aim target: For right-hand traffic (North America), place a second horizontal tape line 2 inches (about 50 mm) below the headlamp center height at 25 ft. This ~0.8% slope prevents glare. A range of 1.5–2.5 inches is typical; use 2 inches unless the OEM specifies otherwise. If working at 10 m, drop ~75–100 mm.
- Back vehicle straight to 25 ft: Keep the vehicle roll level and steering centered.
- Power low beams: Cover one headlamp at a time to avoid confusion.
- Vertical adjustment: Adjust until the top of the low-beam cutoff (for projectors) or the top edge of the main bright zone just touches the lower tape line (the line 2 inches down). For reflectors with a step, set the left portion of the cutoff to the lower line. Do not aim to the higher step; that’s for roadside illumination.
- Horizontal adjustment: Align the beam’s hotspot/cutoff “kink” at the vertical tape line for that lamp, or center the hotspot just to the right of the vertical line to avoid dazzling oncoming traffic. The beams should be symmetrical and level.
- Verify high beams: Switch to highs; both hotspots should center near the vertical lines and sit slightly above the center height line. High beams have no cutoff—do not use high beams to set low-beam aim.
- Road test at night: Verify clear cutoff, no flashes from oncoming drivers, and balanced illumination. Re-adjust in small increments if needed.
Notes:
- Adaptive/auto-leveling systems may require a scan tool calibration after suspension work; follow OEM service procedures.
- Lifted or leveled trucks need a fresh aim after the suspension change and again with typical cargo/tow weight.
- Some fog lamps have separate aimers; verify they’re below center height at 25 ft and not projecting above the low-beam cutoff.
Bulb handling and installation best practices
Bulb contamination, seating errors, and overheated connectors are common field problems. Prevent premature failures and poor patterns with the following.
- Do not touch bulb glass: Oils create hot spots and shorten life. Handle by base; wear clean nitrile gloves. If contaminated, wipe with 70–90% isopropyl alcohol and a lint-free towel, then air dry.
- Inspect the bulb: Confirm the glare cap (if present) is intact and secure. Verify the alignment tabs match the socket and that the locating notch/orientation is correct (e.g., H4 tabs at 12/3/9 positions).
- Seat fully: Ensure the bulb flange is flush to the housing and the retainer clip or ring is fully locked. An off-angle bulb skews the cutoff and increases glare.
- Electrical connections: Check for discolored, loose, or heat-damaged connectors. High resistance reduces output and accelerates failure. Replace pigtails if needed and verify grounds.
- Use correct wattage: Overwattage halogens can cook reflectors and wiring. Stick to OEM wattage unless the housing and harness are upgraded.
- Match technology to optics: Use halogen in halogen reflectors, HID in HID projectors, and only use LED emitters engineered and tested for your specific housing geometry. Aiming cannot fix optical mismatch glare.
Retrofits, loads, and long-term maintenance
Glare control depends on matching the light source to the optic, maintaining reflective surfaces and lenses, and compensating for ride-height changes from cargo and towing.
LED/HID retrofits:
- Reflector housings designed for halogen filaments rely on a precise filament size and position. Many drop-in LED bulbs use larger or offset emitters, shifting the virtual filament. Result: glare and stray light even when aimed to spec. Choose DOT/SAE-compliant, housing-specific LED replacements that replicate filament geometry, or retrofit a projector designed for the source.
- Projector swaps should use quality components with proper cutoff shields and lens spacing. Replace burned bowls in aged projectors; a dull bowl kills output regardless of bulb type.
- Electrical compatibility: Address CANbus load errors and PWM with appropriate modules; do not “solve” flicker by aiming down.
Load, towing, and vehicle rake:
- Rear loads and tongue weight raise the front, pointing lights up. If equipped with a manual leveling dial, lower the beams when loaded. For frequent towing, consider load-leveling springs or air helper springs and re-aim with your typical load.
- After lift or level kits, always re-aim. Even a 1–2 inch rake change can push the cutoff into oncoming eyes.
- Use a properly adjusted weight-distribution hitch to restore front axle load when towing.
Lens and reflector longevity:
- UV and heat degrade plastic lenses and reflector coatings over time. Lenses are UV-stabilized but not immune. Keep them clean to reduce heat absorption and scatter.
- Restore correctly: Sand progressively, polish, and apply a UV-stable clear coat or a dedicated UV-curing coating. Polishing alone won’t last.
- Reflector bowls inside aged projectors can become matte. Replace projectors or reflector bowls; do not touch reflective surfaces. When opening housings, use butyl re-sealant and ensure vents are clear to prevent condensation.
Quick troubleshooting examples:
- New bulbs, still getting flashed: One bulb not seated on its indexing tabs. Reseat, then re-aim.
- Good cutoff but poor distance: Cloudy lenses or burned bowls. Restore lenses or replace projectors; measure voltage drop at the bulb.
- Great garage aim, glare on the road with a trailer: Front lifted by tongue weight. Use weight distribution, lower the leveling dial, and re-aim with trailer attached.
FAQs
- What is the black cap on the tip of my halogen bulb?
- It’s a glare shield that blocks direct forward light from the filament. It ensures the reflector/projector optics control the beam and create a proper cutoff. It isn’t reflective and isn’t the cause of glare when your aim and components are correct.
- Can I touch a halogen bulb with bare hands?
- Avoid it. Skin oils create hot spots that can shorten bulb life or cause uneven output. If you touch the glass, clean it with isopropyl alcohol and allow it to dry before powering the lamp.
- Is 25 ft the only correct distance for aiming?
- No. 25 ft (7.6 m) is a practical standard for shops. The key is the slope: about 0.8–1% downward for low beams. At 25 ft that’s roughly 2 inches of drop. At 10 m, aim for about 75–100 mm of drop. Use OEM specifications when available.
- Why do fog lights seem to blind drivers even in clear weather?
- Fog lamps produce a wide, low beam with strong foreground light. In clear conditions or when aimed too high, they add glare and reduce distance vision by constricting your pupils. Use them only in fog, snow, or heavy rain and ensure they are aimed low.
- Are LED bulbs legal in halogen reflector housings?
- It depends on the bulb and your jurisdiction. Many generic LED “drop-ins” are not compliant and create glare because their emitters don’t replicate filament geometry. Choose compliant, application-specific LEDs or retrofit a projector designed for LED. Always verify local regulations.
- One headlight looks higher than the other after a bulb change. Why?
- The bulb may be rotated or not fully seated on its indexing tabs, or the spring clip/retaining ring isn’t locked. Reseat the bulb, then re-aim. Also check for a bent bracket or stripped adjuster.
Shop Lighting Service Tools
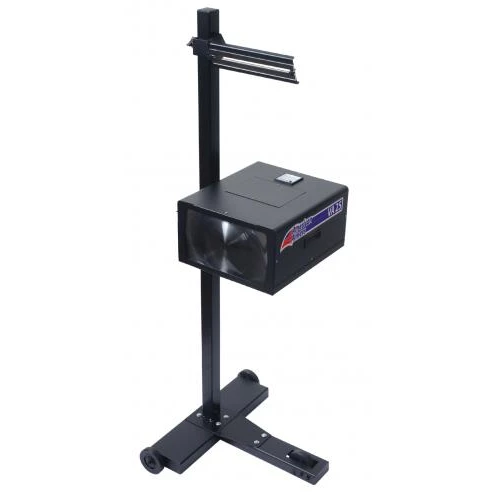
To dial in a clean cutoff and fix glare issues, check out our headlight aiming tools, bulb service aids, and lens restoration kits in our headlight service tools.
- Aiming targets and gauges for accurate vertical/horizontal adjustments
- Bulb handling and electrical tools for proper seating, testing, and compatibility
- Lens restoration kits and sealants to recover output and reduce scatter

The Toolsource Technical Team blends decades of real-world automotive service experience with up-to-date technical research. Our writers collaborate with professional mechanics, shop owners, and diagnostic specialists to deliver practical, workshop-ready guidance you can trust.


Follow us on social media