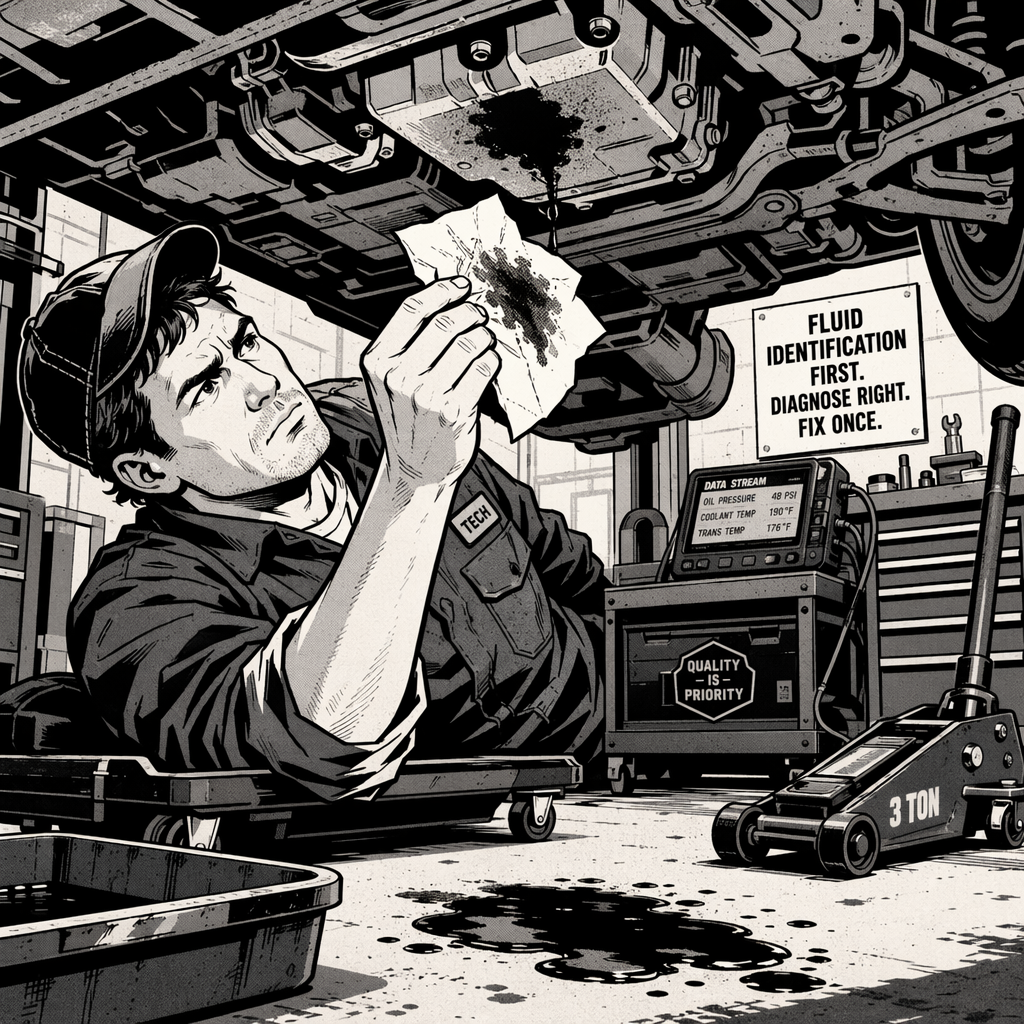
When a customer pulls into your bay pointing at a puddle under their vehicle, your first job is determining whether they’re dealing with normal AC condensation or a legitimate leak requiring immediate attention. While experienced technicians can often identify fluid types at a glance, systematic diagnosis prevents misdiagnosis and ensures you catch problems before they escalate into engine damage or safety hazards. This guide provides a structured approach to fluid leak identification, with particular focus on distinguishing the most common culprits: AC condensation, engine oil, coolant, and transmission fluid.
Understanding AC Condensation: The Most Common “False Alarm”
The single most frequent fluid puddle under vehicles is AC condensation, particularly during hot weather when drivers run their air conditioning at maximum capacity. When your AC system removes humidity from cabin air, that moisture collects in the evaporator housing and drains through a dedicated tube, typically positioned near the firewall on the passenger side.
AC condensation presents distinct characteristics that separate it from problematic leaks. The fluid appears completely clear with no color tint, forms puddles primarily during or immediately after AC operation, and occurs in predictable locations—usually centered under the passenger compartment rather than the engine bay. The volume can be substantial on humid days, sometimes creating puddles several inches in diameter that alarm vehicle owners unfamiliar with this normal operation.
Here’s the critical diagnostic difference: AC condensate evaporates relatively quickly, particularly on warm pavement. If you return to check a suspected AC puddle the next morning and find the pavement completely dry with no residual staining, you’ve confirmed normal condensation. Genuine fluid leaks leave residual stains, exhibit slippery texture, and persist on pavement surfaces even after the water component evaporates.
The simple smell test provides immediate differentiation. AC condensate is odorless or carries only a faint musty smell if the evaporator has mold growth. If you detect any chemical odor—sweet, petroleum-based, or otherwise—you’re dealing with an actual fluid leak requiring investigation.
Visual Inspection Protocol for Leak Identification
Before touching any fluid or crawling under the vehicle, conduct a systematic visual inspection that narrows your diagnostic focus. Document the puddle location relative to vehicle landmarks: front axle, oil pan, transmission, radiator, or passenger compartment. Leak position provides crucial clues about the source system.
Examine the fluid color under good lighting. Clear fluid suggests AC condensate or possibly power steering fluid in some vehicles. Light green, orange, or pink fluids indicate coolant (color varies by manufacturer and coolant type). Dark brown or black fluid points to engine oil, though fresh oil appears amber. Reddish fluid typically means transmission fluid or power steering fluid, while brake fluid appears clear to light amber and feels distinctly slippery.
Assess puddle size and pattern. AC condensation creates irregular puddles with undefined edges. Oil leaks often show rainbow sheens and spread in circular patterns. Coolant leaks may create crusty residue around the edges as antifreeze components crystallize. A large, sudden puddle appearing in one spot suggests a catastrophic failure—like a blown hose or cracked reservoir—rather than a slow seep from a degraded gasket.
Check for drip patterns versus spray patterns. A concentrated drip point indicates a leak from a stationary component: oil pan gasket, valve cover, or reservoir. Spray patterns across multiple areas suggest pressurized system failure or fluid being thrown by rotating components like the serpentine belt or driveshaft.
The Three-Test Diagnostic Method: Touch, Smell, and Residue Analysis
After visual inspection, employ three simple tests that definitively identify most automotive fluids without specialized equipment. These field tests have proven reliable across decades of shop use and provide immediate actionable information.
Touch Test: Use a clean paper towel or shop rag to collect a sample. Water-based fluids (AC condensate, washer fluid) soak into paper with no residual slickness. Oil-based fluids (engine oil, transmission fluid) create persistent slippery feel even after wiping. Coolant feels slippery but less so than petroleum products and may leave slight tackiness. The viscosity check matters too—transmission fluid flows more readily than engine oil, while gear oil appears thick and sticky.
Smell Test: Waft fumes toward your nose rather than putting your face directly over the fluid. Never inhale deeply or taste automotive fluids despite old-school mechanics suggesting the “sweet taste” coolant test—modern coolants contain toxic additives making this practice dangerous. Engine oil carries a distinct petroleum odor, recognizable to anyone who’s changed oil. Transmission fluid smells similar but often with a burnt odor if the transmission is failing. Coolant produces a sweet, chemical smell. Brake fluid has an acrid, alcohol-like odor. AC condensate smells like nothing or faintly musty.
Residue Analysis: Place a few drops on clean cardboard or a white paper towel and let it sit for 15-30 minutes. Water evaporates completely leaving no trace. Oil creates a persistent dark stain that spreads slowly. Coolant leaves a crusty residue with color tinting. Transmission fluid creates a reddish stain. This test also reveals contamination—oil with coolant contamination shows a milky appearance, indicating serious internal engine problems like head gasket failure.
Common Leak Locations by Vehicle Area
Leak location narrows the suspect list considerably. Front-center puddles typically originate from the radiator, water pump, or upper/lower radiator hoses—all coolant system components. Oil leaks from this area might indicate front main seal failure, oil cooler leaks, or timing cover gasket issues.
Center-rear engine bay leaks (under the bellhousing area) suggest rear main seal failure, oil pan gasket leaks, or transmission front pump seal issues. These areas are particularly problematic because they’re difficult to access and often require major component removal for repair.
Passenger compartment area leaks are typically AC condensate, though heater core failures also occur in this region. Heater core leaks produce coolant puddles inside the cabin and on the passenger side exterior, often accompanied by sweet smell through the vents and windshield fogging.
Rear-axle area leaks indicate differential fluid, transmission fluid (in rear-wheel-drive vehicles), or fuel system issues. Differential fluid appears thick and carries a distinctive sulfur smell. Fuel leaks are immediately identifiable by gasoline odor and create urgent safety hazards requiring immediate repair.
Wheel-area leaks might indicate brake fluid from leaking calipers or wheel cylinders, requiring immediate attention due to safety implications. Any brake fluid leak mandates urgent repair—never allow a customer to drive away with compromised brake hydraulics.
When AC Condensation Indicates Actual Problems
While AC condensate itself is normal, certain presentations indicate system problems requiring attention. Excessive water volume—puddles significantly larger than normal—might indicate evaporator drain tube partial blockage causing overflow. If the drain clogs completely, water backs into the cabin, soaking carpets and causing mold growth.
Condensate appearing in unusual locations suggests drain tube disconnection or routing problems. The drain should exit below the evaporator housing; if water appears elsewhere, inspect drain tube integrity and routing.
Musty odors accompanying AC operation indicate mold growth in the evaporator housing. While this doesn’t affect condensate drainage, it creates cabin air quality issues requiring evaporator cleaning or replacement.
If you observe both AC condensate AND another fluid leak in the same area, don’t dismiss the legitimate leak as “just condensation.” Multiple simultaneous leaks occur, particularly in older vehicles with degraded seals and gaskets.
Critical Response Protocol for Confirmed Leaks
Once you’ve identified a legitimate fluid leak, immediate action prevents minor issues from becoming catastrophic failures. Check the relevant fluid level before the customer drives away. Low oil levels risk engine seizure; low coolant creates overheating and potential head gasket damage; low brake fluid compromises stopping ability.
For significant leaks, particularly oil leaks creating large puddles, advise against driving until repairs are completed. Running an engine with insufficient lubrication causes bearing damage, cylinder scoring, and complete engine failure within minutes. The cost of a tow pales compared to engine replacement.
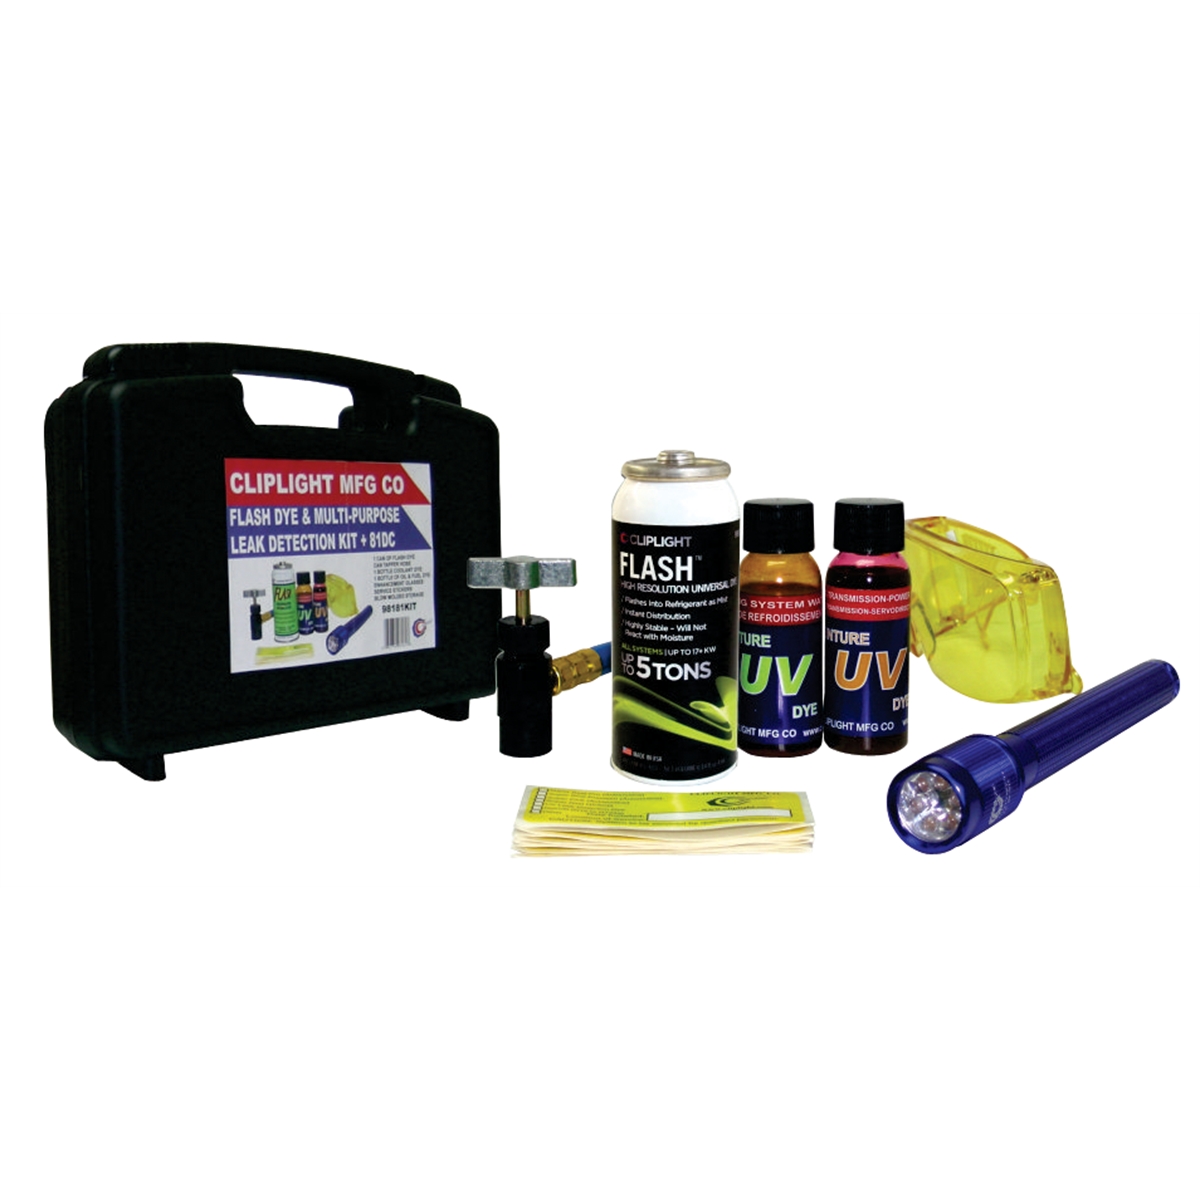
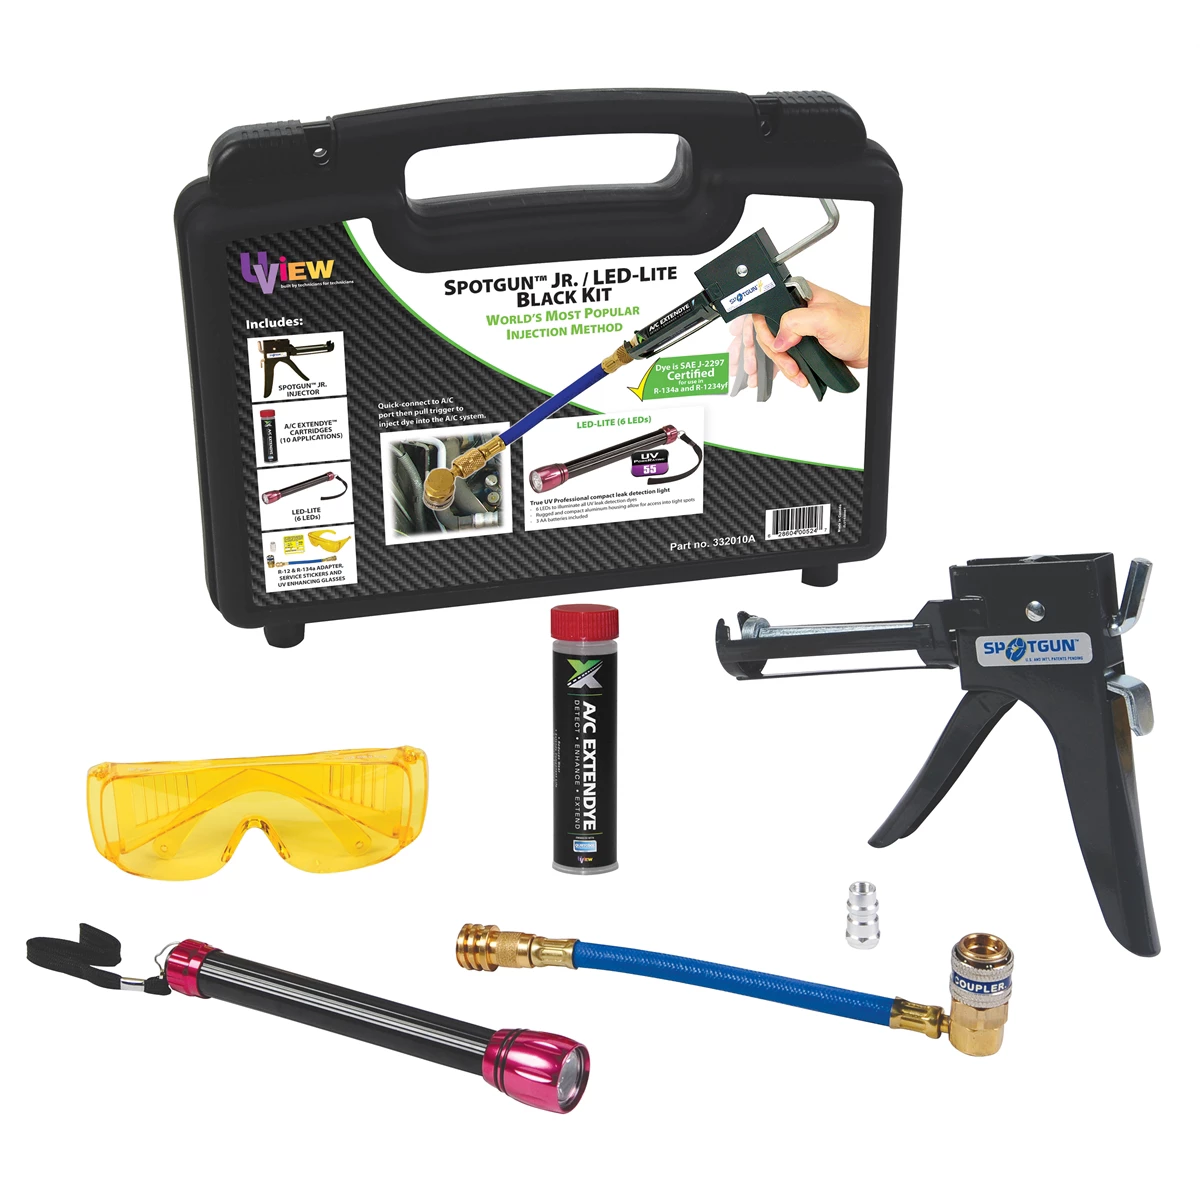
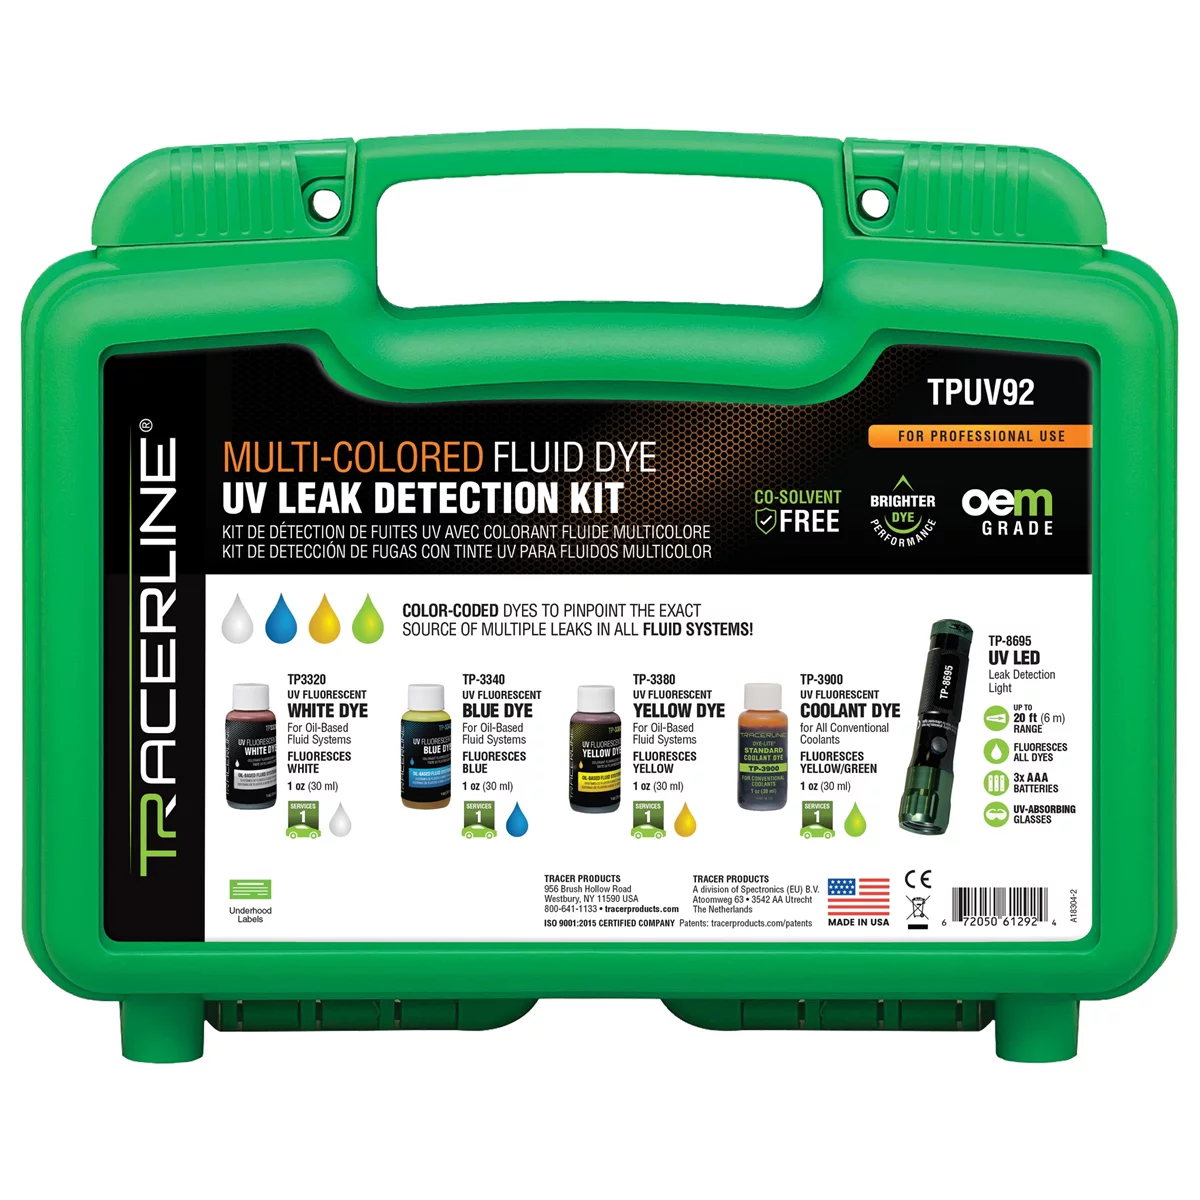
Coolant leaks require pressure testing to locate the exact failure point. Visual inspection identifies obvious hose failures and radiator cracks, but slow seeps from water pumps, freeze plugs, or internal head gasket leaks require systematic pressure testing and UV dye tracking.
Document the leak with photos showing location, fluid type, and volume. This documentation supports repair estimates and helps track whether leaks worsen over time if the customer delays repairs.
For vehicles under warranty or with recent service, check whether the leak relates to recent work. Overfilled oil creating front main seal leaks, improperly installed oil filters causing leaks, or disturbed gaskets from nearby repairs constitute legitimate warranty claims or comeback work.
Quick Identification Checklist
- Clear, odorless fluid under passenger area during AC use: Normal AC condensation
- Sweet-smelling, colored (green/orange/pink) fluid: Coolant leak – check level, pressure test system
- Dark, petroleum-smelling, slippery fluid under engine: Oil leak – check oil level, locate source
- Reddish, burnt-smelling fluid under transmission area: Transmission fluid – check level, inspect cooler lines
- Clear to amber, very slippery fluid near wheels: Brake fluid – urgent safety issue, inspect hydraulics immediately
- Gasoline smell: Fuel leak – safety hazard, repair immediately, no smoking/sparks
- Thick, sulfur-smelling fluid at rear axle: Differential fluid – check level, inspect pinion seal and cover gasket
Special Considerations for Modern Vehicles
Contemporary vehicles introduce additional complexity to leak diagnosis. Hybrid and electric vehicles use electric AC compressors that may produce condensate even when the vehicle is “off” if the climate control system activates for battery thermal management. This confuses owners who find puddles under vehicles that haven’t been driven.
Turbocharged engines incorporate additional oil and coolant circuits for turbo lubrication and cooling, creating new potential leak points. Oil leaks from turbo oil feed or return lines, and coolant leaks from turbo coolant jackets require specific inspection protocols.
Diesel exhaust fluid (DEF) systems in modern diesel vehicles create another fluid to track. DEF appears clear to slightly blue, smells like ammonia, and crystallizes into white crusty deposits. While not immediately harmful like coolant or oil leaks, DEF leaks cause emissions system failures and require repair.
Start-stop systems and extended oil change intervals mean modern engines tolerate oil consumption differently than older designs. Some manufacturers specify “normal” oil consumption rates that would have indicated serious problems in previous generations. Document baseline consumption rates to distinguish slow leaks from consumption.
Preventive Inspection Recommendations
Rather than waiting for customers to report leaks, incorporate under-vehicle inspection into routine service intervals. Clean the undercarriage during oil changes to establish a baseline—fresh leaks show immediately against clean components.
Use UV dye in oil and coolant systems for vehicles with suspected slow leaks that aren’t immediately visible. UV dye makes leak paths obvious under black light inspection, particularly for seeps from rear main seals, valve covers, and other difficult-to-access areas.
Inspect rubber components (hoses, gaskets, seals) during every service. Rubber degrades over time regardless of mileage, and preventive hose replacement costs far less than emergency repairs after catastrophic hose failure.
Document fluid condition during every service. Dark, contaminated oil suggests extended change intervals or internal engine problems. Milky oil indicates coolant contamination requiring immediate investigation. Burnt transmission fluid indicates overheating and impending failure.
Educate customers about normal AC condensation to reduce unnecessary panic and service visits. A brief explanation during vehicle delivery prevents worried calls about “mysterious leaks” during the first hot day of summer.
Frequently Asked Questions
Is it safe to drive with fluid leaking under my car?
It depends entirely on the fluid type and leak severity. AC condensation requires no action. Small oil seeps might allow limited driving to a repair facility if the oil level remains adequate, but check oil level before driving and monitor constantly. Coolant leaks risk overheating and head gasket damage—drive only if the level remains sufficient and temperature stays normal. Brake fluid leaks constitute immediate safety hazards requiring towing, not driving. Fuel leaks create fire hazards and require immediate professional attention.
How can I tell the difference between water and coolant?
Water (AC condensate) appears completely clear with no color tint, has no odor, evaporates quickly leaving no residue, and isn’t slippery. Coolant shows color (green, orange, pink, or blue depending on type), smells sweet or chemical, leaves crusty residue when it dries, and feels slightly slippery. The smell test is most definitive—water has no odor while coolant carries a distinctive sweet smell.
Why does my car leak more fluid on hot days?
Hot weather increases AC usage, producing more condensation drainage. Heat also expands metal components, potentially worsening seal and gasket leaks that don’t appear in cooler temperatures. Additionally, thinner oil viscosity at higher temperatures allows oil to seep through worn seals more readily. If leaks appear only on hot days and stop in cooler weather, you likely have borderline seals that require replacement before they fail completely.
Can I just keep adding oil or coolant instead of fixing the leak?
This approach risks catastrophic failure and costs far more long-term than proper repairs. Oil leaks that require regular topping off indicate significant seal or gasket failure—if you forget to check level, engine seizure results. Coolant leaks allowing air into the system create hot spots causing head gasket failure. Small leaks become large leaks. Additionally, leaking fluids contaminate the environment and may violate local regulations. Fix leaks promptly rather than managing them with top-offs.
What should I do immediately after discovering a leak?
First, verify the fluid type using the inspection methods described above. Check the relevant fluid level—oil, coolant, brake fluid, or transmission fluid depending on your identification. If the level is critically low, do not drive the vehicle. For brake fluid or large oil/coolant leaks, arrange towing to a repair facility. For small seeps with adequate fluid levels, you may drive cautiously to a shop while monitoring fluid level and warning lights. Document the leak with photos and note when it appeared relative to recent service work.
How much does fluid leak repair typically cost?
Repair costs vary dramatically based on leak location and accessibility. Simple hose replacement might cost $100-200 including parts and labor. Oil pan gasket replacement runs $200-500 depending on vehicle design. Rear main seal replacement requires transmission removal and typically costs $800-1500. Head gasket replacement for coolant leaks between cylinders ranges from $1500-3000. The key is early intervention—small leaks caught early cost far less than the catastrophic failures that result from neglected leaks.
Diagnostic Tools for Leak Identification
Identifying fluid leaks accurately requires more than visual inspection—the right diagnostic tools eliminate guesswork and speed up diagnosis. Automotive Diagnostic Tools help you confirm fluid types, locate leak sources, and document problems for repair estimates.
- Pressure testing equipment for coolant and hydraulic systems
- UV dye kits and black lights for tracking slow seeps from hidden seals
- Fluid testing strips and viscosity gauges for condition assessment

The Toolsource Technical Team blends decades of real-world automotive service experience with up-to-date technical research. Our writers collaborate with professional mechanics, shop owners, and diagnostic specialists to deliver practical, workshop-ready guidance you can trust.


Follow us on social media