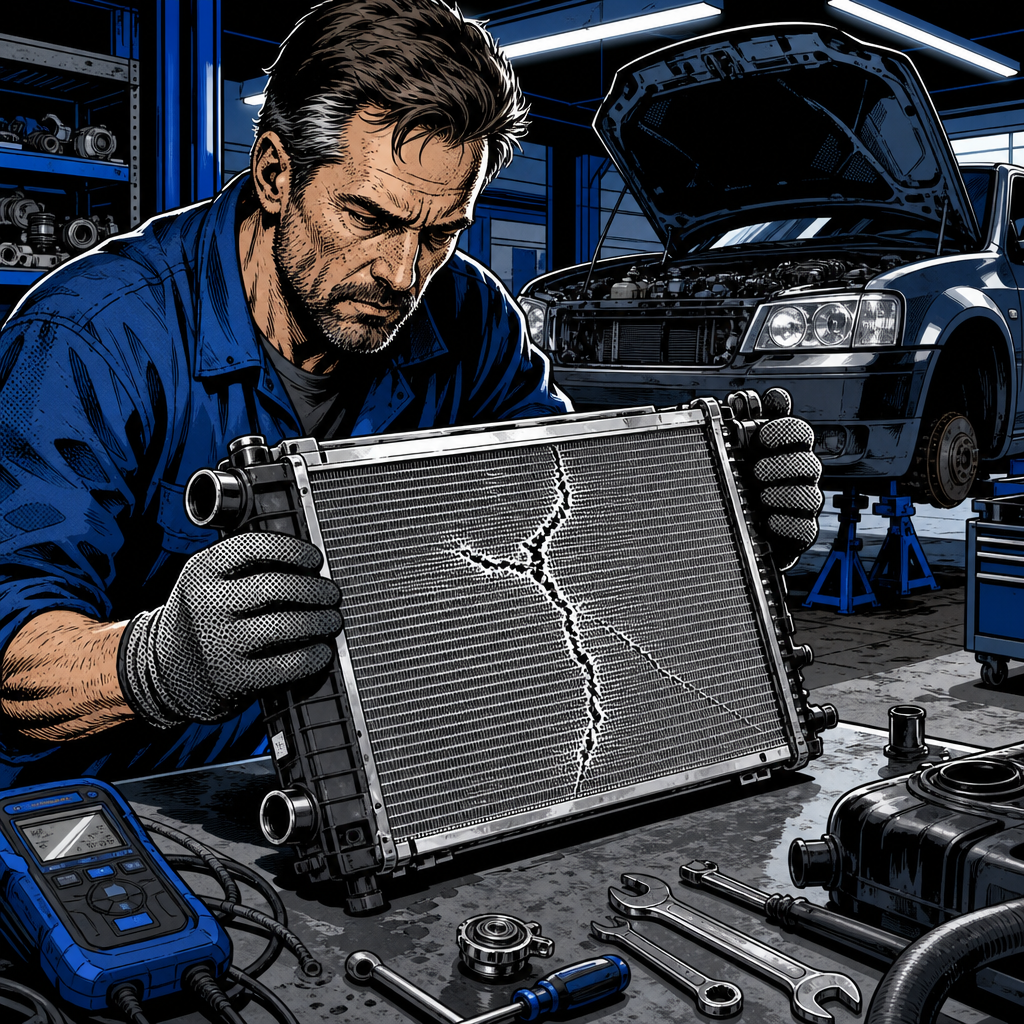
When you see fluid pooling under your vehicle after hitting a speed bump, your first concern should be identifying what’s leaking and how quickly you need to act. If that fluid is coolant from a damaged radiator, you’re looking at a repair that needs immediate attention. While radiator damage might seem minor compared to other automotive catastrophes, ignoring it can transform a straightforward few-hundred-dollar fix into a complete engine rebuild costing thousands. The good news is that radiator replacement ranks among the more manageable DIY repairs, and recognizing the signs early gives you options for how to proceed.
Identifying Coolant vs. Other Fluids
The first step in diagnosing your problem is confirming that you’re actually dealing with coolant. Coolant typically appears bright green, orange, or pink depending on the type your vehicle uses, though older coolant can fade to a rusty brown color. The distinctive characteristic is the smell—coolant has a sweet, almost maple-syrup-like odor that many technicians describe as similar to candy. This sweetness comes from ethylene glycol, the primary ingredient in most automotive coolants.
Check the fluid’s texture by rubbing a small amount between your fingers. Coolant feels slippery and somewhat oily, but thinner than motor oil. If you’re still uncertain, look at where the fluid is dripping from. Coolant leaks from radiator damage typically originate from the front-center of the vehicle, directly behind the grille area. The leak will be substantial if you’ve cracked the radiator itself—we’re talking about a steady stream or large puddle forming within minutes, not just a few drops.
Compare this to other common leaks: engine oil appears dark brown or black and feels thick and greasy; transmission fluid is reddish and slick; power steering fluid is usually clear to amber; and windshield washer fluid is blue and smells like detergent. Distinguishing between these fluids quickly helps you understand the urgency of your situation. With coolant, that urgency is high.
Why Radiators Crack from Minor Impacts
It might seem surprising that a slow-speed encounter with a speed bump can crack a radiator, but several factors make this component particularly vulnerable. Modern radiators use plastic end tanks attached to an aluminum core, and that plastic becomes increasingly brittle over time. Heat cycling—the constant expansion and contraction from engine temperature changes—gradually degrades the plastic’s structural integrity. A radiator that’s been in service for five to ten years may look fine externally but has microscopic stress fractures waiting for the right impact to propagate into a full break.
The radiator’s position makes it especially susceptible to damage. It sits at the front of the engine bay, often as the lowest point behind the front bumper. When your vehicle bottoms out on a speed bump, curb, or road debris, the radiator is frequently the first component to make contact. Even if you hit the bump squarely with your wheels, worn suspension components—particularly shocks and struts—allow excessive vertical travel that lets the chassis slam down onto the bump’s peak.
Environmental factors accelerate this vulnerability. Extended exposure to heat weakens plastic faster than normal conditions. If you’ve been driving in a heat wave or parking in direct sunlight, your radiator’s plastic components are already stressed before any impact occurs. The thermal expansion from extreme heat can bring the plastic right to the edge of its structural limits, meaning even a five-mile-per-hour bump is enough to cause failure. This explains why radiators sometimes seem to crack for “no reason”—the impact was just the final straw in a long degradation process.
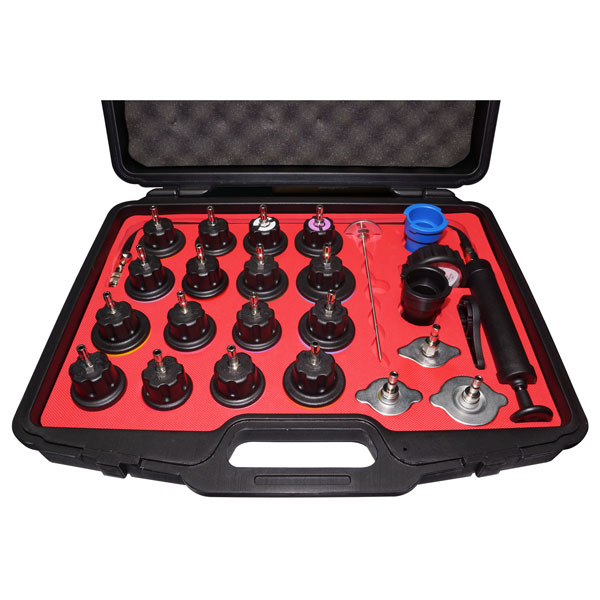
Universal Radiator Cooling System Pressure Tester Kit
Mfg: Baum Tools
Part #: BFZKIT
ID: 149233

Immediate Actions to Prevent Engine Damage
The moment you notice coolant leaking, your priority shifts to preventing engine damage. Do not continue driving. This cannot be emphasized enough: running an engine without adequate coolant will cause catastrophic overheating in minutes. The temperature gauge might not immediately reflect the problem because the sensor needs coolant around it to register heat. By the time the gauge reads “hot,” you may have already warped the cylinder head, blown the head gasket, or worse.
If you’re already driving when you notice the leak, pull over immediately in a safe location. Turn off the engine and do not restart it. Even if you think you can make it home or to a repair shop, the risk isn’t worth it. A warped cylinder head or cracked engine block transforms a $200-400 radiator job into a $3,000-5,000 engine repair or replacement. One driver’s experience illustrates this perfectly: after noticing vibration but continuing to drive, she had to keep pressing the accelerator harder as the engine overheated and lost power, ultimately destroying the engine when it seized on the highway.
If you’re close to home or a shop—within a few hundred feet—and the leak appears to be from a hose rather than the radiator itself, you might consider a very slow crawl with the heater on full blast. The heater core acts as a secondary radiator and can help dissipate some heat. However, this is a last resort that only applies when you can literally see your destination. Watch the temperature gauge like a hawk, and if it starts climbing even slightly above normal, shut down immediately.
Quick Diagnosis Checklist
- Confirm fluid is coolant by color (green/orange/pink) and sweet smell
- Locate leak source—radiator body, hoses, or connection points
- Check coolant reservoir level (will be low or empty with active leak)
- Inspect radiator face for visible cracks in plastic end tanks
- Look for damage to lower radiator area and underneath splash shields
- Assess leak rate—dripping vs. streaming vs. pouring
- Note any warning lights (temperature, check engine)
- Document any unusual sounds or vibrations before leak appeared
Performing the Radiator Replacement
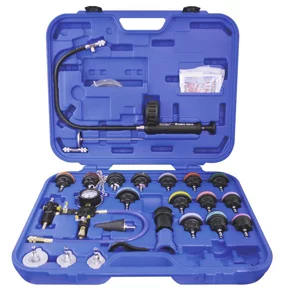
Radiator Pressure Tester & Vacuum Type Cooling System Kit w 7858
Mfg: Astro Pneumatic
Part #: 78585
Replacing a radiator is well within the capabilities of a home mechanic with basic tools and a few hours to spare. Start by ordering the correct replacement radiator for your specific vehicle make, model, and engine. Online parts retailers offer OEM and aftermarket options at significantly lower prices than dealer parts departments—expect to spend $100-300 for the radiator itself. While you’re ordering parts, pick up fresh coolant (typically one to two gallons depending on your system capacity) and consider replacing the radiator hoses if they’re original or show any signs of cracking or softness.
The replacement process follows a straightforward sequence. First, ensure the engine is completely cold—attempting this repair on a hot engine risks severe burns from pressurized coolant. Drain the existing coolant by opening the petcock valve at the bottom of the radiator or removing the lower hose. Catch the coolant in a drain pan; it’s toxic and requires proper disposal at a recycling center or auto parts store. Disconnect the upper and lower radiator hoses, then remove any electrical connections to cooling fans mounted on the radiator. Most radiators are held in place by two to four bolts or clips at the top; remove these fasteners and carefully lift the radiator out of the engine bay, tilting as necessary to clear any obstructions.
Installation reverses the removal process. Set the new radiator in place, ensuring any mounting pins or alignment tabs seat properly in their receptacles. Secure the mounting hardware, reconnect hoses (replace the spring clamps with proper worm-gear clamps for better security), and reattach electrical connectors. Fill the system with a 50/50 mixture of coolant and distilled water according to your owner’s manual specifications. Most systems hold between one and three gallons total. Start the engine with the radiator cap off and let it warm up to operating temperature while adding coolant as the level drops—this process “burps” air out of the system. Once the thermostat opens and coolant circulates fully, top off the system, install the radiator cap, and check for leaks.
Many technicians recommend running the engine through several heat cycles over the next day or two, checking coolant levels each time after the engine cools. Air pockets can take time to work their way out, and you want to ensure the system maintains proper fill levels. Keep an eye on the temperature gauge during your first few drives and inspect underneath for any signs of leakage.
Preventing Future Radiator Damage

Prevention starts with awareness of your vehicle’s ground clearance and approach angles. If you’ve lowered your suspension or added aftermarket components that reduce clearance, you need to adjust your driving accordingly. Approach speed bumps at an angle when possible—this allows one wheel to climb while the other stays lower, reducing the maximum compression of your suspension travel. Slow to a crawl well before the obstacle; most radiator damage from speed bumps occurs because drivers don’t reduce speed enough soon enough.
Maintain your suspension components on schedule. Worn shocks and struts allow excessive vertical movement, letting the chassis bottom out where properly functioning suspension would absorb the impact. If you notice your vehicle bouncing more than once after hitting a bump, or if it feels “floaty” and disconnected from the road, your shock absorbers have likely failed and need replacement. This isn’t just about comfort—it’s about protecting expensive components like your radiator from impact damage.
Regular cooling system maintenance extends radiator life and reduces the likelihood of spontaneous failure. Flush and replace your coolant according to the manufacturer’s schedule, typically every 30,000 to 50,000 miles or every three to five years. Fresh coolant contains corrosion inhibitors that protect the radiator’s internal passages from degradation. Inspect hoses annually for cracks, soft spots, or swelling, and replace them before they fail. A $15 hose replacement is far preferable to being stranded with a cooling system failure.
Consider installing a skid plate or lower protection if you frequently encounter rough roads, steep driveways, or poorly maintained parking lots. These guards mount to the underside of the vehicle and provide a sacrificial barrier between obstacles and vulnerable components. While they add some weight and may require removal for oil changes, they’re invaluable insurance for protecting not just the radiator but also the oil pan, transmission, and exhaust components.
Understanding When Professional Help Is Needed
While radiator replacement is a manageable DIY project, certain situations call for professional assistance. If you lack proper jack stands, ramps, or a safe working space, attempting the repair introduces unnecessary risk. Working under a vehicle supported only by a floor jack is extremely dangerous—always use properly rated jack stands on solid, level ground. If your workspace doesn’t allow for this, the cost of professional installation is worthwhile.
Some vehicles present additional complications that push the repair beyond basic DIY difficulty. Front-wheel-drive vehicles with transverse-mounted engines often require removing multiple components just to access the radiator. You might need to unbolt the air conditioning condenser, disconnect transmission cooler lines, or even partially lower the engine subframe. If the repair manual for your specific vehicle shows more than ten steps to access the radiator, consider whether your skill level and tool collection match the job’s demands.
Professional installation becomes essential if the impact damaged more than just the radiator. Speed bump collisions can bend mounting brackets, crack the AC condenser, damage cooling fans, or misalign the radiator support structure. A thorough inspection by an experienced technician can identify collateral damage that might not be immediately obvious. Additionally, if you’ve already overheated the engine before catching the leak, you’ll want a professional assessment to check for head gasket damage, warped cylinder heads, or other heat-related failures that could surface later.
When selecting a shop for radiator replacement, get quotes from at least two or three facilities. Expect labor costs between $150-400 depending on your location and vehicle complexity, with total repair costs typically ranging from $300-800 including parts. Be wary of shops that want to replace components that aren’t obviously damaged—a cracked radiator doesn’t automatically mean you need new hoses, thermostats, or water pumps unless those components show signs of failure.
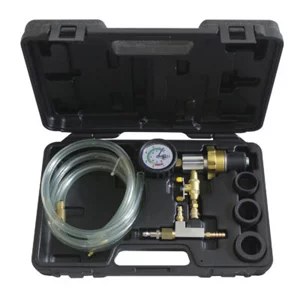
Radiator Pressure Tester & Vacuum Type Cooling System Kit w 78581 Adapter
Mfg: Astro Pneumatic
Part #: 78585
ID: 122118
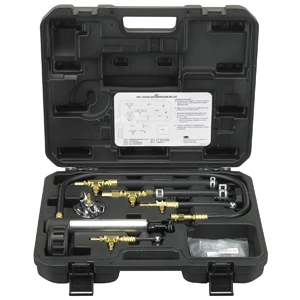
Universal Radiator Cooling System Pressure Tester Kit
Mfg: Baum Tools
Part #: BFZKIT
ID: 149233
Frequently Asked Questions
How long can I drive with a cracked radiator?
You shouldn’t drive at all with an actively leaking radiator. If you must move the vehicle a very short distance (less than a few hundred feet) and can confirm there’s still coolant in the system, proceed at idle speed while monitoring the temperature gauge constantly. Any increase in temperature means immediate shutdown. The risk of engine damage far outweighs the inconvenience of calling a tow truck.
Can I use stop-leak products to fix a cracked radiator?
Stop-leak products are temporary measures at best and can create additional problems by clogging narrow passages in the radiator core and heater core. They might slow a minor seep but won’t seal a crack caused by impact damage. These products also contaminate the cooling system, making future repairs more difficult. Use them only as an absolute emergency measure to get to a repair facility, then plan on a complete system flush and proper repair.
Why did my radiator crack at such a low speed?
Radiator plastic degrades over time from heat cycling and UV exposure. A radiator that’s been in service for several years may have significant internal stress and micro-cracks that aren’t visible externally. Your low-speed impact was likely just the final stress that propagated existing damage into a visible crack. Additionally, if your suspension is worn, even a slow approach to a speed bump can result in the chassis bottoming out hard enough to crack brittle plastic.
Should I replace radiator hoses when replacing the radiator?
If your hoses are more than five years old or show any signs of cracking, softness, or swelling, replace them while you have the radiator out. The additional cost is minimal ($30-60 for both hoses), and you’re already doing the labor to access them. Replacing hoses during radiator service is preventive maintenance that can save you from a roadside breakdown later. At minimum, inspect them carefully and replace any that seem questionable.
How do I know if I damaged my engine from overheating?
Signs of overheating damage include white smoke from the exhaust (blown head gasket allowing coolant into cylinders), rough idle or misfiring, coolant mixing with engine oil (check for milky residue on the dipstick or oil cap), or coolant loss without visible external leaks. If you experienced severe overheating where the temperature gauge reached the red zone, have a mechanic perform a compression test and inspect for head gasket failure before assuming you’re in the clear.
Are aftermarket radiators as good as OEM parts?
Quality aftermarket radiators from reputable manufacturers perform comparably to OEM parts at a fraction of the cost. Look for units with aluminum cores and reinforced plastic tanks, and check reviews specific to your vehicle model. Some aftermarket radiators actually use thicker cores or improved designs compared to the original equipment. Avoid the cheapest options from unknown brands—a radiator failure can leave you stranded, so this isn’t the place to prioritize absolute minimum cost over reliability.
Automotive Cooling System Tools
Diagnosing and replacing a cracked radiator requires the right equipment and supplies. Our Automotive Cooling System category stocks everything needed for radiator work, from drain pans and hose clamps to coolant and flush kits.
- Drain pans, funnels, and coolant disposal containers
- Radiator hoses, clamps, and replacement gaskets
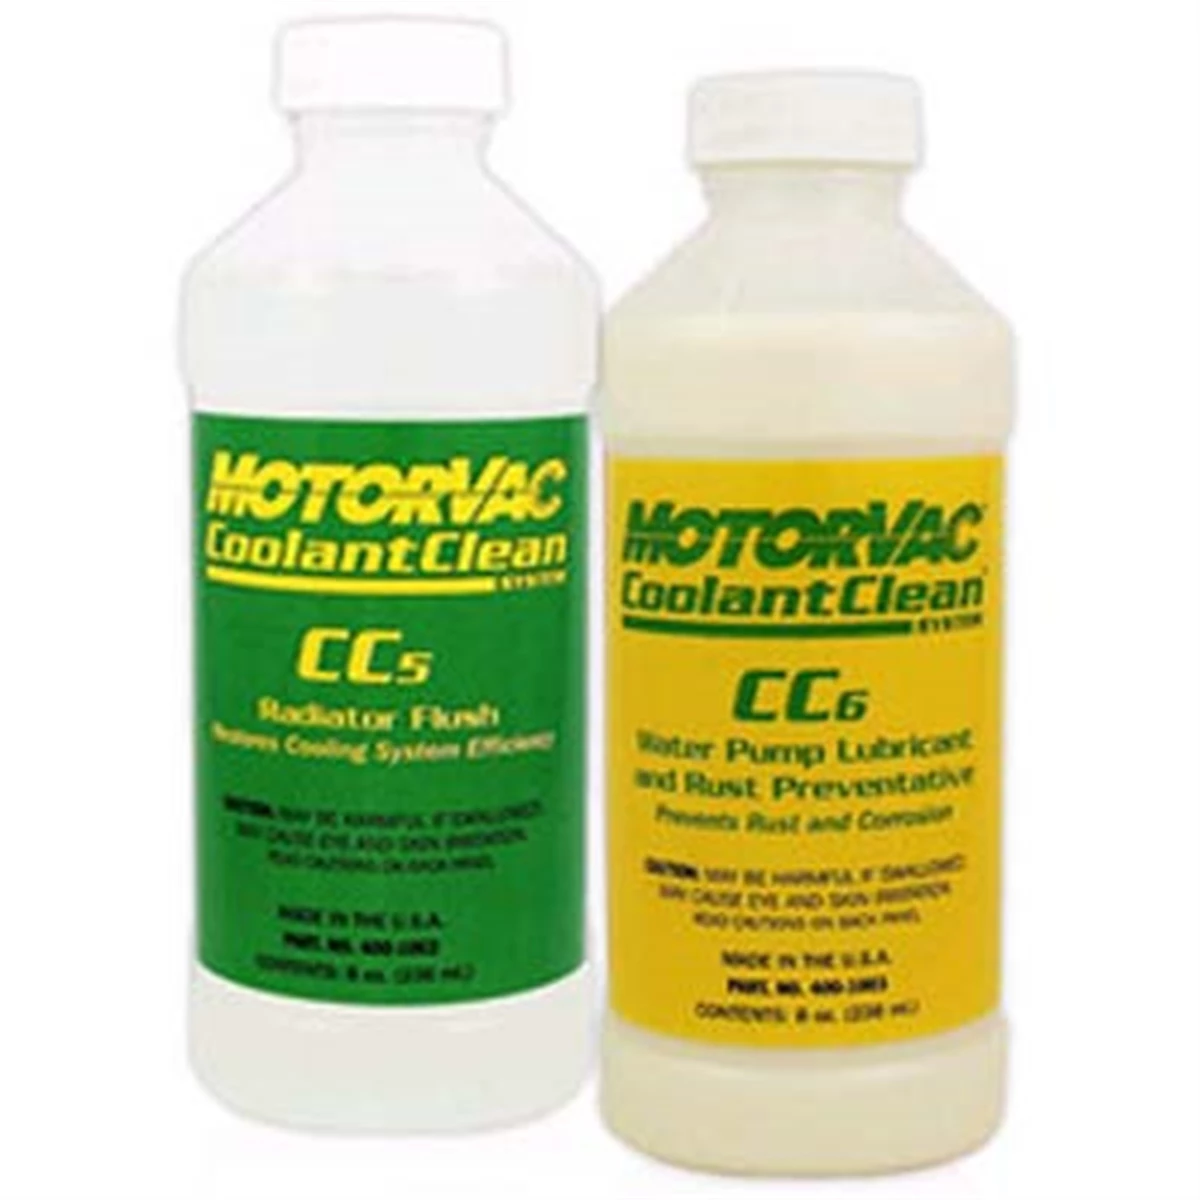
- Coolant, distilled water, and system flush products
Essential Cooling System Tools & Products
Radiator damage requires proper diagnostics and quality replacement parts to prevent engine overheating. Browse our complete automotive cooling system collection for everything you need to repair and maintain your vehicle’s cooling performance.
- Radiator Replacement Units – OEM and aftermarket radiators in stock for most vehicle makes and models
- Cooling System Diagnostic Tools – Pressure testers, leak detectors, and thermal imaging cameras for accurate diagnosis
- Radiator Repair Supplies – Epoxy sealants, replacement hoses, clamps, and coolant additives for temporary and permanent fixes

The Toolsource Technical Team blends decades of real-world automotive service experience with up-to-date technical research. Our writers collaborate with professional mechanics, shop owners, and diagnostic specialists to deliver practical, workshop-ready guidance you can trust.


Follow us on social media