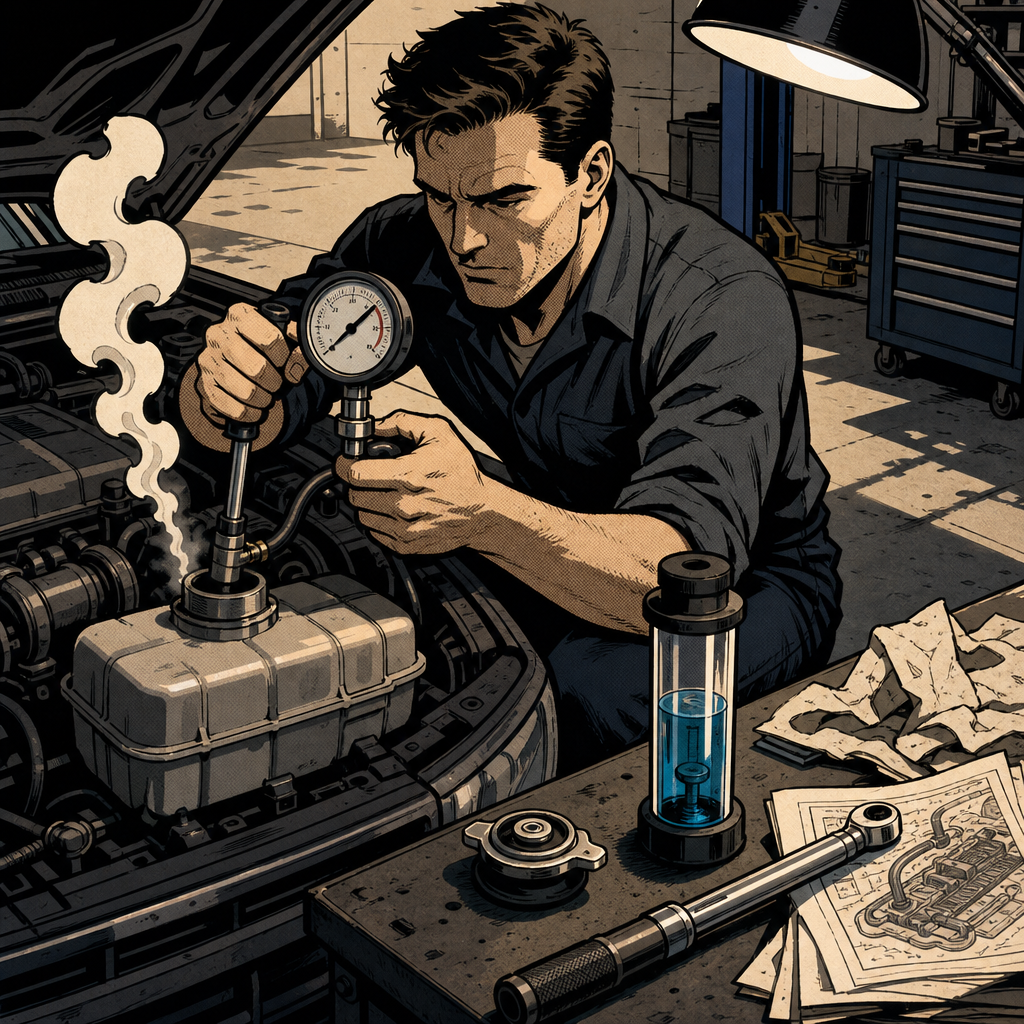
When you pop the hood and see your coolant reservoir bubbling like a witch’s cauldron, your first instinct might be panic. The internet will quickly tell you it’s a blown head gasket—an expensive repair that can easily exceed $2,000 at a shop. But before you start mourning your bank account or shopping for a new car, you need a systematic diagnostic approach. While exhaust gases entering the cooling system through a compromised head gasket is indeed a common cause of vigorous bubbling, several other failures produce identical symptoms. Some of these alternatives cost under $50 to fix. This guide walks you through the proper diagnostic sequence, from the simplest pressure checks to definitive block testing, so you can identify the real problem before committing to a major teardown.
Understanding Why Coolant Bubbles: The Pressure Problem
Your cooling system is designed to operate under pressure—typically between 13-16 PSI depending on your vehicle. This elevated pressure raises the boiling point of your coolant mixture from 212°F to around 265°F, preventing boilover under normal operating conditions. When you see aggressive bubbling in the reservoir, you’re witnessing one of two scenarios: either the system cannot build proper pressure (allowing coolant to boil at lower temperatures), or high-pressure gases are being forced into the cooling system from somewhere they shouldn’t be.
The most serious cause is combustion gases crossing through a failed head gasket into the water jackets surrounding the cylinders. Each combustion event forces high-pressure exhaust into your coolant passages, creating the characteristic bubbling you’re seeing. But this isn’t the only possibility. A failing radiator cap that won’t hold pressure, a cracked overflow reservoir that can’t seal, a failed thermostat causing localized overheating, or even a water pump with a compromised seal can all create bubbling conditions that look identical to a casual observer.
The key distinction lies in timing and testing. If your reservoir bubbles immediately when the engine is cold—before the thermostat even opens—you’re almost certainly looking at combustion gases entering the system. If bubbling only occurs after the engine reaches operating temperature, you might be dealing with a pressure retention problem or a cooling system component failure instead.
First Steps: Visual Inspection and Simple Tests
Before you invest in diagnostic tools or tear anything apart, conduct a thorough visual inspection. Check your reservoir tank carefully for cracks, especially around the mounting points and near the bottom. A cracked reservoir cannot hold system pressure, causing coolant to boil at normal engine temperatures and creating bubbles that mimic head gasket failure. If you find cracks, replace the reservoir and cap before proceeding with further diagnostics—this is a $30-60 fix that could save you thousands in unnecessary work.
Inspect the radiator cap next. Look for corrosion, a damaged seal, or a bent sealing surface. The cap’s pressure rating is stamped on top—verify it matches your vehicle’s specifications. A failing cap is the single most common cause of cooling system pressure problems and costs $10-25 to replace. If your cap shows any signs of deterioration or if you’re unsure of its age, replace it as part of your diagnostic process.
Now perform the cold start test. Let your engine sit overnight until completely cold—ambient temperature, not just cool to the touch. Remove the radiator cap (or reservoir cap on systems without a separate radiator cap) and start the engine without replacing the cap. Watch the coolant surface carefully. If you see immediate bubbling or the coolant level rises rapidly within the first 30-60 seconds—before the thermostat opens—you have exhaust gases entering the cooling system. This is a strong indicator of head gasket failure. If the coolant remains calm for several minutes until the engine warms up, your problem may lie elsewhere.
Pressure Testing Your Cooling System
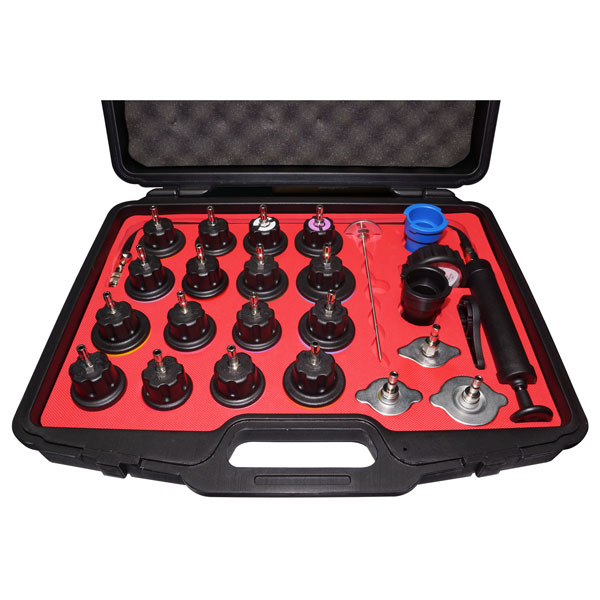
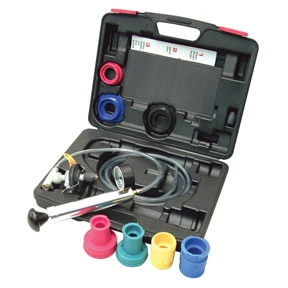
A cooling system pressure tester is the most definitive way to separate head gasket failure from simple pressure retention problems. Most auto parts stores loan or rent these tools with a deposit. The kit includes a pump assembly and various adapter caps that fit different reservoir and radiator configurations.
With the engine completely cold, remove your radiator or reservoir cap and install the appropriate adapter from your pressure tester kit. Ensure it seats properly and the connection is secure. Pump the tester to your system’s rated pressure (check your owner’s manual or the pressure rating stamped on your radiator cap—typically 13-16 PSI for most vehicles). Watch the gauge for 10-15 minutes. A healthy system should hold steady pressure with minimal drop. A loss of more than 2 PSI indicates a leak somewhere in the system.
If pressure drops quickly, inspect all visible hoses, connections, and the radiator itself for wet spots indicating external leaks. Check under the vehicle for drips. If you find no external leaks but pressure still drops, you may have an internal leak—either past the head gasket or through a warped head surface.
Now perform the combustion leak test. With the pressure tester still attached and pumped to system pressure, have a helper start the engine. Watch the gauge carefully. If pressure immediately spikes above your pumped pressure or if the gauge needle bounces rhythmically with engine RPM, exhaust gases are definitely entering the cooling system. This confirms head gasket failure or a cracked cylinder head. A healthy system’s pressure should remain relatively stable or decrease slightly as the thermostat opens and coolant circulates.
Block Testing: Chemical Confirmation of Exhaust Gases
When pressure testing suggests head gasket failure but you want absolute confirmation before committing to an expensive repair, a combustion leak detector (block tester) provides chemical verification. This tool uses a special fluid that changes color when exposed to combustion gases containing hydrocarbons.
Block test kits are available at most auto parts stores for $30-50, or many stores will perform the test for you. The tester consists of a clear chamber filled with blue test fluid and a rubber bellows or syringe attachment that fits over your radiator or reservoir opening. With the engine at operating temperature and the radiator cap removed, position the tester over the opening without letting the fluid touch the coolant (the fluid reacts to vapor, not liquid contact).
Draw coolant vapor through the test fluid by squeezing and releasing the bulb or pulling the syringe. Repeat this 10-15 times over about two minutes. If the blue fluid turns yellow or green, combustion gases are present in your cooling system, confirming head gasket failure or a cracked head. The fluid should remain blue if your cooling system is sealed from the combustion chambers.
This test is extremely reliable but requires the engine to be at operating temperature. Never perform a block test on a cold engine—you won’t draw enough vapor through the system. Similarly, don’t rev the engine excessively during testing, as this can splash coolant into the test fluid and create false positives.
Evaluating Other Common Causes Before Condemning the Head Gasket
If your pressure test and block test results are inconclusive, or if bubbling only occurs after extended driving, investigate these alternative causes before assuming head gasket failure.
Thermostat failure: A stuck-closed thermostat prevents coolant circulation, causing localized boiling near the engine block. This creates steam bubbles that travel to the reservoir, mimicking head gasket symptoms. Replace the thermostat ($15-40 part) if you’re experiencing overheating symptoms alongside bubbling. A new thermostat is cheap insurance during any cooling system diagnosis.
Water pump failure: A water pump with a failing impeller or worn bearings cannot circulate coolant effectively, leading to hot spots and boiling. Check for coolant weeping from the pump’s weep hole (located between the bearing and seal), shaft play, or grinding noises. If your temperature gauge shows normal readings but you’re still experiencing bubbling, and you hear bearing noise from the water pump area, pump failure is likely.
Cooling fan issues: If bubbling only occurs after idling or in traffic, your cooling fan may not be operating. Verify the fan runs when the engine reaches operating temperature. A non-functional fan allows heat to build up when airflow is insufficient, causing coolant to boil in the radiator.
Radiator restrictions: Internal corrosion or external debris blocking airflow can prevent adequate heat dissipation. If your radiator is original equipment on a vehicle with over 100,000 miles, consider this possibility—especially if you’ve neglected coolant changes. Look for discolored coolant, rust particles, or a radiator that’s hot at the top but cool at the bottom.
Understanding Your Repair Options If It Is the Head Gasket
Once you’ve confirmed head gasket failure through proper testing, you face several repair paths depending on your situation, mechanical skill, and the vehicle’s value.
Professional replacement: A shop will charge $1,500-$3,000+ for head gasket replacement on most four-cylinder engines, and significantly more for V6 or V8 configurations. This involves removing the cylinder head, inspecting for warpage, resurfacing if necessary, installing a new gasket with proper torque specifications, and reassembling with new head bolts. It’s the most reliable solution but expensive.
DIY replacement: If you have mechanical aptitude, tools, and a long weekend, head gasket replacement is within reach of a determined DIYer on many vehicles. You’ll need a torque wrench, proper service manual with torque specifications and sequences, and ideally a straight edge and feeler gauges to check for head warpage. Budget for machine shop services to resurface the head ($75-150) if you find any warpage—attempting to reuse a warped head guarantees failure.
Chemical sealers: Products like Bar’s Leaks Head Gasket Repair offer a temporary solution for small head gasket failures. Results vary dramatically—some users report months or years of service, while others see no improvement. The best application method involves draining the cooling system, adding the sealer to clean coolant, driving for 30-45 minutes to allow the product to circulate and cure, then monitoring for improvement. This approach makes sense if you’re dealing with a low-value vehicle where repair costs exceed the car’s worth, buying time until you can afford replacement, or facing a minor breach that doesn’t justify immediate teardown. Don’t expect miracles, and understand that sealers can sometimes clog heater cores or radiators if overused or improperly applied.
Preventing Future Cooling System Failures
Whether you’re recovering from a head gasket replacement or you’ve dodged that bullet by fixing a simpler issue, implement these practices to maximize cooling system longevity.
Maintain proper coolant mixture and change intervals. Most modern vehicles require coolant replacement every 50,000-100,000 miles depending on the coolant type. Old coolant loses its anti-corrosion properties, leading to internal damage that can cause head warpage and gasket failure. Always use the coolant type specified by your manufacturer—mixing incompatible coolants accelerates corrosion.
Monitor your temperature gauge religiously. Most head gasket failures result from continued operation after initial overheating. The moment your temperature gauge climbs into the red zone, shut the engine off immediately. Pull over safely, turn on your hazard lights, and wait for a tow. The ten minutes you save by limping to your destination can cost thousands in heat-related damage. Aluminum heads begin warping within minutes of severe overheating, and once the deck surface warps, simple head gasket replacement won’t seal properly without machine work.
Replace your radiator cap every few years as preventive maintenance. At $10-25, it’s cheap insurance against pressure-related problems that can cascade into more serious failures. Keep a spare cap in your vehicle for emergency roadside troubleshooting.
Address cooling system leaks immediately rather than continuously topping off coolant. Running low on coolant, even temporarily, creates air pockets that prevent proper heat transfer and can cause localized overheating that damages head gaskets. If you’re adding coolant more than once every few months, you have a leak that requires attention.
Quick Reference Diagnostic Checklist
- Inspect reservoir and cap for cracks, damage, or corrosion
- Perform cold start test: watch for immediate bubbling before thermostat opens
- Pressure test system to rated PSI and monitor for pressure drop
- Check for external coolant leaks at hoses, connections, and radiator
- Start engine with pressure tester attached and watch for pressure spikes
- Perform block test with chemical detector fluid for exhaust gas confirmation
- Verify cooling fan operation at operating temperature
- Check thermostat operation and replace if in doubt
- Inspect water pump for leaks, noise, or shaft play
- Review recent maintenance: when was coolant last changed? Any recent overheating events?
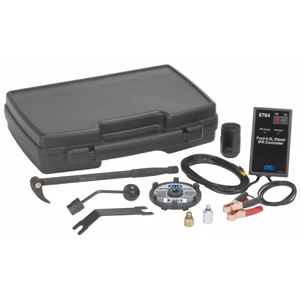
Ford 6.0L Diesel Service Tool Kit - OTC 6770
Mfg: OTC Tools and Equipment
Part #: 6770
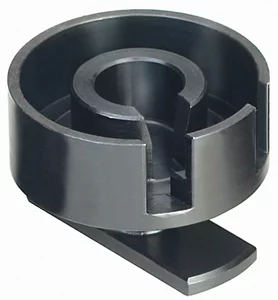
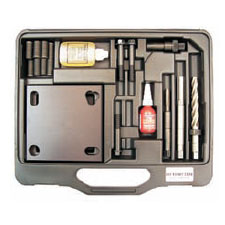
NorthStar M11x1.5 V8 Headbolt Repair Kit by Baum Tools
Mfg: Baum Tools
Part #: TSJ-42385-500
Frequently Asked Questions
Q: Can I drive my car if the coolant reservoir is bubbling?
A: No. Continuing to operate an engine with a compromised cooling system risks catastrophic damage. If you’ve already overheated once, driving further can warp the cylinder head or crack the engine block, turning a $2,000 head gasket job into a $5,000+ engine replacement. Park the vehicle and diagnose properly before driving again.
Q: Will a blown head gasket always produce white smoke from the exhaust?
A: No. White smoke only occurs when coolant enters the combustion chamber and is burned—one specific type of head gasket failure. You can have exhaust gases entering the cooling system (causing bubbling) without coolant entering the cylinders (causing white smoke). Different breach locations in the gasket produce different symptoms.
Q: How long does a head gasket repair typically last?
A: When performed correctly with proper torque specifications, head resurfacing if needed, and quality parts, a head gasket replacement should last the life of the engine—easily 100,000+ miles. Failures typically result from improper installation, skipping the head resurfacing step when warpage is present, or reusing torque-to-yield head bolts that should be replaced.
Q: Is it worth fixing a head gasket on an older car?
A: It depends on the vehicle’s overall condition and value. If repair costs approach or exceed the vehicle’s value, and the car has other issues or high mileage, replacement might make more financial sense. However, if the rest of the vehicle is solid, the engine has reasonable mileage, and you can DIY the repair or find affordable labor, fixing it can provide years of additional service without a car payment.
Q: Can a radiator cap really cause symptoms that look like a blown head gasket?
A: Absolutely. A cap that won’t hold pressure allows coolant to boil at around 212°F instead of the intended 260-265°F. This boiling creates bubbles and can cause overheating, both of which mimic head gasket failure symptoms. Always rule out simple pressure retention problems before condemning the head gasket.
Q: How accurate are chemical head gasket sealers?
A: Results vary widely based on the size and location of the breach. Small leaks sometimes respond well, buying months or even years of additional service. Larger failures typically see little to no benefit. These products work best as a temporary solution or last resort on low-value vehicles where proper repair isn’t economically justified. Follow application instructions precisely for best results, and understand that success isn’t guaranteed.
Recommended Tools for Cooling System Diagnosis
Proper diagnosis requires a few essential tools to distinguish a head gasket failure from simpler cooling system issues. Pressure testers and block test kits are available at most auto parts stores—many will loan or rent them affordably. Explore our Automotive Cooling System category to find the diagnostic equipment and replacement parts you’ll need for this work.
- Cooling system pressure testers for accurate leak and combustion gas detection
- Block test kits and combustion leak detectors
- Replacement radiator caps, thermostats, and cooling system components

The Toolsource Technical Team blends decades of real-world automotive service experience with up-to-date technical research. Our writers collaborate with professional mechanics, shop owners, and diagnostic specialists to deliver practical, workshop-ready guidance you can trust.


Follow us on social media