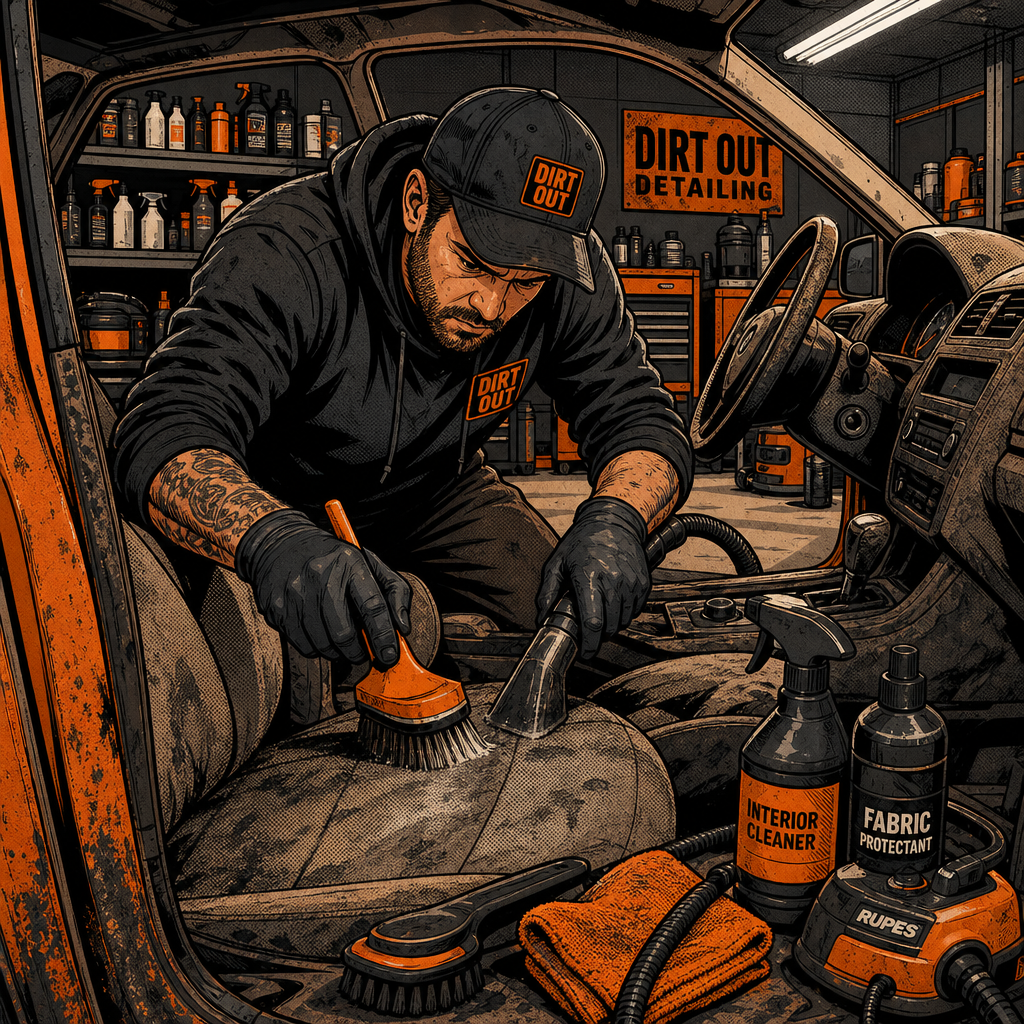
Every detailer encounters severely neglected interiors—vehicles where months or years of accumulated grime, food debris, pet hair, and mystery stains have transformed a once-pristine cabin into a biohazard zone. While the average customer might bring in a car with light dust and a few crumbs, these extreme cases demand a different approach entirely. Whether you’re working at a dealership processing trade-ins or running your own shop, knowing how to efficiently tackle these disasters while maintaining quality results directly impacts your bottom line. The key isn’t just having the right products; it’s understanding the systematic process that transforms seemingly hopeless interiors back to factory condition without wasting hours on ineffective techniques.
Initial Assessment and Customer Communication
Before touching a severely neglected vehicle, conduct a thorough assessment to determine scope, pricing, and realistic timelines. Walk around the entire interior with your phone camera, documenting every surface. Pay particular attention to areas customers often overlook: under floor mats, between seat rails, inside cupholders and consoles, door pockets, and the headliner. This documentation serves three purposes: it protects you from damage claims, helps justify your pricing, and provides before/after content for marketing.
When discussing the job with the customer, set clear expectations. Many owners of neglected vehicles have become desensitized to the condition and may not understand why a standard detail price doesn’t apply. Explain that extreme soil loads require multiple cleaning passes, specialized chemicals, and significantly more time. If you’re at a dealership, establish a clear pricing structure for these situations with management—tiered pricing based on severity prevents you from eating hours on a flat-rate ticket.
Assess whether the job is even worth taking. Interiors with active mold growth, biological contamination beyond normal use, or structural damage from moisture penetration may require remediation beyond detailing scope. Similarly, if you’re an independent operator, calculate whether the time investment justifies the fee you can reasonably charge. A $300 interior detail that takes eight hours nets you $37.50 per hour before expenses—often not sustainable. Either adjust your pricing or refer the customer to someone who specializes in disaster recovery.
Systematic Debris Removal and Pre-Treatment

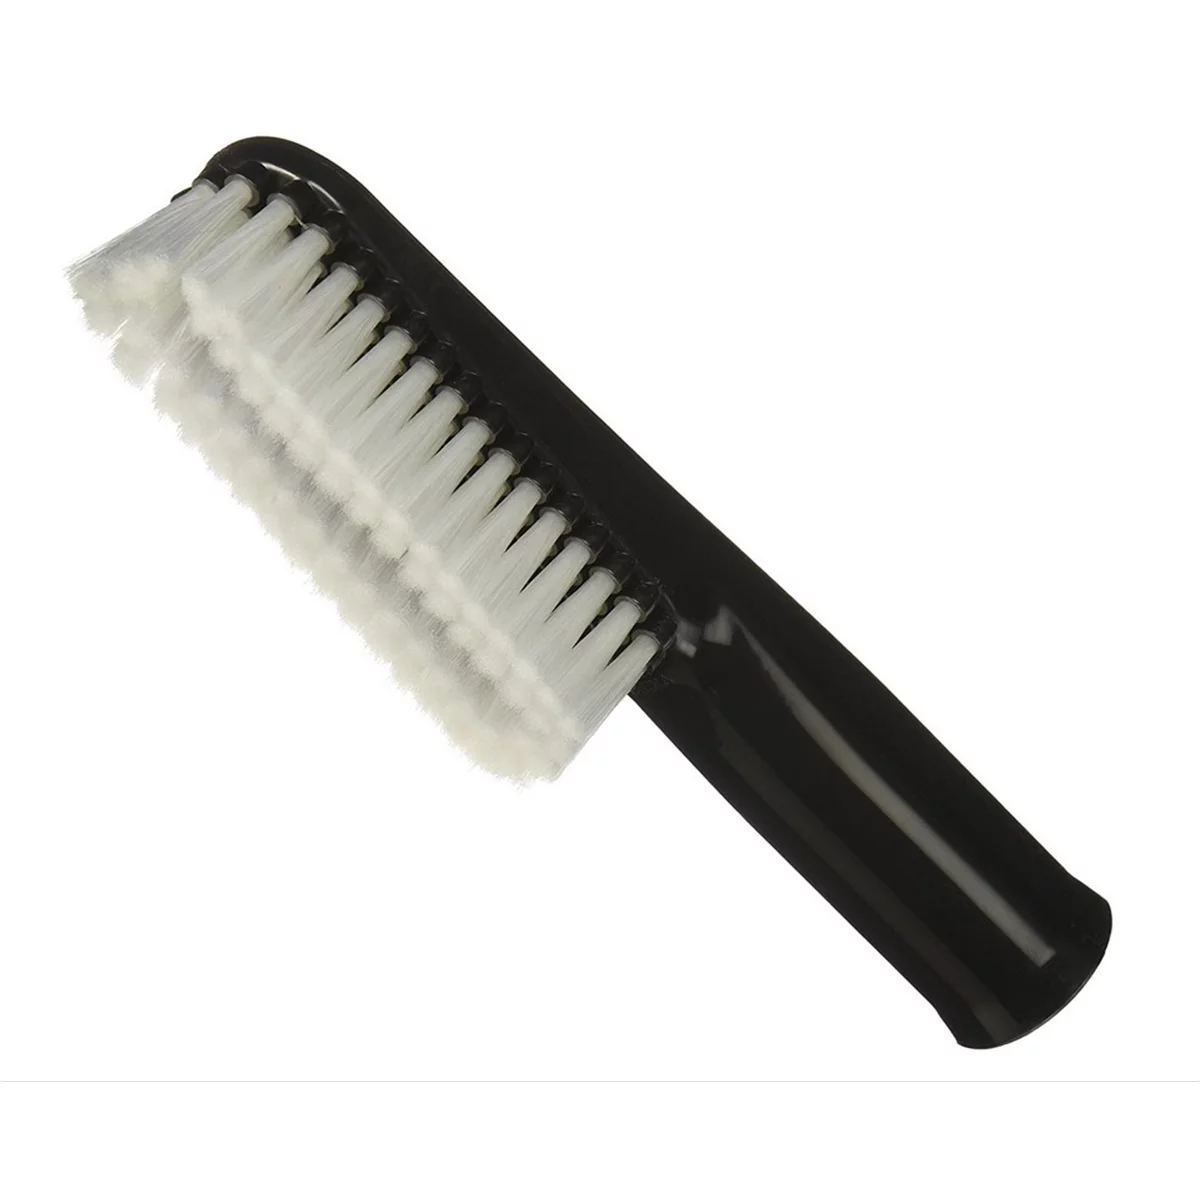
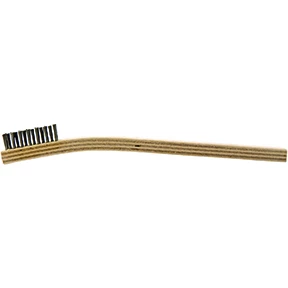
Shop-Vac 9018033 Soft Bristle Auto Brush, Plastic Construction
Mfg: Shop-vac Corporation
Part #: 9018033
Start every extreme interior with complete debris removal—this non-negotiable first step determines everything that follows. Remove floor mats and set them aside for separate treatment. Pull out trash, loose items, and any removable components like cargo covers or organizers. Use a handheld trash bag for obvious garbage, but have a separate container for items that might actually belong to the customer (phones, jewelry, documents, tools). Customers will blame you for missing items regardless of the car’s condition.
Once the big stuff is out, address the embedded debris. Compressed air is your best friend here—blow out seat tracks, crevices, vents, and console bins before vacuuming. This prevents pushing debris deeper into mechanisms or clogging your vacuum with硬 material. For sticky substances in cupholders and consoles, pre-treat with an all-purpose cleaner and let it dwell while you work other areas. Often, what looks like permanent grime will simply wipe away after five minutes of chemical dwell time.
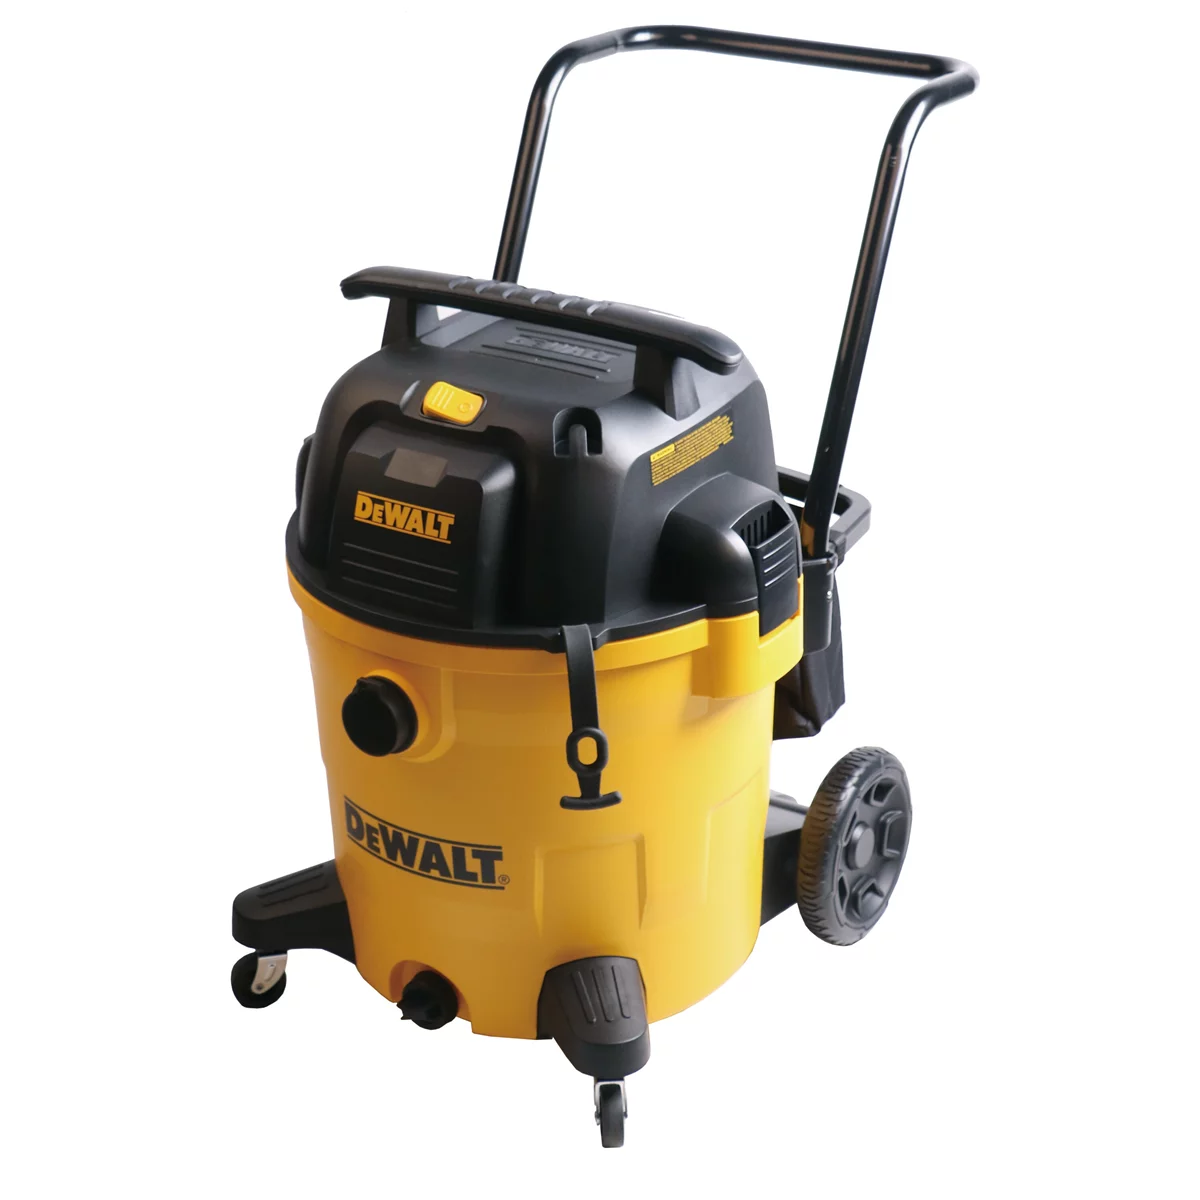
Vacuum systematically from top to bottom: headliner first (if needed), then seats, followed by door panels, and finally carpets. Use appropriate attachments—a crevice tool for tight spaces, an upholstery brush for fabric surfaces. For severely soiled carpets, make a first vacuum pass, then pre-spray with your chosen cleaner and agitate with a brush before vacuuming again. This double-pass method removes significantly more soil than a single attempt, even with the best vacuum.
No products found for “hot water extractor upholstery carpet cleaner”
Upholstery and Seat Stain Elimination
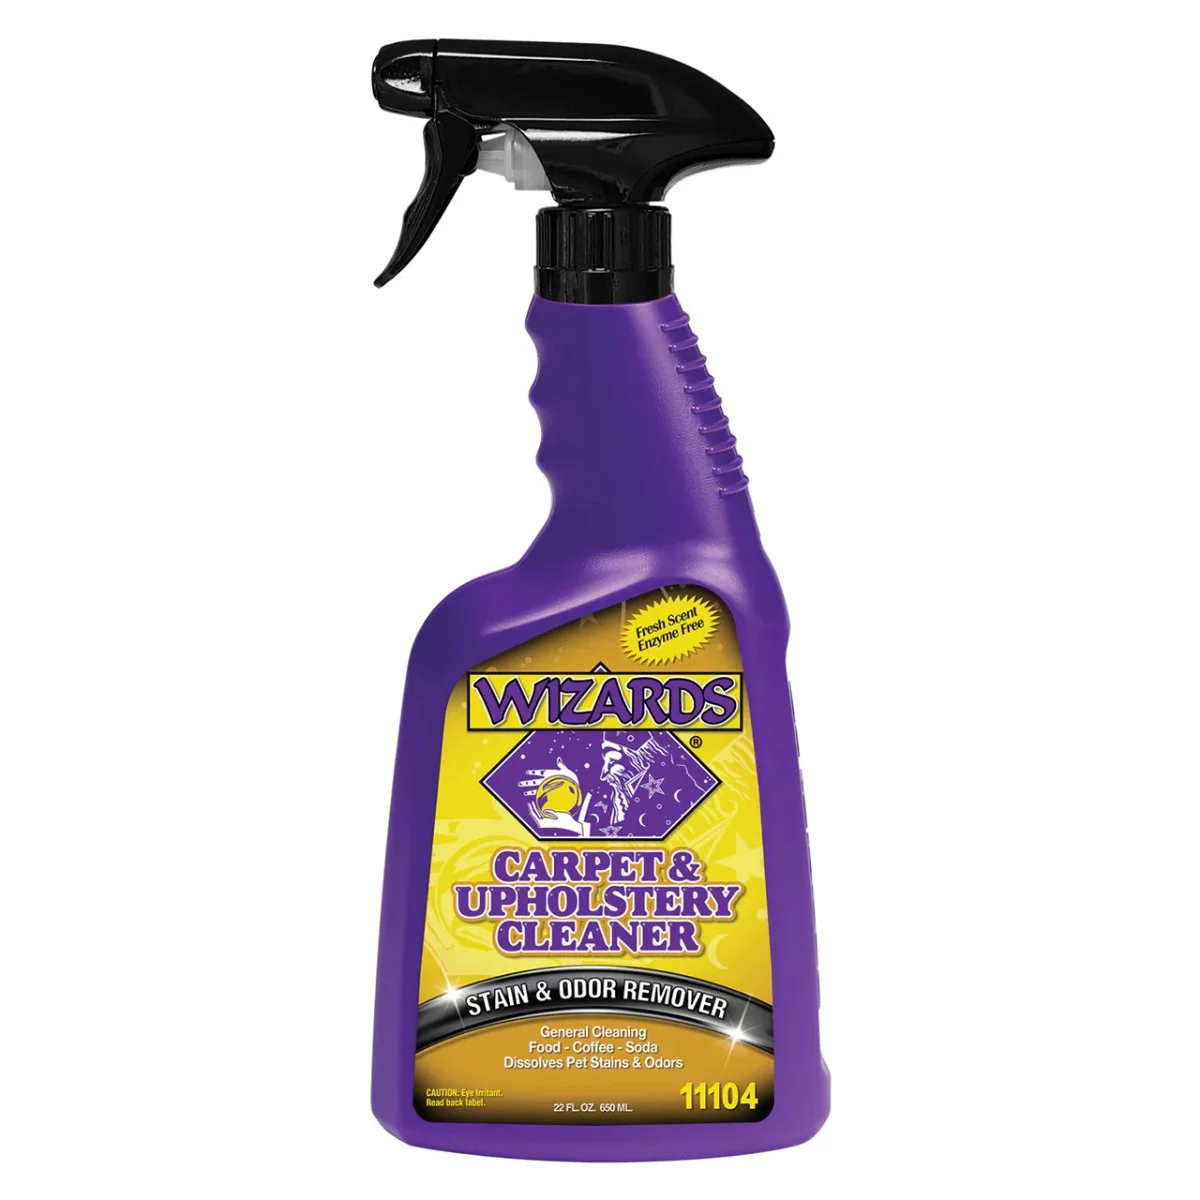
11104 Carpet and Upholstery Cleaner, 22 oz Spray Bottle
Mfg: Wizard Industries
Part #: 11104
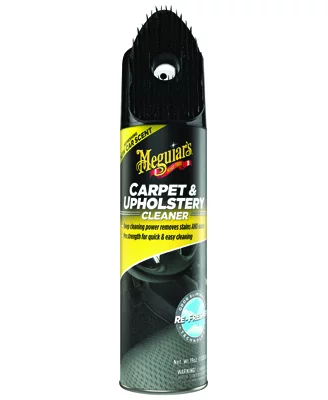
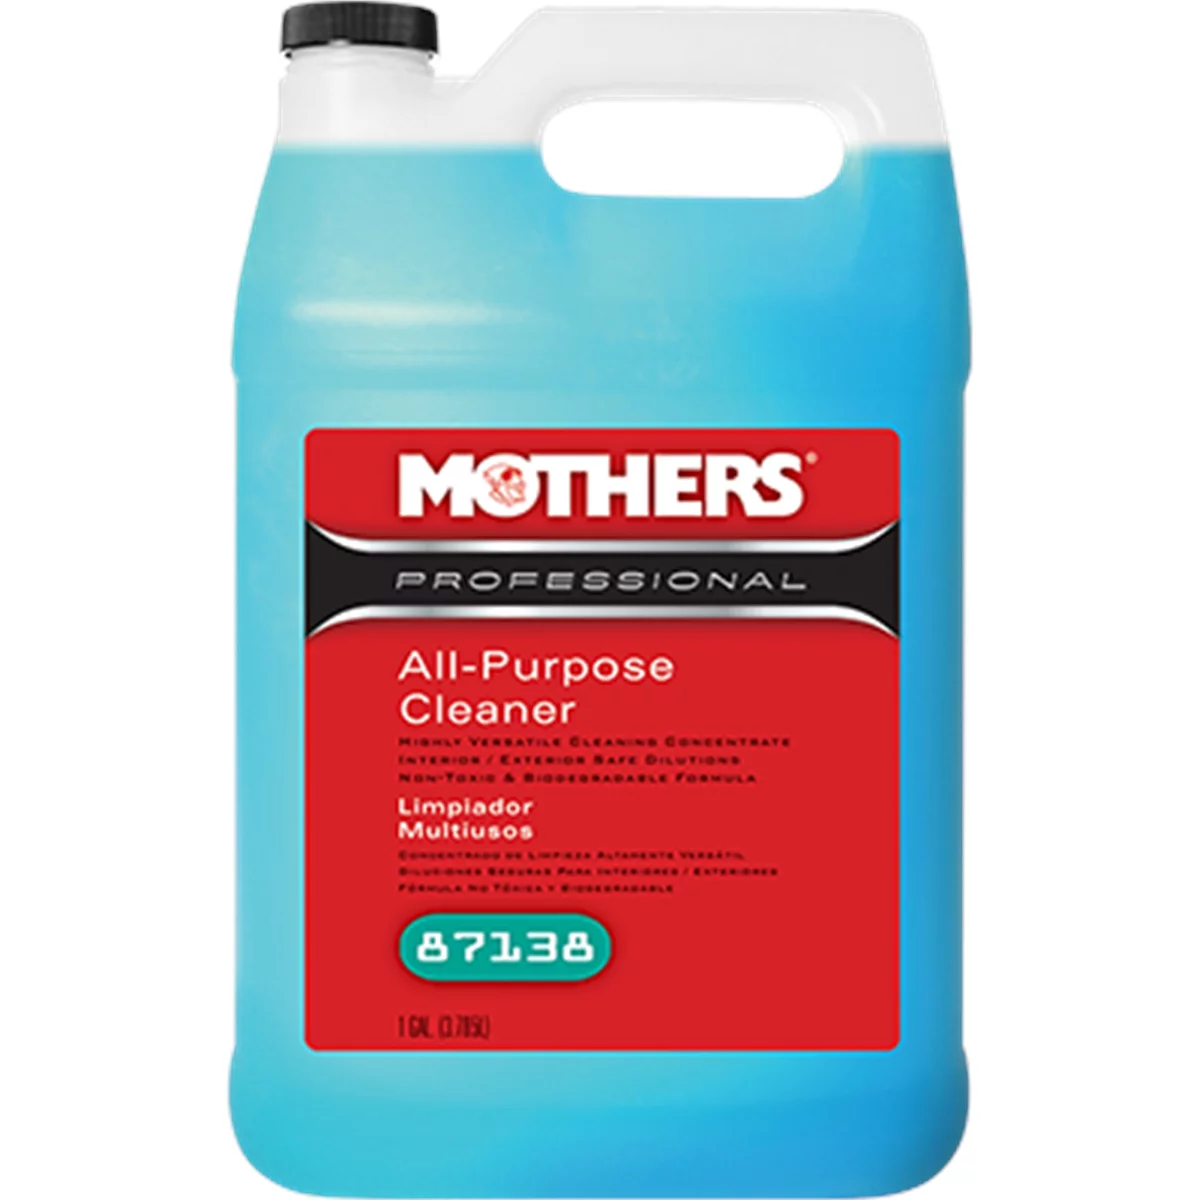
Seat restoration separates professional results from amateur efforts, and severely neglected vehicles typically feature the worst staining. The method varies by material, but the principle remains consistent: saturate, agitate, extract, dry. For cloth upholstery, start by identifying the stain type when possible. Organic stains (food, beverages, bodily fluids) respond to enzymatic cleaners, while oil-based stains need solvent-based products. When in doubt, start with a quality all-purpose cleaner at proper dilution.
Apply your chosen cleaner liberally to the affected area—don’t be shy with product on severe stains. Let it dwell for the manufacturer’s recommended time, typically 3-5 minutes. Use a drill-powered spin brush to agitate the fabric, working in overlapping passes. The mechanical action combined with chemical dwell breaks down embedded soils that cleaning alone won’t touch. For really stubborn areas, a stiffer brush or even a dedicated scrub brush may be necessary, though watch for fabric damage on worn upholstery.
Extract the loosened soil with a hot water extractor, making multiple passes until the water runs clear. If you don’t have an extractor, use a wet/dry vacuum after wiping with clean microfiber towels, though results won’t match proper extraction. The heat from a hot water extractor does double duty—it accelerates chemical action and helps sanitize the fabric. After extraction, use fans or leave windows cracked to speed drying. Damp interiors promote mold growth and customer complaints about musty odors.
For leather or vinyl seats, the process differs. Heavy soil loads respond well to a dedicated leather cleaner applied with a soft brush, worked in gentle circles to avoid scratching. Wipe clean with microfiber towels, changing them frequently as they become soiled. Severe stains on leather often can’t be fully removed without damaging the finish—set customer expectations accordingly. Some discoloration represents actual dye transfer or permanent damage rather than removable soil.
Hard Surface Recovery: Plastics, Consoles, and Trim
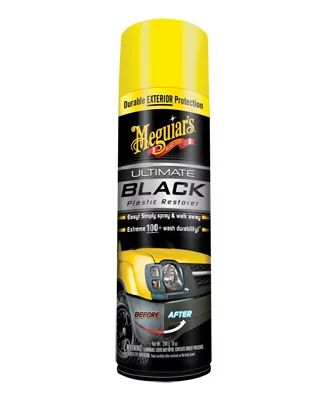
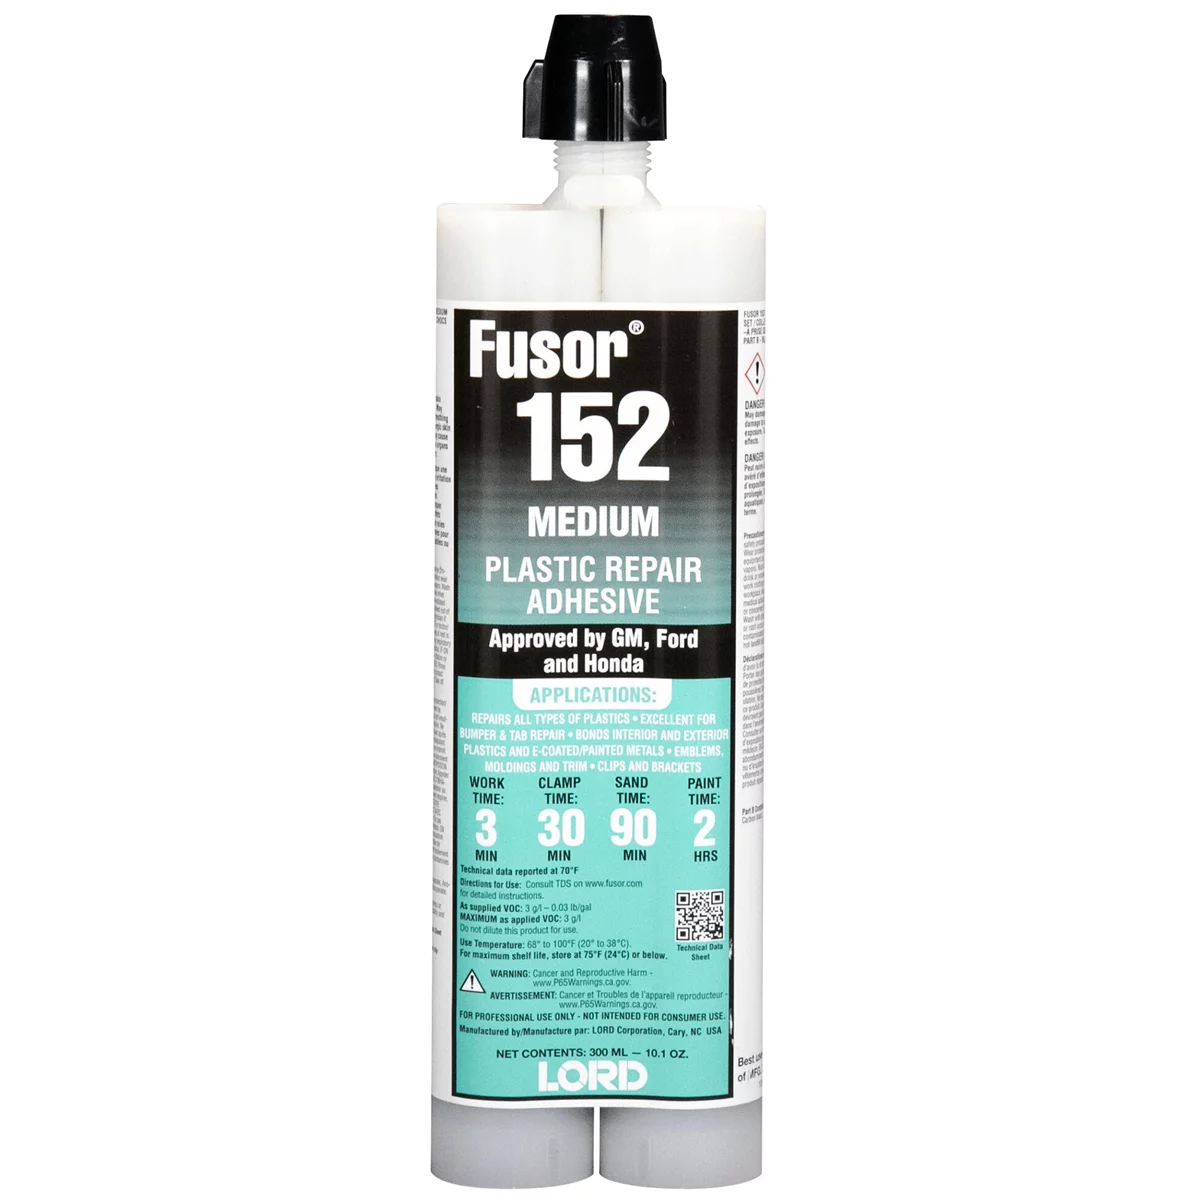
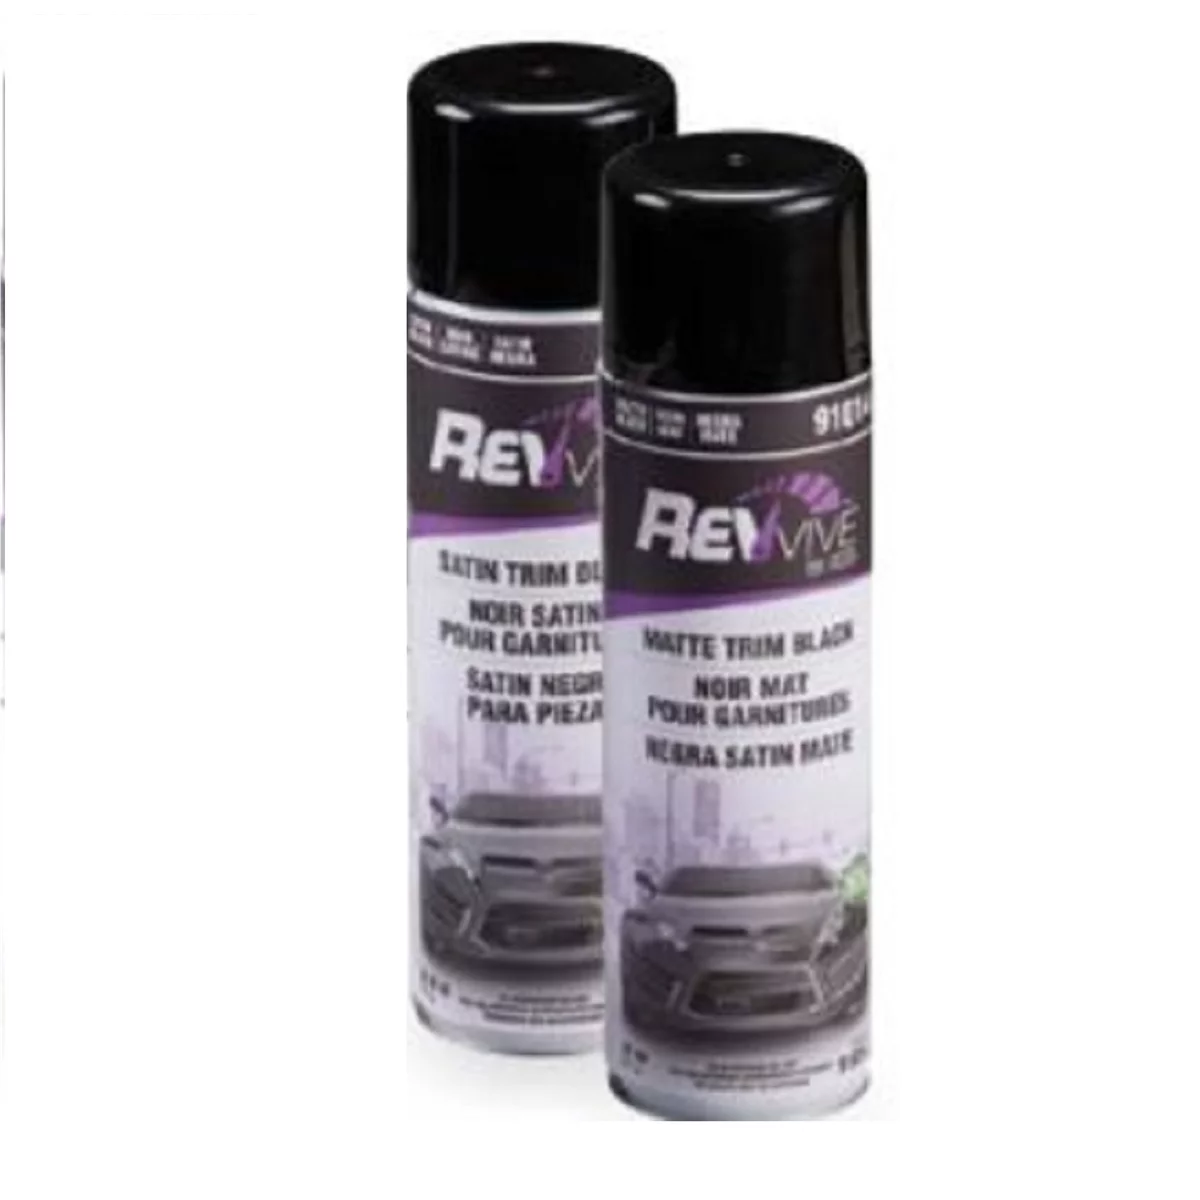
Hard surfaces in neglected vehicles often appear beyond saving, with grime so thick the original texture disappears. The good news: these surfaces typically respond well to proper technique. Start with an all-purpose cleaner at medium strength (1:10 dilution for most products). Spray the surface thoroughly and let it dwell—dwell time matters more than scrubbing intensity. For horizontal surfaces like dashboards and consoles, you can spray liberally without runoff concerns.
While the chemical works, prepare your agitation tools. Soft-bristle brushes work for most plastic surfaces without causing damage. For textured plastics, a dedicated interior detailing brush with stiffer bristles reaches into grain patterns. Toothbrushes handle tight spots around buttons and vents. Work the cleaner into the surface with your chosen brush, then wipe clean with a microfiber towel. Heavily soiled surfaces may require 2-3 cycles of this process.
For the worst buildup—like the sticky residue from spilled sodas or the mysterious sludge that accumulates in consoles—consider a citrus-based degreaser or a stronger dilution of your APC. Test in an inconspicuous area first, as strong chemicals can damage or discolor some plastics. If traditional methods fail, a steam cleaner works miracles on stubborn grime, though it requires practice to avoid damaging sensitive components or saturating areas where moisture can cause electrical issues.
Door jambs and sills deserve special attention in neglected vehicles. These areas accumulate dirt, mud, and debris that customers track in constantly. Remove the caked-on material with a brush and APC, then wipe clean and dry. Clean door jambs transform the perceived quality of your detail—customers notice when they open the door, and dirty jambs make an otherwise clean interior feel incomplete.
Floor Mat and Carpet Deep Cleaning
Rubber floor mats seem simple to clean, but doing it properly saves time and delivers better results. Rinse them first with a pressure washer or strong hose spray to remove loose debris. Apply an all-purpose cleaner or dedicated mat cleaner, then scrub with a stiff nylon brush, paying special attention to the textured surface and edges where dirt hides. Rinse thoroughly, then—here’s the key step many skip—use compressed air to blow water out of crevices and the backside texture. This prevents dripping during reinstallation and speeds drying time.
For carpeted mats and vehicle carpeting, the approach mirrors seat cleaning but with modifications for the heavier soil load. Pre-spray with your chosen carpet cleaner, then agitate with a brush—a drill brush attachment covers large areas efficiently. For ground-in dirt and stains, a hot water extractor is virtually mandatory for professional results. Make multiple passes, overlapping each stroke, until extracted water runs clear. In severe cases, you may extract surprising amounts of water on the third or fourth pass.
Address pet hair as a separate task before or after cleaning, depending on carpet condition. Light misting with water or detail spray makes hair clump together for easier removal. A pumice stone designed for pet hair (like Fur-Zoff) works incredibly well but can damage plastic trim if you’re not careful—tape off edges or work cautiously. Alternatively, a quality rubber brush or even a squeegee can pull embedded hair from carpet fibers. Follow up with vacuuming to capture loosened hair.
For odor elimination in carpets—common in severely neglected vehicles—use an enzymatic odor eliminator after cleaning. These products break down organic matter that causes smells rather than just masking them. Apply according to manufacturer directions, which often requires saturation and dwell time. Some stubborn odors may require carpet removal and pad treatment or replacement, especially if contamination has reached the vehicle floor.
Speed and Efficiency for Dealership Detailers
Dealership detailers face unique pressure: quality results on a timeline that keeps vehicles flowing through the shop. Several strategies maintain quality while improving speed. First, batch similar tasks across multiple vehicles when possible. If you have three cars needing interior work, spray all seats with cleaner, then agitate all seats, then extract all seats. This reduces tool changes and mental switching costs.
Invest in quality tools that genuinely save time. A tornado air tool quickly agitates and removes debris from crevices and vents—minutes instead of careful brush work. A hot water extractor with a wide head covers more surface area per pass than a narrow tool. Cordless drill brushes eliminate extension cord management and speed up agitation tasks. Calculate the time savings across dozens of vehicles monthly, and the ROI becomes obvious.
Develop a consistent workflow and stick to it. Every vehicle gets the same systematic treatment: debris removal, vacuum, treat seats, treat hard surfaces, treat carpets, detail work, final wipe-down. This pattern becomes muscle memory, reducing mental effort and preventing missed steps. Create checklists for extreme vehicles if needed—when you’re exhausted at the end of a shift, the checklist ensures you don’t skip the door jambs or forget to clean the steering wheel.
Finally, communicate with service writers and managers about realistic timelines. A standard detail at your shop might be 2 hours, but an extreme neglect case could need 4-6 hours to do properly. If you rush it, the quality suffers, the customer complains, and you end up redoing it anyway—costing more time than doing it right initially. Most managers will understand if you explain the situation and show them the before pictures.
Quick Reference: Extreme Interior Detail Checklist
- Document entire interior with photos before starting work
- Remove all trash, debris, and loose items; separate customer belongings
- Pull floor mats for separate cleaning
- Blow out crevices, vents, and seat tracks with compressed air
- First vacuum pass from top to bottom
- Pre-spray seats with appropriate cleaner; agitate with spin brush
- Extract seats with hot water extractor; multiple passes until water runs clear
- Treat hard surfaces with APC; agitate and wipe clean; repeat if necessary
- Deep clean carpets: pre-spray, agitate, extract thoroughly
- Address pet hair with pumice stone or rubber brush; vacuum
- Clean rubber mats: rinse, apply cleaner, scrub, rinse, blow dry
- Detail door jambs, sills, and trim areas
- Apply enzymatic odor eliminator if needed
- Final vacuum pass and wipe-down of all surfaces
- Quality check all areas; capture after photos
Frequently Asked Questions
How do you price severely neglected interiors compared to standard details?
Price based on time, not a percentage markup. A standard interior might take 2 hours at $75/hour ($150 total), while an extreme neglect case could require 5-6 hours, justifying $375-450. Assess the vehicle first, estimate hours realistically, and quote accordingly. Tiered pricing (standard/heavy/extreme) helps customers understand why their car costs more than a typical detail.
What’s the single most important tool for extreme interior detailing?
A hot water extractor delivers the biggest impact on severely soiled upholstery and carpets. While you can detail without one using extraction towels and a wet/dry vacuum, the results and efficiency don’t compare. Extractors remove embedded soil that other methods leave behind, and the heat accelerates cleaning chemistry and sanitizes surfaces.
How do you remove stains when you don’t know what caused them?
Start with a quality all-purpose cleaner at medium strength—it handles most common stains without risking damage. If that fails after proper dwell time and agitation, try an enzymatic cleaner for organic stains or a solvent-based product for oil and grease. Test any aggressive chemical in an inconspicuous area first. Accept that some stains represent permanent dye transfer or material damage rather than removable soil.
Should you refuse jobs that are too disgusting or damaged?
Yes, when appropriate. Vehicles with active mold growth, biological hazards beyond normal use, or structural damage from moisture may need remediation services beyond detailing scope. Additionally, if the time required exceeds what you can reasonably charge, the job isn’t profitable. Refer these customers to specialists in disaster recovery or explain what’s needed for proper remediation.
How do you prevent cross-contamination between extremely dirty vehicles?
Use disposable items when possible (trash bags, paper towels for initial wipes), and maintain separate tool sets or thoroughly clean tools between vehicles. Wash microfiber towels separately from your regular shop towels, using hot water and detergent without fabric softener. Empty and clean your vacuum between extreme jobs. If you use a carpet extractor, flush the system with clean water and run cleaning solution through it periodically.
What’s the best way to handle severe pet hair embedded in carpet and upholstery?
Lightly mist the affected area with water or quick detailer to make hair clump together. Use a pumice stone designed for pet hair removal (Fur-Zoff is a common brand), working in one direction with moderate pressure—avoid hitting plastic trim as it will scratch. Alternatively, use a rubber pet hair brush or squeegee. Follow with thorough vacuuming. For the most stubborn cases, combine methods: brush first, then pumice stone, then vacuum. Accept that some hair in older upholstery has worked so deep into the backing that complete removal isn’t realistic without damaging the fabric.
Recommended Shop Equipment and Supplies
Tackling severely neglected interiors requires the right tools. A hot water extractor, drill-powered brushes, compressed air tools, and quality microfiber towels form the foundation of efficient detailing work. Browse our Shop Equipment and Supplies to find the extractors, brushes, air tools, and cleaning products that professionals rely on for these challenging jobs.
- Hot water extractors and wet/dry vacuums for deep carpet and upholstery cleaning
- Drill attachments, detail brushes, and agitation tools for efficient scrubbing
- Compressed air tools and accessories for crevice and vent cleaning
Essential Shop Equipment for Interior Detailing
Properly detailing neglected vehicle interiors requires the right tools and supplies. Explore our comprehensive shop equipment collection to find everything you need for professional-quality results, from extraction tools to protective coatings.
- Wet/dry vacuums and extraction equipment for deep cleaning stubborn debris and moisture
- Microfiber towels, brushes, and detailing compounds for safe surface restoration
- Professional-grade cleaners and protectants to restore upholstery and trim to like-new condition

The Toolsource Technical Team blends decades of real-world automotive service experience with up-to-date technical research. Our writers collaborate with professional mechanics, shop owners, and diagnostic specialists to deliver practical, workshop-ready guidance you can trust.


Follow us on social media