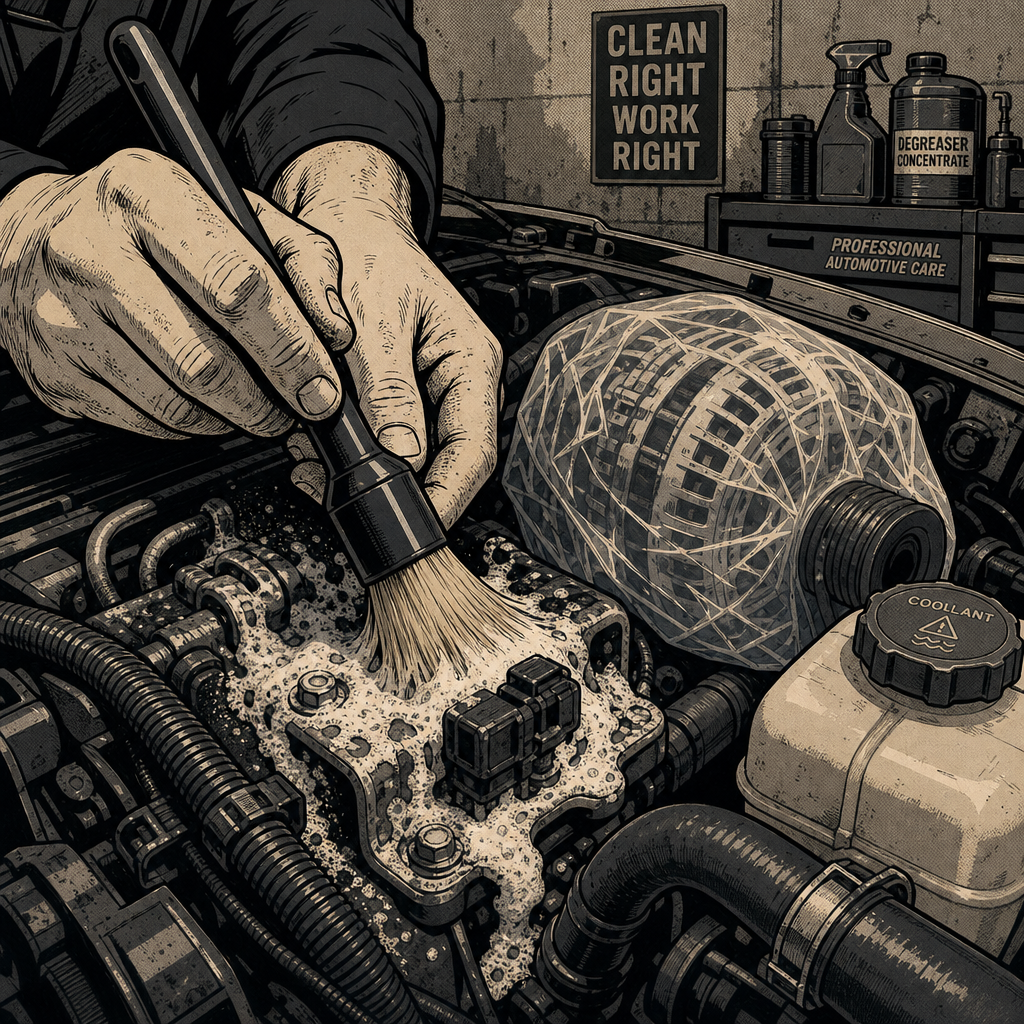
Engine bays get skipped more often than any other panel on the vehicle, and it’s usually not laziness — it’s fear of frying an alternator, a sensor connector, or a wiring harness with a hose. That fear is mostly overblown once you understand which components actually need protection and how to control water pressure and chemical dwell time. This guide walks through the process shop techs and serious detailers actually use: picking a degreaser, dialing in dilution, protecting electronics, washing safely, and finishing with a dressing that survives heat cycling instead of turning white and flaking off in a month.
Why Engine Bays Get Neglected — and Why That’s a Mistake
A dirty engine bay isn’t just cosmetic. Caked-on grease and road film trap moisture against hoses, belts, and electrical connectors, which accelerates corrosion and makes it harder to spot a developing oil or coolant leak during a routine inspection. Techs who regularly clean bays on customer vehicles report catching cracked hoses, chafed wiring, and weeping gaskets far earlier than they would on a grimy engine. From a resale and customer-trust standpoint, a clean bay also signals that a shop or owner takes maintenance seriously — it’s one of the first things a savvy buyer or inspector looks at.
The reluctance comes from uncertainty about water intrusion. Modern engine bays have more exposed electronics than they did fifteen years ago — alternators, sensors, junction boxes, ECU connectors — and a direct blast of high-pressure water into any of these can cause a no-start or a check-engine light that’s a pain to diagnose. The fix isn’t avoiding the job; it’s controlling pressure, angle, and distance, which we’ll cover below.
Picking a Degreaser and Getting the Dilution Right
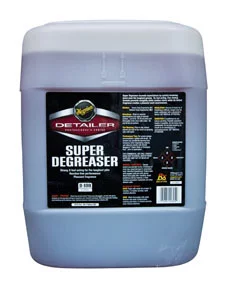
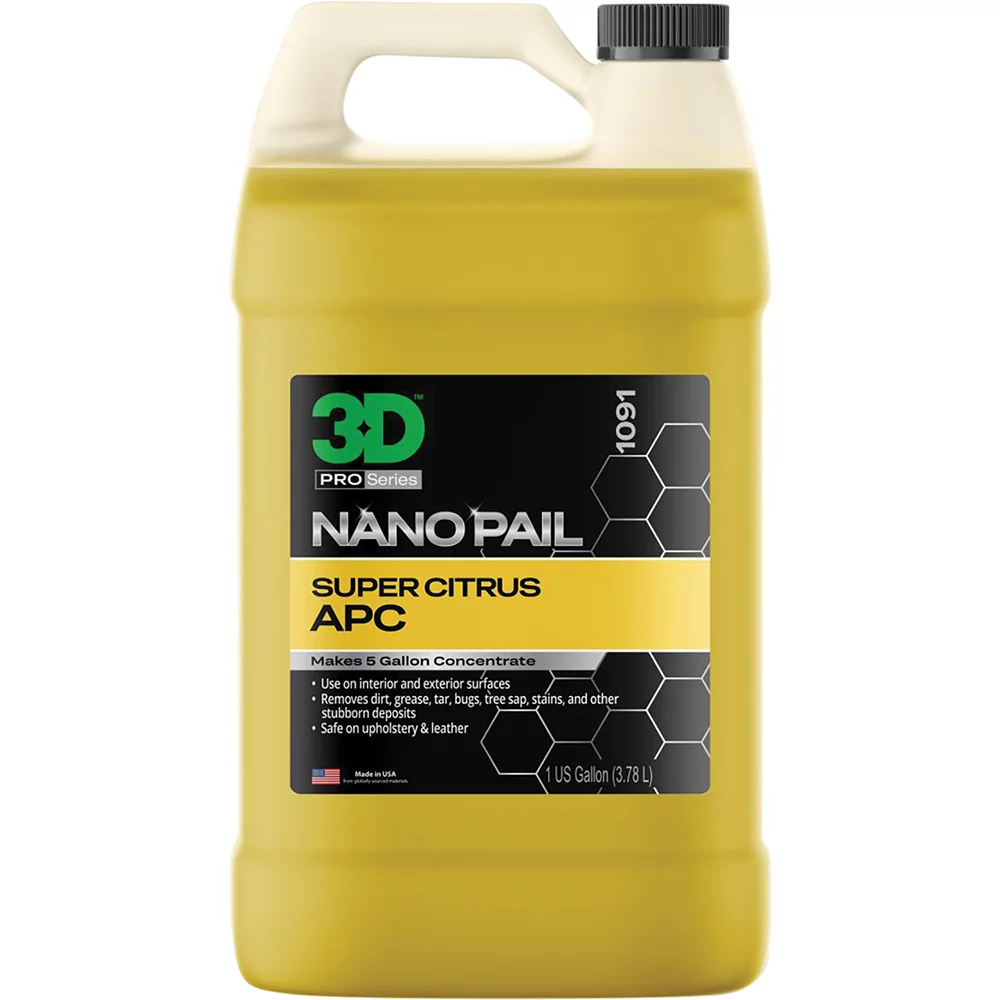
Concentrated citrus or alkaline degreasers (Koch Chemie Green Star is a common shop choice) are sold as concentrate specifically so you can adjust strength to the job. A daily-driver bay that gets a monthly rinse only needs a light mix; a neglected bay that’s never been cleaned needs a much stronger pass.
- Light maintenance cleaning (bay is already fairly clean): dilute around 15:1 (water:concentrate).
- Typical engine bay with moderate grime: 7:1 is a solid working ratio for general use.
- Heavy, years-of-buildup grime that’s never been degreased: 3:1, applied and allowed to dwell before agitation.
Always start weaker than you think you need, especially on painted plastic covers, decals, and anodized or bare aluminum components — some degreasers can dull finishes or stain aluminum if left too concentrated for too long. Spray in sections rather than flooding the whole bay at once, agitate with a soft detailing brush on connectors, brackets, and the underside of the hood, and don’t let the product dry on the surface — that’s when streaking and spotting happen. On badly neglected bays, a layer of foam (applied over the degreaser with a foam cannon or sprayer) extends dwell time and helps the chemical do more of the work than the brush.

Protecting Electronics Before You Reach for the Hose
You don’t need to wrap the entire bay in plastic. In most modern vehicles, only a handful of components are genuinely at risk from direct water contact:
- The alternator — often the single most exposed electrical component in the bay and worth a plastic bag or dedicated cover if it sits high and open.
- Open electrical connectors, fuse boxes, or junction blocks without a sealed cover.
- Air intake openings — never spray directly into the intake or filter housing.
- Any aftermarket wiring or connectors that aren’t factory-sealed.
Beyond covering those specific points, technique matters more than coverage. Use a wide fan nozzle (around 40 degrees) on a pressure washer, keep the wand moving, and work from a distance rather than blasting straight into a component at close range. A garden hose with a spray nozzle on low-to-medium pressure is even safer for techs still building confidence with engine bays. And always let the engine cool completely before washing — spraying water on a hot block or exhaust manifold risks cracking components and creates a steam hazard.
Step-by-Step Wash Process
Once electronics are covered and the engine is cool, the process is straightforward:
- Pre-rinse: Light rinse to knock down loose dust and debris before chemicals go on.
- Apply degreaser: Spray your diluted mix section by section, working bottom-up so runoff doesn’t re-deposit grime on areas you’ve already cleaned.
- Dwell and agitate: Let the degreaser sit 3-5 minutes (don’t let it dry), then agitate stubborn spots with a long-handled brush to reach recessed areas without getting your hands near hot or sharp components.
- Rinse: Low-to-moderate pressure, moving nozzle, working top-down this time to carry loosened grime out and away.
- Dry: Compressed air or a leaf blower clears water from connector plugs, brackets, and crevices far faster and more thoroughly than a towel, and reduces the chance of water sitting against a connector overnight.
For heavily oxidized plastic covers or faded reservoirs, a second, more targeted degreaser pass after the main rinse — followed by a dedicated plastic restorer — gets better results than trying to force everything in one cycle.
Dressing the Bay for a Finish That Lasts
Once everything is clean and fully dry, a dedicated engine bay dressing (Koch Chemie Motorplast is a widely used option in this category) restores a uniform, non-greasy sheen to plastics, rubber hoses, and trim without leaving the slick, dripping residue that generic all-purpose dressings can. Apply by spraying directly over the clean, dry surfaces — most of these products are formulated to be sprayed on and left, without wiping, and they hold up under normal underhood heat far better than a shine spray meant for exterior trim.
A few practical notes from techs who use this regularly: apply in a well-ventilated area since these products often have a strong solvent smell during application; avoid pooling product on the bottom of the bay where it can drip onto driveways or garage floors; and reapply every few months, or sooner on vehicles that see a lot of dust and moisture through the engine’s ventilation and cooling paths. Comparable products in the same “spray and dwell” style are also available if a specific brand is out of stock — the technique matters more than the exact bottle.
Common Mistakes to Avoid
A few errors account for most of the bad outcomes techs report with engine bay cleaning:
- Washing a hot engine — always let it cool first.
- Using full-strength degreaser on delicate finishes without testing a small area first.
- Spraying directly into the alternator, intake, or open connectors instead of keeping the nozzle moving from a distance.
- Letting degreaser dry on the surface instead of rinsing within the dwell window.
- Skipping the dry step and leaving trapped moisture in connectors and brackets.
- Applying dressing to a still-damp bay, which dilutes the product and shortens how long it lasts.
Quick Reference Checklist
- Engine fully cooled before starting
- Alternator and any exposed connectors covered or noted
- Degreaser diluted appropriately for grime level (start weak, go stronger if needed)
- Wide-fan nozzle, moving spray pattern, moderate distance
- Full rinse and compressed-air dry before applying any dressing
- Dressing applied to clean, fully dry surfaces only
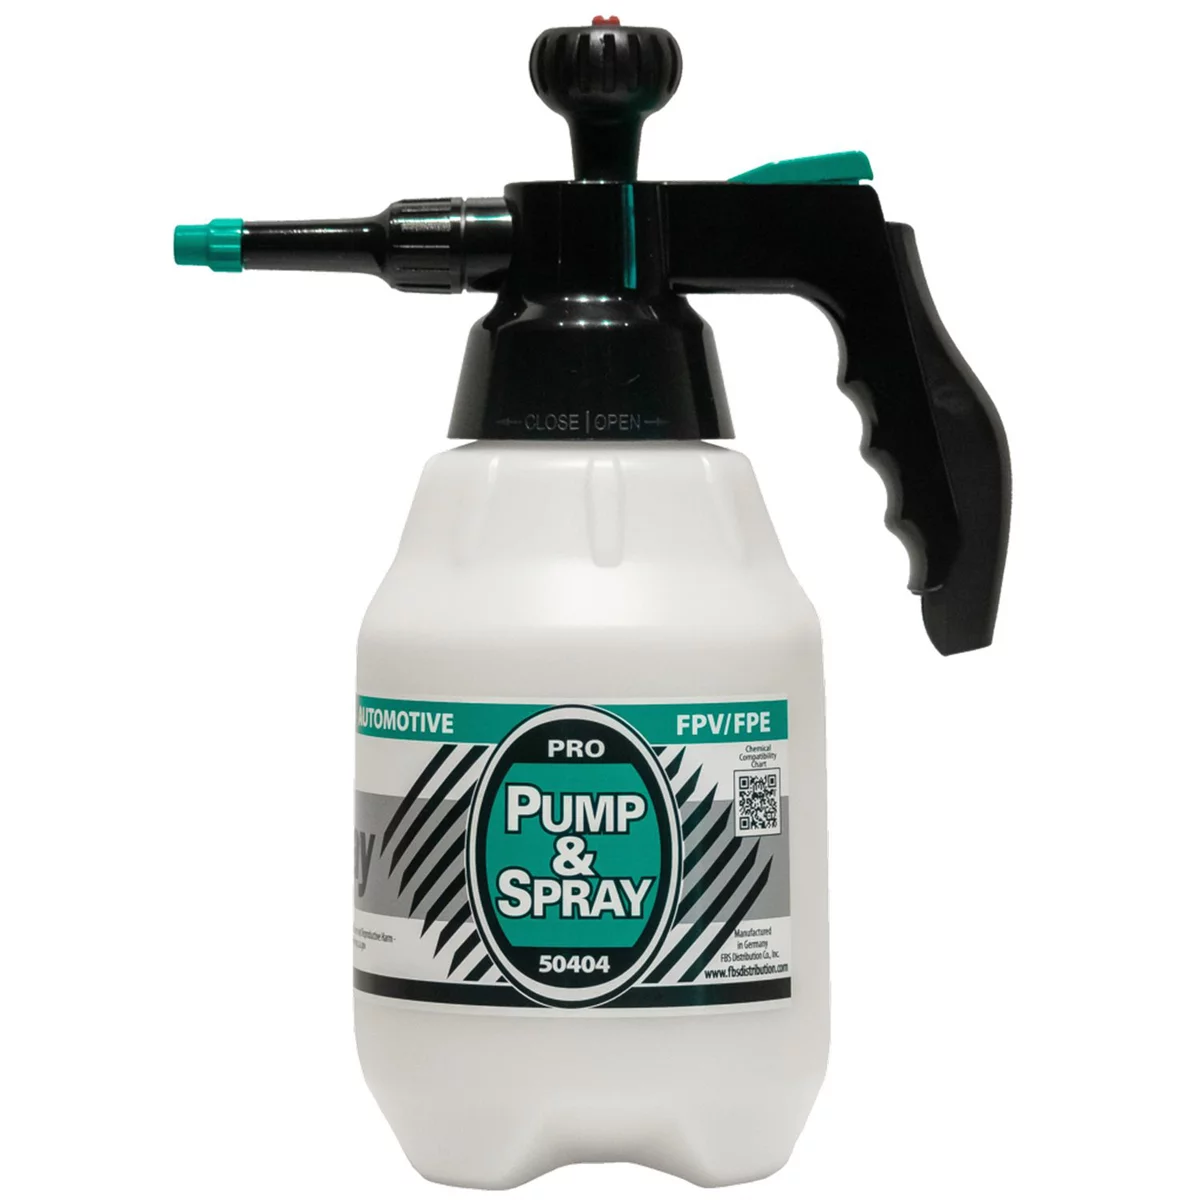
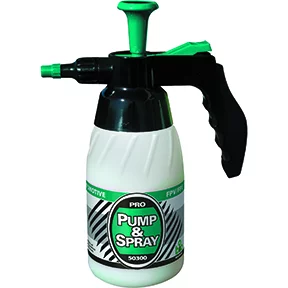
50300 Pump & Spray FPV 1L Hand Sprayer - Non-Chlorinated Par
Mfg: FBS Distribution
Part #: 50300

#20 Suction Tube Assembly for Tornador - Durable Replacement Par
Mfg: Dent Fix
Part #: DF-SPZ010020
FAQs
Do I need to remove the engine cover before cleaning?
Not usually. Most covers can be cleaned in place; degreaser and a brush handle the surface grime fine. Remove it only if you need better access to a specific stained area underneath.
Is a pressure washer safe to use on an engine bay?
Yes, as long as you use a wide fan tip, keep the nozzle moving, and work from a reasonable distance rather than blasting a fixed spot. A garden hose on low pressure is an acceptable substitute if you’re not confident with a pressure washer yet.
What dilution ratio should I use for a first-time cleaning?
For a bay that’s never been degreased, start around 3:1 to 5:1 concentrate-to-water and let it dwell before agitating. For routine maintenance on an already-clean bay, 10:1 to 15:1 is usually sufficient.
Will degreaser damage plastic or rubber components?
Most dedicated engine bay degreasers are safe on rubber, hoses, and factory plastics when used at the recommended dilution and not left to dry on the surface. Test an inconspicuous spot first if you’re using a product you haven’t tried on that vehicle before.
How often should the dressing be reapplied?
Every few months for most daily drivers, sooner for vehicles with more airflow through the bay or that see frequent rain and road spray, since dust and moisture wear the finish down faster.
Can I clean the engine bay right after an oil change?
Yes — that’s actually a good time, since you’re already working under the hood and can spot fresh drips or residue from the service while everything is accessible and the engine has had time to cool.
Shop Supplies for Engine Detailing
Proper degreasing and finishing require the right products and tools on hand. Check our Shop Equipment and Supplies category for degreasers, dressings, and pressure washing equipment.
- Concentrated degreasers formulated for engine bays
- Engine bay dressings that hold up under heat
- Pressure washers, brushes, and protective gear

The Toolsource Technical Team blends decades of real-world automotive service experience with up-to-date technical research. Our writers collaborate with professional mechanics, shop owners, and diagnostic specialists to deliver practical, workshop-ready guidance you can trust.


Follow us on social media