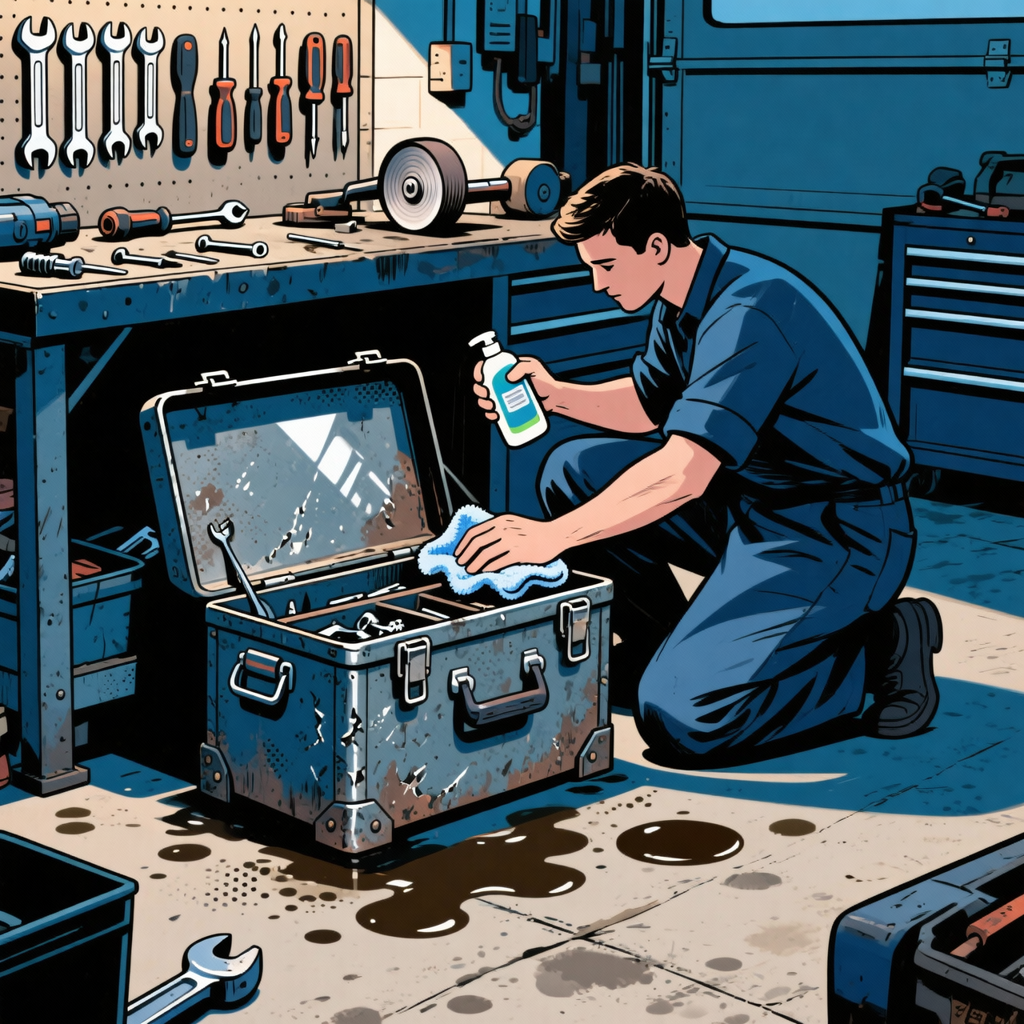
Your toolbox is an essential part of your technician toolkit. It holds your valuable tools and is often the first point of organization in your workspace. Like any tool, it requires care and maintenance to ensure it can continue performing well. In this guide, we’ll cover practical steps to protect and maintain your toolbox, keeping it functional and looking good.
Understanding the Importance of Toolbox Care
A well-maintained toolbox is not just a matter of aesthetics; it affects your efficiency as a technician. Scratches and dents can accumulate over time, making it harder to organize and use tools effectively. By understanding the importance of toolbox care, you can extend its lifespan and maintain your investment.
Step 1: Assess the Damage
Before taking any action, inspect your toolbox closely. Determine the extent of the scratches, dents, or other forms of damage. Identifying how deep the damage is will guide you on the best corrective actions. Check for:
- Surface scratches
- Dents that expose the metal
- Rust spots
Step 2: Cleaning the Toolbox
Regular cleaning is essential in maintaining your toolbox. Use the following cleaning method for optimal results:
- **Gather Supplies**: You’ll need soap, water, a microfiber cloth, and possibly a soft brush for tough spots.
- **Wipe Down**: Mix soap in warm water and use the cloth to wipe the surface of your toolbox. For tough grime, a soft brush will help.
- **Rinse**: Wipe with a clean, damp cloth to remove soap residue.
- **Dry**: Ensure it’s fully dry to prevent moisture buildup and rust.
Step 3: Buffing and Polishing
If scratches are present, buffing and polishing can help restore the appearance:
- **Equipment Needed**: Gather a buffing wheel, fine-grade polish (V32 or V36), and a cordless orbital buffer.
- **Apply Polish**: Follow manufacturer instructions for applying the polish. Typically, you’ll want to work it into the scratch in circular motions.
- **Buff**: Use the buffing wheel to work over the area until scratch is less visible. Be careful not to overspend time in one area.
- **Final Clean**: Wipe down after buffing to remove any residue.
Step 4: Protecting Your Toolbox
Now that your toolbox is clean and polished, take steps to protect it:
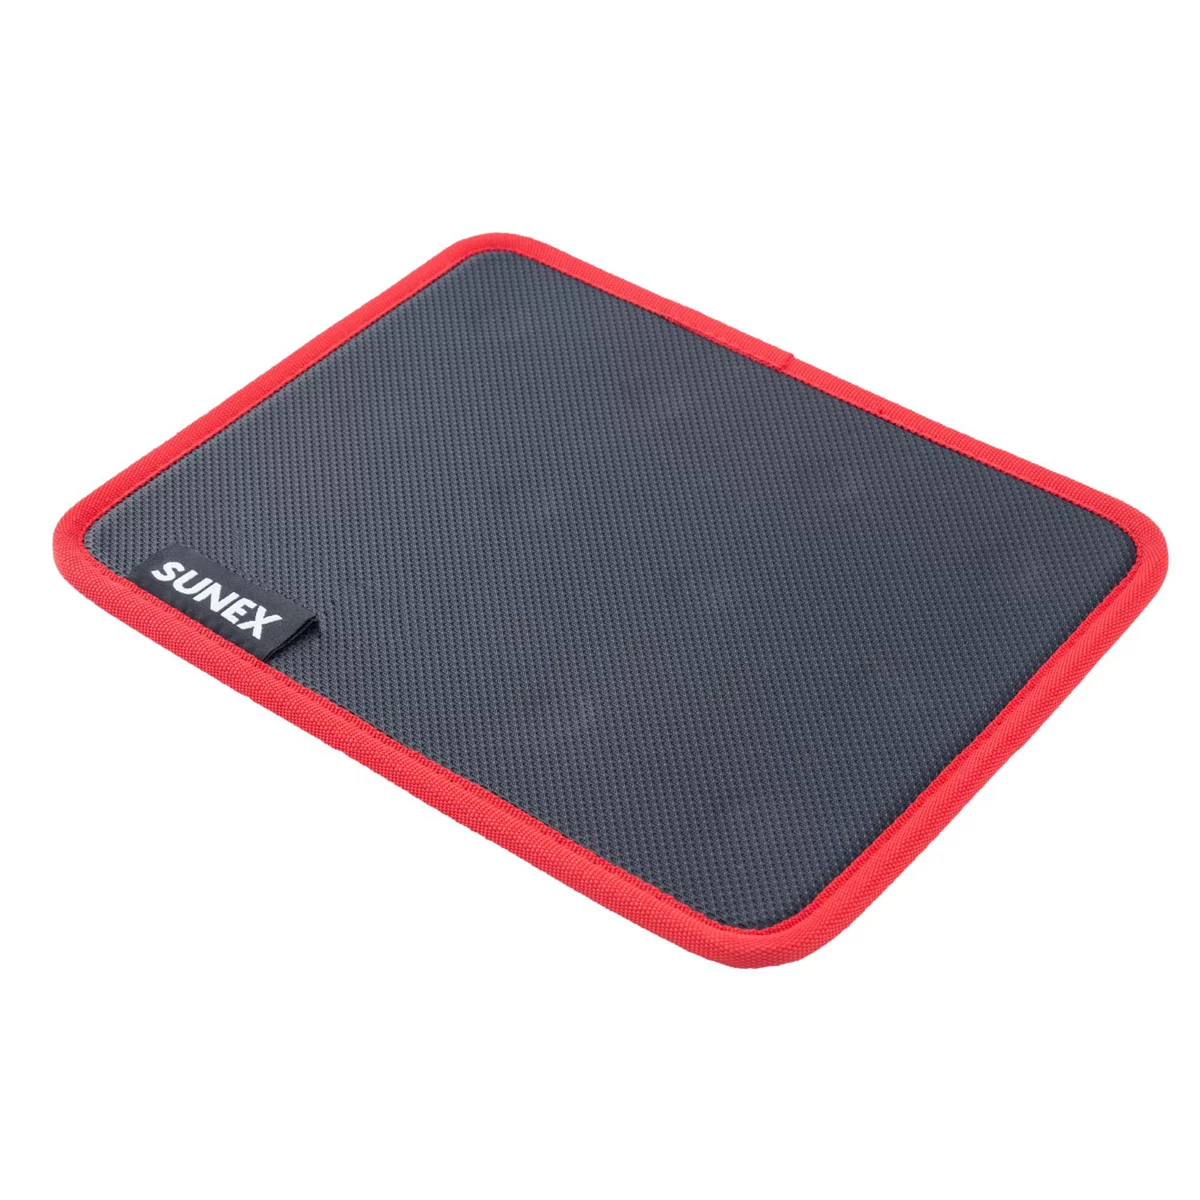
- **Rubber Mat**: Place a rubber mat on top to prevent future scratches. These mats are affordable and come in various sizes and styles.
- **Butcher Block**: Consider using a wooden butcher block for extra protection during heavy use. It can also serve as a work surface.
- **Preventive Maintenance**: Regularly check your toolbox for scratches or dents and address them promptly.
Step 5: Organizing Tools Effectively
The way you organize your tools can significantly affect the care of your toolbox. Keep the following tips in mind:
- **Use Organizers**: Drawer organizers and magnetic trays keep tools from rolling around, thus minimizing scratching.
- **Label Tools**: Clearly label drawers or sections for easy identification. It saves time and reduces the need to dig around.
- **Keep Clean**: Ensure tools are not dirty before placing them back in the toolbox. This helps maintain both the tools and the box.
Step 6: Long-Term Maintenance
For long-lasting care, follow these yearly maintenance tips:
- **Deep Cleaning**: Conduct a more thorough cleaning at least once a year, removing all tools and checking for any hidden issues.
- **Rust Prevention**: Consider using anti-corrosion sprays for internal areas of the toolbox.
- **Updates**: If sections of the toolbox are damaged, consider replacing them instead of letting them deteriorate.

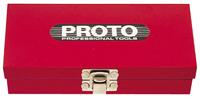
10-three eight inchWxfour and seven sixteen inchDxone and five eight inchH Set Box
Mfg: Stanley Proto Industrial Tools
Part #: J5299
$16.90ID: 109461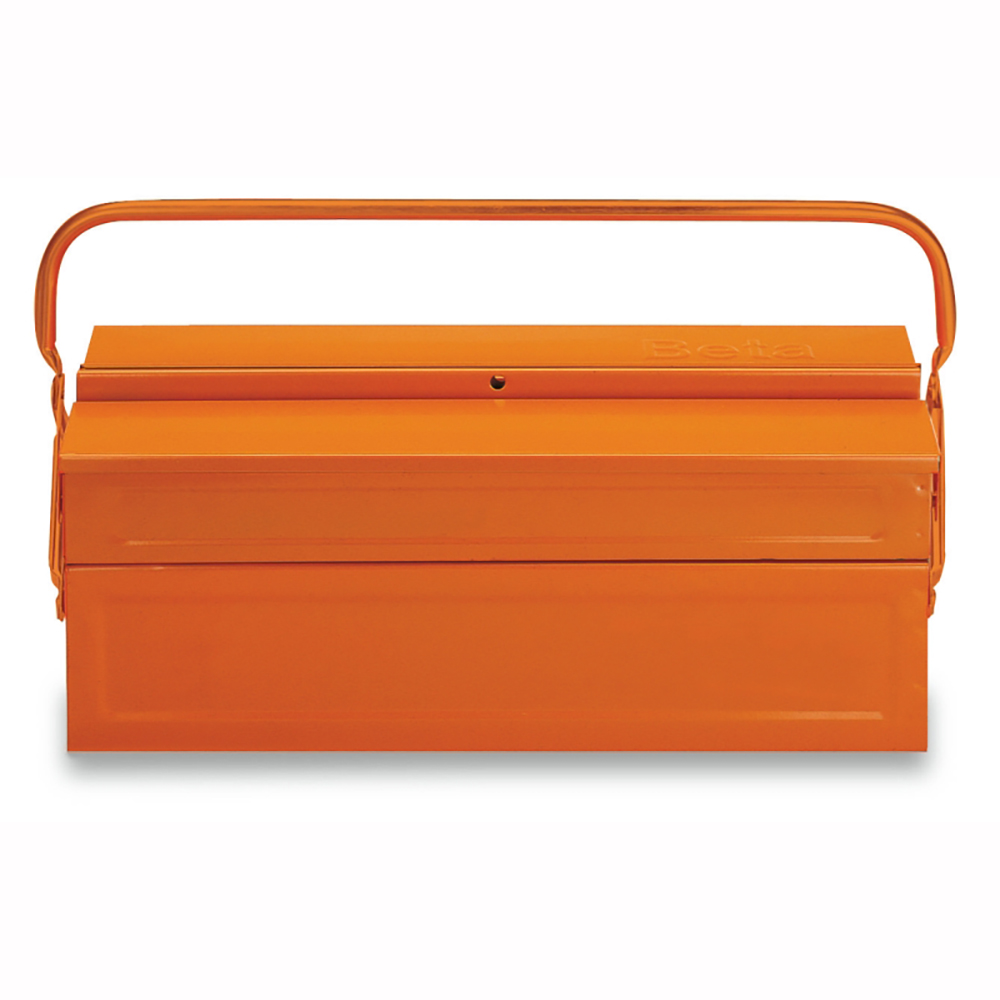
Beta C20 Five-Section Cantilever Metal Tool Box, 18" x 8" x 8"
Mfg: Beta Tools
Part #: C20
$100.43ID: 421497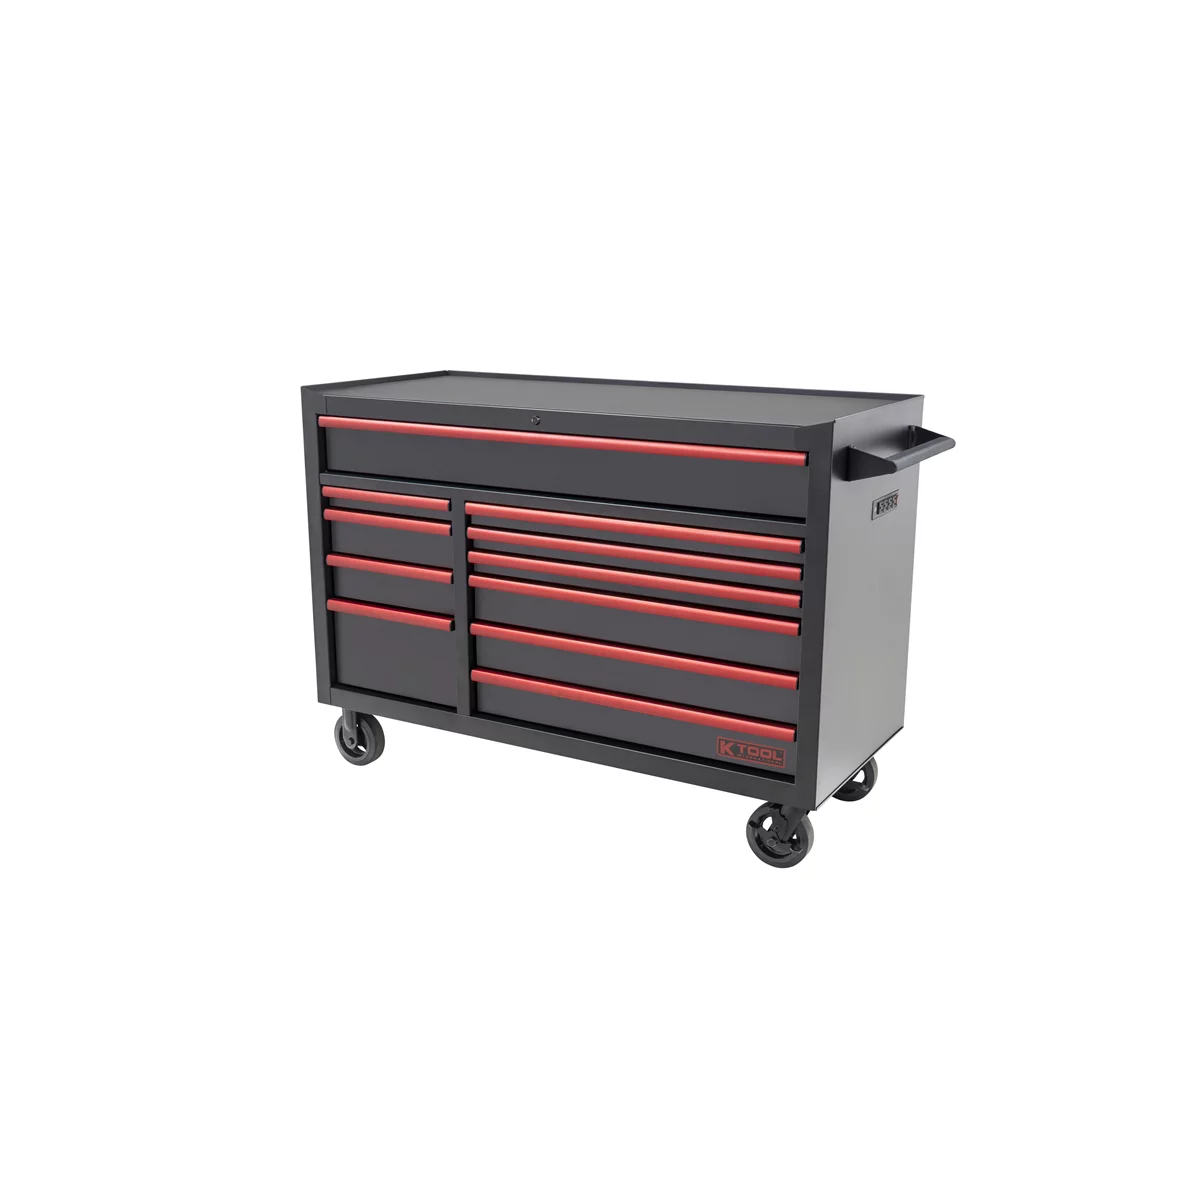
5five inch Premium 11 Drawer Double Bay 1,200 lb. Tool Box (Matte Black)
Mfg: K Tool International
Part #: KTI75136
$1,649.19ID: 359590
4one inch 10 Drw Db Bay 1,000lb Tool Box (Matter Black)
Mfg: K Tool International
Part #: 75132
$1,239.56ID: 325849
Quick Checklist for Toolbox Care
- Assess the condition. Look for scratches and dents.
- Regularly clean using soap and water.
- Buff out scratches with an appropriate polishing compound.
- Utilize rubber mats or wooden surfaces for protection.
- Organize tools to prevent unnecessary movement.
- Conduct yearly deep cleaning and maintenance.
Frequently Asked Questions (FAQs)
1. How do I remove deep scratches from my toolbox?
For deep scratches, use a fine-grade polish combined with a buffing wheel to minimize visibility. If the scratch is too deep, consider professional restoration services.
2. Can I use household cleaners on my toolbox?
While soft soaps are generally safe, avoid harsh chemicals that could damage the finish. Stick to gentle, non-abrasive cleaners.
3. How often should I clean my toolbox?
Aim to clean your toolbox at least once every month, but deeper cleaning should take place annually.
4. Do rubber mats damage the toolbox finish?
No, quality rubber mats should not damage the finish and actually help protect against future scratches.
5. Is it okay to store tools in a dirty state?
Always clean tools before returning them to the toolbox. Dirty tools can cause rust and additional wear and tear.
Recommended Tools
For essential care and organization of your tools, explore our Tool Storage options to keep everything in place and protected.
- Drawer organizers and trays for easy access
- Robust tool boxes with protective features
- Innovative storage solutions for efficient workspace organization
The Toolsource Technical Team blends decades of real-world automotive service experience with up-to-date technical research. Our writers collaborate with professional mechanics, shop owners, and diagnostic specialists to deliver practical, workshop-ready guidance you can trust.


Follow us on social media