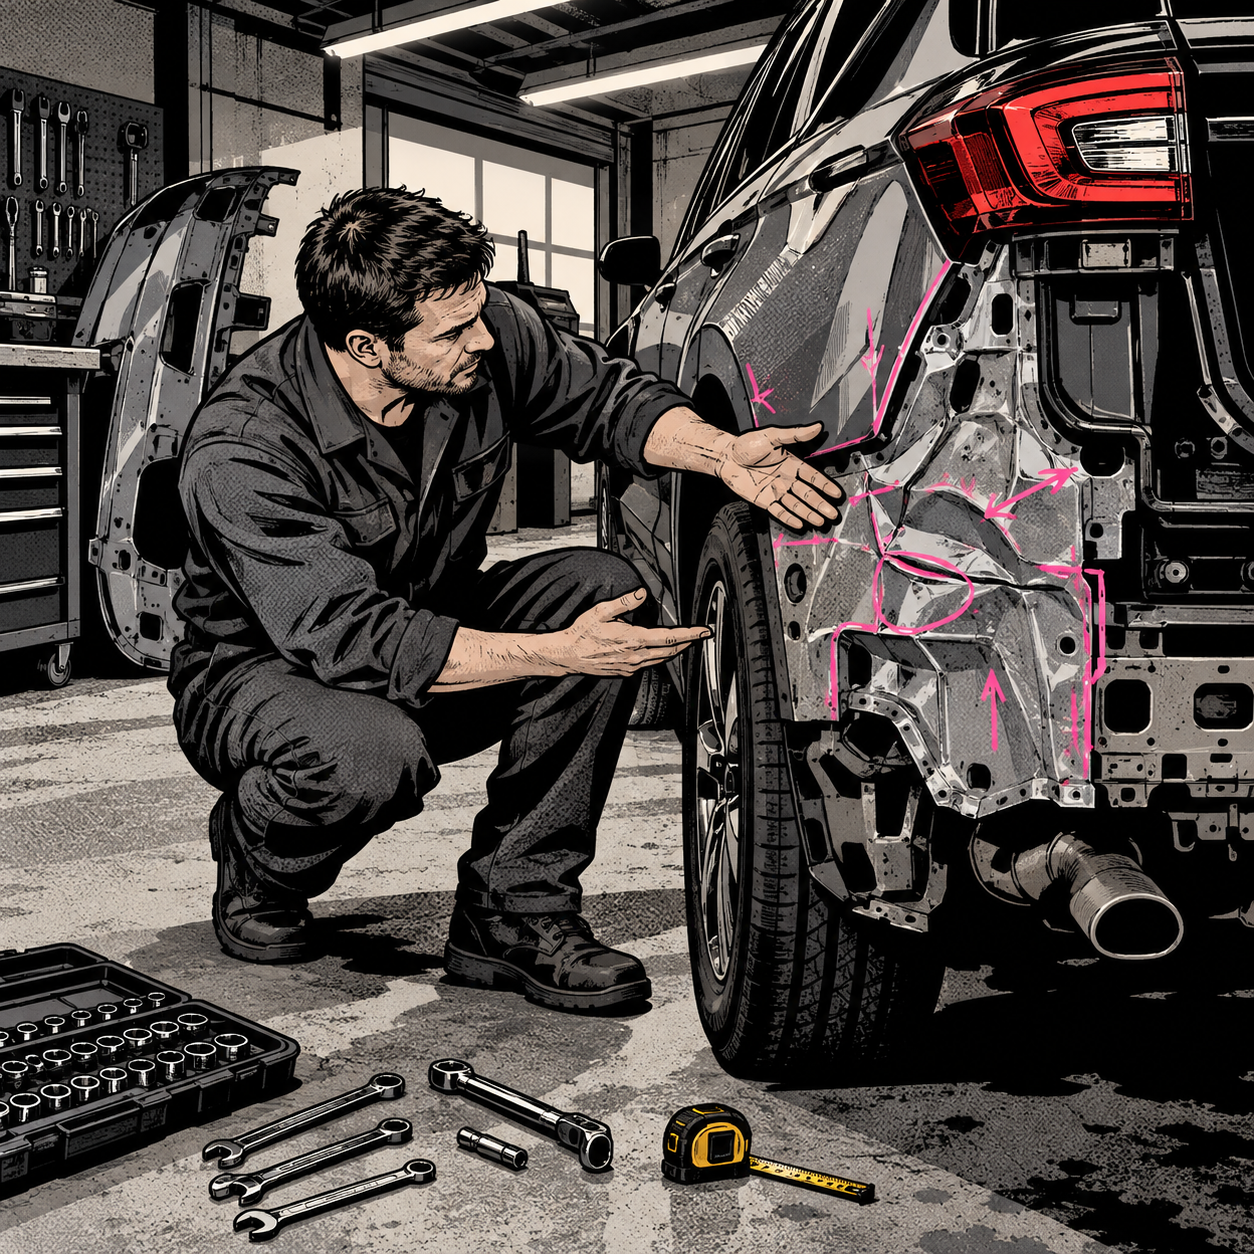
A recent thread making the rounds showed a rear-ended SUV where the bumper cover had been reinstalled over a rear body panel still marked up in pink paint pen — damage that was apparently photographed for the insurance estimate but never actually repaired. The crossmember and liftgate had been replaced, but the panel behind the cover, the parking sensor fitment, and the weatherstripping near the striker were left as-is. Whether that was sloppiness or something closer to “billed not performed,” it’s a useful case study for any shop doing rear-end collision work. Here’s how to run a teardown, document it correctly, and sign off on a repair you’d be comfortable explaining to an adjuster — or in a deposition.
Why Rear-End Damage Hides Behind the Bumper Cover
On most unibody SUVs and crossovers, the rear bumper cover is cosmetic. Behind it sits the reinforcement bar (sometimes called “rebar”), a crossmember, and the rear body panel itself — what estimators often just call the “back panel.” A hit hard enough to require crossmember replacement has, in almost every case, also loaded the body panel it bolts to. That load shows up as print-through, buckled seams, or a bend that’s visible once you look past the circle of visible bumper damage.
The lesson for techs: never scope or estimate a rear-end hit from the bumper cover alone. Pull the cover, inspect the panel, the floor pan where it meets the rear rails, and the liftgate opening for fitment. If the bumper cover itself doesn’t sit flush after reassembly, that’s frequently a symptom of an unaddressed panel or rail issue underneath — not just a clip that didn’t seat.
Documenting Damage Correctly — and Avoiding a “Billed Not Performed” Problem
Marking damage with a paint pen or marker during teardown is normal practice; it helps whoever writes the supplement and whoever shoots the photos for the insurer. The failure mode isn’t the marker — it’s leaving it on the vehicle after the repair is closed out. If a panel was marked, photographed, and listed on the estimate for repair and refinish, it needs to actually be repaired and refinished before the car leaves. A marked-but-untouched panel under a reinstalled cover is exactly the kind of evidence that turns into an insurance fraud allegation (commonly termed “work billed, not performed”) if it’s ever discovered — and these cases get discovered because customers eventually pull interior trim or take the car to a second shop.
Practical habit: as part of final detail/wash, walk every marked line item on the repair order and physically confirm the mark is gone because the work was done, not because it was wiped off before delivery. If a line item on the estimate says “repair and refinish” for a panel, there should be a corresponding paint booth record and a line on the invoice — not just a part number for a bumper cover.


Requesting a Supplement Instead of Skipping the Work
If a panel needs repair that isn’t on the original estimate, that’s what the supplement process is for — not a reason to skip it. Insurers, including DRP partners, generally approve supplements when the damage is documented with photos and a clear tie to the loss. The problems in these comeback cases usually aren’t that the insurer refused to pay; it’s that the shop either didn’t ask or wrote the panel into the estimate and then didn’t perform the work.
If you’re the estimator or the tech flagging additional damage: photograph it before and after teardown, note the measurement or fitment issue (gap, panel misalignment, rust at a seam), and get it into the supplement request before the vehicle moves past that stage. Don’t let a vehicle go to paint or reassembly with a flagged-but-unresolved item sitting on the repair order. Once a DRP shop signs off on an estimate, that signature is a quality control statement — treat it as one.
Calibration Isn’t Optional When Rear Sensors Are Involved
Rear parking sensors, backup cameras, and blind-spot radar units mounted in or near the bumper cover are only as accurate as the panel they’re bolted to. If the rear body panel or crossmember was bent and then “fixed” by replacement parts that don’t sit true, sensor brackets can be off enough to throw calibration out, even if the system still powers on and shows no fault code at idle.
Before closing out any rear-end repair involving ADAS components:
- Confirm panel and bracket surfaces are true — measure, don’t eyeball — before mounting sensors
- Run OEM-specified static or dynamic calibration after reassembly, not just a scan-tool fault check
- Document calibration results (pass/fail, target distances used) in the repair file
- Re-torque and re-check sensor mounting if any supplemental work is performed after initial calibration
A sensor system that “seems to work” after a rushed calibration on a warped panel is a liability problem waiting to surface, often months later when the customer notices erratic parking assist behavior.
Corrosion Protection and Small Details That Signal Rushed Work
Weatherstripping near the liftgate striker, seam sealer at panel joints, and e-coat/primer on any cut or replaced metal are easy to skip and easy for a second shop to spot later. Rust powder found along weatherstripping after a “completed” repair is a red flag that moisture got into a seam that was never properly sealed or that bare metal from a repair was never treated. Weatherstripping with a factory groove should reseat cleanly — if it’s sitting proud or won’t lay flat, that’s worth investigating before it leaves your bay, not after a comeback.
Fit-and-finish checks matter here too. Bumper cover clips that aren’t fully seated, inconsistent panel gaps, and overspray or masking lines are the kind of things a careful final inspection catches — and the kind of things customers photograph and post when they don’t.
Post-Repair Inspection and Final Sign-Off
A documented post-repair inspection (PRI) before delivery is the single best protection against all of the above. Someone other than the tech who did the work — a shop foreman, estimator, or quality control lead — should walk the vehicle against the final repair order line by line: every replaced part installed, every repair-and-refinish line actually refinished, every calibration completed and logged, every panel gap within spec. If the shop has a quality control sign-off step, that signature should mean something; it’s the record that gets pulled if a customer or insurer ever disputes the repair later.
Quick Pre-Delivery Checklist
- Every “repair and refinish” line item on the estimate verified as actually completed
- No leftover paint-pen or marker damage indicators remaining on the vehicle
- Panel gaps and bumper cover fitment checked by hand, not just visually
- ADAS/parking sensor calibration performed and logged after any structural work
- Weatherstripping reseated fully; no exposed bare metal or active corrosion
- Supplement requests closed out and matched to work actually performed
- Second set of eyes (QC/foreman) signs off against the repair order before delivery
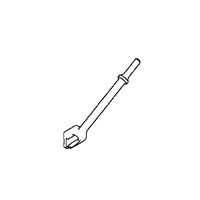
Ford Door Hem Flange Opening Tool - Left Hand 501-078/2
Mfg: OTC Tools and Equipment
Part #: 501-078/2

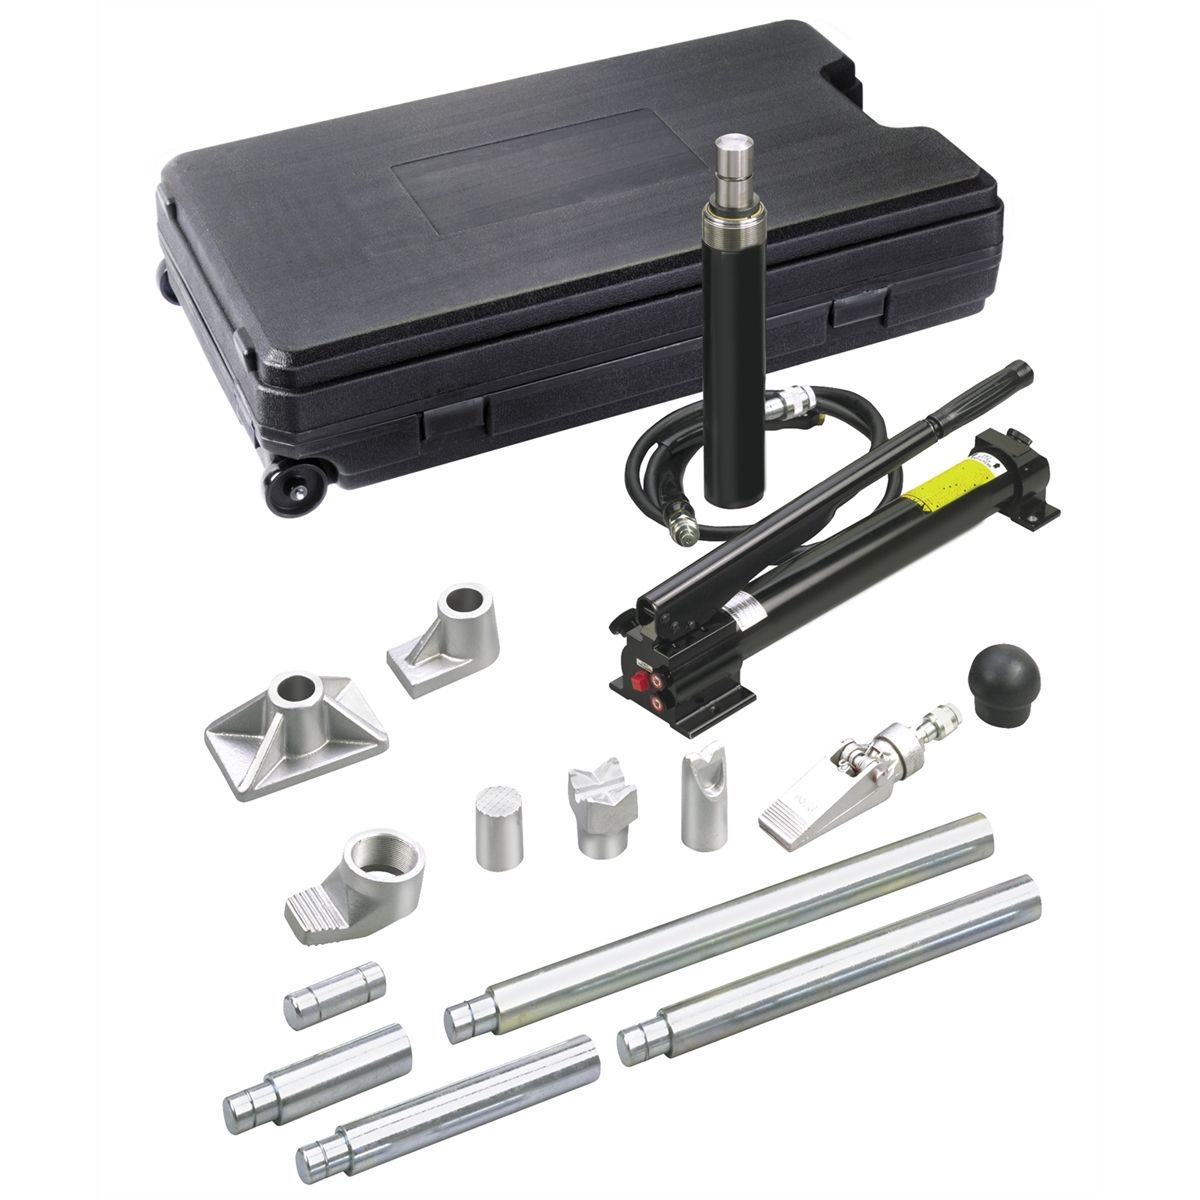
Cobra Series 10-Ton Collision Repair Set w/ 6 1/8 In Stroke Ram
Mfg: OTC Tools and Equipment
Part #: 1519A
Frequently Asked Questions
Does a replaced crossmember always mean the rear body panel needs attention too?
Not always, but it should always be checked. The crossmember bolts directly to the body panel, so damage severe enough to replace one commonly transfers load into the other. Treat it as a mandatory inspection point, not an assumption either way.
Is it fraud to mark damage with a paint pen and not repair it?
Marking damage for documentation is standard practice. The problem arises when that marked item was listed and paid for as “repair and refinish” on the estimate but the work was never performed. That gap between billed and performed work is what creates liability exposure for a shop.
What should a shop do if it finds additional damage mid-repair?
Photograph it, document the specific issue, and submit a supplement request to the insurer before the vehicle moves to paint or reassembly. Don’t proceed past that stage with an unresolved flagged item on the repair order.
Can a vehicle pass inspection with unrepaired structural damage hidden behind a bumper cover?
It can visually appear fine with the cover reinstalled, which is exactly the risk. A proper post-repair inspection should go beyond the visible cover and verify every line item on the estimate against work actually completed.
Why does ADAS calibration matter if the sensor still lights up on the scan tool?
A powered-on, fault-free sensor isn’t the same as an accurately calibrated one. If the mounting surface was bent and replaced without being brought back to true spec, calibration can be thrown off even though no fault code appears.
What’s the best way for a shop to protect itself from these kinds of comebacks?
A documented post-repair inspection performed by someone other than the repairing tech, checked line-by-line against the final repair order, is the most reliable safeguard before a vehicle is delivered.
Essential Tools for Collision Documentation and Repair
Proper documentation and finishing prevent comebacks and protect your shop in rear-end collision work. Our Paint & Body category includes marking pens, inspection equipment, and finishing supplies needed for every repair stage.
- Damage marking pens and documentation tools for teardown and inspection
- Paint preparation and finishing supplies for precise collision repairs
- Quality assurance equipment for gap measurement and panel fitment verification

The Toolsource Technical Team blends decades of real-world automotive service experience with up-to-date technical research. Our writers collaborate with professional mechanics, shop owners, and diagnostic specialists to deliver practical, workshop-ready guidance you can trust.


Follow us on social media