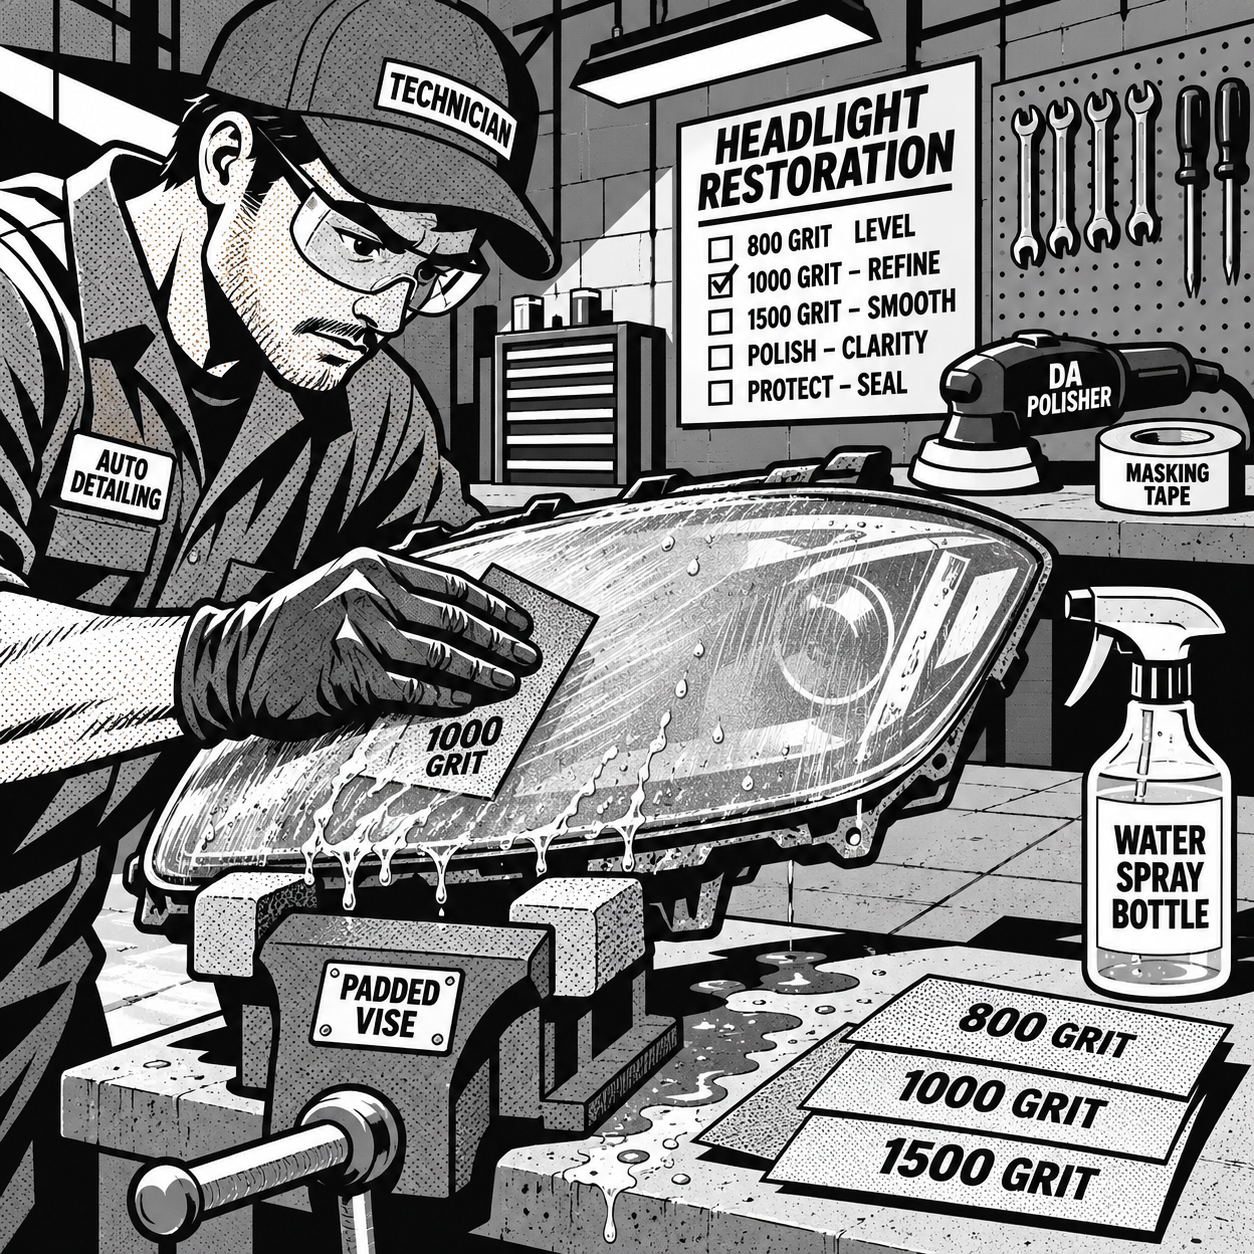
Cloudy, yellowed headlight lenses are one of the most common walk-in requests a shop sees, and also one of the most common comebacks when the job is done wrong. Customers show up having already tried toothpaste, WD-40, or bug spray because they saw it on social media, and the lenses are hazy again within a week. This guide covers how to correctly diagnose the type of lens damage, the restoration process that actually holds up long-term, and how to know when you’re better off quoting a new housing instead of chasing a problem that sanding and polish can’t fix.
Diagnose the Damage Before You Touch a Lens
Not all cloudy headlights are the same problem, and the fix depends entirely on what’s causing the haze. Run your finger across the lens and look at it under a shop light before deciding on a repair path.
- Surface oxidation — a dull, yellow-brown film sitting on top of the clear coat. This is UV degradation of the factory coating and is the easiest case to fix. Sanding and polishing will restore clarity.
- Crazing — fine, spiderweb-like micro-cracks visible under the surface, usually when you angle the lens toward light. This is UV damage that has penetrated into the polycarbonate itself, not just the coating. Restoration kits will produce a short-term cosmetic improvement but the haze returns within months because the cracks are structural, not surface-level.
- Cracking or chips — physical damage from debris or impact. No amount of sanding fixes this; it’s a housing replacement.
Setting correct customer expectations here matters more than the polishing technique. If a lens is crazed, tell the customer up front that a restoration is a temporary cosmetic fix, not a permanent repair, so they’re not calling back in three months disappointed.
Tools and Materials for a Shop-Quality Restoration
Skip the one-step “wipe and shine” products — they look fine in a before/after photo but don’t last. A proper restoration uses graduated-grit wet sanding followed by a cutting compound and a sealant. For a lens with moderate oxidation, you want:
- Wet/dry sandpaper in 800, 1000, 1500, and 2000 grit (some techs extend to 3000-5000 for a mirror finish before polishing)
- A spray bottle of water to keep the surface wet and the sanding slurry from loading up the paper
- A dual-action (D/A) polisher with a foam or wool pad, plus a plastic-safe rubbing/cutting compound
- Painter’s tape and masking film to protect surrounding paint
- A UV-resistant clear coat or sealant — this is the step people skip, and it’s the reason most DIY restorations fail within a season
A cordless drill with a sanding/buffing attachment cuts the labor time roughly in half compared to doing everything by hand, which matters if you’re billing by the job rather than the hour.
[PRODUCT_SEARCH: headlight restoration kit with UV sealant]


The Wet Sand and Polish Sequence That Actually Holds Up
This is the process that consistently outperforms one-step kits and lasts years instead of weeks:
- Mask off the paint and trim around the headlight with tape and film — sanding compound and clear coat overspray will dull paint if it lands on it.
- Wash the lens with soap and water to remove road grime and loose debris before sanding.
- Wet sand starting at 800 grit, keeping the surface soaked, using straight overlapping passes rather than circles. Move to 1000, then 1500, then 2000 grit, rinsing between each step. Each grit should remove the scratch pattern left by the one before it — don’t skip steps or you’ll leave visible sanding marks under the clear coat.
- Dry the lens and inspect under direct light. It should look uniformly hazy/matte with no shiny spots (shiny spots mean oxidation remains in that area and needs more sanding).
- Run a D/A polisher with a plastic-safe cutting compound to bring back clarity. Hand polishing works but takes considerably longer and is harder to get uniform.
- Clean off all polish residue with isopropyl alcohol so the sealant bonds properly — any oily residue left behind will cause the clear coat to fish-eye or peel prematurely.
If the lens is cracked only at the surface coating level (not crazed through the polycarbonate), this sequence alone can get it back to near-new clarity.
Sealing Is What Separates a Permanent Fix From a 3-Day Fix
Polished polycarbonate with no protective layer will start yellowing again almost immediately because it’s unprotected against UV exposure — this is why bare-sanded lenses or quick wipe-on products fail fast. Two options hold up well in practice:
- 2K (two-component) clear coat — a catalyzed automotive clear sprayed on after sanding and polishing. This is the most durable option and is what professional detailers and body shops use; it can last two or more years with normal exposure. It requires spray equipment and proper ventilation, and a light final wet sand (around 3000-5000 grit) before the last coat gives the smoothest finish.
- Ceramic coating kits — brush- or wipe-applied ceramic sealants marketed specifically for headlights. These are easier for a one-off job with no spray booth, cost under $20-30, and multiple technicians report them holding up well for a year or more when applied correctly after sanding.
Avoid skipping sealant entirely. A polished-but-unsealed lens looks great leaving the bay and will be visibly yellowing again within a few weeks — that’s the single biggest driver of comeback complaints on this job.
When to Recommend Replacement Instead of Restoration
Set the expectation early: restoration is a cosmetic and UV-barrier repair, not a way to fix structurally compromised plastic. Recommend a new housing instead of restoring when:
- The lens shows crazing (sub-surface micro-cracking) rather than simple surface oxidation — sanding will not remove cracks that have propagated into the material.
- There’s physical cracking, chips, or a broken mounting tab.
- Moisture or condensation is getting inside the housing — that’s a seal failure, not a clarity problem, and the customer needs a replacement part regardless of how clear you get the outer lens.
- The customer needs the fix to hold for resale or inspection purposes long-term — a sanded-and-sealed lens is a good 1-3 year fix, not a lifetime one.
For a customer on a budget who understands it’s a temporary cosmetic fix (for example, to pass a state inspection), restoration is a reasonable and much cheaper option than OEM replacement. Just document that conversation so there’s no confusion later.
Quick Checklist: Headlight Restoration Job
- ☐ Inspect lens under direct light — confirm oxidation, not crazing or cracking
- ☐ Mask surrounding paint and trim
- ☐ Wet sand progressively: 800 → 1000 → 1500 → 2000 grit, rinsing between steps
- ☐ Inspect for uniform matte finish with no shiny oxidized spots remaining
- ☐ Polish with D/A polisher and plastic-safe compound
- ☐ Wipe down with isopropyl alcohol before sealing
- ☐ Apply 2K clear coat or ceramic sealant — never leave bare polished plastic unsealed
- ☐ Set customer expectations on longevity (1-3 years, not permanent) if crazing was present
[PRODUCT_SEARCH: headlight polishing compound and buffing pads]
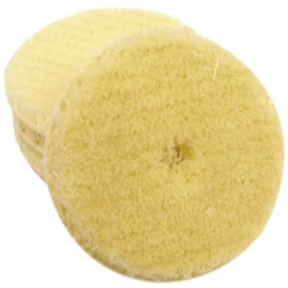

Professional 4-Ply Wool Curved Edge Micro Compounding & Buffing
Mfg: SM Arnold
Part #: 57-135

FAQs
How long does a professional headlight restoration last?
With proper wet sanding, polishing, and a 2K clear coat or quality ceramic sealant, a restoration on a lens with simple surface oxidation typically holds up 1-3 years depending on sun exposure and climate. Skipping the sealant step cuts that down to weeks.
Do one-step wipe-on restoration kits actually work?
They can produce a short-term improvement on mild haze, but they don’t remove enough material to fully clear moderate-to-heavy oxidation and most don’t include a durable UV-blocking sealant, so results fade fast. They’re acceptable as a stopgap, not a lasting fix.
Can toothpaste or household items actually restore headlights?
Mild abrasives like toothpaste can temporarily cut through light surface haze in a pinch, but they offer no UV protection afterward, so clouding returns quickly. Not a substitute for a proper sand-polish-seal process on a customer vehicle.
How do I tell oxidation apart from crazing before I quote the job?
Angle the lens toward a bright light. Oxidation looks like a uniform dull film on the surface. Crazing shows as fine cracks beneath the surface that catch the light differently and won’t sand out — if you see that pattern, quote replacement or set clear expectations that restoration is cosmetic-only.
Is a drill attachment worth it over hand sanding and polishing?
Yes for shop throughput — a drill or D/A polisher cuts the job to roughly 30-45 minutes per light versus 1-1.5 hours by hand, with more consistent results. Hand sanding is fine for low-volume or mobile detailing work.
Does headlight restoration affect light output or safety inspections?
Properly restored, polished, and sealed lenses restore both appearance and light transmission, which can help a vehicle pass visual equipment inspections where cloudy lenses are flagged. A hazy, unsealed, or poorly sanded lens can still scatter light and reduce beam effectiveness at night.
Recommended Paint & Body Supplies
Complete your headlight restoration with the right materials from our Paint & Body selection, including sandpaper, polishing compounds, masking supplies, and protective clear coats.
- Wet/dry sandpaper in multiple grits (800–2000+) for progressive sanding
- Polishing compounds and buffing pads for D/A polishers
- Ceramic coatings and 2K clear coat sealants for UV protection

The Toolsource Technical Team blends decades of real-world automotive service experience with up-to-date technical research. Our writers collaborate with professional mechanics, shop owners, and diagnostic specialists to deliver practical, workshop-ready guidance you can trust.


Follow us on social media