A blown head gasket means thousand-dollar repairs and serious engine problems. You’re facing tough choices: DIY, professional repair, or gamble on sealers. Some repairs are doable if you have the right tools and knowledge, but others need machine shop precision. This guide cuts through the hype to give you honest advice on diagnosis, repair options, and whether your situation is worth fixing.
Diagnosing a Blown Head Gasket
Make sure you’re dealing with head gasket failure and not something cheaper that looks similar.
Key symptoms: overheating, white smoke, oil discoloration
Head gasket failure typically shows multiple symptoms: your engine overheats even after topping off coolant (combustion gases entering the cooling system), white sweet-smelling smoke from the exhaust means coolant is burning in cylinders, and milky oil indicates coolant mixed with engine oil. Look for coolant leaking between the head and block—crusty deposits or wet streaks prove the gasket is failing. Oil in the coolant reservoir signals the reverse problem.
Combustion gas test and visual inspection
A combustion gas test is definitive without engine disassembly. These kits use chemical indicators that change color when they find hydrocarbons in the cooling system. Draw a sample from the radiator while the engine runs; if the test fluid shifts from blue to yellow or green, combustion gases are leaking into coolant. Check spark plugs—steam-cleaned white plugs indicate coolant reached that cylinder. A compression test shows which cylinders lose pressure, and a leak-down test narrows it down to the head gasket specifically.
Rule out cheaper problems first
A stuck thermostat causes overheating but won’t create milky oil—replace it first ($15-50). A bad radiator cap lets coolant escape without pressure ($15). Air bubbles in the cooling system create overheating. A dying water pump causes overheating but keeps fluids clean. Replace the thermostat and radiator cap, bleed the cooling system, check your water pump, and ensure cooling fans work before committing to head gasket work.
Why Chemical Sealers Fail
How temporary sealers clog cooling systems
Chemical head gasket sealers send particles through your cooling system that supposedly seal the leak. The problem: these particles circulate everywhere—radiator tubes, heater core passages, water pump, thermostat housing. Modern radiators clog easily, killing cooling capacity. Heater cores plug completely. Thermostats stick. Even if the sealer temporarily works, your entire cooling system is contaminated with deposits that cause ongoing problems. Flushing rarely works once the sealer bonds to interior surfaces.
Product comparison
| Product | Active Ingredients | Installation | Success Rate | Cost |
|---|---|---|---|---|
| Blue Devil Head Gasket Sealer | Sodium silicate liquid glass | Pour and idle 50 minutes | 15-25% temporary | $60-70 |
| Bars Leak HG-1 | Sodium silicate | Pour and drive 15 minutes | 10-20% temporary | $25-35 |
| K-Seal Ultimate | Ceramic microfibers | Pour into coolant | 20-30% temporary | $40-50 |
| Steel Seal | Sodium silicate formula | Drain coolant completely; 1 hour idle | 25-35% temporary | $125-150 |
None provide permanent fixes. Blue Devil works only on tiny breaches and fails within weeks. Bars Leak costs less but clogs cooling systems more often. K-Seal’s ceramic approach can’t handle pressure differences between combustion chambers and coolant passages. Steel Seal’s complicated procedure reduces contamination risk slightly but costs nearly as much as professional diagnosis.
When sealers might help
Use sealers only on end-of-life vehicles worth less than repair costs when you need a few more weeks or months before scrapping or trading in. For newer vehicles or anything you plan to keep, skip sealers—they destroy resale value. Any pre-purchase inspection reveals cooling system contamination as a major red flag.
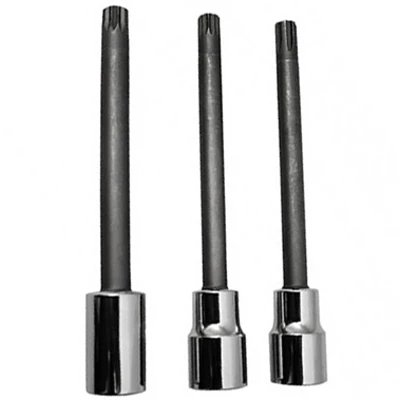
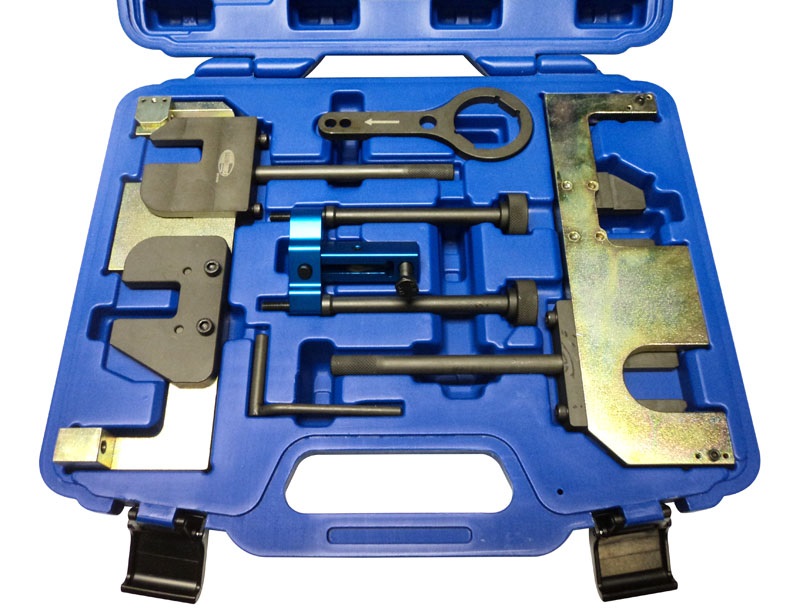
180962 9255 CTA Manufacturing Corp. CTA-9255 CM9255 3-PC VW HEADBOLT WR SET
Mfg: CTA Manufacturing Corp.
Part #: 9255
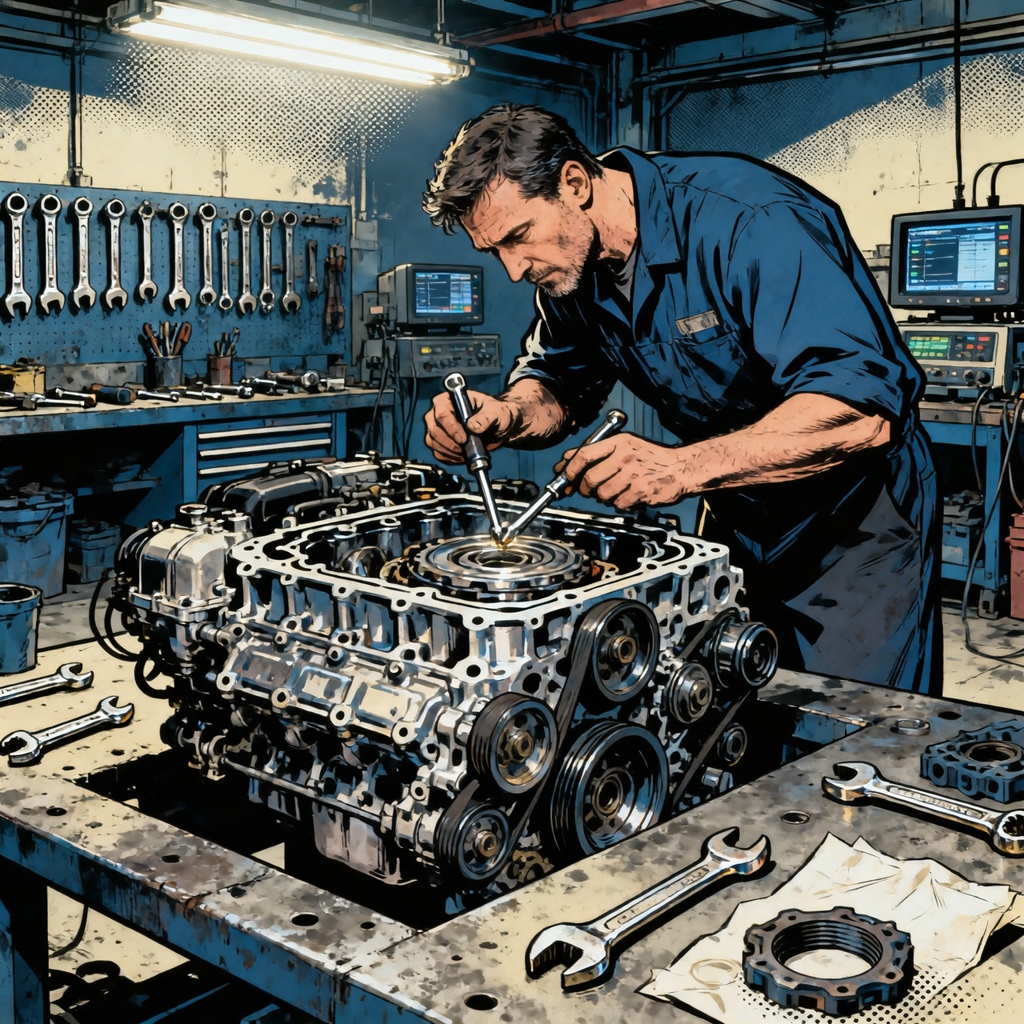
DIY Head Gasket Replacement: Tools and Reality Check
You can save money doing this yourself, but you need specific tools, good workspace, and honest assessment of your mechanical ability.
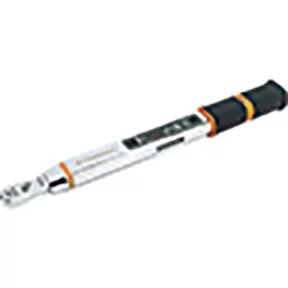
Required tools
You need a good inch-pound and foot-pound torque wrench—head bolts need exact torque. A complete socket set with deep wells reaches tight spots. Gasket scrapers and chemical remover clean surfaces without gouging. The replacement gasket must match your exact engine. New head bolts are mandatory since modern torque-to-yield bolts permanently stretch during installation. RTV sealant supplements the main gasket. A straightedge and feeler gauges check for head warping. A breaker bar handles stubborn bolts. Get a service manual for your specific engine with torque specs, bolt sequence, and procedures.
Basic process
Drain coolant and disconnect the battery. Remove everything blocking head access—intake manifold, exhaust manifold, valve cover, timing components, ignition parts. Tape and label everything; take photos. Remove head bolts in reverse order of the tightening pattern. Lift the head carefully, watching for dowel pins. Clean both surfaces completely without scratching—scratches create leak paths. Check head flatness with a precision straightedge; if warped more than .003 inches, a machine shop needs to surface it. Install the new gasket the right way—some are directional. Set the head back on, install new head bolts with light oil, and tighten in three stages following your service manual pattern. Reinstall everything in reverse order, refill fluids, bleed air from the cooling system, and watch carefully for leaks during the first heat cycle.
Why overhead cam engines are harder
Overhead cam engines have timing marks and components that require careful documentation and reinstallation—one tooth off on the timing means pistons hit valves when the engine runs. You need specialized knowledge and tools. Variable valve timing systems add complexity. Direct injection engines require specialized tools. If this is your first head gasket repair, pick a simple pushrod OHV engine instead of learning on a DOHC interference engine.
Professional Repair Costs
Price ranges
Labor costs the money since the job takes 6-12 hours. Simple inline four-cylinder engines run $800-1,500 total at independent shops. V6 and V8 engines cost $1,200-2,000 for one head or $1,800-3,000 for both. Transverse V6 engines in front-wheel-drive cars cost more due to access issues. Turbocharged engines require turbo removal and reinstallation. Dealerships charge 30-50% more than independent shops. Parts cost $100-300 for gasket sets and bolts; $150-400 for machine shop work; $200-500 more if additional machining is needed.
Machine shop work
Machine shops check head flatness with precision tools. If warping exceeds manufacturer specs (typically .002-.004 inches), they mill material to flatten it. Each mill reduces the head height, affecting compression ratio and valve-to-piston clearance on interference engines. Shops also pressure test to find invisible cracks in combustion chambers or coolant passages—cracks usually mean the head is done unless you pay for specialized welding. Machine shop costs: $75-150 for basic inspection and surfacing, $200-400 for full valve work, $300-600 for pressure testing. Plan 3-5 days minimum for machine shop work.
New head bolts are non-negotiable
Modern torque-to-yield head bolts permanently stretch during installation. Reusing them means they won’t get proper clamping force when torqued again, virtually guaranteeing failure within months. New head bolts cost $50-150 for a set—cheap insurance. Never reuse a head gasket either; it’s permanently compressed and won’t seal right the second time.
Repair vs. Replacement: Making the Right Decision
Cost-benefit analysis
If repair costs more than 50% of your vehicle’s market value, replacement usually makes more sense. A $4,000 vehicle needing $2,000 in repairs is borderline; a $2,500 vehicle needing $2,000 doesn’t make sense. Consider recent work: if you just invested $1,500 in suspension and brakes, repairing the head gasket protects that investment. Think about vehicle age and actual condition—a pristine 15-year-old worth $8,000 deserves a $1,500 repair; a rusty 8-year-old worth $3,000 probably doesn’t. Do the math honestly: current market value, repair cost, likelihood of more problems within two years, and what replacement vehicles cost in your budget.
Engine type impact
Inline four-cylinder pushrod engines are straightforward with simple access—perfect DIY candidates that save $600-1,000 in labor. Pushrod V8s in trucks similarly work well for DIY. Transverse V6 engines in front-wheel-drive cars are harder with tight rear bank clearance and often need partial powertrain removal. Boxer engines usually require complete engine removal. Timing belt designs and direct injection engines need specialized knowledge. Consider these complications: simple engines might be worth DIY, while complex engines benefit from professional expertise.
Long-term consequences of delayed repair
Coolant mixing with oil ruins the oil’s lubricating ability, accelerating wear on bearings, camshafts, and cylinder walls. Weeks of driving with contaminated oil causes permanent damage. Even after proper head gasket replacement, these engines develop rod knock or compression loss months later as damaged bearings finally fail. Before committing to repair on engines that ran with coolant-contaminated oil, get an oil analysis—excessive bearing material means damage that no gasket replacement will fix. In those cases, a used engine or replacement vehicle makes more sense.
Frequently Asked Questions
Do head gasket sealers actually work?
Chemical sealers provide temporary relief in 15-30% of cases, usually lasting weeks to months. They work best on tiny cracks but can’t seal major failures or combustion chamber cracks. Particles frequently clog radiator tubes, heater cores, and thermostats, causing more damage than the original problem. Use sealers only on vehicles you’re scrapping, where repair costs exceed what the vehicle is worth.
Can I attempt DIY replacement?
DIY works for mechanically experienced home mechanics with proper tools and realistic expectations. Best candidates: older pushrod engines with straightforward access and minimal timing complexity. Poor candidates: overhead cam engines, transverse engines needing powertrain removal, turbocharged engines, or anything with variable valve timing. Required tools include quality torque wrenches and a detailed service manual. Plan 20-40 hours for your first repair. If your experience stops at basic maintenance, build your skills on simpler repairs first.
What happens if water gets in the oil?
Coolant in oil creates a sludgy mixture that loses lubricating ability, accelerating wear on bearings, camshafts, and cylinder walls. The mixture can’t maintain oil pressure or create the lubrication film bearings need. Glycol deposits varnish and creates acidic conditions that corrode bearing surfaces. Even short operation causes measurable damage; weeks do permanent damage that will eventually fail. Stop driving immediately, repair the gasket, change oil at least twice, and get an oil analysis to check bearing material content.
How long does professional repair take?
Shops typically need 3-5 days minimum: one day for diagnosis and teardown, 2-3 days for machine shop work, and one day for reassembly and testing. Complex engines stretch the timeline to 1-2 weeks. Ask for timeline estimates upfront and confirm whether machine work is included in the quote.
Should I replace both head gaskets?
On V-configuration engines where only one head fails, mechanics split on whether to replace both. Reasons to replace both: they’re the same age and will probably fail soon, and you’ve already paid most of the labor to access the engine. Reasons to replace just one: if only one side failed, the other might work fine for years. Middle ground: replace the failed side, but if your engine has high miles (180,000+) or history of overheating on both sides, replace both to avoid repeating this soon.
Can I drive with a blown head gasket?
Avoid driving with confirmed head gasket failure beyond what you must to reach the shop. Continued driving accelerates internal damage through coolant-oil contamination and overheating. If you must drive, keep it under 5 miles, watch temperature continuously, and stop if the gauge goes red. Better move: have it towed to the shop—pay $100-200 for towing rather than risk thousands in additional damage.
Head Gasket Repair Checklist
- Performed combustion gas test confirming gasket failure
- Obtained correct gasket for your engine, new head bolts, RTV sealant, coolant, and oil
- Have quality torque wrenches, complete socket set, gasket scrapers, straightedge and feeler gauges
- Got factory service manual with torque specs and bolt sequence for your exact engine
- Photographed all connections, labeled wiring and vacuum lines
- Located machine shop, confirmed pricing and timeline for inspection and surfacing
- Thoroughly cleaned head and block surfaces without scratching
- Checked head flatness; sent to machine shop if warped beyond .003″
- Installed gasket correctly, torqued bolts in three stages following factory pattern
- Added correct coolant type and amount, thoroughly bled air from system
- Watched first heat cycle carefully for leaks and white smoke
- Changed oil again after 500 miles to flush remaining contamination, monitored coolant level weekly for one month
Professional repairs should include documentation of machine shop work, new parts receipts, and warranty terms covering parts and labor.
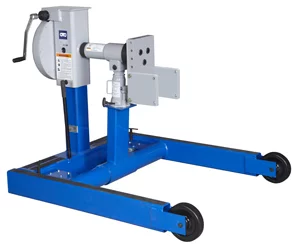
The Revolver Diesel Engine Repair Stand - 6000 Lb
Mfg: OTC Tools and Equipment
Part #: 1750A
Milwaukee Tool 15pc sae sae standard Combination Wrench Set with PACKOUT Compact Organizer
Mfg: Milwaukee Electric Tools
Part #: 48-22-9484
Essential Tools for Gasket Repairs
Whether you’re tackling this project yourself or preparing for a professional visit, having the right repair tools and supplies makes all the difference. Explore our complete collection of gasket repair tools and automotive repair equipment to ensure you’re properly equipped.
- Gasket Scrapers & Removal Tools – Essential for safely removing old gaskets without damaging engine surfaces
- Torque Wrenches & Precision Tools – Critical for proper fastener specifications when reassembling engine components
- Gasket Sealants & Adhesives – Professional-grade products used by technicians for reliable, long-lasting seals
The Toolsource Technical Team blends decades of real-world automotive service experience with up-to-date technical research. Our writers collaborate with professional mechanics, shop owners, and diagnostic specialists to deliver practical, workshop-ready guidance you can trust.

Follow us on social media