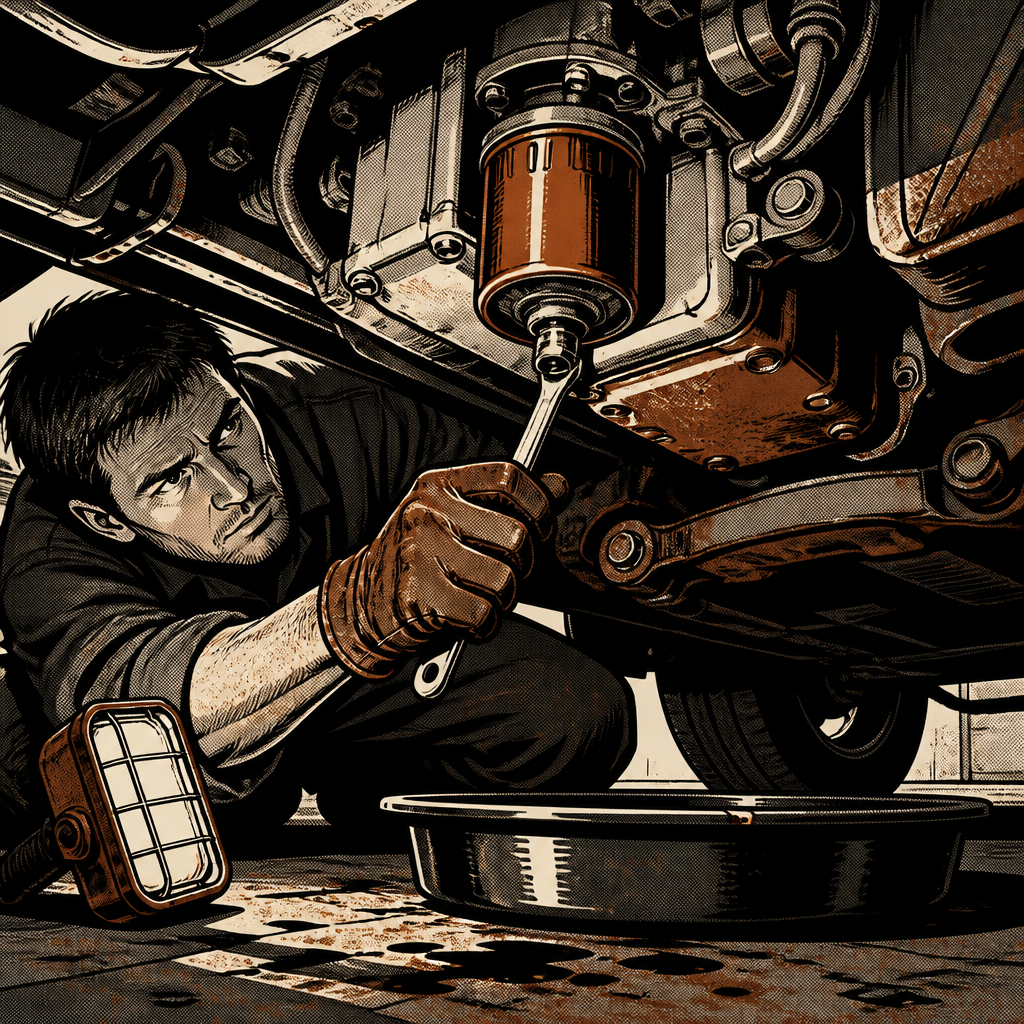
A car that starts grinding or knocking right after a routine oil change is sending a clear signal: something about that service went wrong. It’s rarely a coincidence. Whether the vehicle went to a quick-lube chain or an independent shop, a new noise that appears within days (or even minutes) of an oil service points to a handful of specific, checkable failure points — low oil level, a missing or double-stacked filter gasket, a loose drain plug, or in worst cases, oil starvation that’s already damaged a bearing. This guide walks through the diagnostic sequence a technician would use to isolate the cause before more damage occurs.
Why Noises Show Up Immediately After an Oil Change
Engines rely on a thin film of pressurized oil between moving metal surfaces — rod bearings, main bearings, camshaft journals, and the valvetrain. When that film is thin, absent, or contaminated, metal-to-metal contact starts almost immediately, and it’s loud. A grinding, rattling, or knocking sound that appears right after service is almost always tied to one of these root causes:
- The engine was driven or started with too little oil in the pan (underfill, or oil never added at all).
- The oil filter wasn’t seated correctly, leaked out most of the oil within the first few miles, and starved the system of pressure.
- The drain plug was left loose or cross-threaded and oil drained out on the drive home.
- The wrong viscosity or a contaminated/counterfeit oil was used, reducing film strength under load.
- Pre-existing wear was masked by old, thicker oil, and the fresh, thinner oil simply revealed a problem that was already there.
The first four are service errors and are fixable or at least diagnosable without teardown. The fifth is bad luck with timing, but it still needs to be ruled out with the same checks.
Step One: Confirm Oil Level and Condition Immediately
Before doing anything else, shut the engine off if it’s still running and let it sit for a few minutes so oil drains back into the pan. Then check the dipstick:
- Level: If the stick reads at or below the “add” mark, or shows no oil at all, that’s your answer — the engine ran low or dry. Do not restart it. Continuing to drive or idle a dry engine turns a cheap fix into a rebuild.
- Color and texture: Fresh oil should be amber to light brown and translucent on the stick. Milky, gritty, or metallic-flecked oil indicates contamination or that metal is already being ground up internally.
- Smell: A strong burnt odor suggests the oil has been overheating from inadequate lubrication.
If the level is low, look under the car for fresh oil on the ground, the subframe, or the exhaust — a puddle or spray pattern tells you where it left the engine. A dry engine bay with a puddle under the filter or drain plug narrows the cause immediately.
Step Two: Inspect the Filter and Drain Plug
Most post-service oil loss traces back to these two points, and both are quick to check from underneath the vehicle:
- Oil filter: Check that it’s finger-tight plus the specified turn, seated flush against the mounting surface, and that there’s only one gasket present. A common shop mistake is leaving the old gasket stuck to the block and installing a new filter on top of it — this creates a gap that leaks oil under pressure, sometimes fast enough to empty the pan within a few miles.
- Drain plug: Confirm it’s torqued to spec with a new (or at least intact) crush washer. A plug that’s loose, missing its washer, or cross-threaded will seep or stream oil out under normal driving vibration.
- Fitting reused parts: If this was a DIY change or a rushed shop visit, check that no tools, rags, or old parts were left near the filter housing, which can also cause leaks or obstruct oil flow.
If either point shows fresh oil residue, wipe it clean, correct the fault (proper torque, new gasket, correct filter fitment), refill to the proper level, and then move to the pressure check below before assuming the engine is fine.
Step Three: Check Oil Pressure Before Restarting
Never restart an engine that made grinding or knocking noises just to “see if it’s still doing it.” That risks turning a starvation event into permanent bearing damage. Instead:
- Refill the oil to the correct level with the correct viscosity for the vehicle.
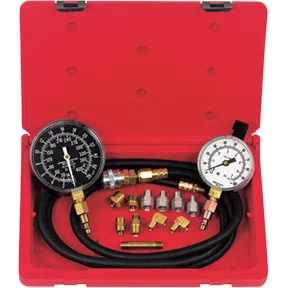
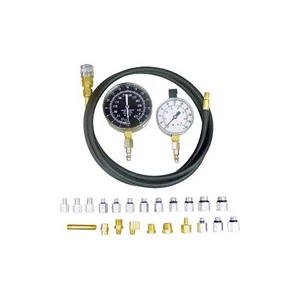
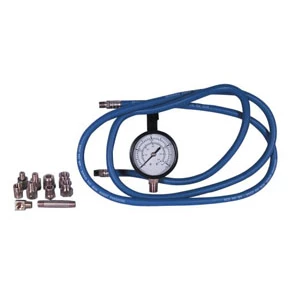
- Connect a mechanical oil pressure gauge to the sending unit port if the vehicle doesn’t have a reliable factory gauge — dash lights and digital gauges can lag or be inaccurate after a low-oil event.
- With the ignition on but the engine off, or using the crank-only method, confirm the sender and wiring aren’t at fault before condemning the pump or bearings.
- Start the engine briefly (a few seconds) while watching pressure build. Healthy oil pressure typically comes up within 1-2 seconds of cranking. If it takes noticeably longer, or never reaches a normal reading (consult the factory spec, often 25-65 psi at idle depending on the engine), shut it down immediately.
Low or delayed pressure after the level and filter/plug issues have been corrected is a strong indicator that bearing clearances have already opened up from the starvation event — meaning the noise won’t go away with more oil.
Step Four: Isolate the Noise Source
Not every noise after an oil service means catastrophic damage, but the type of sound narrows the diagnosis:
- Rhythmic knock that changes with RPM: Consistent with rod or main bearing damage from oil starvation.
- Constant grinding, not RPM-dependent: Could be a failing oil pump, a seized accessory (alternator, water pump, power steering pump) unrelated to oil, or debris in the pan being circulated.
- Ticking that fades as RPM rises: Often valvetrain or lifter noise from oil starvation at the top end, less severe than a rod knock but still needs correction.
- Noise only on cold start, then quiets: Points to lifters or a variable valve timing solenoid rather than a bearing issue, though it’s worth confirming oil level is correct regardless.
A mechanic’s stethoscope or even a long screwdriver held to the ear (block side, engine off but able to spin) can help localize where the sound is loudest — front (timing chain/accessories), middle (main bearings), or top (valvetrain).
Documenting the Issue for a Comeback or Claim
If the noise started at or near an oil change performed by a shop, document everything before you do more diagnostic work: photos of the dipstick reading, the filter and drain plug condition, any puddles under the car, mileage at the time of service versus mileage when the noise started, and the receipt or invoice. Most national chains carry liability coverage for service-caused engine damage, but claims move faster and get approved more often when there’s a clear paper trail showing oil was low or a part was mis-installed immediately after their service. Take the vehicle back to the servicing shop for an initial inspection if possible — many warranty processes require it — but don’t let them just “top off the oil and send it out” if a knock is present.
When to Escalate to a Full Teardown
If oil pressure is low or slow to build after correcting the level and fitment issues, or if a rod knock is audible, further driving isn’t worth the risk. At that point the diagnostic path shifts from fluid checks to:
- Pulling the oil pan to inspect bearings directly for scoring or discoloration.
- Checking the oil pickup tube screen for a clog that could explain a pressure drop unrelated to the service itself.
- Sending a sample of the oil for analysis if there’s any doubt about whether the correct oil was used.
- Getting a written estimate for bearing or engine replacement before authorizing any shop to proceed, so it’s documented for a liability claim.
Quick Diagnostic Checklist
- Check dipstick: correct level, normal color, no metal flecks
- Look under the vehicle for fresh oil at the filter and drain plug
- Confirm filter has one gasket, seated flush and torqued correctly
- Confirm drain plug torque and crush washer condition
- Test oil pressure before extended restart — don’t drive on a knock
- Localize the noise (front/middle/top) to narrow the likely component
- Photograph everything and keep the service invoice for a claim
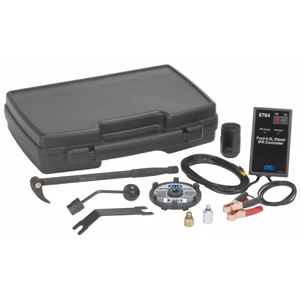
Ford 6.0L Diesel Service Tool Kit - OTC 6770
Mfg: OTC Tools and Equipment
Part #: 6770
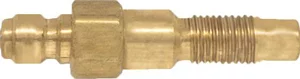
Diesel Engine Compression Test Adapter - 8mm - 1.00 - Kubota
Mfg: S & G Tool Aid
Part #: 35500
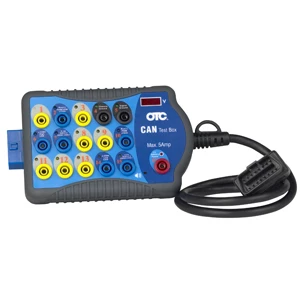
FAQs
Is it safe to keep driving if I hear grinding right after an oil change?
No. Stop driving as soon as possible and check the oil level. Continuing to drive on a low or contaminated oil supply can turn a bearing issue into a full engine failure within minutes.
Can a bad oil filter really cause an engine to lose most of its oil?
Yes. A filter that isn’t seated properly, or installed over a second old gasket, can leak oil out under normal operating pressure fast enough to drain the pan within just a few miles of driving.
How do I know if the noise is a bearing knock versus something less serious?
A steady, rhythmic knock that changes pitch with engine RPM usually points to rod or main bearing damage. Ticking that fades as RPM increases is more often lifters or valvetrain noise, which is less severe but still needs the oil issue corrected.
Will topping off the oil fix the grinding noise?
Sometimes, if the noise was purely from a low level and no bearing damage occurred yet. But if the knock persists after the level and oil pressure are corrected, the bearings have likely already been damaged and adding oil won’t resolve it.
Is a quick-lube shop liable for engine damage after their oil change?
Most major chains carry liability coverage for service-related damage, but approval typically requires documentation — photos, the mileage at time of service, and evidence the level or filter was wrong. Get the vehicle inspected and everything documented before further driving or repairs.
Should I go back to the same shop that did the oil change?
In most cases yes, at least for an initial inspection, since many warranty and liability processes require it. However, don’t authorize them to just top off oil and clear you to drive if a knock is present — insist on an oil pressure check and, if needed, an independent second opinion before continuing to run the engine.
Recommended Diagnostic Tools
The diagnostic steps outlined here — oil pressure testing, noise localization, and engine inspection — are faster and more accurate with proper tools. Stock your toolbox with Automotive Diagnostic Tools to handle post-service diagnostics confidently.
- Oil pressure test kits and gauges to confirm system pressure quickly and accurately.
- Engine stethoscopes and listening tools for pinpointing the source of engine noise.
- General diagnostic equipment for assessing engine condition when damage is suspected.

The Toolsource Technical Team blends decades of real-world automotive service experience with up-to-date technical research. Our writers collaborate with professional mechanics, shop owners, and diagnostic specialists to deliver practical, workshop-ready guidance you can trust.


Follow us on social media