Misfueling a diesel with gasoline during pre-delivery or lot operations happens more often than anyone likes to admit. How you triage, repair, verify, and document the fix determines downtime, cost, and customer confidence. This technician-focused playbook provides a practical decision tree, detailed repair procedures, verification steps, and prevention practices. Keep it precise, documented, and safe.

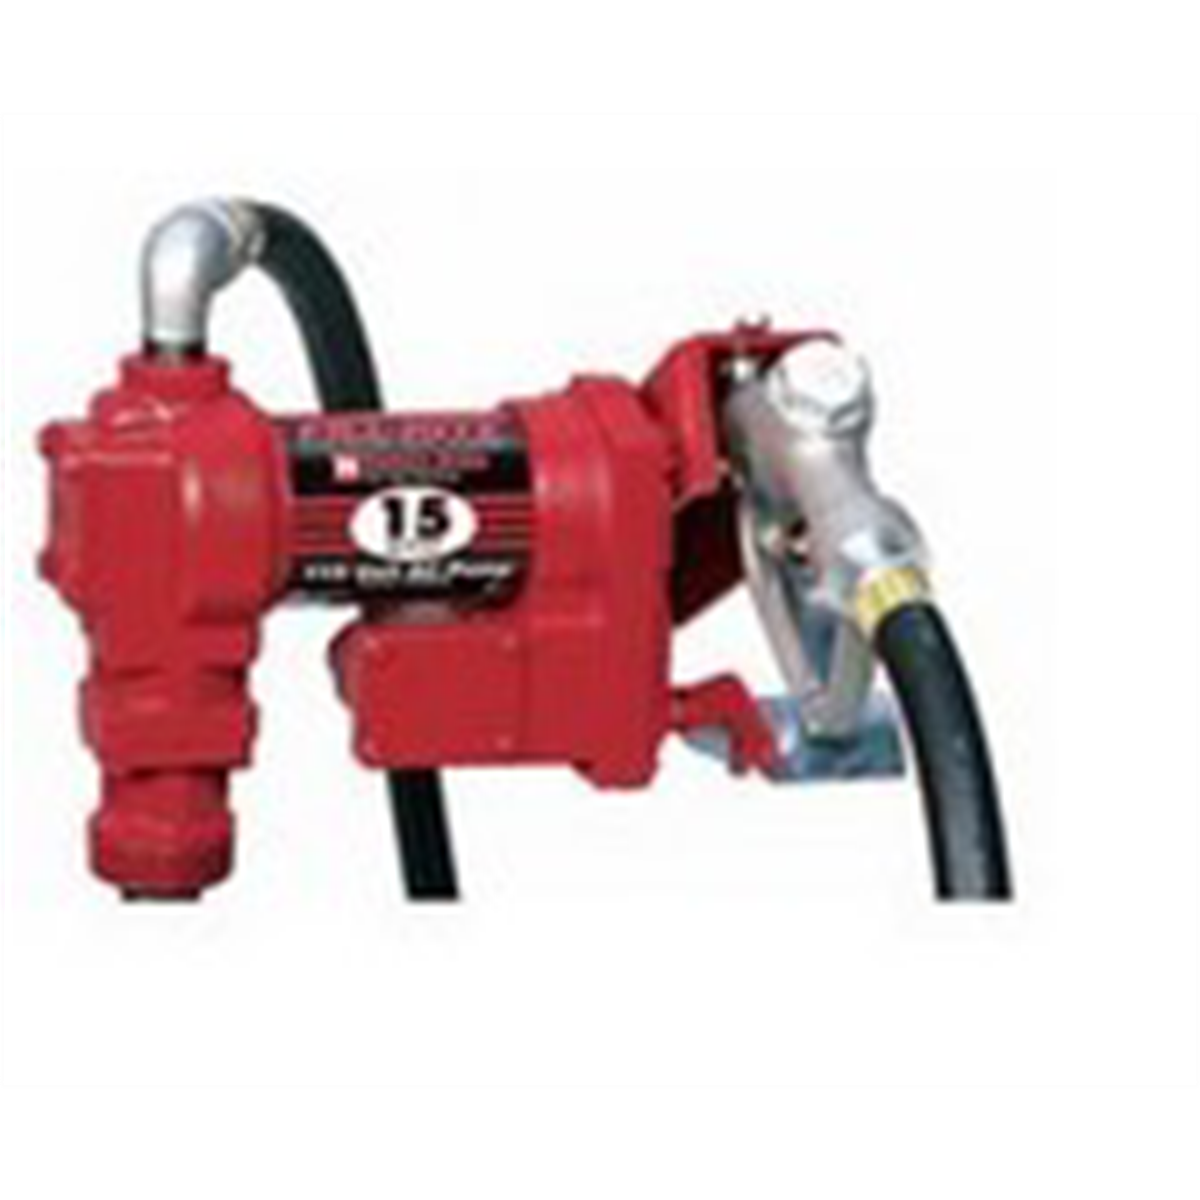
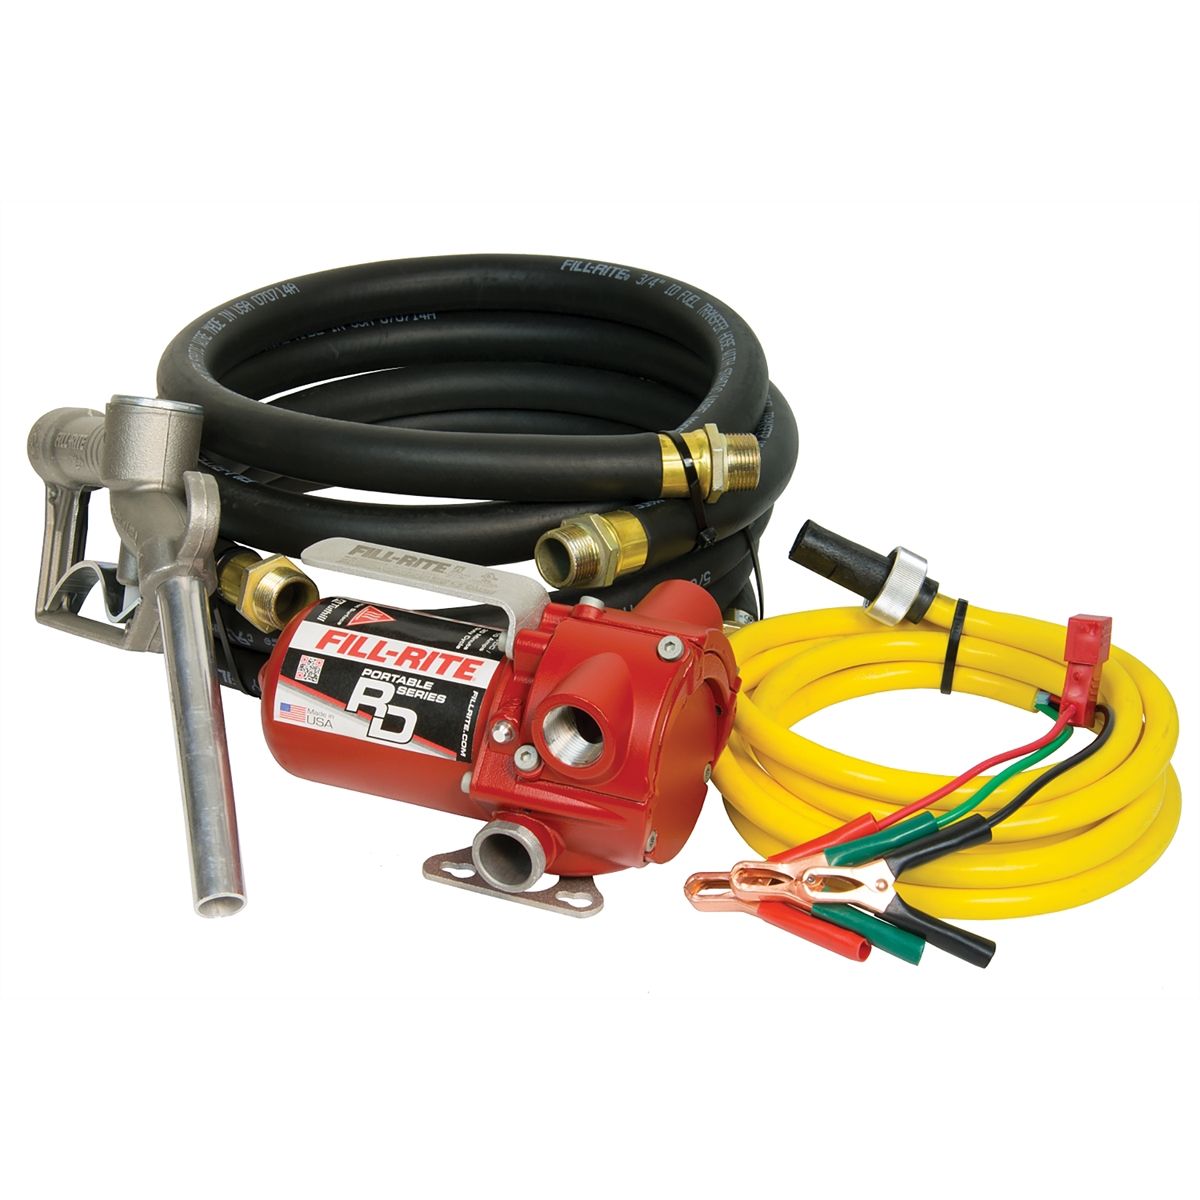
12V Fuel Transfer Pump Kit 15GPM w TT10AN Meter
Mfg: Tuthill Transfer Systems
Part #: FR1219H

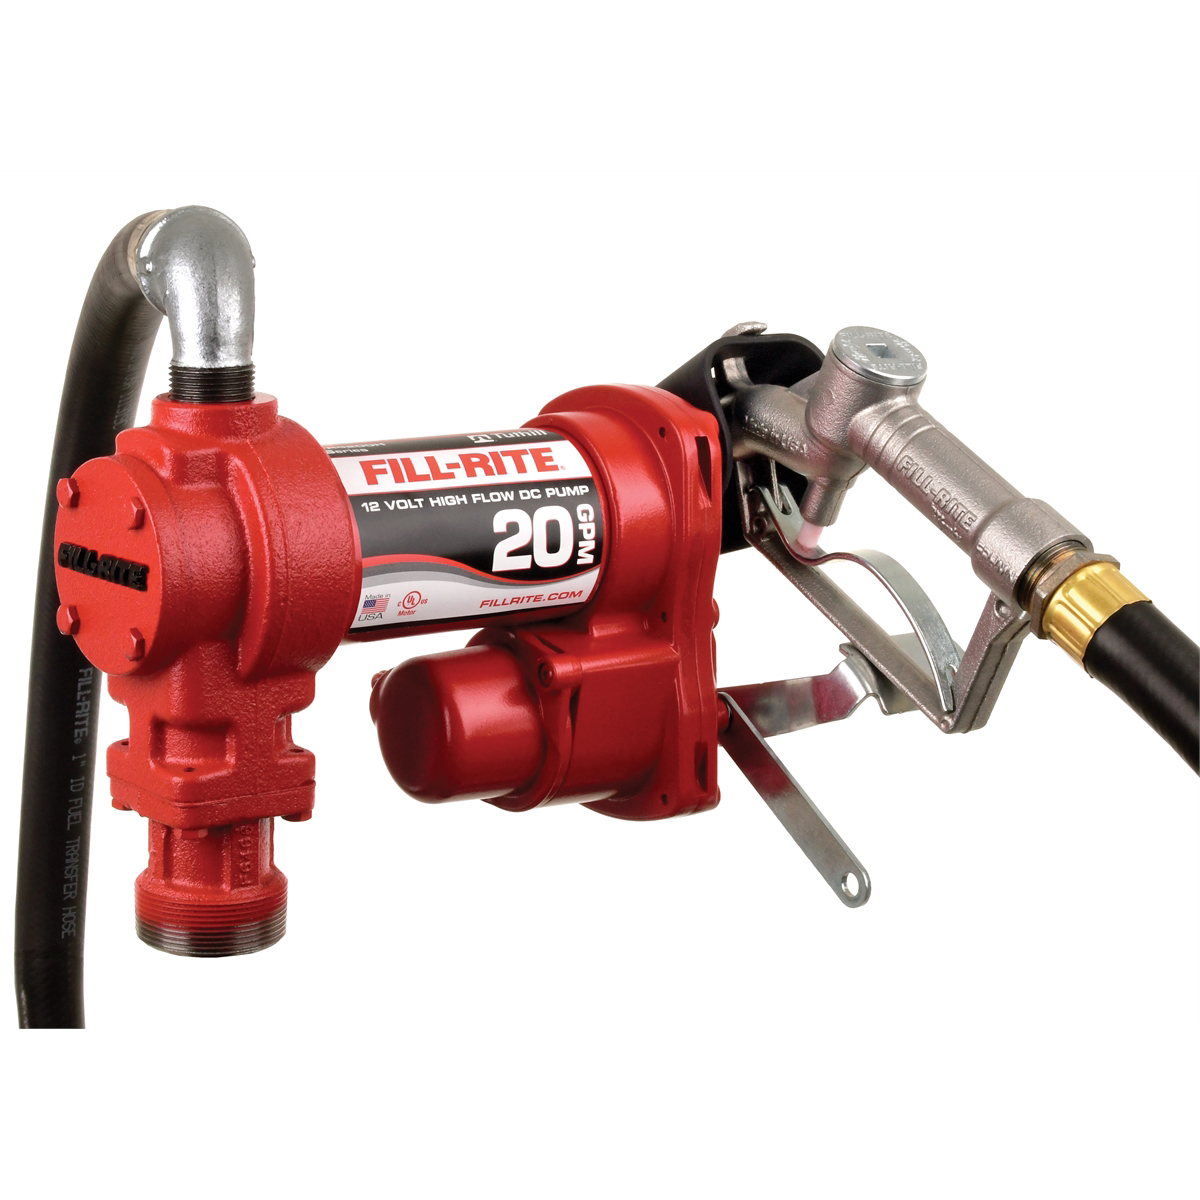
217559 RD812NH Tuthill Transfer Systems FILRD812NH 12 Volt Fuel Transfer Pump w nozzle
Mfg: Tuthill Transfer Systems
Part #: RD812NH
First 15 minutes: triage and containment
- Do not start the engine. If the vehicle is running, shut it down immediately. Pull the key and tag it to prevent inadvertent restarts.
- Depower the in-tank lift pump and any auxiliary fuel pumps by removing the fuel pump fuse or relay. Many late-model vehicles prime the system when doors open or ignition is cycled; prevent that.
- Establish facts quickly: estimate how much gasoline was dispensed, confirm whether the engine was started or driven, note how far, and capture the VIN and current mileage.
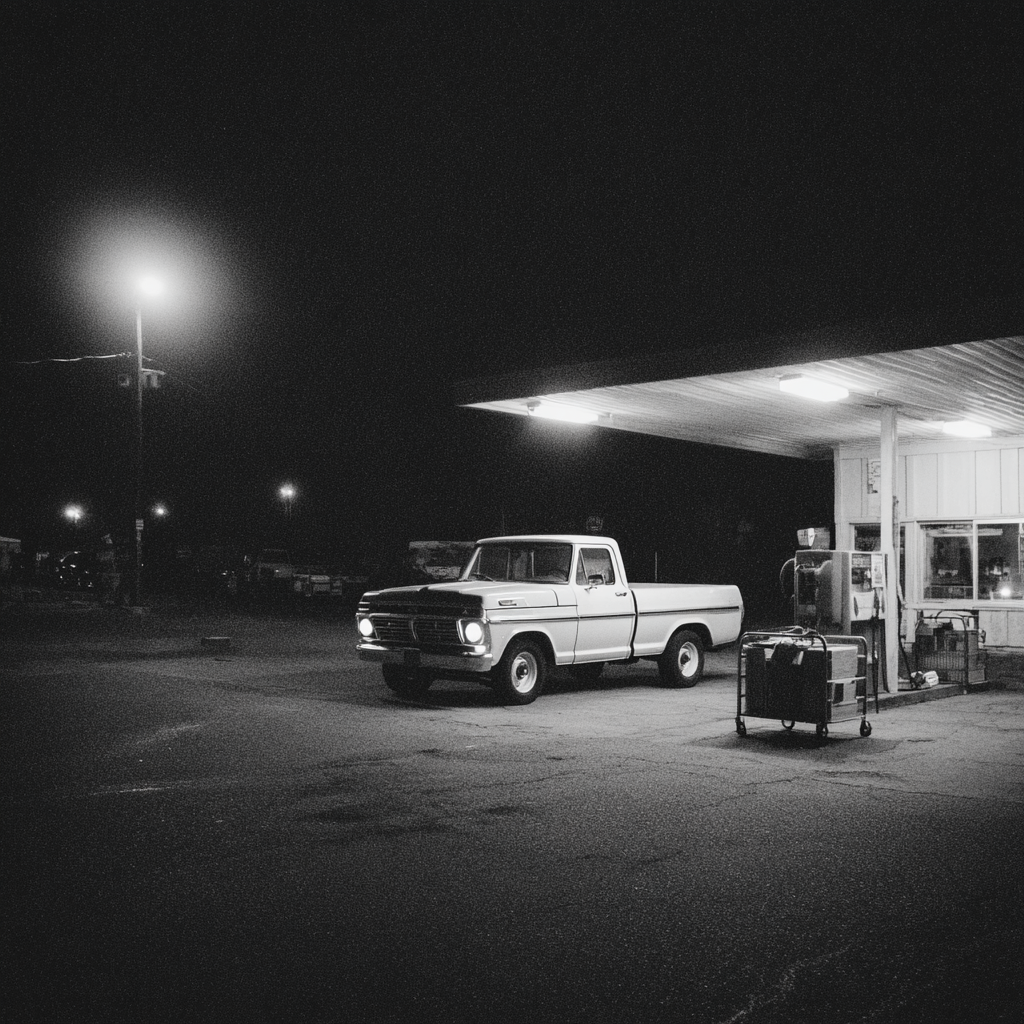
- Safety first: control ignition sources. Use intrinsically safe transfer equipment, bond and ground containers and vehicle, provide ventilation, and wear PPE (gloves, eye protection). Deploy absorbent pads and a spill kit if needed.
- Document evidence: take photos of the pump used, fuel receipts if available, and the vehicle fuel door labeling. Note nozzle color but do not rely on it; nozzle color conventions vary by brand and region.
- Open a VOR (vehicle off road) work order with a clear causation note. This prevents inadvertent handoff back to sales before repairs and verification are complete.
Decision tree: not started versus started and run
Determine whether the engine was never started, only primed, or started and run. This dictates scope and risk.
Engine not started or only briefly primed
- Risk profile: low. No combustion occurred. Gasoline likely limited to tank, lift pump, and short segments of low-pressure plumbing.
- Typical remedy: drain tank fully, flush tank, purge and flush supply and return lines, replace fuel filter element(s), refill with fresh diesel, prime, bleed, and verify. Engine oil change is generally not required because no combustion dilution occurred.
- Time estimate: 2 to 5 hours depending on tank access and platform.
Engine started and run any distance
- Risk profile: moderate to high on modern common-rail systems. Gasoline reduces lubricity and can damage the high-pressure fuel pump (HPFP), particularly under load. If the HPFP sheds metal, contamination can reach the rail, injectors, and return lines.
- Initial checks: capture a fuel sample upstream of the HPFP, cut open and inspect the fuel filter for odor and sheen of gasoline, and inspect the metering valve screen on the HPFP for metallic debris. Use a clean white card or filter paper to check for glitter-like particles in drained fuel. A magnet can reveal ferrous debris but will not detect non-ferrous pump wear particles.
- If metal is present: follow the platform-specific contamination protocol. This often includes replacing the HPFP, injectors, rails, lines, filters, in-tank module, and thoroughly cleaning or replacing the tank. Expect multi-day repairs.
- If no metal is present and the run time was short: perform a thorough drain and flush, replace filters, change engine oil and filter to mitigate possible fuel dilution, refill with fresh diesel plus a lubricity additive that meets OEM and ASTM recommendations, prime, bleed, and verify with extended testing.
- Time estimate: 1 day for thorough flush and verification when no metal is found; 1 to 3 weeks for full system remediation if metal contamination is confirmed, subject to parts availability.
Detailed repair procedure: drain, flush, replace, and prime
Tools and supplies
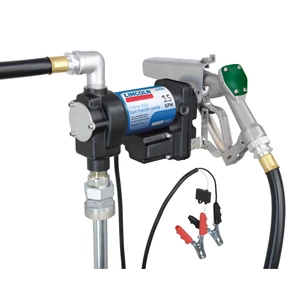
- Fuel transfer pump rated for flammable liquids and a grounded fuel caddy or approved containers
- Bonding and grounding cables, spill kit, absorbent pads, and antistatic PPE
- Fuel line disconnect tools appropriate for the platform
- Scan tool with bi-directional control to run lift pumps and prime systems
- Service information for platform-specific bleeding procedures and torque specs
- Replacement fuel filter element(s) and seals; fresh diesel fuel
- Optional: lubricity additive compliant with OEM guidance; sampling bottles and labels
Step-by-step
- Secure and depower. Verify pump fuses or relays are removed. Disconnect the battery negative terminal if required by OEM procedure to reduce spark risk.
- Drain the tank. Use the service port, a dedicated drain, or remove the tank if access is limited. Transfer the contaminated fuel into labeled, grounded containers. Record the volume removed.
- Flush the tank. With the tank removed or access gained through the module opening, wipe debris, inspect for varnish or soft parts damage, and flush with a small quantity of clean diesel. Remove all rinse fuel.
- Inspect the in-tank module. Check the lift pump, pickup screens, and seals. Replace swollen, cracked, or gasoline-softened components as needed.
- Flush lines and rails. Disconnect the low-pressure line at the filter outlet and route to a waste container. Reinstall the fuel pump fuse and command the lift pump with a scan tool to push fresh diesel through the supply line until diesel odor is normal and no gasoline smell remains. Do the same on the return path if accessible. Depower the pump when complete.
- Replace filters. Install new fuel filter element(s) and seals. Prime the canister with fresh diesel where applicable.
- HPFP and metering valve inspection if the engine was run. Remove the metering valve and check the screen for metallic debris. If found, stop and follow the contamination replacement protocol. If clean, reinstall with new seals per torque spec.
- Engine oil and filter change if the engine was run. Gasoline contamination can reduce oil viscosity; mitigate by replacing oil and filter before restart.
- Refill and prime. Add fresh diesel to at least half tank. Use the scan tool prime function or manual priming procedure until bubbles stop at the bleed or service port. On some systems, multiple key-on cycles are required; follow OEM guidance.
- Initial start and idle check. Start the engine and allow it to idle. Monitor low- and high-pressure fuel readings, commanded versus actual rail pressure, and return flow. Check for leaks at all disturbed connections and the filter housing.
- Road test. Perform a 20 to 30 mile mixed-drive cycle with several load events. Monitor rail pressure deviation, smooth running values or cylinder balance where supported, and post-injection events. Ensure no DTCs set.
- Post-test inspection. Recheck for leaks, scan for codes, and review monitor readiness. Consider replacing the fuel filter again after 50 to 100 miles as a precaution.
Verification, documentation, and handoff
- Fuel samples. Retain labeled samples of contaminated fuel and post-repair fuel for at least 60 to 90 days. This supports any future disputes or diagnostics.
- Photos and notes. Attach photos of pump, nozzle, fuel cap labeling, filter inspection, metering valve screen, and any metal debris findings. Record volumes, part numbers installed, and torque values for disturbed fittings.
- Test results. Save scan tool screenshots or logs of rail pressure, commanded versus actual data, and injector balance metrics during idle and under load.
- Oil condition. If the engine ran on the contaminated mixture, record pre- and post-change oil observations. In severe cases, send oil for analysis to confirm no ongoing fuel dilution.
- Customer communication. Provide a concise summary of the event, the repair steps taken, verification results, and what to expect next. Offer a follow-up inspection appointment after 300 to 500 miles for a quick filter check and scan.
- Goodwill coverage. For customer confidence, many stores provide a written fuel-system goodwill coverage for a defined period and mileage specific to this incident. Specify scope, duration, and where the coverage can be honored.
Prevention: shop practices and add-ons that reduce misfueling risk
- Training and SOPs. Train porters and sales staff to verify fuel type on the fuel door label and the RO before fueling. Institute a two-step confirmation: read aloud the fuel type to a second person or capture a confirmation photo that is attached to the RO.
- End-of-day guardrails. Avoid discretionary fueling at closing time when staffing is thin and handoffs are rushed. Schedule fueling during dedicated hours with supervision.
- Nozzle and signage clarity. Do not rely on nozzle color. Some brands reverse color schemes and some sites use same-size nozzles for gas and diesel. Teach staff to read the pump grade placards every time.
- Misfueling prevention devices. Install a diesel-only filler neck insert on vehicles that lack an OEM misfueling guard. These devices admit only the larger diesel nozzle and can block smaller gasoline nozzles.
- Diesel caps and tags. Use Diesel Only locking caps and prominent tether tags. Label key tags with fuel type for lot vehicles.
- Tooling and containment. Keep a grounded transfer pump, fuel caddy, line disconnect set, spill kit, and PPE staged and ready. A prepared bay turns a crisis into a controlled repair.
What the customer needs to hear
- Honesty and timeline. Explain exactly what happened and why certain steps take time. Most shops cannot flush and verify a modern diesel at closing time; set a realistic next-day plan.
- Clear deliverables. Promise specific actions: full drain and flush, new filter(s), oil change if engine ran, extended road test, and a documented verification. Avoid vague assurances.
- Loaner and follow-up. Offer transportation, provide a written summary at delivery, and schedule a complimentary recheck. Small gestures reduce escalations.
- Defined goodwill. Provide a written goodwill letter that explicitly covers fuel-system concerns stemming from this incident for a reasonable period and mileage, in addition to normal warranty rights.
Quick checklist
- Disable fuel pumps and prevent engine start
- Document amount dispensed and whether the engine ran
- Drain tank into grounded containers and flush
- Flush supply and return lines; replace fuel filter(s)
- Inspect HPFP metering screen and filter media for metal if engine ran
- Change engine oil and filter if engine ran
- Refill with fresh diesel, prime, bleed, and leak check
- Extended road test with scan data capture
- Document everything and retain fuel samples
- Provide written summary and goodwill coverage
FAQs
Is it ever safe to just top off with diesel and send it
No. Even small amounts of gasoline degrade diesel lubricity and cetane. The right approach is to drain the tank, flush lines, and replace filters. If the engine ran, add an oil change and deeper inspection.
Can a gasoline nozzle fit into a diesel filler
Often yes. In many regions, gasoline nozzles are smaller than light-duty diesel filler inlets. Some vehicles include misfueling guards that admit only larger diesel nozzles, but not all do. Do not rely on nozzle color; read the pump placards every time.
How do I know if the HPFP is damaged
Metal debris is the tell. Inspect the fuel filter media and the HPFP metering valve screen. Glitter-like particles in fuel or on screens indicate pump distress and system-wide contamination. In that case, follow the OEM contamination protocol, which typically replaces the HPFP, injectors, rails, lines, filters, and may require tank replacement or intensive cleaning.
What if the vehicle was not started at all
Risk is low. Drain, flush, replace filter(s), refill with fresh diesel, prime, bleed, verify, and you can usually return the vehicle within the day. An oil change is generally not required if the engine never fired.
How long should the verification drive be
Plan for 20 to 30 miles with a mix of idle, part-throttle, and several moderate load events. Monitor rail pressure tracking, smooth running or balance values, and check for DTCs after the drive. Recheck for leaks and consider replacing the filter again at 50 to 100 miles.
Do I need additives after a flush
If the engine ran on a gasoline mixture, a high-quality diesel lubricity additive that meets OEM and ASTM guidance can help protect the HPFP and injectors during initial operation on fresh fuel. Do not over-treat and follow the product dosing instructions.
Shop Fuel & Fluid Handling Tools
For controlled drain, flush, and verification after a misfuel event, see our Fuel & Fluid Handling Tools for transfer pumps, line disconnects, and spill control gear.
- Fuel transfer pumps, caddies, bonding and grounding leads
- Fuel line disconnect tools and quick-connect adapters
- Spill kits, absorbents, PPE, and sampling bottles
The Toolsource Technical Team blends decades of real-world automotive service experience with up-to-date technical research. Our writers collaborate with professional mechanics, shop owners, and diagnostic specialists to deliver practical, workshop-ready guidance you can trust.


Follow us on social media