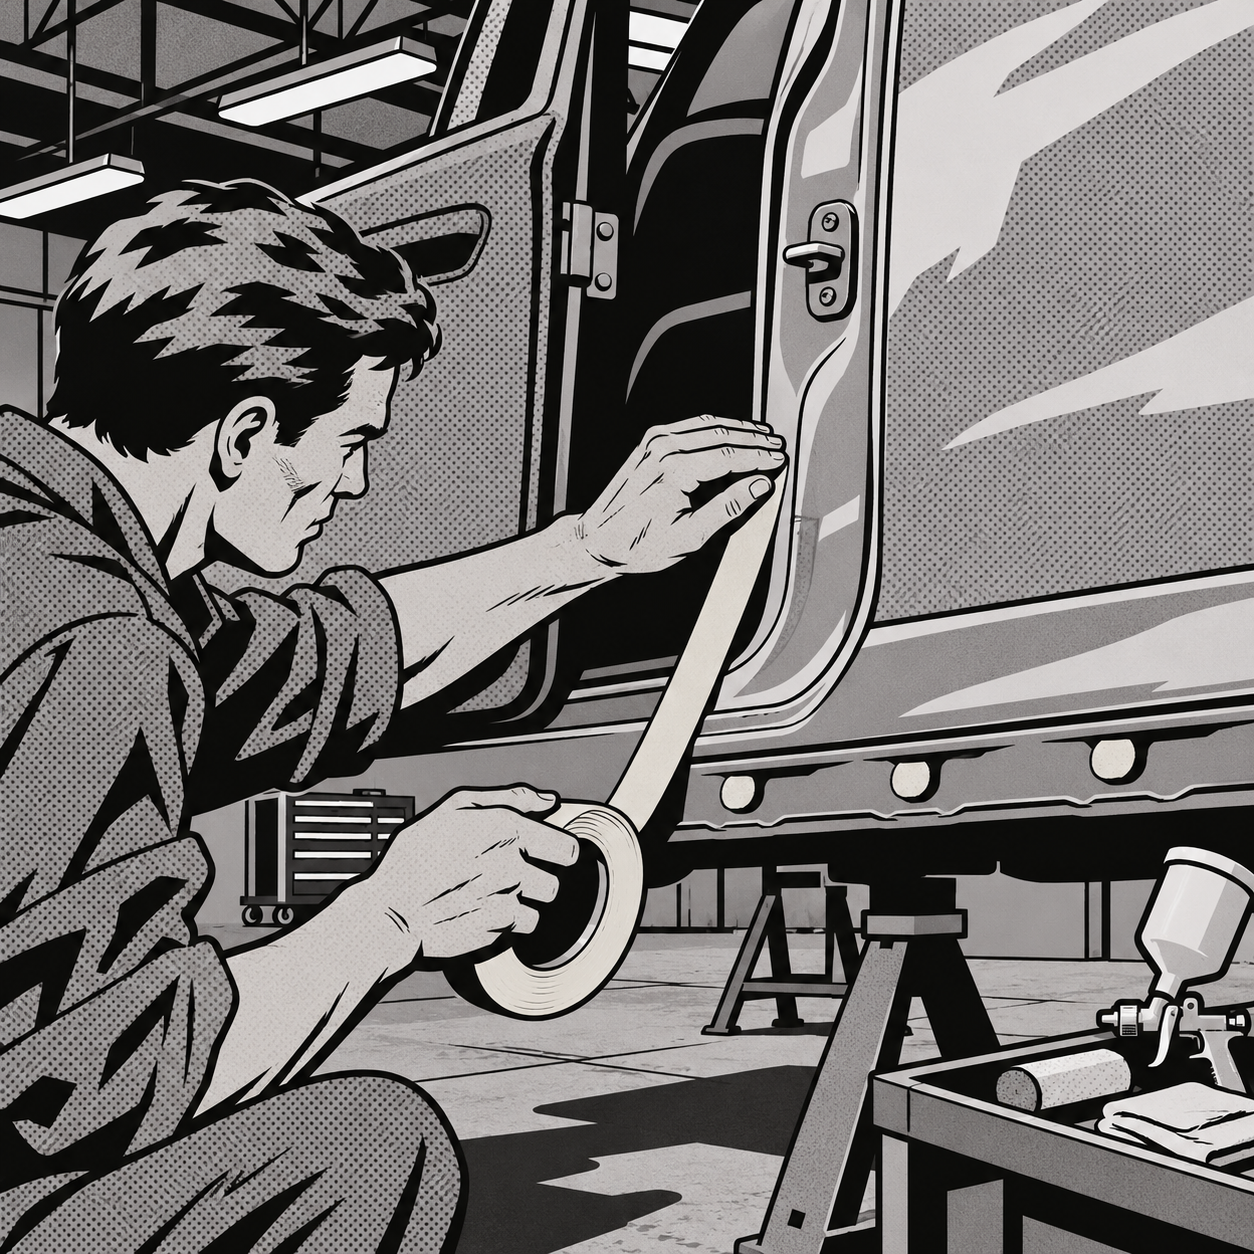
Full uniside paint jobs show up on collision estimates more often than most shops expect, and the difference between a profitable repair and a comeback usually comes down to masking. A clean mask job keeps overspray off trim and glass, stops dirt and debris from blowing back out of the rocker panels, and sets up the sealer, color, and clear coats to lay down without contamination. The techniques below come from shop-floor practice, not a textbook, and they apply whether you’re painting a single uniside panel or taking the fender off for full access.
Why Full Uniside Masking Deserves Extra Time
A uniside repair exposes clip holes, seam channels, and body cavities that normally stay hidden behind trim and fenders. If those openings aren’t sealed before paint, they become collection points for dirt, moisture, and eventually rust-through. Shops that do this work well treat masking as part of the repair, not a step to rush through before the fun part starts. Techs who skip it — leaving plastic clips loose so they get painted over, or ignoring open clip holes — are cutting corners that show up later as comebacks, warranty claims, or a car that rattles and whistles on the highway.
Full uniside work is genuinely good money when it’s done once, correctly. The time you spend taping and plugging up front is time you don’t spend buffing out contamination, re-shooting a panel, or fielding a complaint six months later about dirt blowing out of the rocker.
Plugging Clip Holes the Right Way
Before any tape goes down for masking off adjacent panels, deal with the clip holes in the uniside and rocker panel. A reliable method is rolling up a small section of foam tape into a plug and pressing it into each open clip hole. This keeps overspray and sealer out of the cavity and, more importantly, keeps dirt and debris from blowing back out through those holes once the vehicle is back on the road. It’s a small step that takes a few extra minutes per panel but prevents a specific, recurring comeback complaint: dust or grit appearing inside the door or rocker area after delivery.
Don’t confuse this with leaving the original plastic retaining clips in place and painting over them — that’s a shortcut, not a technique, and it means the clip can’t do its job once trim goes back on. Pull the clips, plug the holes, paint the panel, then reinstall new clips if needed.


Paper vs. Plastic: Picking the Right Masking Material
There’s a real divide among techs over paper masking versus pre-taped plastic film, and it’s worth understanding both sides before you commit a shop standard.
Plastic masking film is fast and covers large areas efficiently, which is why it’s popular for bagging whole vehicles or sealing off interiors. The catch: plastic film has a shelf life. Spray-side coatings that help the film resist overspray and reduce static degrade over time, and a roll that’s sat too long can let base coat lift and blow off on the first clear coat pass. Plastic can also vibrate under booth airflow, which some techs find kicks up dirt against the very panels you’re trying to keep clean, and it has a habit of flipping up onto freshly masked panels if it isn’t anchored well.
Paper masking, run out roughly 36 inches from all painted surfaces, is the more traditional approach and remains the preferred method for door jambs and panel edges where precision matters. Paper doesn’t carry the static or shelf-life issues that plastic does, and it holds its position better in booth airflow. The tradeoff is time — paper takes longer to run out and tape down across large areas like a full uniside.
A practical shop standard: use paper for door jambs, panel edges, and anywhere flaking or static could contaminate wet coats, and reserve plastic film for bulk coverage where speed matters more than precision — just track the roll’s age and don’t use expired film on anything going through color and clear.
Masking Wheels, Rockers, and the Fender Line
Wheel and lower rocker masking is a common point of disagreement. Some techs pull plastic sheeting down far enough to cover the wheel and lower rocker in one motion; others prefer paper specifically over the wheel and lower rocker because it sits flatter and won’t flake. If you’re using plastic low on the vehicle, be aware that plastic sheeting can produce fine flaking or particulate in areas that will see multiple coats — sealer, color, and clear, especially on a tri-coat — and that flaking can land in wet paint between coats. If you start with plastic in that zone, consider switching to paper partway through the process as a precaution, particularly on jobs where the panel will sit under the gun for sealer, base, and clear in sequence.
On the fender line itself, document how you transition masking from the uniside to the fender — a consistent reference photo or routine here saves time on every repeat job and gives new techs a standard to follow instead of improvising each time. Some shops go a step further and pull the fender entirely for full uniside work, which gives better access and a cleaner masking line at the cost of additional labor time. Whether that tradeoff makes sense depends on the estimate and the shop’s standard operating procedure.
Sealer and Clear Coat Considerations
Full uniside panels frequently need more than a single pass of sealer, and on a tri-coat (sealer, color, then clear) that’s standard, not a sign of a mistake. Multiple coats mean the masking has to hold up through several cycles in the booth without shifting, lifting, or shedding material. This is exactly where masking material choice matters most: a plastic sheet that flakes on pass one can contaminate color on pass two and clear on pass three. Build your masking plan around the number of coats the job actually needs, not just the first pass.
Booth Environment and Particle Control
Masking quality only gets you so far if the booth itself is feeding dirt into the panel. Keeping the booth’s particle control and filtration in good working order matters as much as the tape job — a booth with worn filters or poor airflow will undo careful masking by depositing contamination during flash time between coats. If you’re seeing recurring dirt-in-clear issues on uniside jobs despite clean masking, check filter condition and booth air balance before blaming technique.
Quick Masking Checklist for Full Uniside Jobs
- Remove all plastic retaining clips before masking — never paint over them
- Plug every open clip hole with rolled foam tape
- Use paper (36″ out) on door jambs, panel edges, and over wheels/lower rockers where flaking risk is high
- Check plastic film roll date before using it on anything headed into color and clear
- Anchor plastic well to prevent flip-up onto fresh panels in booth airflow
- Plan masking durability around the full coat count — sealer, color, clear — not just the first pass
- Confirm booth filters and airflow are in good condition before blaming masking for dirt-in-clear


FAQs
Do I need to plug every clip hole on a uniside repair?
Yes. Any open clip hole is a path for overspray in and dirt/debris out later. Foam tape rolled into a plug is a fast, cheap fix that prevents a common comeback complaint.
Is plastic masking film safe to use on a full uniside?
It can be, but check the roll’s age — the anti-static/anti-overspray coating on plastic film degrades over time, and expired film is more likely to let base blow off during clear coat application. Many techs prefer paper for critical edges and jambs regardless.
Why does my clear coat have flaking contamination after masking with plastic?
Plastic sheeting over wheels and rockers can shed fine particulate, especially on jobs with multiple coats (sealer, color, clear). Switching to paper in that zone, or mid-job as a precaution, reduces this risk.
Is it normal to need more than one coat of sealer?
Yes, especially on tri-coat jobs. Sealer, color, and clear are typically applied as separate coats or multiple passes — needing more than one pass isn’t a sign of a mistake on its own.
Should I remove the fender for full uniside access instead of masking around it?
It depends on the job. Pulling the fender gives cleaner access and a better masking line but adds labor time. Many shops mask carefully to the fender line instead and reserve fender removal for jobs where access is otherwise too limited.
How far out should paper masking extend from the repair area?
A common standard is roughly 36 inches from all painted surfaces, which gives enough buffer against overspray drift without wasting material on areas far from the work.
Shop Paint & Body Supplies
Proper masking starts with the right materials. The Paint & Body category carries the tape, foam, film, and sandpaper needed for the techniques covered in this guide.
- Masking tape, foam tape, and plastic film
- Sandpaper and surface prep materials
- Booth supplies and protective equipment

The Toolsource Technical Team blends decades of real-world automotive service experience with up-to-date technical research. Our writers collaborate with professional mechanics, shop owners, and diagnostic specialists to deliver practical, workshop-ready guidance you can trust.


Follow us on social media