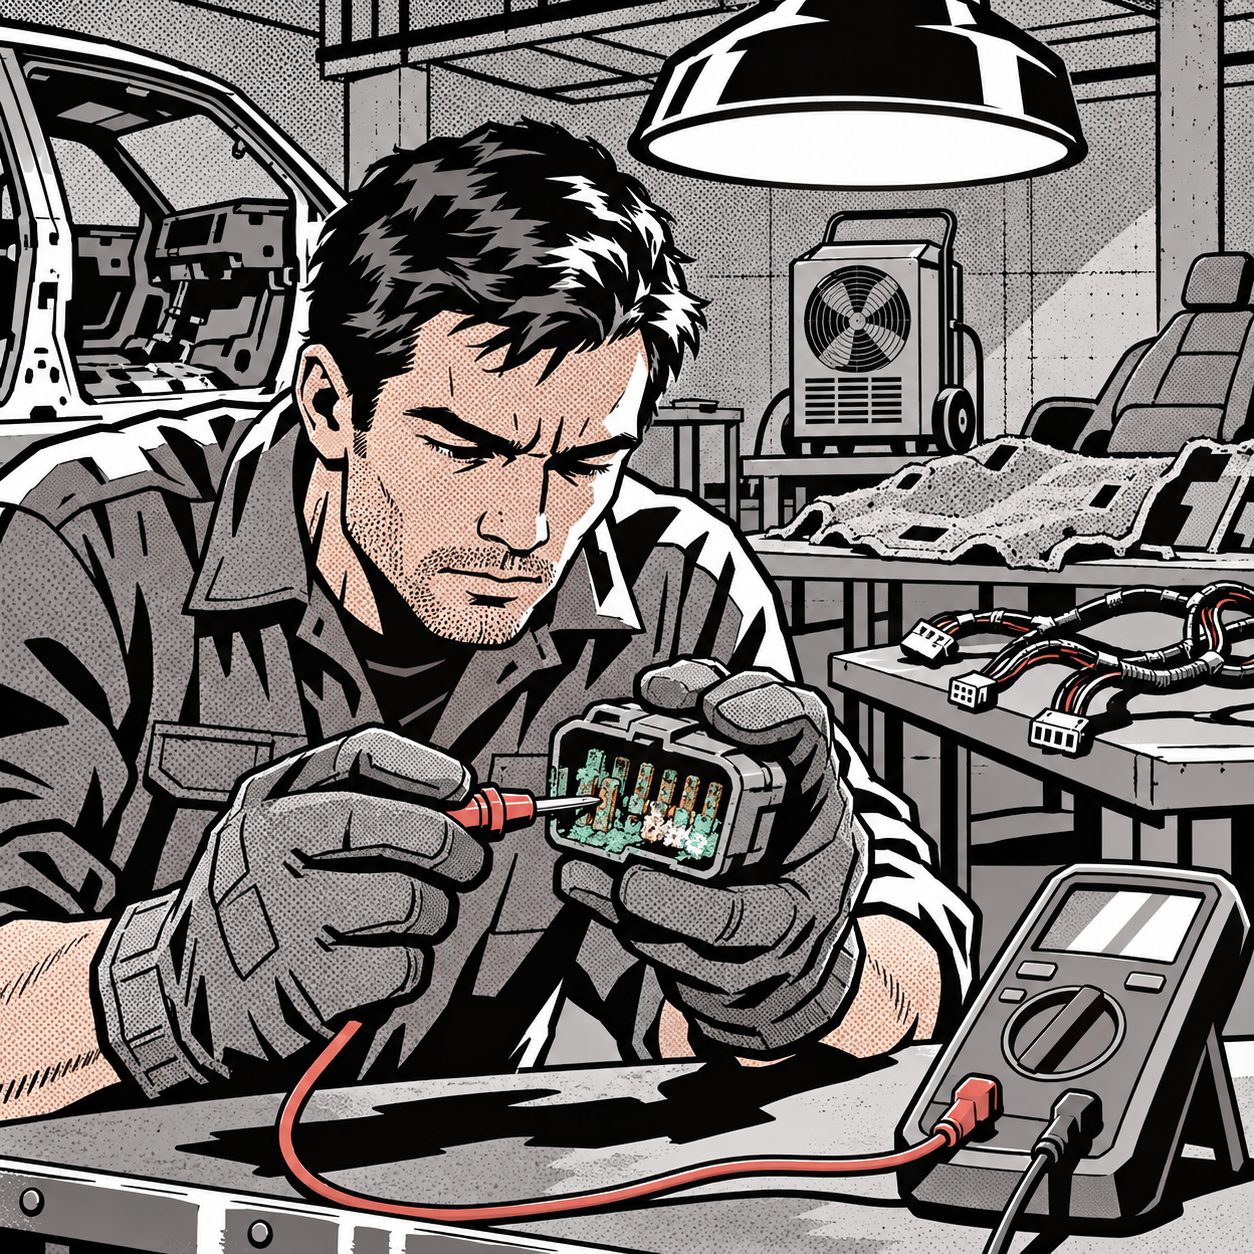
Every flood season brings a wave of customers asking the same question: “It got wet, but it still runs — can you fix it?” The honest answer depends on how high the water got, how long the vehicle sat before anyone touched it, and how thorough the dry-out process is. Water doesn’t just ruin upholstery; it migrates into grounds, splices, and control modules through capillary action, then leaves behind corrosion that doesn’t announce itself for weeks. This guide lays out a practical, shop-floor process for assessing, drying, and diagnosing flood-exposed vehicles, along with the warning signs that mean a repair estimate should turn into a total-loss conversation instead.
Assess the Water Line Before You Touch Anything
The single biggest predictor of a successful repair is where the water line sat relative to the dash and floor pan. As a rule of thumb used across collision and mechanical shops alike:
- Water below the door sills or floor mats: generally recoverable with a thorough dry-out.
- Water at or above the seat bottoms: significant risk to wiring harnesses, seat control modules, and connectors — repairable but labor-intensive.
- Water above the dashboard: electronics, airbag modules, and often the engine itself are compromised. This is almost always a total-loss scenario once an insurer gets involved.
Document the water line with photos immediately, including any visible staining on seats, door panels, and headliner. Do not start the engine until you’ve completed an initial inspection — a flooded engine that ingests water through the intake can suffer catastrophic hydrolock damage the moment it’s cranked.
Locate the ECU/ECM and Other Critical Modules
Module placement varies significantly by platform, and technicians shouldn’t assume based on habit or on what a customer read online. In most vehicles built since the early 2000s, the main engine control module has migrated from the passenger compartment to the engine bay — typically mounted near the battery and air cleaner housing, which keeps it above typical flood water lines in moderate flooding. However:
- Many body control modules, seat modules, and infotainment modules remain under seats or under carpet, directly in the flood zone.
- Wiring harnesses and connector splices routinely run along the floor pan, meaning even a vehicle with a “dry” ECM can still have corroded grounds and connectors feeding it.
- Always pull the factory wiring diagram or a service information subscription to confirm module locations for the specific year/trim before quoting a repair — don’t guess from a general platform.
This is also the point where it’s worth confirming whether your shop has the right tools on hand to test the modules once they’re accessible — insulation resistance and continuity checks on flood-exposed connectors require more than a basic multimeter.


Deluxe Compression Tester Kit for Gasoline Engines
Mfg: OTC Tools and Equipment
Part #: 5605
Drying and Decontamination Procedure
If the vehicle is being repaired rather than written off, speed and thoroughness in the first 24-48 hours determine the outcome. Follow this sequence:
- Disconnect the battery immediately to stop any current flow through wet circuits, which accelerates corrosion and can cause shorts.
- Remove wet interior components — seats, carpet, insulation padding, and door panels. Anything porous that absorbed water needs to come out; it will not dry adequately in place and is the primary source of mold growth.
- Wash everything removed with clean, fresh water and mild soap — not just the visible grime, but any flood water residue, which often carries contaminants (sewage, chemicals, salt if it was coastal flooding) that are more corrosive than clean water alone.
- Unplug every electrical connector that was submerged. Connectors trap moisture inside the housing even when the exterior looks dry. Separate them and let them air out independently.
- Dry with forced air and dehumidification — fans and a dehumidifier in a closed, dry space. Avoid direct heat on wiring insulation or plastic connector housings.
- Give it real time. A few days minimum for anything that was submerged for more than a few hours; longer if the vehicle sat wet before you got to it.
The deciding factor between “resurrected” and “haunted” is almost always how fast this process started. A vehicle stripped and dried within a day of flooding has a real shot at being reliable. One that sat wet for a week before anyone intervened is fighting mold and corrosion that no amount of drying will fully reverse.
Electrical Inspection Checklist
Once everything is dry, don’t just reassemble and hope. Work through the electrical system methodically before putting the vehicle back together:
- Inspect every connector pin for green or white corrosion residue (oxidized copper or aluminum contacts) — even light bloom on pins indicates moisture intrusion and should be cleaned with contact cleaner and dielectric grease before reconnecting.
- Check ground straps and body grounds specifically — grounds hidden under carpet or in door sills are common failure points and are easy to overlook because they “look fine” until you measure resistance across them.
- Perform continuity and resistance checks on harness sections that ran through the flood zone, not just a visual check.
- Inspect connector housings themselves for cracking or deformation — plastic exposed to standing water and then forced-air drying can become brittle.
- Scan for stored codes across every module the vehicle has (not just engine/transmission) — body control, SRS/airbag, seat modules, and infotainment often throw codes related to flood exposure before the engine does.
- Check the underside of carpet padding, headliner, and A/C evaporator housing for mold — a musty smell that returns after cleaning usually means moisture is still trapped somewhere in the HVAC system.
Reassembly and Test-Start Protocol
After drying and inspection, reassemble in reverse order: connectors first with fresh dielectric grease, then interior trim, then fluids. Before the first start attempt:
- Check all fluids for water contamination — pull the oil dipstick and look for a milky appearance, check coolant and brake fluid reservoirs for cloudiness.
- Pull spark plugs on a submerged engine and check cylinders for water before cranking, to rule out hydrolock.
- Reconnect the battery last, and monitor the vehicle on a scan tool during the first start for any communication faults across the CAN bus — a module that was marginal from moisture exposure will often show intermittent communication loss before it fails outright.
- Road test and recheck for codes after the vehicle has run through a full heat cycle, since some connector issues only manifest once components expand under heat.
When to Recommend Total Loss Instead of Repair
Shops take on real liability when they sign off on a flood repair that later fails. A few signals should prompt a total-loss recommendation to the customer rather than a repair quote:
- Water line reached above the dashboard or into the engine’s air intake.
- The vehicle sat wet for more than 48-72 hours before any intervention began.
- Persistent mold odor that returns after a full interior strip-and-clean.
- Multiple modules (not just one) showing communication faults or corrosion on internal boards once opened.
- Any sign of contaminated flood water (sewage, saltwater, chemical runoff) rather than clean rainwater.
Insurers make this call quickly because they’re pricing the risk of a warranty return from latent damage that surfaces after the sale — a shop should apply the same logic. A vehicle can run and drive fine at delivery and still have a corroding ground or a marginal connector that fails in six months. Be upfront with customers about that risk, especially on vehicles that will be resold.
Quick Reference Checklist
- Photograph and record the water line before disassembly
- Disconnect the battery immediately, before any further handling
- Remove and wash all wet porous interior components
- Separate and air-dry every submerged connector
- Inspect grounds, pins, and harness sections for corrosion with proper test equipment
- Check fluids and cylinders for water before first start
- Scan all modules for codes, not just engine/transmission
- Recommend total loss if water reached the dash, sat for days, or mold persists
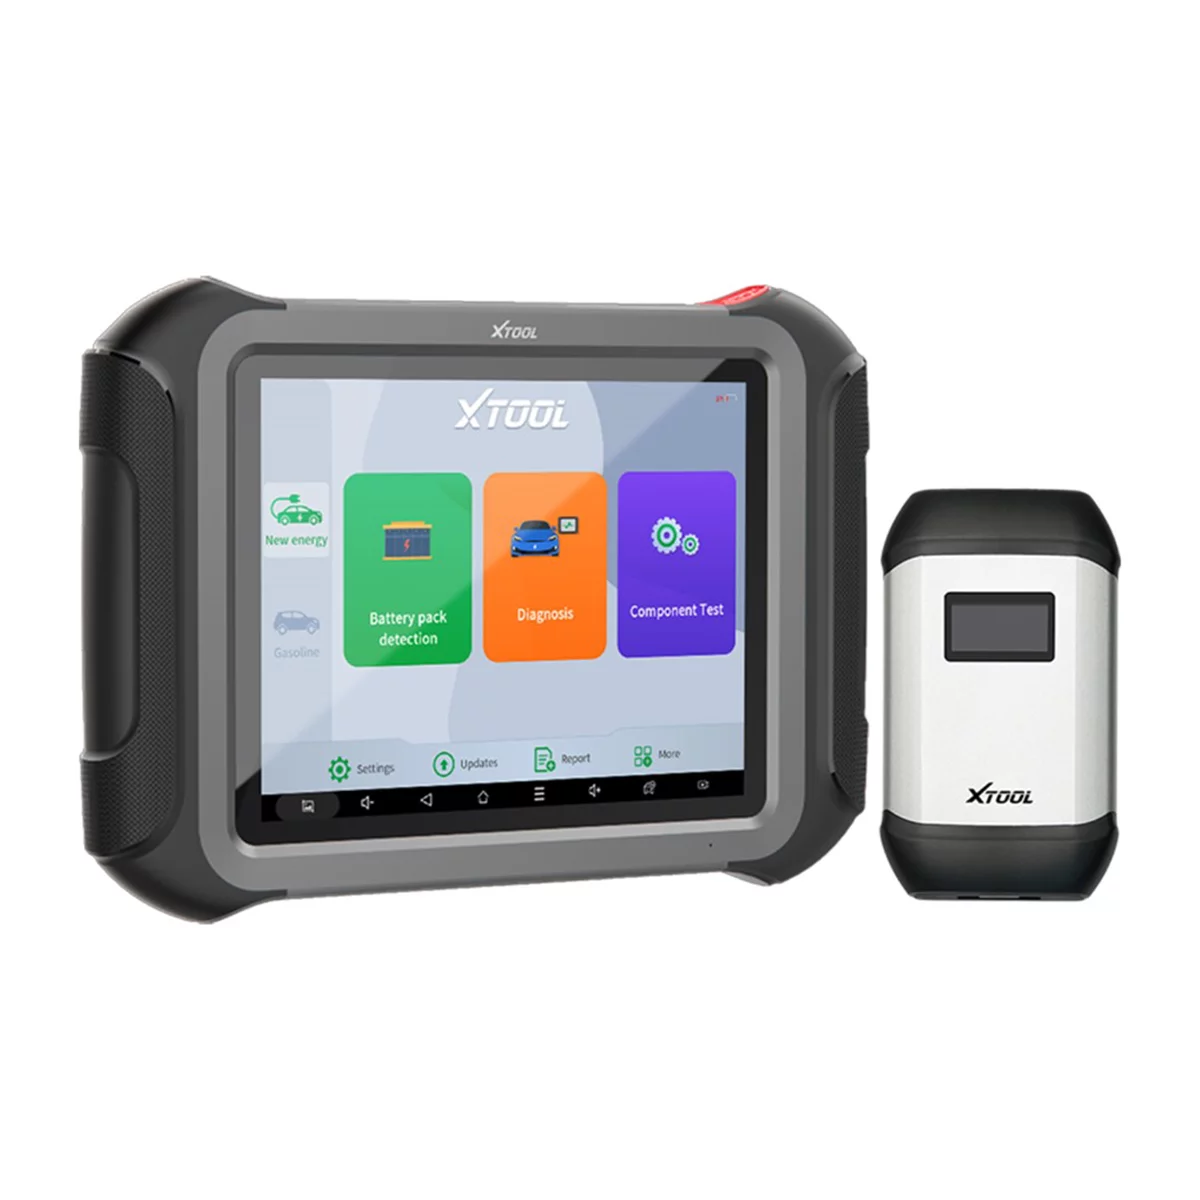
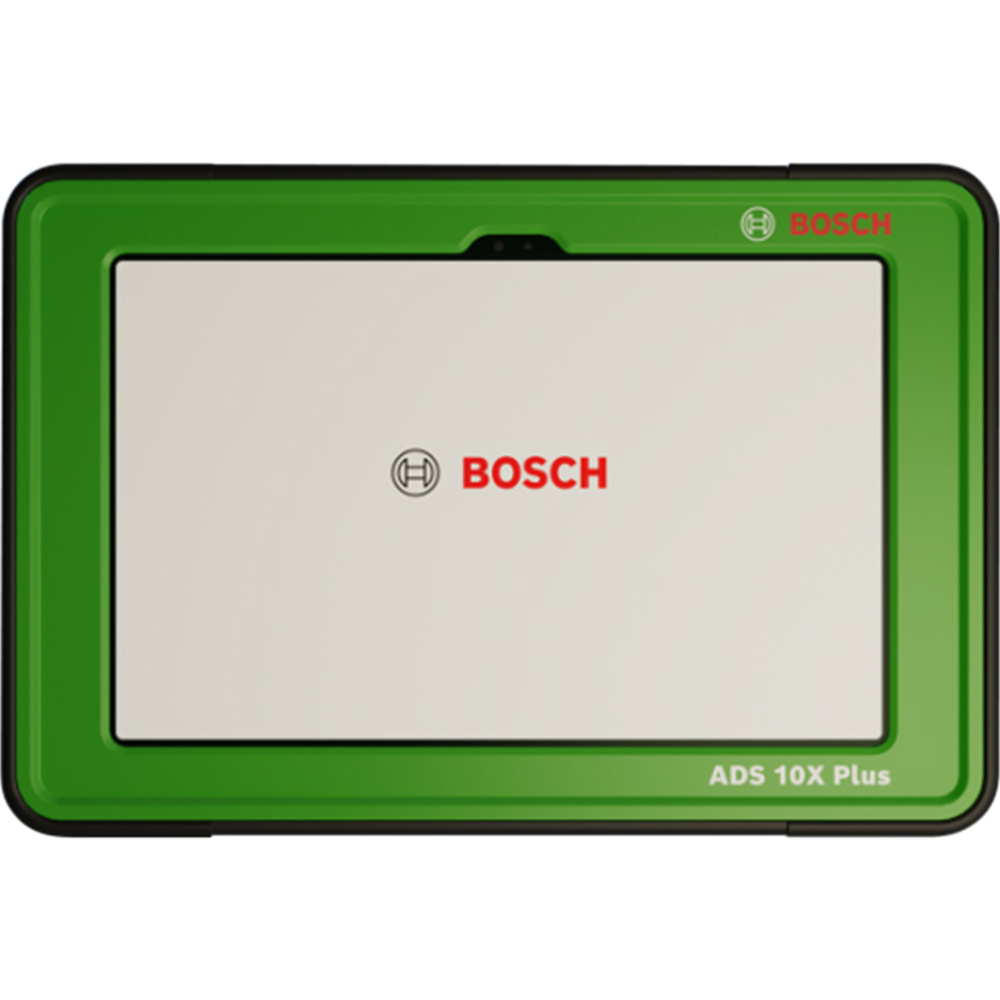
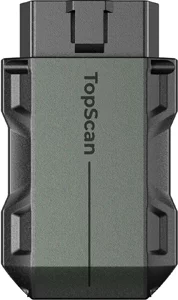
Pocket-Size Bluetooth Scan Tool w/Bi-Directional Controls
Mfg: TOPDON
Part #: TOPSCANPRO
FAQs
Is the ECU/ECM always destroyed in a flood?
Not necessarily. On most vehicles built in the last 15-20 years, the main engine control module sits in the engine bay near the battery, above typical flood lines in moderate flooding. Body control modules and seat modules located under the floor are more likely to be affected. Confirm exact placement for the specific vehicle before assuming.
Can a flood-damaged car really be fully restored?
Yes, in cases where the water was shallow (below seat level), the vehicle was dried within a day or two, and the interior was fully stripped and cleaned rather than just surface-dried. The longer it sits wet, the lower the odds of a clean outcome.
Will insurance always total a flooded vehicle?
Most comprehensive insurers total vehicles with interior flooding because they underwrite the repair and can’t guarantee against latent corrosion issues that surface later. A vehicle repaired outside the insurance process can sometimes be saved, but the owner carries the risk the insurer wasn’t willing to take.
What’s the biggest mistake when drying out a flooded car?
Drying it on the surface without pulling carpet, seats, and connectors apart. Moisture trapped underneath or inside connector housings keeps corroding components long after the vehicle “feels” dry.
How long should a flood vehicle sit before test-starting it?
At minimum a few days of forced-air drying after full disassembly of wet components; longer if it sat submerged for an extended period before being pulled out. Starting too early risks hydrolock if water remains in the intake or cylinders.
What’s a reliable sign a flood repair didn’t fully succeed?
A musty odor that returns after cleaning, or intermittent electrical faults (flickering lights, random warning lamps, module communication errors) that weren’t present at initial test-start. Both point to trapped moisture or developing corrosion.
Diagnostic Tools for Flood Assessment
Diagnosing hidden water damage and module faults requires specific testing equipment beyond a basic multimeter. Refer to our Automotive Diagnostic Tools category for the scan tools, multimeters, and specialized testers needed for this work.
- Scan tools and code readers for module communication testing
- Multimeters and continuity testers for harness and ground verification
- Insulation resistance meters for connector and wiring diagnostics

The Toolsource Technical Team blends decades of real-world automotive service experience with up-to-date technical research. Our writers collaborate with professional mechanics, shop owners, and diagnostic specialists to deliver practical, workshop-ready guidance you can trust.


Follow us on social media