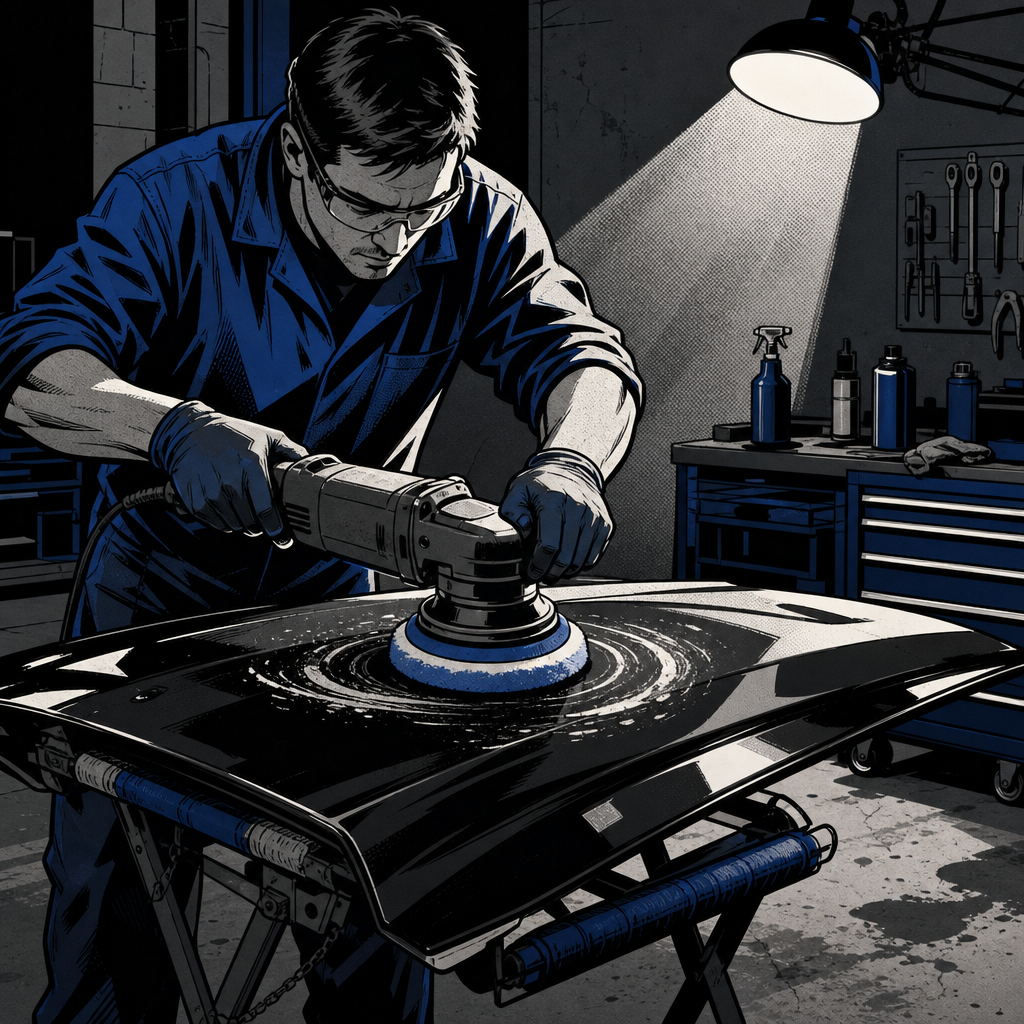
Chalky, peeling, or heavily oxidized clear coat is one of the most common paint complaints that shows up in the bay, and it’s also one of the easiest jobs to make worse with the wrong approach. Whether the goal is a full strip-and-respray or a machine polish to buy another few years, the process hinges on correctly diagnosing what’s actually wrong with the paint before any abrasive touches the panel. This guide breaks down how to tell clear coat failure from a bad prior repaint, how to prep and shoot basecoat/clearcoat correctly (including adjustments for altitude), and how to machine-correct the finish afterward so it actually lasts instead of fading back within a few months.
Diagnosing Clear Coat Failure vs. a Bad Prior Repaint
Before pulling out a compound or a spray gun, figure out what layer is actually failing. Genuine UV-driven clear coat failure shows up as a chalky, matte, sometimes flaking surface where the clear has broken down and oxidized — this is common on horizontal panels (hoods, roofs, trunk lids) that see the most sun exposure. It’s different from a panel that was previously repainted poorly, where the problem might be trapped moisture, solvent pop, or micro air bubbles baked into the clear itself rather than surface oxidation.
The test is simple: wet-sand a small, inconspicuous test spot with 2000-grit and follow with a compound pass. If the haze buffs out and the surface gains gloss evenly, it’s oxidation sitting on top of intact clear and a correction job will work. If the imperfections persist after compounding — especially small bubble-like voids visible under raking light — those defects are inside the clear coat itself, meaning the film was applied with problems (usually spray technique, gun pressure, or environmental contamination) and no amount of polishing will remove them. At that point the choice is between living with it, another clear coat pass over the existing repaint, or stripping down to bare metal and starting over.
Also check for base-coat exposure. If sanding reveals dull, sanded-through color coat rather than a smooth clear layer, the car has likely been through a repaint already and any correction work needs to treat that repaint as the working surface, not the factory finish.
Prepping and Respraying Black Paint in Tricky Conditions
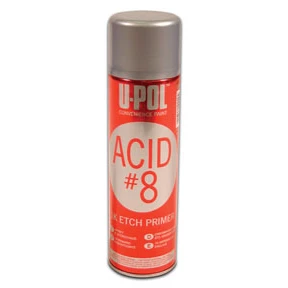
If the decision is to strip and respray rather than correct, surface prep and environmental conditions determine more of the outcome than the paint brand. Sand down to bare metal in the affected areas, feather-edge any transitions to sound paint, and treat every panel with an etch primer or self-etching product before basecoat goes on — skipping this step is the single most common cause of early adhesion failure and repeat jobs.
Altitude and ambient conditions change gun setup more than most DIYers expect. Air density drops as elevation increases, which means less oxygen and atomization per given pressure — spray guns set up for sea-level psi will lay down paint too wet and prone to runs at altitude. A gun that atomizes cleanly at 20 psi near sea level may need closer to 50 psi at higher elevations to get the same fan pattern and atomization quality. Always run a test pattern on cardboard before touching the vehicle, and adjust fluid needle and fan width until the pattern is even with no tails or heavy edges. Multiple thin clear coats (three is a reasonable target) beat one heavy pass — heavy single coats trap solvent and are far more likely to develop the micro air bubbles that show up later as unfixable clear coat defects.
Machine Polishing Strategy: Pads, Compounds, and Cut Levels
Once clear coat is confirmed intact (whether factory or a fresh respray that’s fully cured — give new clear coat at least 30 days before aggressive compounding), machine correction follows a cut-then-refine sequence. Start with the least aggressive combination that removes the defect; jumping straight to a heavy wool pad and cutting compound on paint that only needs a light polish just adds unnecessary swirl marks that then need a second correction step.
A general progression: wool or microfiber cutting pad with a heavy-cut compound for oxidation and moderate scratches, followed by a foam polishing pad with a finer finishing polish to remove the haze the cutting stage leaves behind. Work in small sections (roughly 2×2 feet), keep the polisher moving at a consistent speed, and don’t let compound dry fully on the panel before wiping it down — dried compound residue is harder to remove and can add micro-marring. Between stages, wipe the panel with isopropyl alcohol diluted with water to see the true result without product residue masking remaining defects.
A random orbital (dual-action) polisher is the safer choice for anyone not running a rotary daily — it’s far more forgiving of dwell time and pressure and won’t burn through clear coat edges the way a rotary can in inexperienced hands.
Correcting Black Paint on Flat Panels Without Adding Swirls
Black and other dark solid colors show every defect a lighter color hides, and flat panels (hoods, roofs, doors) show marring worse than curved ones because there’s more uninterrupted surface for light to rake across. A few adjustments matter specifically for dark colors:
- Inspect under a dedicated swirl-finder or LED light at a low angle, not just shop lighting — many defects are invisible under overhead fluorescents.
- Reduce pad pressure and use lighter compound coverage on flat panels; excess downward pressure on a wide flat area increases the risk of holograms (fine, circular polishing marks) that are especially visible on black.
- Finish every panel with a dedicated finishing polish and a soft foam pad, even if the cutting stage already looks clean — this step is what removes the fine marring the cutting compound leaves behind.
- Work panels in consistent, overlapping passes and avoid stopping the pad mid-panel while it’s still spinning, which can leave a visible hot spot.
Protecting and Maintaining the Finish After Correction
A correction job’s biggest weakness is what happens (or doesn’t) in the weeks after. Freshly polished clear coat has microscopic pores opened by the abrasives, and it needs a sealant or wax within 24-48 hours to lock in the finish and slow re-oxidation. Sun exposure and lack of maintenance are what bring oxidation back — a car that sits outside daily without regular washing and protection will show the same chalky haze again within a year or two, regardless of how good the initial correction looked.
For ongoing maintenance, a wash product with UV protection built in extends the interval between full correction jobs and is worth using as the default wash-and-wax routine rather than a bare soap. Reapply a dedicated sealant or ceramic-style protectant every few months, and avoid automatic car washes with abrasive brushes, which reintroduce fine scratches faster than normal driving does.
Quick Reference Checklist
- Test-buff a small spot before committing to correction vs. respray
- Confirm defects are on the surface, not baked into the clear coat
- Etch-prime bare metal and feather-edge before any respray
- Adjust spray gun psi for altitude; test pattern on cardboard first
- Apply multiple thin clear coats rather than one heavy coat
- Progress from cutting pad/compound to finishing pad/polish, never skip straight to heavy cut
- Seal or wax within 48 hours of finishing correction
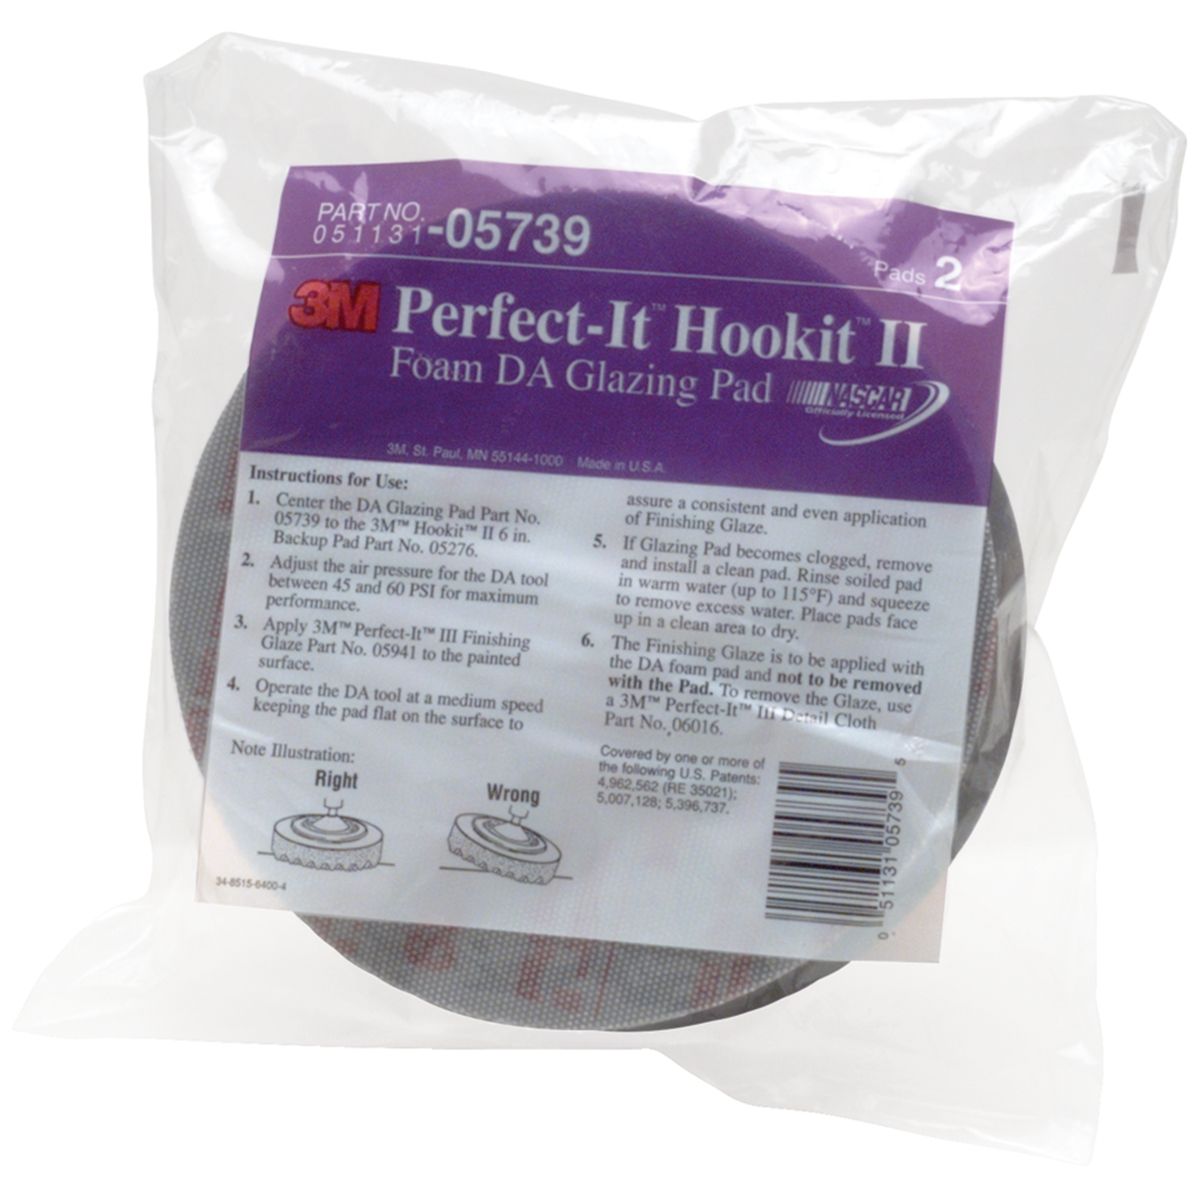
6 Inch Perfect-It Hookit II Foam DA Glazing Pad, 2/Bag
Mfg: 3M Automotive
Part #: 5739

FAQs
Can oxidized clear coat always be polished back to a glossy finish?
Only if the clear coat layer itself is still intact. If oxidation has progressed to flaking or if the clear has failed down to base coat, polishing won’t restore gloss and the panel needs to be repainted.
How do I know if defects are in the clear coat versus just on the surface?
Run a compound test on a small area. Surface haze buffs out evenly; embedded defects like micro air bubbles remain visible under raking light even after a compound pass.
Why does spray gun pressure need to change at higher altitude?
Lower air density at altitude reduces atomization at a given psi. Guns typically need higher pressure at elevation to achieve the same fan pattern and atomization quality they’d get at sea level, so always test on cardboard before spraying the vehicle.
Is a rotary or random orbital polisher better for a DIY correction?
A random orbital (dual-action) polisher is more forgiving of pressure and dwell time and is the safer choice for anyone without daily rotary experience, since it’s far less likely to burn through an edge or panel line.
How soon can I polish a fresh respray?
Give new clear coat adequate cure time — around 30 days is a reasonable minimum — before aggressive compounding, since uncured clear is softer and more prone to marring or heat damage from a polisher.
Why does correction hold up better on some cars than others?
Longevity comes down to maintenance after the fact — regular washing, UV-protective wash products, and reapplied sealant or wax slow re-oxidation. Skipping post-correction protection is the main reason oxidation returns within a year or two.
Tools for Paint Correction & Respray
Whether you’re diagnosing clear coat failure or prepping for a respray, our Paint & Body selection has the primers, compounds, polishes, and equipment you need for every stage of the job.
- Primers, etch products, and sanding materials for prep and bare-metal etching
- Compounds and polishes for clear coat correction
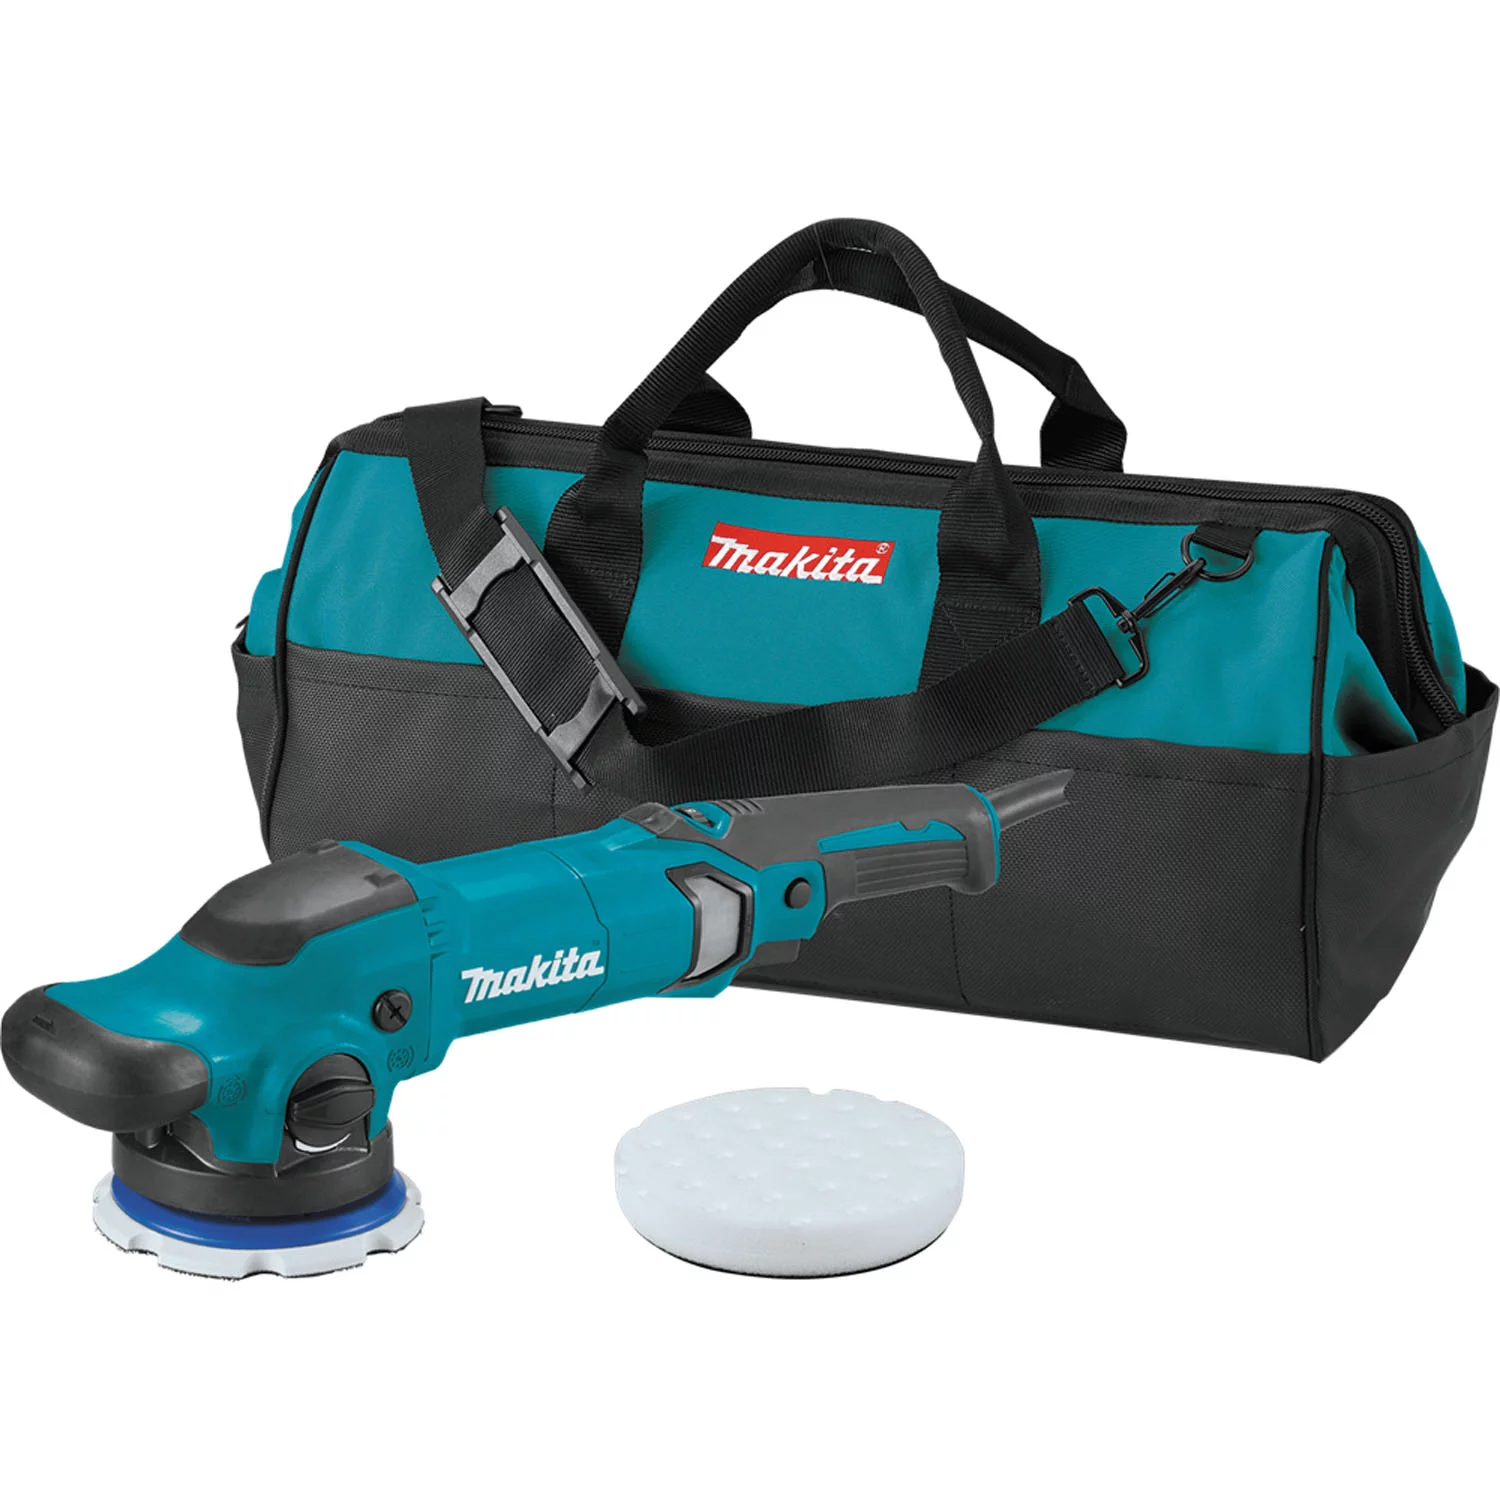
- Dual-action polishers for safe, effective machine correction

The Toolsource Technical Team blends decades of real-world automotive service experience with up-to-date technical research. Our writers collaborate with professional mechanics, shop owners, and diagnostic specialists to deliver practical, workshop-ready guidance you can trust.


Follow us on social media