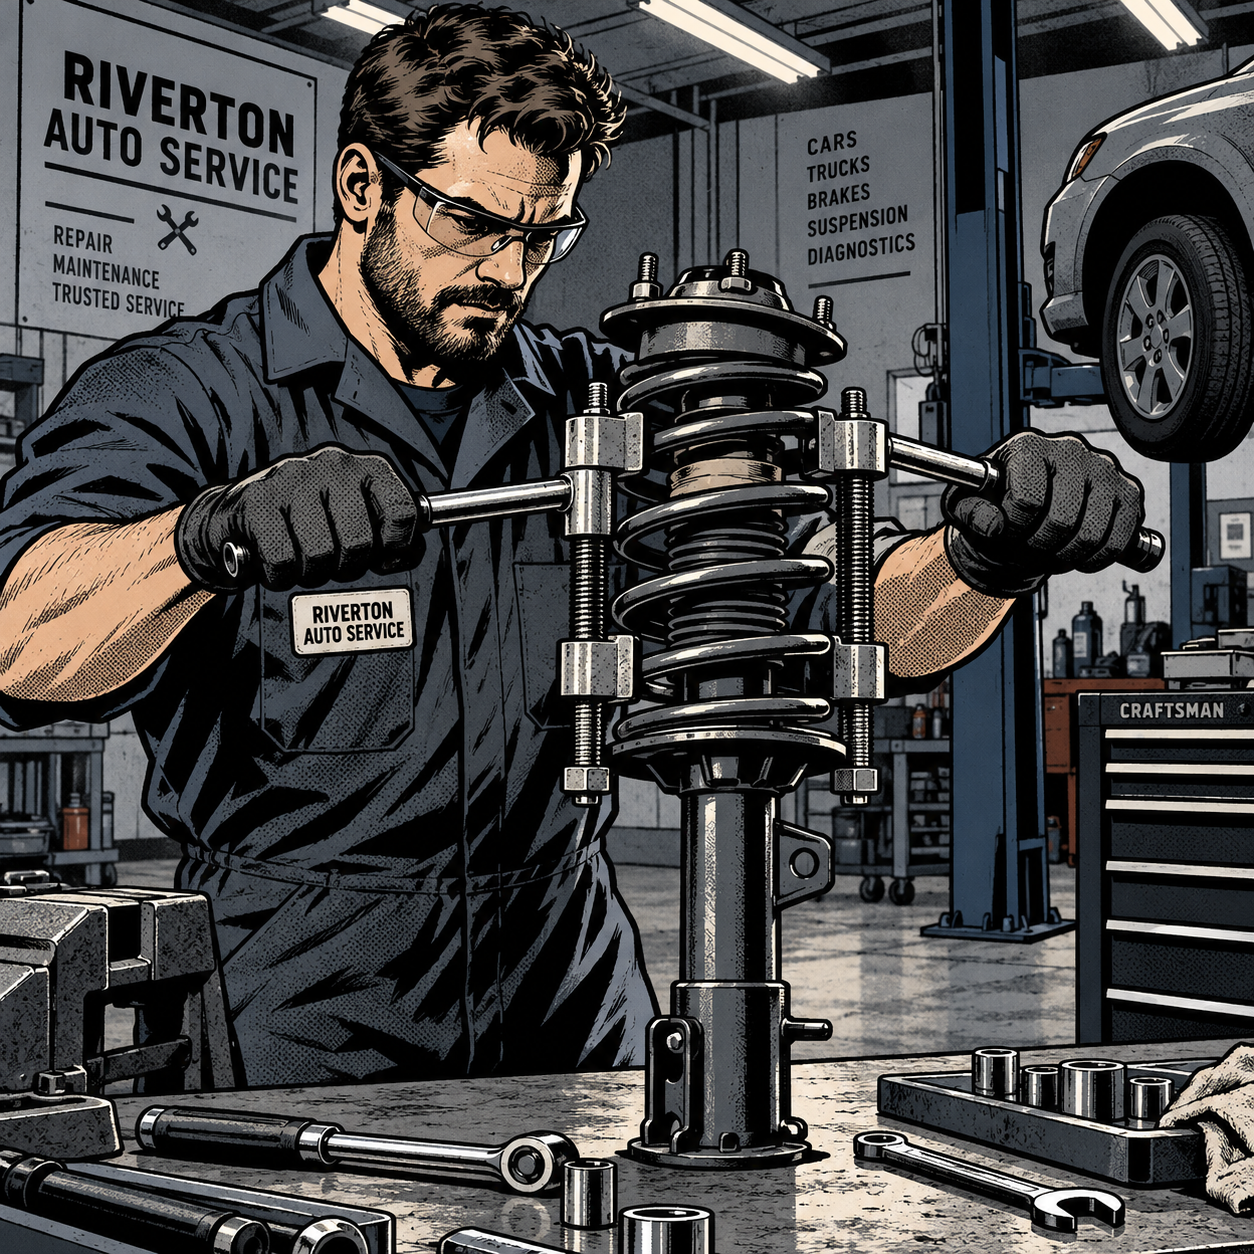
Not every repair job that lands on your bench involves a vehicle. Sooner or later someone hands you a snapped umbrella, a cracked handle, or a mangled internal spring and asks if it’s fixable. The good news is that the same tools you already use for drilling out broken fasteners, bonding trim panels, and compressing suspension springs apply almost directly to small mechanical repairs like this. Below is a practical, shop-tested approach to diagnosing the failure, removing the broken stub safely, dealing with a snapped spring without losing a finger, and rebonding everything so it actually holds.
1. Diagnose the Failure Before You Touch a Tool
Umbrella failures generally fall into three categories, and each one calls for a different repair path:
- Shaft separation from the handle — the metal or fiberglass shaft has pulled out of, or snapped inside, the handle grip. This is the most common failure and the easiest to fix.
- Broken internal spring — the tension spring that holds the canopy open or closed has snapped, usually leaving two sharp ends under load inside a tight housing.
- Cracked housing or ferrule — the decorative cap (technically called a finial) or the plastic sleeve around the spring has cracked from impact or UV degradation.
Before disassembly, flex the shaft gently and listen/feel for where the play is. If the break is inside the handle, you’ll feel rotational slop with no corresponding movement at the shaft. If it’s a spring, you’ll hear a rattle and the mechanism won’t hold tension in either the open or closed position. Identify which one you’re dealing with — mixing up the repair approach is how people end up with a spring fragment firing across the shop.
2. Removing a Broken Shaft Stub from the Handle
If the shaft has sheared off inside the handle, don’t try to pry or twist it free — the stub is almost always thin-wall tubing bonded in with epoxy, and it will spin or crumble before it releases cleanly. Instead:
- Cut the exposed shaft flush with the handle using a hacksaw or a rotary tool with a cutoff wheel.
- Center-punch the remaining stub and start with a small pilot bit to find the true center of the metal.
- Step up to progressively larger bits, drilling slowly and without heavy downward pressure — the goal is to weaken the stub, not blast through the handle material around it.
- Once the wall thickness is reduced, collapse the remaining metal inward with a pick or small punch and clear the debris.
- Clean the bore with a rag and a bit of brake cleaner or isopropyl alcohol to remove old epoxy residue and oils — adhesive will not bond to a greasy surface.
If the stub won’t budge even after drilling, localized heat helps. Most two-part epoxies soften starting around 175°F (80°C), so a heat gun aimed directly at the joint for a minute or two can loosen the old bond enough to pull the remnants out with pliers. Keep the heat moving and away from any plastic components nearby — plastic sleeves and painted finials will deform or discolor well before the epoxy softens.
[PRODUCT_SEARCH: cobalt drill bit set for metal]
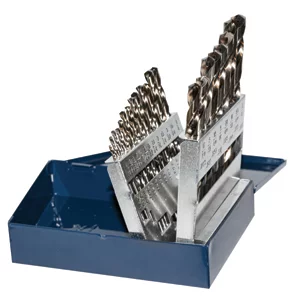
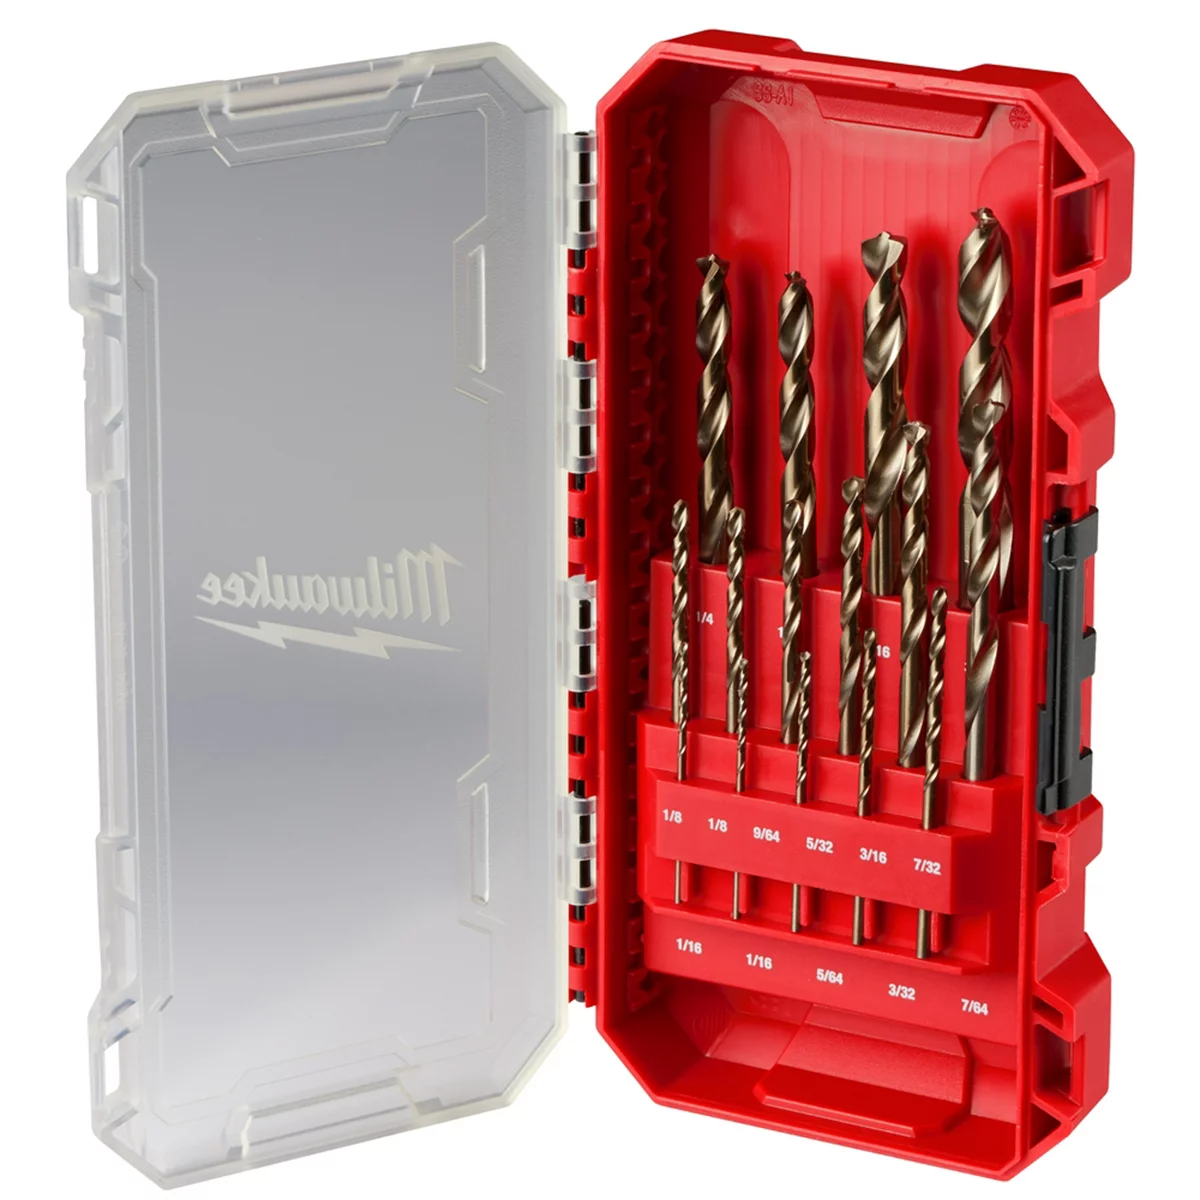
RED HELIX Cobalt Drill Bit Set " 15PC
Mfg: Milwaukee Electric Tools
Part #: 48-89-2370
29 Pc RED HELIX Cobalt Drill Bit Set
Mfg: Milwaukee Electric Tools
Part #: 48-89-2332
3. Dealing with a Broken Spring Safely
A snapped umbrella spring is under constant tension even when the mechanism looks “dead.” Treat it the same way you’d treat a broken coil spring on a strut — assume stored energy until proven otherwise. Two safe approaches:
- Spring compressor method: A small strut-style spring compressor (the kind sold for compressing coil-over and MacPherson strut springs) can be adapted to compress one side of the broken spring enough to relieve tension before you cut anything further apart. Compress gradually and evenly — don’t crank one side faster than the other, or the spring will twist and snap free unpredictably.
- Staged zip-tie method: Wrap several heavy-duty stainless zip ties around the compressed spring coils before cutting anything loose, then release tension slowly by cutting one zip tie at a time while the assembly is held in a strap or clamp. This lets tension bleed off in small increments instead of all at once.
Once the old spring is free, don’t try to repair a broken spring coil — replace it. A cracked spring has a stress riser that will fail again, usually at a worse moment. If you can’t source an exact replacement part, a properly sized stainless compression spring from a hardware assortment, held in place with a collar clamp instead of the original plastic sleeve, is a durable and even more repairable long-term fix.
4. Bonding and Reassembly
With the old material removed and surfaces cleaned, reassembly is where most repairs succeed or fail — not because the materials are wrong, but because of rushed prep or misalignment.
- Use a proper structural two-part epoxy rather than a quick-set five-minute formula. Five-minute epoxies cure fast but have noticeably lower shear and impact strength — not what you want on a part that takes repeated flexing and side load.
- Mix epoxy per the manufacturer’s ratio exactly; eyeballing the mix is the single biggest cause of epoxy joints that stay tacky or fail early.
- Coat both the bore and the mating shaft end, not just one surface, to ensure full contact and eliminate air gaps.
- Before the epoxy sets, orient the handle and any buttons, logos, or release mechanisms exactly the way you want them in the finished product — epoxy gives you a short window to adjust, then it’s permanent.
- Clamp or tape the assembly in position and let it cure a full 24 hours minimum, even if the label claims a faster working cure. Early-stage epoxy strength is deceptively low.
If the original construction was threaded rather than epoxied — check by trying to rotate the ferrule or cap near the spring housing — you may be able to unscrew the handle from the shaft entirely instead of cutting and bonding. Use pliers padded with a rag to avoid marring a polished or plated finish.
5. Preventing the Same Failure Twice
Once it’s back together, a few habits extend the life of the repair significantly:
- Avoid torquing the handle side-to-side when opening or closing — most shaft separations start as repeated flex stress at the bond line, not a single impact.
- Keep the mechanism dry before storage; trapped moisture accelerates both metal fatigue in springs and bond-line degradation in epoxy joints.
- Periodically check for play at the handle joint before it becomes a full separation — a loose joint caught early can be re-bonded without drilling anything out.
Quick Reference Checklist
- Identify failure type: shaft separation, spring, or housing crack
- Cut and drill out broken shaft stubs with progressively larger bits — no force
- Use heat (~175°F+) if old epoxy won’t release
- Relieve spring tension gradually with a compressor or staged zip ties — never all at once
- Replace broken springs rather than repairing them
- Use structural two-part epoxy, correct mix ratio, full 24-hour cure
- Set final alignment before the epoxy sets — it’s your only window
[PRODUCT_SEARCH: two-part structural epoxy and hand tool repair kits]

Hand Dispenser, 1500, 10:1 750:75 w/ 35:1
Mfg: Powerpush by Meritool
Part #: 235-1500-101

Hand Dispenser, 1200, 2:1 Ratio w/ 35:1
Mfg: Powerpush by Meritool
Part #: 235-1200-21

FAQs
Can I use super glue instead of epoxy for a shaft-to-handle bond?
No. Cyanoacrylate (super glue) is strong in tension but brittle and weak under the shear and flex loads a handle joint sees repeatedly. Use a two-part epoxy rated for structural bonding.
How do I know if a spring is still under tension before I start cutting?
Treat any compressed or bent spring as loaded until it’s confirmed otherwise. If the mechanism feels stiff, resists movement, or looks visibly bowed, assume stored energy and use a compressor or staged zip-tie release.
What’s the fastest way to soften old epoxy without damaging nearby plastic?
A heat gun held a few inches away, moved continuously rather than held in one spot, softens most epoxies around 175°F while staying well below the temperature that deforms most plastic sleeves and caps.
Do five-minute epoxies work for this kind of repair?
They’ll hold initially but tend to underperform under repeated flex and impact compared to slower-curing structural epoxies. For a joint that gets used and jostled regularly, the extra cure time is worth the added durability.
Is it worth repairing versus just replacing the broken part?
If the shaft, spring, or handle is a standard size and the rest of the unit is in good shape, repair is almost always cheaper and faster than sourcing an exact replacement — especially for mechanisms where original parts are no longer sold.
What’s a safe substitute if I don’t have a dedicated spring compressor?
Heavy-duty stainless zip ties, applied in multiple wraps and released one at a time while the assembly is clamped or strapped down, let tension bleed off safely in small increments without a dedicated compressor tool.
Shop Tools for This Repair
Every technique outlined above — drilling out broken stubs, cutting with precision, securing components while you work — requires reliable drilling and cutting equipment. Browse our complete selection of cutting, threading, and drilling tools for everything you need to handle repairs like this confidently.
- Step-up drill bit sets and individual high-speed bits for working through metal and composite materials
- Cutting tools, including hacksaw blades and rotary tool accessories for clean, controlled cuts
- Center punches, layout tools, and other setup equipment to start every hole true

The Toolsource Technical Team blends decades of real-world automotive service experience with up-to-date technical research. Our writers collaborate with professional mechanics, shop owners, and diagnostic specialists to deliver practical, workshop-ready guidance you can trust.


Follow us on social media