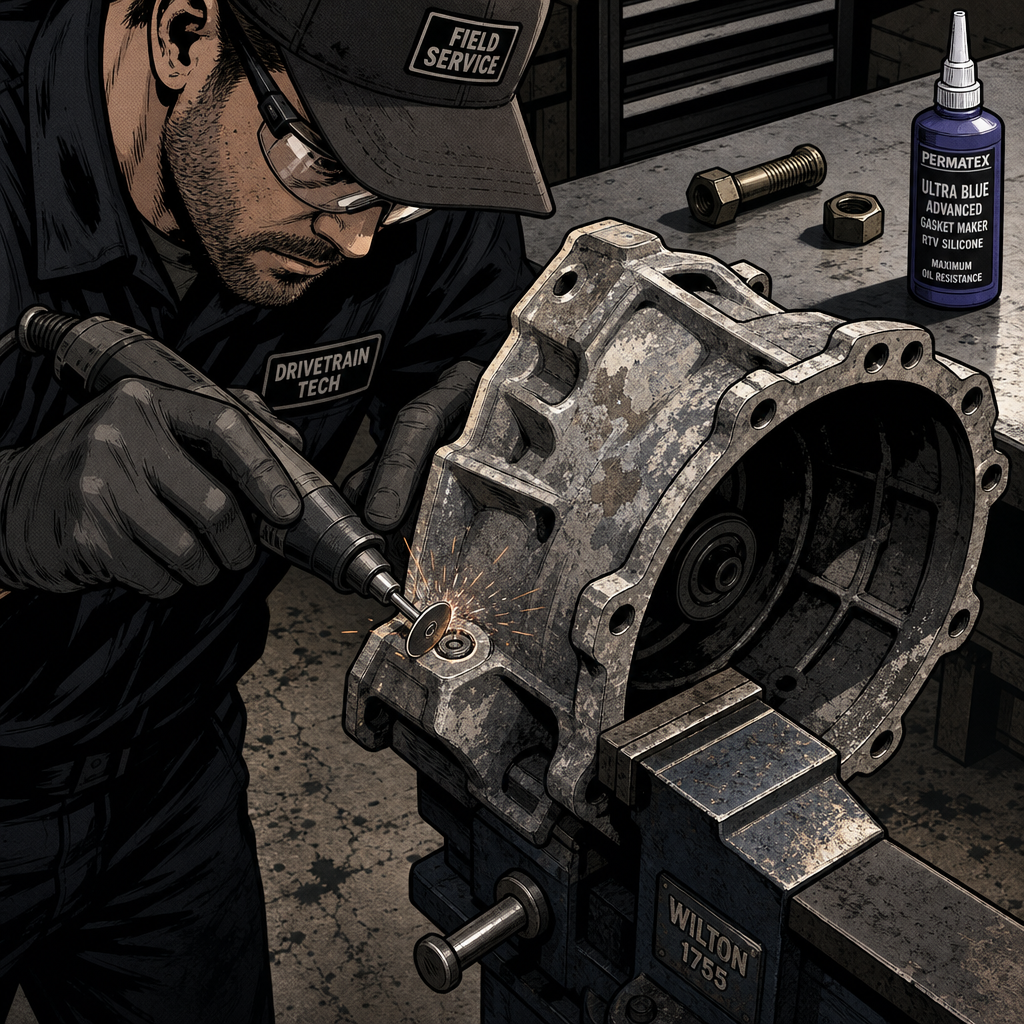
You drop your vehicle off for a routine starter replacement and pick it up with a purple glob of RTV sealing what looks like a hardware store nut-and-bolt combo where a clean factory bolt should be. Welcome to the world of “last resort” repairs—where the bolt snapped, the housing cracked, and your technician had to choose between a $2,000 transmission-out procedure or a $15 field expedient fix that’ll probably outlast the vehicle. This isn’t the repair you wanted, but understanding what actually happened—and whether it’s acceptable—requires looking past the ugly finish to the engineering underneath.
What Actually Happened: The Broken Bolt Cascade
When a starter bolt snaps off flush with the bell housing during removal, you’ve entered problem territory that escalates quickly. The typical failure sequence starts with galvanic corrosion between dissimilar metals—steel bolts threading into aluminum housings create electrochemical reactions that effectively weld components together over years of heat cycling and exposure to road salt.
The technician’s first move is usually drilling out the broken bolt stub. If there’s insufficient clearance or the drill bit walks off center, they’ll attempt welding a nut onto the exposed stub for grip. When access is limited and the bolt is recessed deep into the casting, both extraction methods can fail. At this point, many shops discover they’ve also cracked the aluminum bell housing—either from drilling pressure, heat stress from welding attempts, or simply because the casting was already compromised by corrosion.
Now the shop faces a decision tree with no good branches: replace the entire bell housing or transmission case (often requiring full transmission removal with 8-15 hours of labor), tell the customer their vehicle is economically totaled, or machine a slot to remove the broken stub and convert the threaded hole to a through-bolt configuration. For a 20-year-old vehicle with 200,000 miles, that third option starts looking reasonable.
The slotted repair works by cutting a channel from the bolt hole to the edge of the casting, allowing the broken stub to be extracted. A longer bolt passes completely through the housing with a nut securing it from the backside. The slot is then sealed with high-strength RTV, epoxy, or structural adhesive to prevent contamination and corrosion. It’s not pretty, but the mechanical principles are sound—you’ve actually upgraded from aluminum threads to steel-on-steel clamping force.
Professional Standards vs. Real-World Constraints
In an ideal world, every repair follows OEM procedures with factory parts. The real world involves parts availability, labor economics, and customer budget constraints. A proper bell housing replacement might cost $1,500-$2,500 depending on transmission access, while the slotted through-bolt repair represents maybe $100 in additional labor over the original starter job.
Here’s where professional standards get murky. Most certified shops would argue this repair should never happen without explicit customer approval—you’re permanently modifying a structural component, and the customer deserves to make an informed choice. However, when the bolt breaks during the repair, some shops view the slotted fix as damage mitigation rather than a separate billable modification.
The key differentiator is communication. If your shop called you mid-repair, explained that the bolt snapped and the housing cracked, presented the cost options, and got your approval for the field repair—that’s professional service with non-standard methods. If you discovered this repair at pickup without any heads-up, that’s a conversation you need to have about transparency and approval processes.
From a technical standpoint, the repair itself isn’t inherently bad. Industrial mechanics use similar techniques regularly—converting failed threads to through-bolts is standard practice when helicoils won’t fit or the parent material is compromised. The execution quality matters more than the concept. A clean slot, proper bolt grade, correct torque, and quality sealant will function indefinitely. A hack job with mismatched hardware and excess RTV might work fine but signals overall workmanship issues.
===FYP-PRODUCT-SEARCH:1===
Will This Repair Actually Last?
The counterintuitive truth is that a properly executed through-bolt repair often exceeds the strength and longevity of the original threaded connection. Aluminum threads strip relatively easily—they’re the weak point in many engine and transmission assemblies. By contrast, a Grade 8 bolt clamping through aluminum with a steel nut creates a joint that’s significantly stronger in both shear and tensile loading.
The starter mounting application is relatively low-stress. You’re securing a 15-20 pound component that experiences vibration but minimal direct loading. The bolt primarily needs to resist loosening from vibration and maintain position—it’s not a structural member supporting vehicle weight or absorbing impact forces. A through-bolt with proper thread-locking compound and correct torque will handle these demands without issue.
The sealant covering the slot serves a single purpose: keeping moisture and contaminants away from the fresh-cut aluminum. Quality RTV or epoxy will maintain this seal for years, though it may discolor or attract dirt. The purple or blue appearance common in these repairs comes from high-strength gasket makers designed for transmission and oil pan applications—they’re actually appropriate material choices for sealing against a housing that sees engine bay heat and road spray.
Realistically, this repair will outlast several other components likely to fail first on a high-mileage vehicle. Your starter itself has a finite service life. Motor mounts, suspension components, cooling system parts—all these will likely need replacement before a properly executed through-bolt repair fails. The typical failure mode would be the bolt working loose from inadequate torque or missing thread locker, not structural failure of the modified housing.
The main longevity concern is corrosion progression. If the sealant fails and allows water intrusion, the slotted area could corrode faster than undamaged casting. However, bell housings don’t contain fluids in the starter mounting area, so you’re not dealing with pressurized leaks—just environmental protection. Annual visual inspection during oil changes will catch any sealant degradation long before it becomes mechanical failure.
When to Accept the Fix vs. Demand Replacement
Vehicle value and intended service life should drive your decision. For a 15-20 year old truck with 200,000+ miles that you’re planning to drive another 2-3 years, accepting the through-bolt repair makes economic sense. The repair cost differential—potentially $2,000+ for proper bell housing replacement—exceeds the vehicle’s value in many cases. If the shop warranties the repair for 12 months and the fix looks mechanically sound despite cosmetic ugliness, you’re probably fine.
Reject the repair or demand compensation if you’re dealing with a newer vehicle, low mileage, or you discovered the modification without prior approval. A shop that modifies structural components without customer authorization has crossed professional boundaries regardless of repair quality. You’re entitled to know what’s being done to your vehicle, especially when alternatives exist.
Red flags that indicate poor execution include: mismatched bolt and nut (different finishes or grades suggesting random hardware bin parts), excessive sealant overflow covering surrounding components, slot width significantly wider than necessary (suggesting multiple cutting attempts or imprecise work), and any visible cracks extending beyond the slotted area. These suggest rushed work or lack of proper technique.
Request detailed documentation and photos. A shop confident in their repair will document the broken bolt situation, the cracked housing discovery, and the repair methodology. This documentation protects both parties—it establishes that the failure occurred during normal service of a corroded component, not technician error, and it confirms you were informed of the approach taken.
Quick Evaluation Checklist
- Communication: Did the shop contact you before performing this repair method?
- Hardware quality: Are the bolt and nut matching grade, with proper finish and sizing?
- Slot precision: Is the cut relatively clean and minimal, or does it look like multiple rough attempts?
- Sealant application: Adequate coverage without excessive overflow onto unrelated components?
- Torque specification: Did they torque the bolt to spec, and is thread locker visible?
- Warranty coverage: Are they standing behind the repair with written warranty?
- Vehicle value: Does repair cost vs. vehicle worth support accepting this approach?
- No additional damage: Are there cracks extending beyond the repair area?
Alternative Repair Methods and Why They Failed
Understanding why your shop resorted to slotting helps evaluate whether it was truly necessary. The standard extraction hierarchy starts with left-hand drill bits—these often grab and extract broken bolts as you drill. Next comes welding a nut onto the stub for grip, though this requires decent access and a clean stub surface. Spiral extractors (easy-outs) work in softer materials but frequently snap off in hardened bolts, making the situation worse.
Helicoil or Time-Sert thread inserts represent the “proper” fix when you can drill out the hole cleanly and aren’t dealing with cracked castings. These install oversize threads that accept standard bolts, essentially re-creating factory configuration. However, they require precise perpendicular drilling, adequate material thickness around the hole, and intact surrounding casting—none of which you have when the housing cracked during extraction attempts.
The slotting method is literally the last resort after these conventional approaches failed or were impossible due to access limitations. Deep recessed bolts in tight engine compartments sometimes can’t be reached with welding equipment or drilled accurately enough for helicoil installation. Once the housing cracked, helicoils became irrelevant anyway—you can’t thread-repair a crack.
Some shops have success with left-hand thread taps that can extract broken bolts while cutting new threads, but this requires the bolt to be softer than the tap and enough stub remaining to engage. Penetrating oil and heat cycles work on bolts with some stub protruding—not on flush breaks corroded into aluminum.
===FYP-PRODUCT-SEARCH:2===
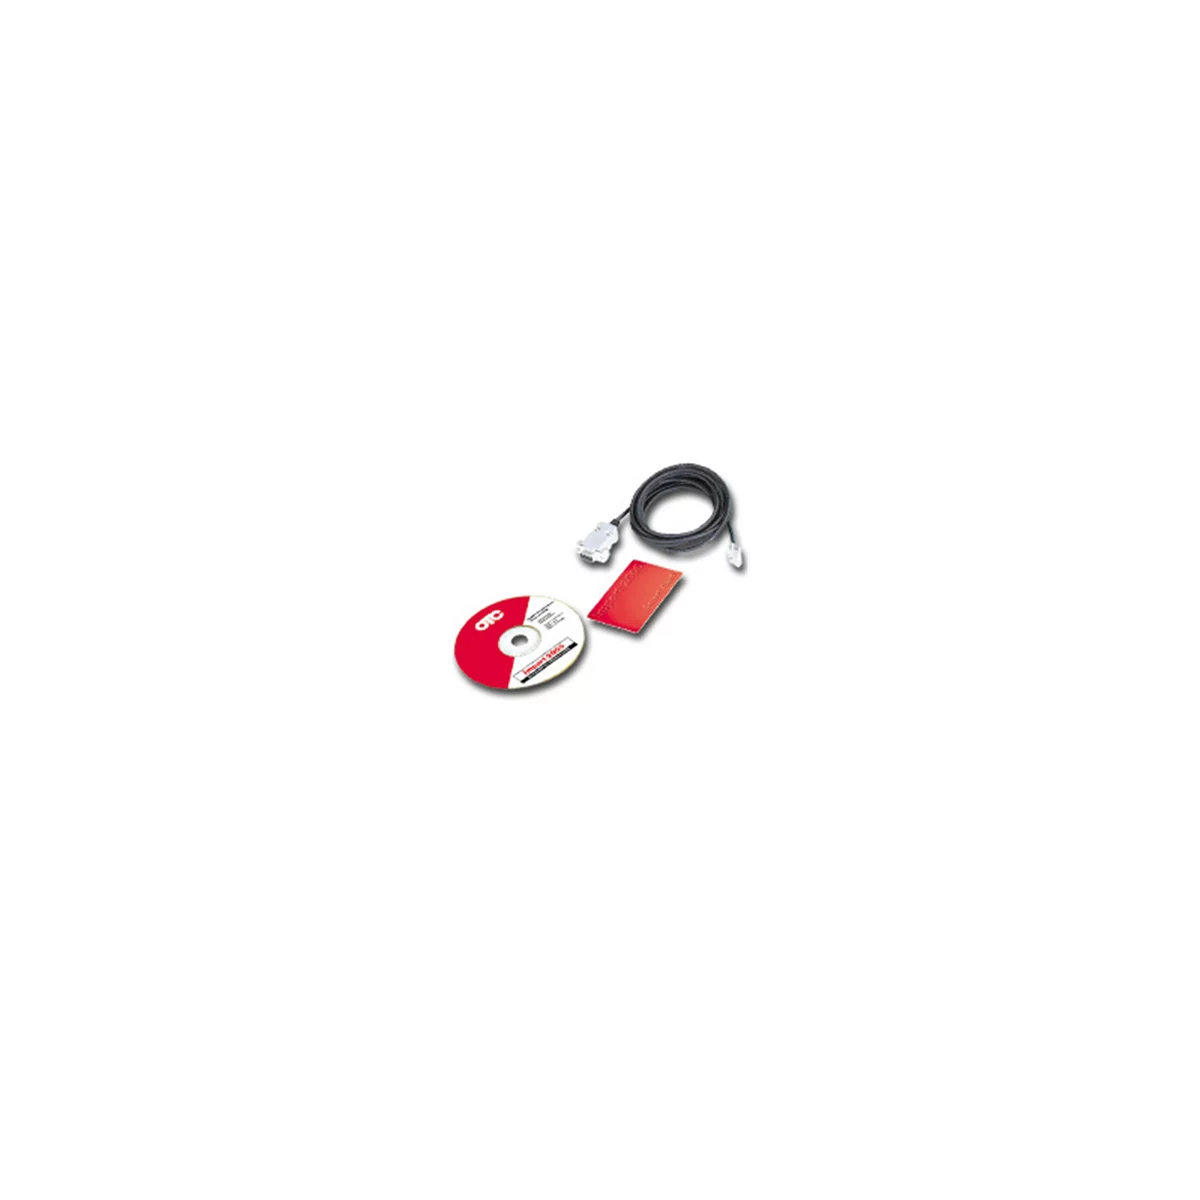
Genisys GM Powertrain Reprogramming Starter Kit
Mfg: OTC Tools and Equipment
Part #: 3421-17
Frequently Asked Questions
Is it legal for a shop to modify my vehicle without permission?
Legally, shops must obtain customer authorization for repairs beyond the originally approved scope. However, practices vary regarding “damage mitigation” during service. If a bolt breaks during approved starter replacement, shops may argue the through-bolt repair falls under completing the original job. Best practice requires customer contact when repair methods deviate from standard procedures. If you weren’t consulted and aren’t satisfied, discuss the situation with shop management and document everything in case you need to escalate to consumer protection agencies or small claims court.
Will this repair affect resale value or inspection results?
The repair shouldn’t impact mechanical inspection results since it doesn’t compromise safety or emissions systems. However, it may affect resale value if buyers or purchasing inspectors view it as evidence of poor maintenance or questionable repairs. For high-mileage vehicles, the impact is minimal. For newer vehicles, the modification could raise concerns with knowledgeable buyers. Document that a professional shop performed the work with warranty coverage to demonstrate it wasn’t backyard improvisation.
What should I do if the repair starts leaking or the bolt loosens?
Return to the shop immediately if you notice fluid around the repair area, though starter mounting locations typically don’t interface with fluid passages. If the bolt loosens—indicated by starter vibration, noise, or intermittent engagement—don’t continue driving, as a loose starter can damage flywheel teeth or wiring. Most shops warranty their work for 12 months minimum. If the repair fails within warranty period, they should correct it at no charge. If it fails after warranty and you’ve exceeded the vehicle’s economic repair threshold, you’re likely looking at replacement vehicle time anyway.
Should I have the repair redone “properly” at another shop?
Only if you’re dealing with a newer vehicle, plan extended service life, or the current repair shows clear workmanship defects. For high-mileage vehicles near end-of-life, spending $2,000+ on proper bell housing replacement makes no economic sense. The through-bolt repair will function adequately for the vehicle’s remaining service years. Save major repair investment for vehicles worth preserving, and accept field expedient repairs on transportation appliances you’re running into the ground.
How can I prevent this situation on my other vehicles?
Prevention focuses on maintenance practices that reduce bolt corrosion. Apply anti-seize compound to dissimilar metal threads during any service involving aluminum castings and steel bolts—though never on fasteners that rely on friction for retention. Regular underbody washing removes salt accumulation that accelerates galvanic corrosion. When possible, replace steel bolts with stainless varieties in corrosion-prone applications. Most importantly, address starter issues promptly rather than waiting until bolts have years of additional corrosion time to seize.
Can I do this repair myself in my driveway?
If you have metalworking skills, rotary tools for slotting, and can access the work area, yes—this is within DIY capability. The challenge is making a clean slot without damaging surrounding casting or components. Use a thin cutoff wheel, work slowly, and support the housing to minimize vibration. Select Grade 8 or better bolts with matching nuts, apply thread locker, and torque to starter manufacturer specifications. Use quality RTV rated for engine bay temperatures (typically 500°F+). The repair difficulty depends entirely on access—what’s merely tedious with transmission removed becomes extremely challenging working around installed components.
Tools for Bolt Extraction and Repair
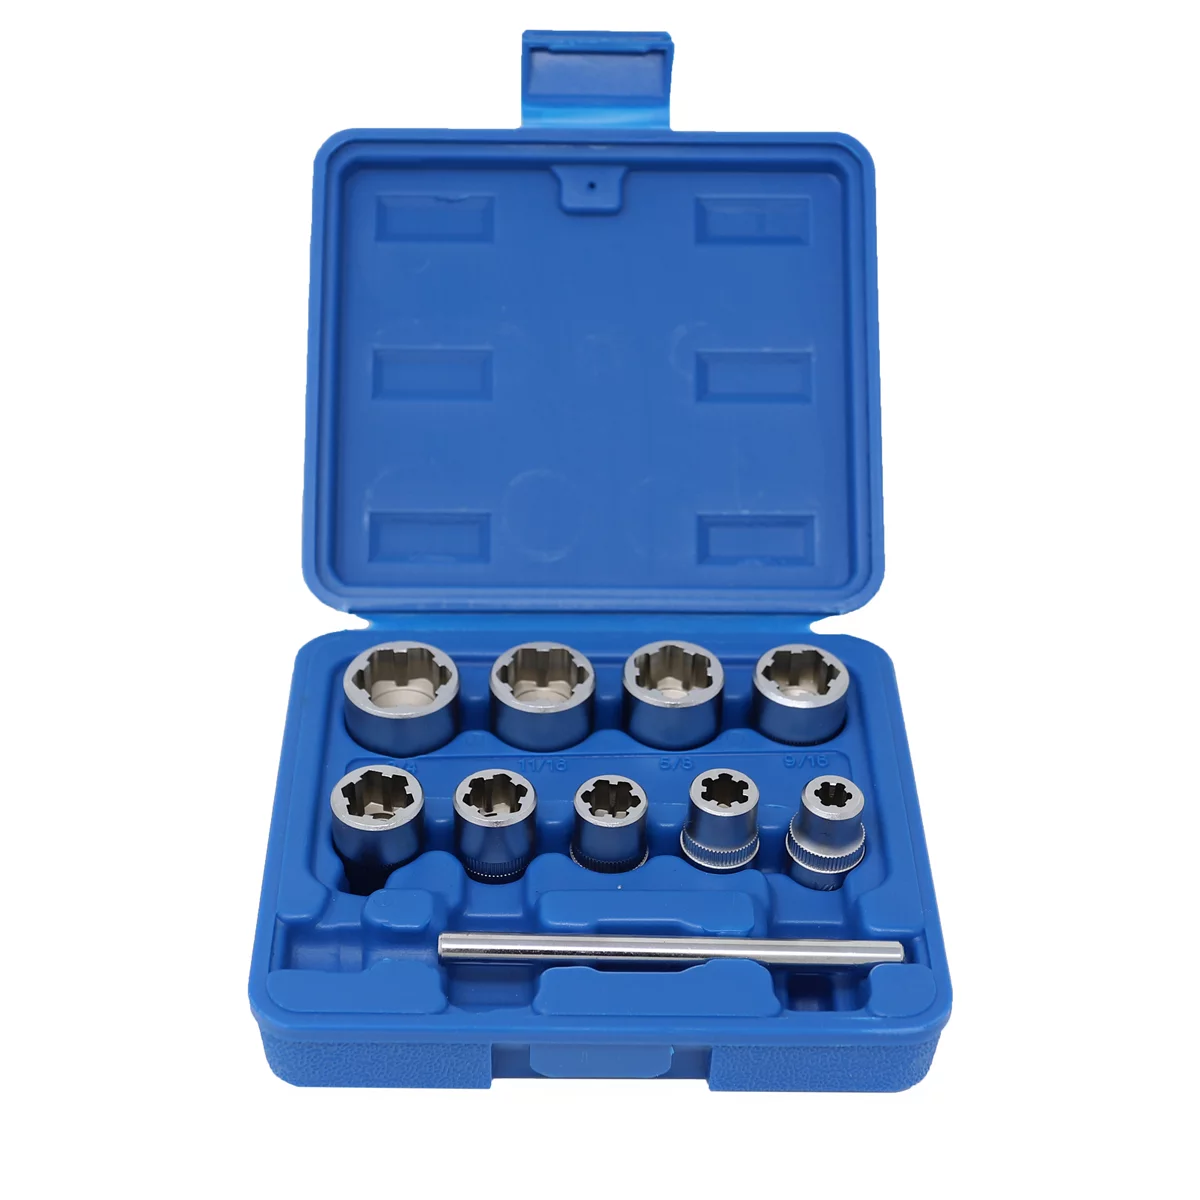
When a starter bolt breaks or threads strip during repair, having the right tools makes the difference between a clean extraction and a cracked housing. Our Cutting, Threading and Drilling selection includes drill bits, extractors, taps, and cutting equipment for removing broken fasteners and restoring damaged threads.
- Left-hand drill bits and spiral extractors for broken bolt removal
- Threading tools and helicoil kits for thread repair
- Rotary cutting tools for precision slot work on corroded assemblies

The Toolsource Technical Team blends decades of real-world automotive service experience with up-to-date technical research. Our writers collaborate with professional mechanics, shop owners, and diagnostic specialists to deliver practical, workshop-ready guidance you can trust.


Follow us on social media