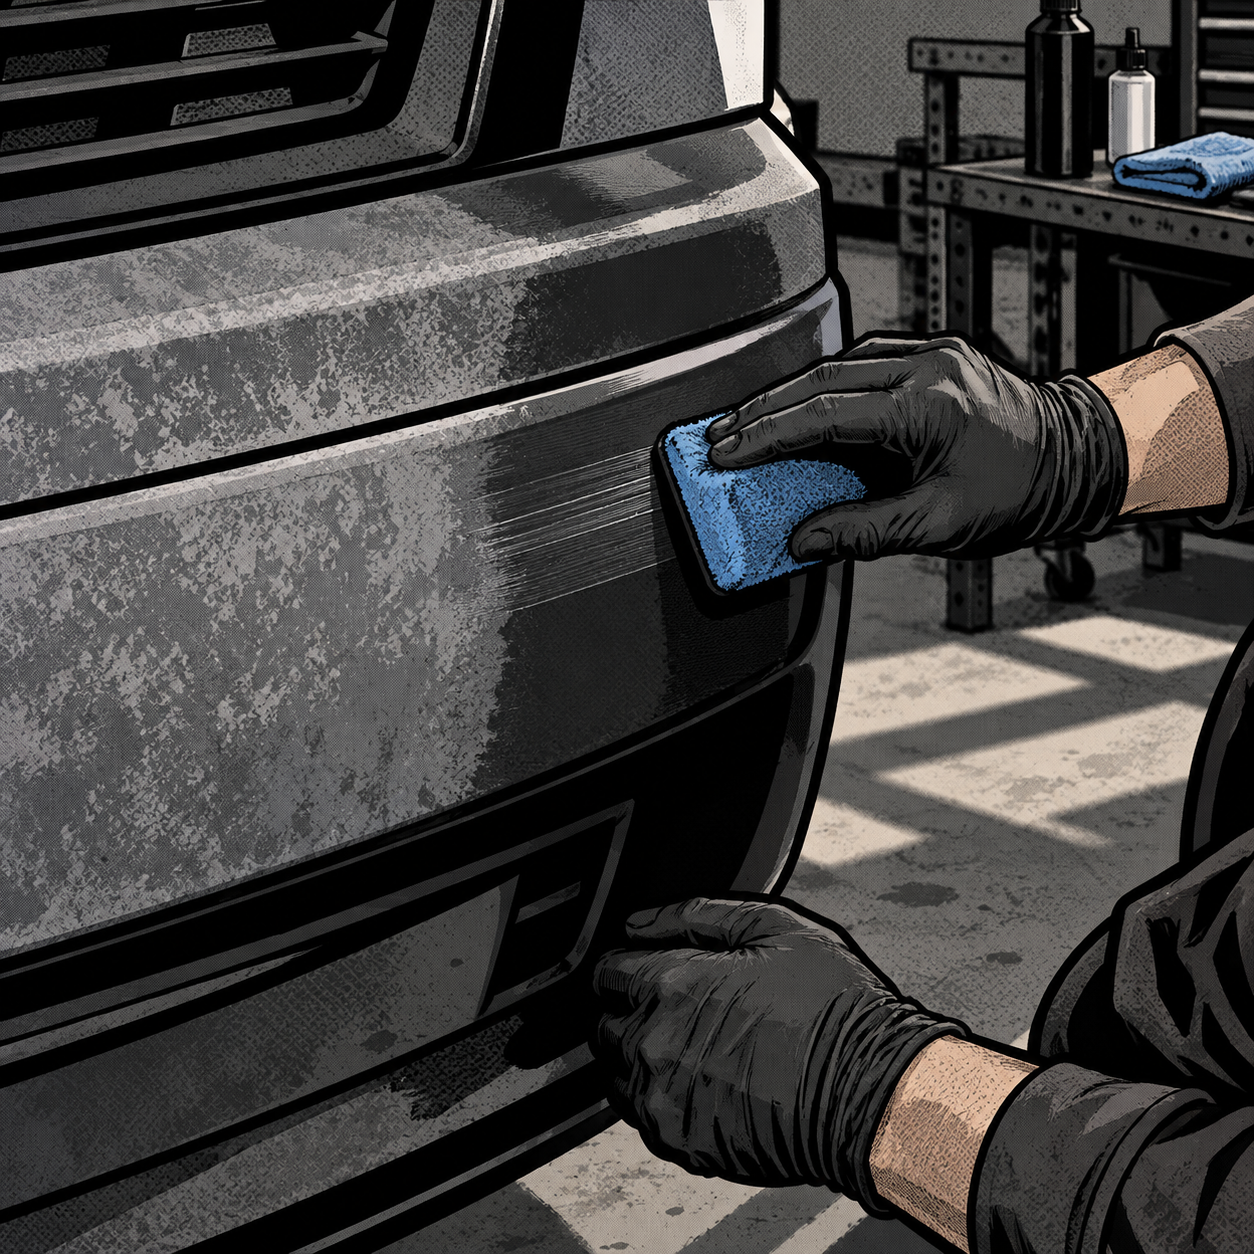
Oxidized, gray plastic trim is one of the most common comebacks a detail shop or service bay sees on vehicles over five years old, and it’s also one of the easiest wins once you understand what’s actually happening to the material and which product category solves it. Technicians often reach for whatever bottle is on the shelf, but the difference between a short-lived dressing and a true ceramic coating can mean the gap between a monthly redo and a job that holds up for years. This guide covers the chemistry, the prep, and the application steps that separate a clean result from a streaky callback.
Why Plastic Trim Fades in the First Place
Unpainted plastic trim — bumpers, mirror caps, rocker panels, cladding — uses UV stabilizers and plasticizers baked into the resin at the factory. Sunlight and heat break those additives down over time, and the plasticizers migrate out of the surface. The result is the chalky, gray “bleached” look customers describe as the plastic “turning white.” This is oxidation, not dirt, so no amount of washing or clay bar work will reverse it. The surface also becomes more porous as it oxidizes, which matters later because it changes how a restorer or coating bonds and cures.
Clear-coated plastic trim fails differently — the clear coat itself cracks and peels, as seen on older mirror housings and bumper caps. That’s a clear coat failure, not oxidized raw plastic, and coatings applied over cracked clear coat will only look good temporarily before the underlying clear continues to fail. Identify which failure mode you’re dealing with before recommending a fix.
Dressings vs. True Ceramic Coatings — Know the Difference
This is the distinction that causes the most confusion on the shop floor. A dressing (think 303 Aerospace Protectant or similar UV-blocking sprays) sits on the surface, offers good UV protection, and needs reapplication every few weeks to a couple of months depending on exposure and washing frequency. It’s low-risk, inexpensive, and a reasonable maintenance step between coating applications or for a customer who just wants a quick refresh before a sale.
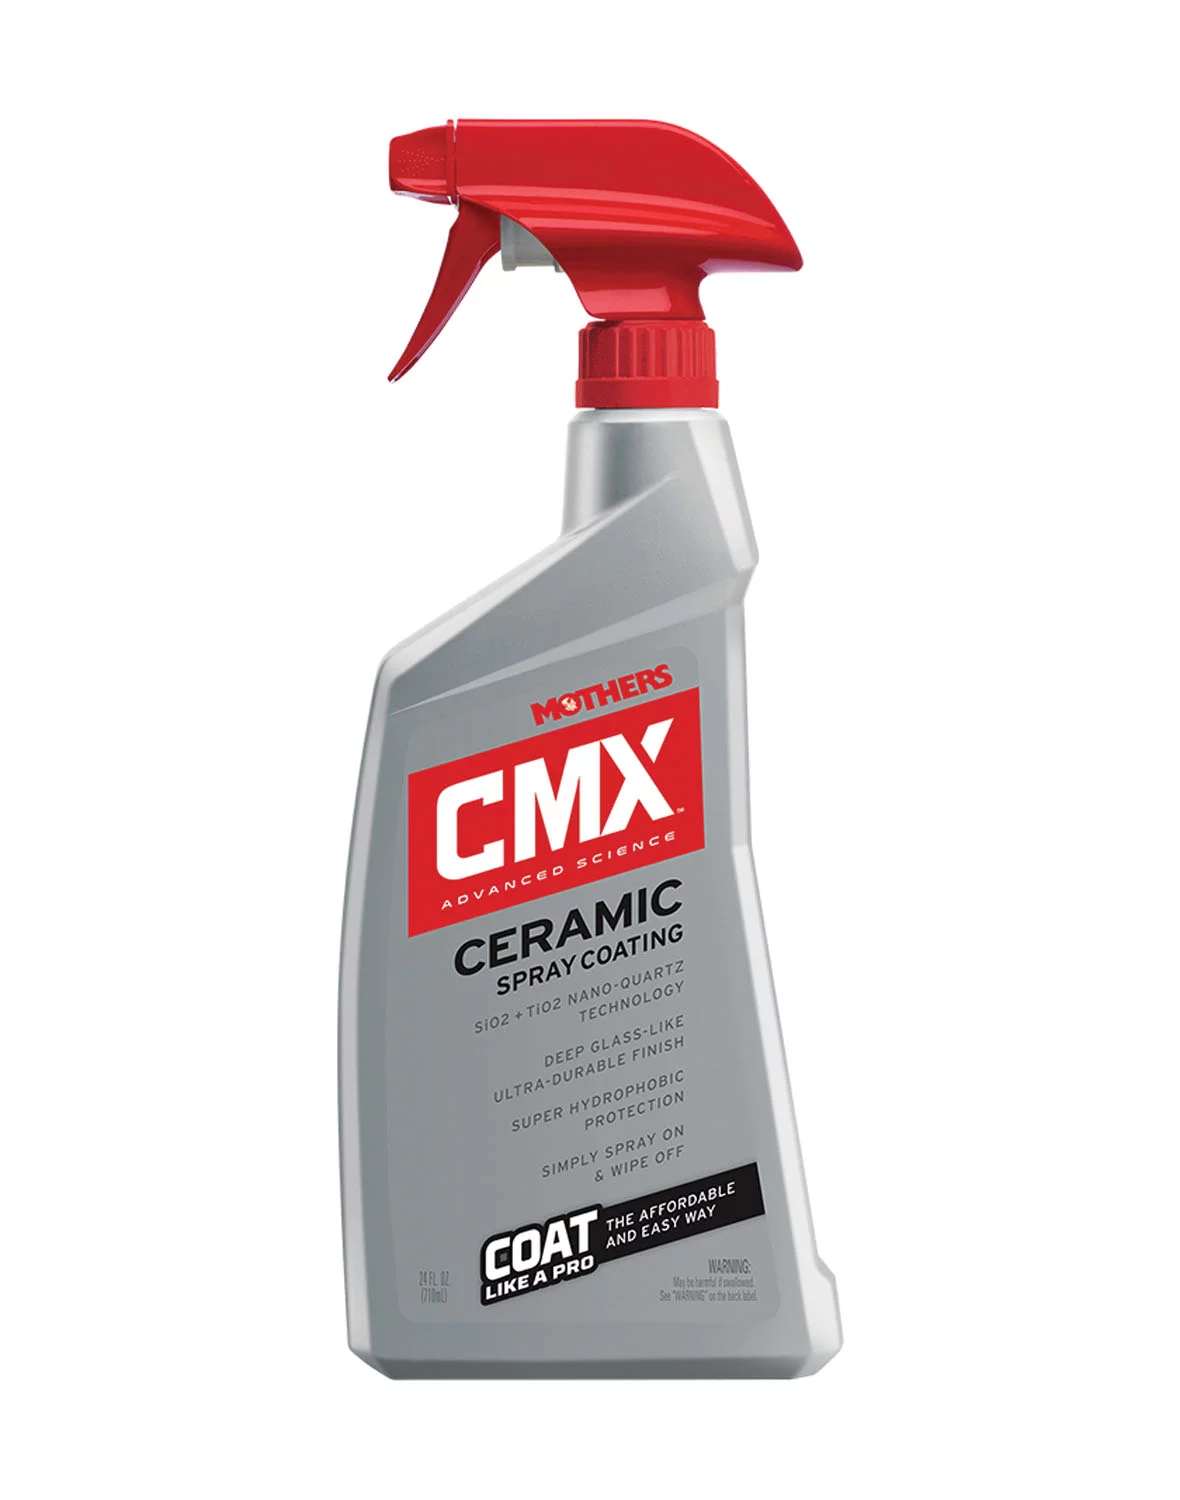
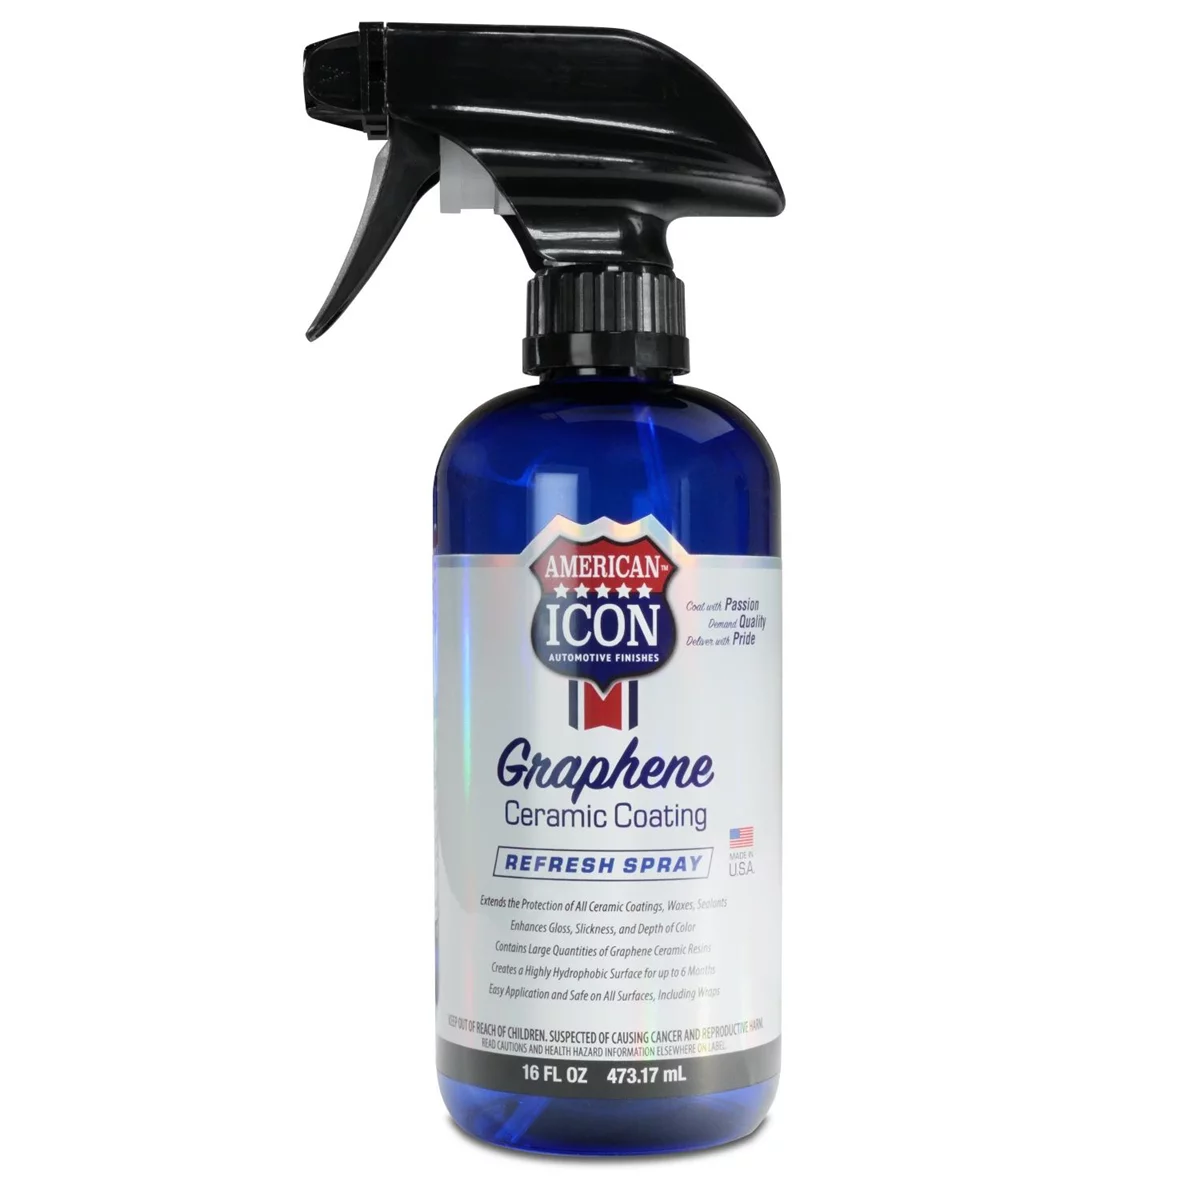
A true ceramic trim coating — Cerakote Ceramic Trim Coat is the most frequently cited example — chemically bonds to the plastic and cures into a semi-permanent, glossy, hydrophobic layer. Properly applied, these coatings have been reported holding up 18 months to 3+ years on bumpers, mirror caps, and side cladding with no reapplication, even on vehicles parked outside full-time. The tradeoff is a much less forgiving application process: uneven leveling leaves visible high and low spots, and on smooth (non-textured) plastic the margin for error is small. Set that expectation with the customer or technician doing the work before they commit to a coating job over a simple dressing.

Prep: New Plastic vs. Oxidized Plastic Require Different Approaches
Treat new and aged plastic as two separate jobs, not one product applied two ways.
- Brand-new plastic (new vehicle delivery, replacement bumper, aftermarket trim): New plastic off-gasses mold-release agents and uncured plasticizers for weeks after manufacturing. A light spray-on protectant/restorer formulated for new plastic is the safer choice here — it protects without trapping off-gassing underneath a hard film. Many trim coating manufacturers explicitly warn against applying a full cured coating directly to unweathered new plastic; check the product label, since this varies by brand and formulation.
- Faded, chalky, or grayed plastic: This surface needs to be rehydrated and the oxidized layer addressed before any coating goes on. Wipe-on restorer formulations are built for this — they penetrate the porous, oxidized surface rather than just sitting on top of it. Once the trim is rehydrated and looking consistent, that’s the point to apply a long-term ceramic coating if durability is the goal.
Either way, start with a thorough decontamination wash, then wipe the plastic down with isopropyl alcohol (IPA) or a dedicated panel prep solvent. This strips any residual wax, sealant, or dressing oils that would otherwise prevent proper bonding — skipping this step is the single most common cause of a coating failing to cure evenly or peeling prematurely.
Application Technique That Prevents Streaking
Streaking on smooth plastic is the most common complaint with high-bond ceramic trim coatings, and it’s almost always a technique issue rather than a product defect.
- Work in small sections — one bumper corner or a single mirror cap at a time — rather than trying to coat an entire bumper in one pass.
- Apply in deliberate, overlapping horizontal passes with the applicator pad, and flip to a clean side of the pad frequently. A single pad loaded with product starts redistributing excess rather than laying down a thin, even film after just a few passes.
- Level and buff off any excess promptly — don’t let it sit and begin curing before leveling. Waiting too long before the final wipe-down is the most frequently cited cause of visible streaking on smooth, non-textured panels.
- Textured or porous plastic (most rocker panels and lower cladding) is far more forgiving than smooth painted-look trim, so budget extra time and a slower hand specifically for smooth surfaces like mirror caps and smooth bumper inserts.
- As a rule of thumb, expect to use roughly one applicator wipe or pad per mirror cap, and three to four for a full rear bumper, depending on size and porosity — plan product quantity accordingly for a job estimate.
Headlight Lenses Need a Different Product and Different Expectations
Polycarbonate headlight lenses are a different substrate than exterior trim plastic, and they should be treated separately. Most ceramic trim coating lines sell a dedicated headlight restoration kit aimed at clearing UV haze and yellowing — that’s a different formulation from the trim/bumper product, and the two aren’t interchangeable. Even within dedicated headlight kits, don’t expect trim-level longevity: some techs report their headlight coating starting to look hazy again in as little as two months, especially on daily drivers with high UV exposure and highway mileage, versus 18+ months on body trim.
If the lens has micro-cracking rather than just surface haze, a restoration product is a cosmetic step only — it will not repair structural cracking, and on collector or high-value vehicles (older Porsches, limited-production cars) that’s a case for lens replacement or professional polish/recoat rather than a consumer-grade kit.
Maintenance: What Happens When the Coating Starts to Fade
Even a well-applied ceramic trim coating eventually loses performance in direct, consistent sun exposure — reports range from noticeably fading starting around the 2–3 year mark on sun-facing panels, while shaded trim on the same vehicle still looks like new. There’s no clean “reapply on top” option with most cured ceramic coatings the way there is with a dressing; the degraded layer typically needs to be stripped or heavily abraded with IPA/panel prep and the surface treated again from the rehydration step forward. Set this expectation at the time of the original service so a 2–3 year follow-up isn’t a surprise.
Quick Checklist: Plastic Trim Restoration Workflow
- Identify the failure mode: raw oxidized plastic vs. failing clear coat
- Decontaminate: full wash, then IPA/panel prep wipe-down
- Match product to surface age: new-plastic protectant vs. oxidized-plastic restorer
- Apply in small sections with overlapping horizontal passes
- Level and buff excess before it begins to cure — don’t let it sit
- Use the dedicated headlight kit for lenses, never the trim/bumper formula
- Document application date for the customer — set a realistic reapplication timeline

FAQs
Can I apply a ceramic trim coating straight to brand-new plastic?
Check the specific product label first. Several ceramic trim coating lines advise against coating unweathered new plastic because it’s still off-gassing mold-release residue and uncured plasticizers; a lighter new-plastic protectant spray is the safer first step, with a full coating applied later once the trim has aged slightly.
What’s actually different between a dressing and a ceramic coating?
A dressing sits on top of the plastic and needs reapplication every few weeks to months. A true ceramic coating chemically bonds and cures, lasting from roughly 18 months up to several years on exterior trim before it needs to be redone.
Why does my coated trim keep streaking?
Streaking on smooth plastic almost always comes from working too large an area at once or waiting too long to level and buff off excess before it starts curing. Work in smaller sections and flip to a clean pad side often.
Will a plastic restorer fix micro-cracked headlight lenses?
No. Restoration products clear surface haze and yellowing but don’t repair structural micro-cracking in the polycarbonate. Cracked lenses need replacement or professional-grade restoration/recoating.
How long before I need to redo a ceramic-coated bumper?
Expect noticeable fading starting around 2–3 years on sun-exposed panels, sooner on headlights (sometimes just a couple of months). Shaded trim on the same vehicle typically holds up longer.
Can I just add another coat once it starts fading?
Generally no — most cured coatings need the old layer stripped or abraded with IPA/panel prep before a fresh application will bond properly. Simply layering more product on top of a degraded coating won’t restore the original finish.
Recommended Tools & Products
Restoring faded plastic trim requires the right approach and supplies. Find everything you need in our Paint & Body section.
- Plastic restorers and rehydrating treatments for oxidized trim
- Ceramic trim coatings and UV-protective dressings for lasting durability
- Application pads, prep solutions, and isopropyl alcohol for professional results

The Toolsource Technical Team blends decades of real-world automotive service experience with up-to-date technical research. Our writers collaborate with professional mechanics, shop owners, and diagnostic specialists to deliver practical, workshop-ready guidance you can trust.


Follow us on social media