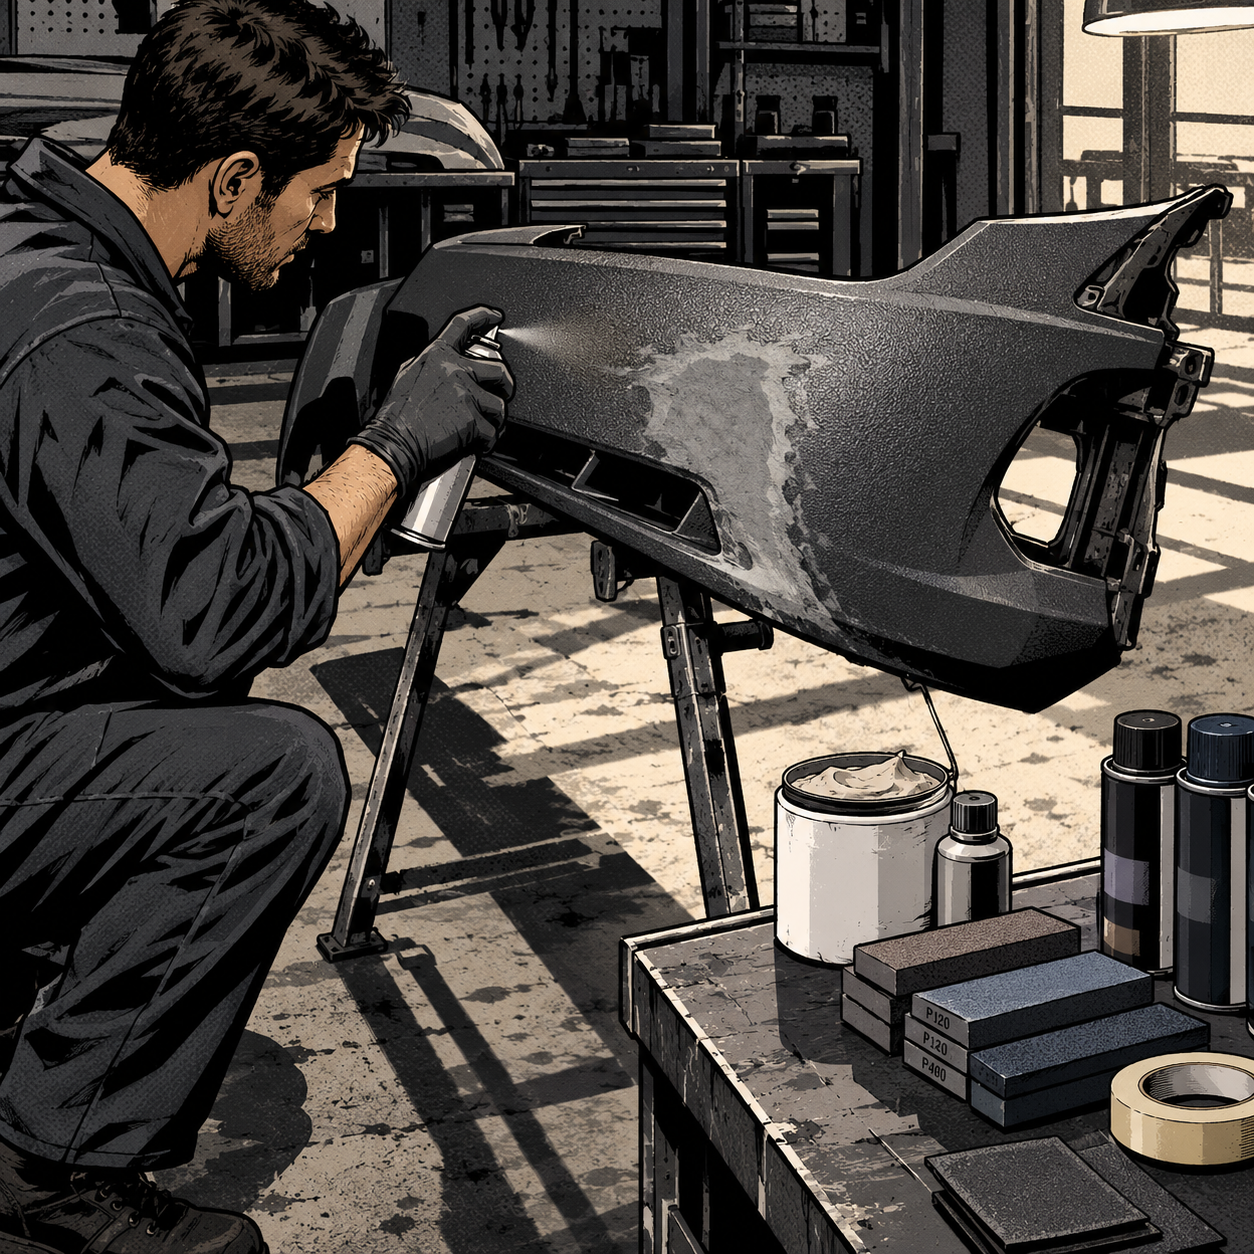
Textured plastic bumper covers are some of the most common cosmetic damage techs see, and also some of the hardest to repair invisibly. Unlike smooth painted panels, textured plastic has a grain pattern that factory tooling bakes in, and no rattle can product replicates it perfectly in every lighting condition. The good news is that a careful repair can get you to 85-90% invisible, which is good enough for a used car sale, a trade-in inspection, or a customer who just wants the scratch gone. The key is understanding why these repairs fail and using the right combination of filler, texture, and paint to make it last.
Why Textured Bumper Repairs Are Different From Flat Panel Work
A standard painted steel panel repair is forgiving because the surface is smooth and uniform once primed and blocked. Textured plastic is unforgiving for two reasons. First, the texture itself is a pattern, and your eye is extremely good at spotting a break in a repeating pattern even when the color matches. Second, bumper covers flex. They absorb minor impacts and expand and contract with temperature swings, which means any repair material that doesn’t flex with the substrate will eventually crack, lift, or telegraph through the texture coat. This is why rigid, non-flexible fillers are a common source of comeback repairs on bumpers specifically, even when they work fine on hard plastic trim or metal.
Direct sunlight is the real test for any textured repair. Shops and owners who report a repair looking “perfect” almost always qualify that statement with “in normal light.” Low-angle sun exposes texture mismatches, slight color shifts, and edge lines from masking that are invisible indoors or in a shop bay. Set your expectations accordingly, and set your customer’s expectations too if you’re doing this as a side job or informal favor.
Choosing the Right Filler: Flexible Plastic Filler vs. Standard Bondo
This is the single biggest decision point in the repair. Standard polyester body filler (the classic “Bondo”) is designed for rigid substrates and will crack over time on a part that flexes, especially at the edges of the repair where stress concentrates. For bumper covers, a flexible plastic repair filler, such as a two-part plastic/vinyl repair compound or a filler specifically rated for TPO or PP bumper substrates, is the correct choice. These products stay slightly flexible after curing and move with the bumper instead of fighting it.
If you’re doing a shallow cosmetic scratch that didn’t fully penetrate the plastic, a rigid filler might get away with it for a while since there’s less flex stress at that specific spot. But for anything with actual material loss or a deeper gouge, use a flexible filler rated for automotive plastics. Also apply a plastic adhesion promoter before filler and before paint on bare plastic; skipping this step is one of the most common reasons repairs peel.


Materials and Prep Checklist
Before you touch the bumper, lay out everything you need so you’re not improvising mid-repair:
- Flexible plastic/vinyl repair filler (not standard polyester body filler)
- Plastic adhesion promoter / bumper primer
- Sanding block and graduated sandpaper (80-grit through 400-grit)
- Low-tack masking tape and fine-line tape for crisp blend edges
- Texture spray matched to the panel’s original grain (fine, medium, or coarse)
- Color-matched basecoat and clearcoat, or a factory-matched aerosol can
- Degreaser/plastic prep wipes
Surface prep matters more on plastic than on metal. Degrease thoroughly, scuff the repair area and a generous feather zone around it, and clean again before any filler or primer goes on. Oils from hands and road grime embed in plastic pores and will cause adhesion failures months later even if the repair looks fine on day one.
For a mid-range plastic repair filler that flexes with bumper covers instead of cracking, search our catalog for: flexible bumper repair filler kit.
Step-by-Step Repair Process
Work the repair in stages rather than rushing to paint. Each step affects how well the next one adheres and blends:
- Clean and assess. Wash the area, then run a hand over the damage to feel for cracks, not just scratches. Cracks need to be stabilized (some techs use a plastic welder or reinforcing mesh on the backside) before filling.
- Sand and feather. Remove loose material and feather the edges of the damage into the surrounding texture so there’s no hard transition.
- Apply adhesion promoter. Let it flash per the label before filling.
- Apply flexible filler. Build in thin layers rather than one thick pass, which reduces shrinkage and pinholing.
- Sand the filler smooth and level with the surrounding panel contour, working up through finer grits.
- Mask carefully. Use fine-line tape just outside the feathered zone, not right at the repair edge, so overspray doesn’t create a visible ring.
- Apply texture spray in light passes, checking after each coat against the surrounding grain. It’s easier to add texture gradually than to sand off too-heavy texture.
- Color match and clear coat once texture is dry, blending slightly beyond the texture zone so the color transition is gradual, not a hard line.
Blending Technique: Avoiding the Dreaded Overspray Line
The most common rookie mistake isn’t the filler work, it’s the masking. Taping tight to the repair edge creates a crisp overspray boundary that’s actually more visible than a slightly larger blend zone would be. Instead, feather your clearcoat and color pass well beyond the texture repair, fading the edge rather than stopping it abruptly. If you’re working near a sensor, camera, or blind-spot monitor housing on the bumper, mask those components off completely rather than trying to texture or paint around them freehand; overspray on a sensor lens can affect its function even if the repair itself doesn’t touch any wiring.
Test texture spray on a scrap piece of matching plastic or an inconspicuous spot first. Texture cans vary in droplet size and spray pattern, and holding the can closer or farther from the panel changes the grain significantly. Get your technique dialed in before you commit to the visible repair area.
Durability: What Actually Holds Up Over Time
Texture repairs are exposed to UV, repeated washing, and road debris just like the rest of the bumper, and they don’t always age at the same rate as factory material. Expect some fading or slight texture wear after repeated automatic car washes, particularly from brush-style washes that are harder on raised texture than touchless washes. Budget for a touch-up respray down the line rather than treating the first application as permanent. Using a UV-resistant clearcoat over the texture and color layers extends the life of the repair significantly compared to texture spray left uncoated.
If you’re selling or trading in a vehicle with a textured repair, understand that close inspection in bright light can reveal the fix. Buyers who know what to look for, and increasingly dealers’ used-car appraisal staff do, will spot a slight texture or sheen mismatch. That’s not a reason to avoid the repair, but it’s worth factoring into trade-in expectations or disclosure conversations.
Browse our full range of automotive paint and plastic repair supplies: bumper and trim refinishing products.
Quick Reference Checklist
- Use flexible plastic filler, not standard polyester body filler, on bumper covers
- Apply adhesion promoter before filler and before paint on bare plastic
- Feather sand well beyond the damage before filling or texturing
- Mask with fine-line tape set back from the repair, not tight against it
- Test texture spray on scrap material before applying to the repair
- Build texture and color in light, blended passes rather than one heavy coat
- Protect the final finish with a UV-resistant clearcoat


Medium Gray Bumper Coater Spray - SEM 39183 Aerosol 12oz
Mfg: Sem Products
Part #: 39183

Frequently Asked Questions
Can I repair textured bumper plastic without removing the bumper?
Yes, for surface scratches and shallow gouges this is commonly done in place. Full cracks or damage affecting mounting points or sensor housings usually warrant removal for proper access and backside reinforcement.
Do I need a flexible filler, or will regular body filler work?
Use a flexible filler rated for automotive plastic on bumper covers. Standard rigid filler can crack from the flex stress the bumper experiences during normal driving and temperature changes.
How long does a DIY texture repair typically last before it needs touch-up?
Many report good results for several months to a year with normal care, with gradual wear showing up sooner under frequent automatic car washes or heavy UV exposure. A respray touch-up is a normal part of maintaining the repair.
Will insurance or an adjuster accept a texture repair instead of full panel replacement?
Policies and adjuster guidance vary by insurer and by the extent of damage. Document the repair process and get the approach confirmed in writing before performing work tied to a claim.
Why does my texture repair look fine indoors but show up in sunlight?
Direct, low-angle sunlight exaggerates subtle differences in texture grain, gloss level, and color that are invisible under diffuse indoor lighting. This is normal and affects even professional refinish work to some degree.
What’s the biggest reason textured repairs fail or peel?
Inadequate surface prep, especially skipping degreasing and adhesion promoter on bare plastic, is the most common cause of early repair failure, followed by using a non-flexible filler on a flexing panel.
Paint & Body Supplies for Bumper Texture Repairs
Successful texture repairs demand flexible filler, adhesion promoter, texture spray, and quality clearcoat to match factory finishes. Find all these products in our Paint & Body supplies selection.
- Flexible plastic fillers and bumper repair compounds
- Plastic primers and adhesion promoters for bare plastic
- Texture sprays and UV-resistant clearcoats

The Toolsource Technical Team blends decades of real-world automotive service experience with up-to-date technical research. Our writers collaborate with professional mechanics, shop owners, and diagnostic specialists to deliver practical, workshop-ready guidance you can trust.


Follow us on social media