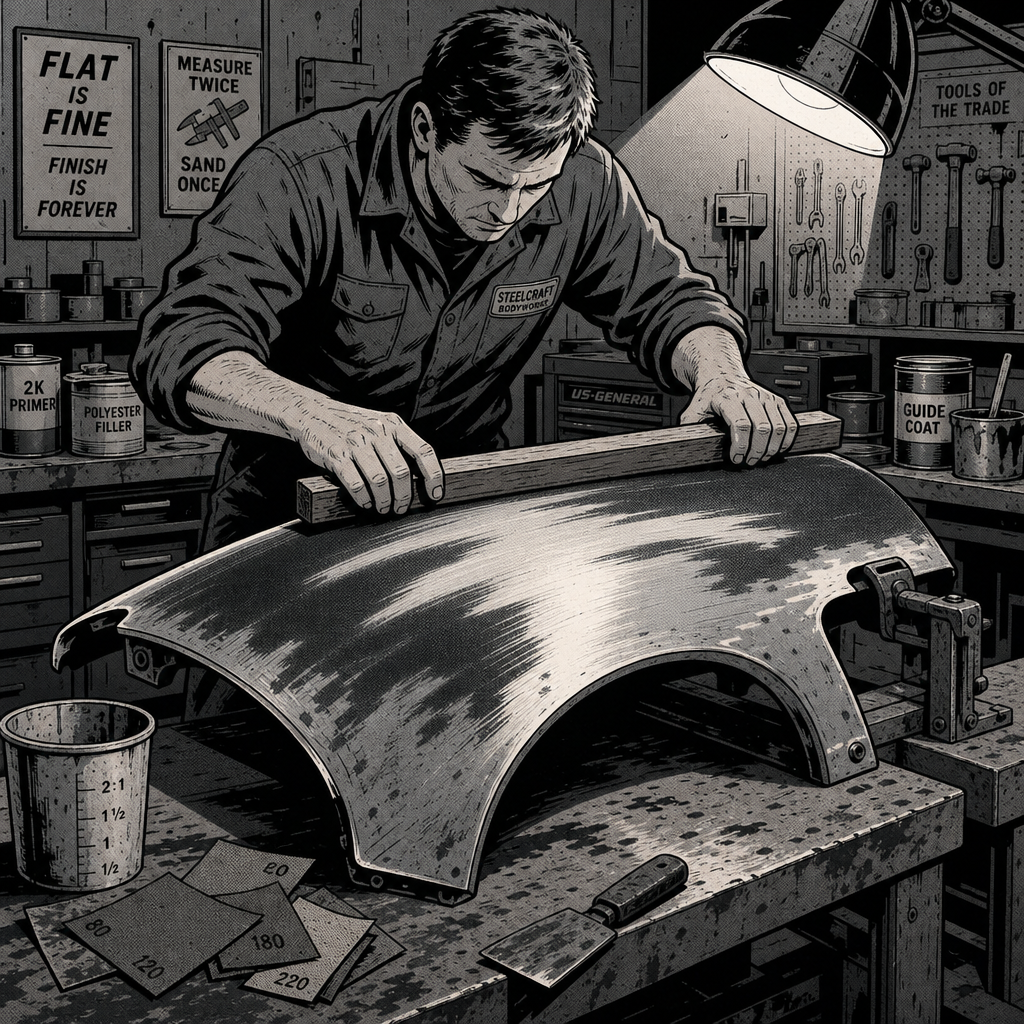
Every few months a photo makes the rounds online of a fender or quarter panel buried under what looks like a pound of drywall mud — lumpy, uneven, and clearly destined to crack the first time the car hits a pothole. It’s funny until you realize how often this actually happens in driveways and budget shops: someone skips the diagnosis, grabs the wrong product, and tries to sculpt a car panel like it’s a clay model. The fix isn’t complicated, but it does require doing the unglamorous steps in order. Here’s how to diagnose panel damage correctly, choose the right filler, and apply it so it stays flat, bonds permanently, and doesn’t telegraph through the paint six months later.
Why Overfilled Panels Happen in the First Place
Almost every “cottage cheese” repair traces back to the same root cause: someone tried to fill a problem that filler was never designed to fix. Body filler is meant to level minor surface imperfections over solid, properly prepped metal — not to bridge a hole, replace missing structure, or hide advancing rust. When a panel has perforation rust, impact damage that’s pushed metal a half-inch out of plane, or a patch panel that was never welded in flush, filler gets piled on in an attempt to “build it back out.” The result is a mountain of product with nothing solid underneath it, which is why it looks like masonry and why it eventually cracks, shrinks, or falls off in sheets.
The giveaway in most botched jobs is thickness. Properly applied filler should rarely exceed about 1/8 inch (3mm) in any one spot. If you’re mixing a lump bigger than a golf ball to fix one area, or you can see ridges and waves in the cured filler before you’ve even picked up sandpaper, the metal work underneath wasn’t done first.
Diagnose Before You Mix: Finding the Real Damage
Before any filler touches a panel, figure out what’s actually underneath. Tap the suspect area with a plastic trim tool or the back of a screwdriver handle — solid metal sounds sharp and consistent, while rusted-out or previously-filled sections sound dull and hollow. A cheap fridge magnet that won’t stick, or sticks weakly, is a strong sign heavy filler is already hiding something.
For corrosion, grind back to clean, bright metal with a 36–60 grit disc until there’s zero discoloration at the repair edges — any rust left behind keeps spreading under new material. If rust has eaten through, that’s a sheet metal repair, not a filler job: cut out the compromised metal and weld in a patch panel or do a butt-weld repair. Filler only belongs on top of solid metal after welds are ground smooth. Covering active rust-through with filler or fiberglass mesh is a cosmetic patch at best, and it’s the single most common reason panels fail inspection or bubble through paint within a year.
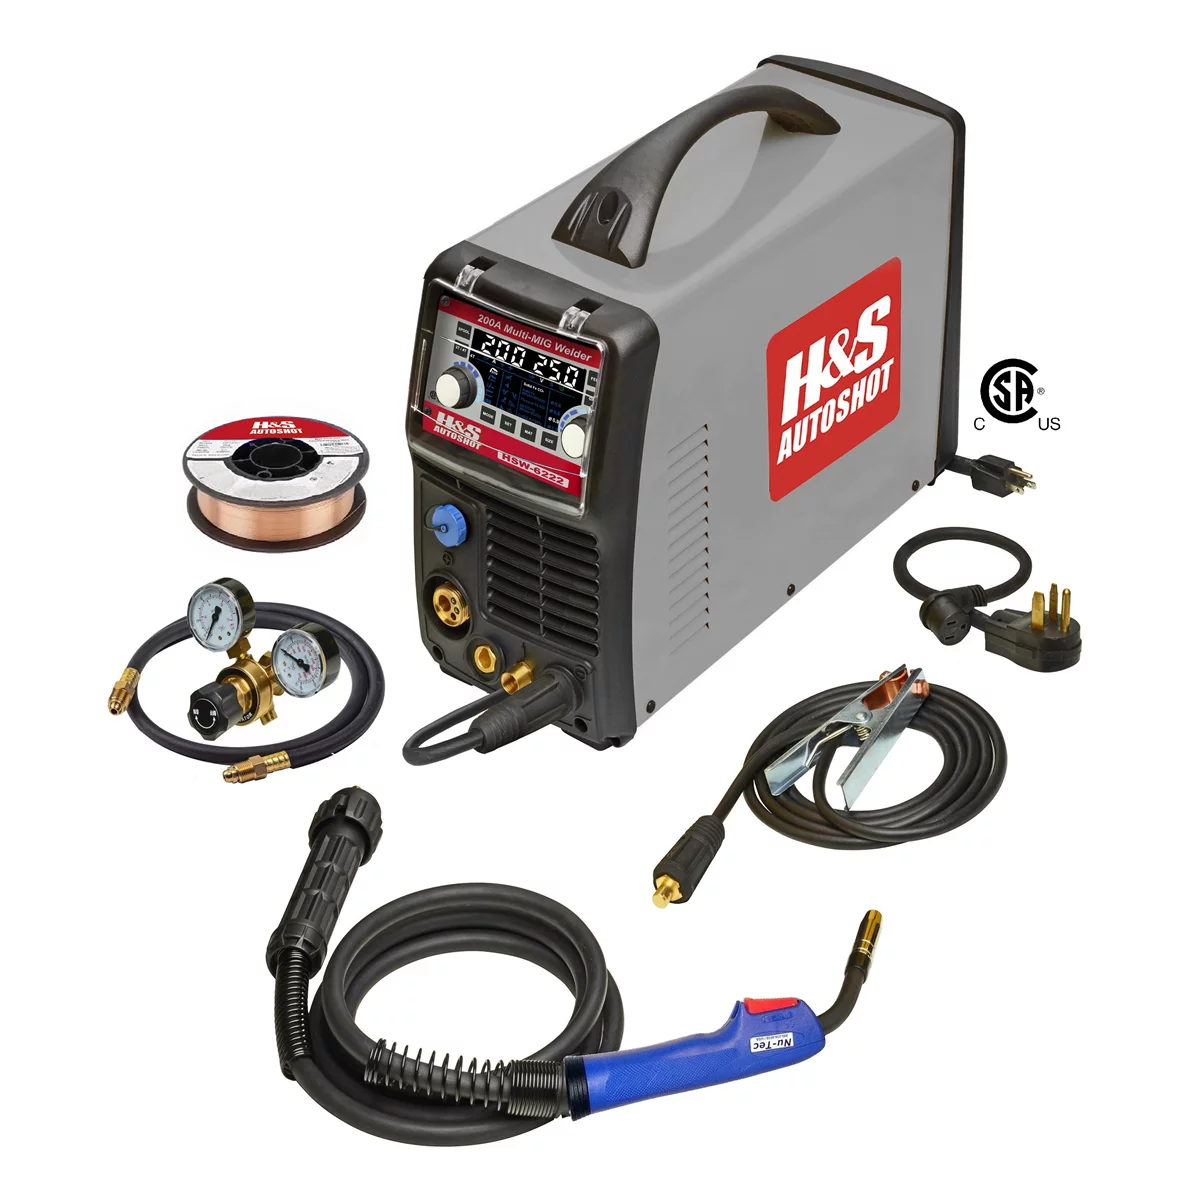
H&S Autoshot HSW-6222 HSM 200A Multi-MIG Welder 115-230V
Mfg: H & S Auto Shot
Part #: HSW-6222

Forney Industries ER70S-6, MIG Welding Wire, Mild Steel, .035 in
Mfg: FORNEY INDUSTRIES
Part #: 42287
Pulling and Shaping Metal Before Filler Ever Gets Mixed
Filler should correct minor low spots, not reshape a crushed panel. Any dent deeper than roughly 1/4 inch needs to come out with a slide hammer, stud welder and pulling bridge, or a dolly-and-hammer combo worked from the backside, before filler enters the picture. Rough the high spots down and work the low spots up until the panel is within a few millimeters of its final contour — run a hand over the bare metal and you should feel a smooth, continuous curve with no sharp transitions.
Skipping this step is exactly how repairs end up needing a half-inch of filler in one spot. Filler has no structural strength; it will crack under flex long before it reaches that thickness, especially on panels that see road vibration like fenders, quarters, and rockers.
Choosing the Right Filler and Prep Products
Standard polyester body filler (like Evercoat Rage Gold or 3M All Purpose) is correct for most smooth-metal repairs. For pinholes or porous patch welds, a lightweight finishing filler or glazing putty applied in a thin final skim coat fills microscopic pits without adding bulk. Fiberglass-reinforced filler is appropriate over small weld seams or minor pinholes — it is not a substitute for welding in new metal over a hole.
Before mixing anything, the panel needs to be sanded to bare metal with 80-grit and solvent-wiped to remove oils and dust; filler won’t adhere reliably to paint, primer, wax, or contamination. Mix only what you can apply within the working time on the label — usually 2–4 minutes before it starts to kick — using the correct hardener ratio. Too little hardener leaves the filler soft and prone to pinholing; too much makes it set before it can be spread, which is often how techs end up with thick, poorly leveled blobs because they’re racing the clock.
Applying Body Filler in Thin, Controlled Layers
Apply with a plastic spreader at a low angle, dragging rather than pressing, in two or three thin passes rather than one thick one. Each pass should skim just above the surrounding metal — you’re building up to the final shape gradually, not trying to get there in one application. Let each layer fully cure (follow label time; usually 20–30 minutes depending on temperature) before adding the next. Layering wet-on-wet filler traps air and solvent, which shows up later as pinholes or bubbling through fresh paint.
If a repair needs more than two or three thin passes to reach the surrounding contour, stop and recheck the metal work — that’s a sign the panel wasn’t shaped close enough to final before filler started.
Block Sanding and Guide Coat: Getting the Shape Right
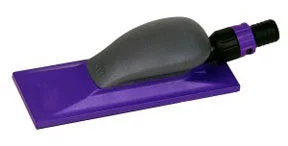
Once cured, rough-shape with 80-grit on a long sanding block — never a random-orbital sander alone, which follows existing high and low spots instead of correcting them. A block with some flex for curved panels, or a rigid one for flat panels, forces the surface flat by cutting the highs before the lows. Spray a light dusting of guide coat (contrasting dark primer or dedicated guide-coat spray) over the filler and sand again; guide coat that sands off evenly means the surface is flat, while spots that stay dark mark remaining low areas that need another thin filler pass.
Work through progressively finer grits (80 to 180 to 320) before priming. Finish-sand with a sanding sponge on curves and body lines to avoid flat-spotting a crown. This stage is where most of the “is this flat” verification happens — trust the guide coat and the block, not your eyes.
Quick Pre-Paint Filler Checklist
- Panel sounds solid when tapped, no hollow or dull spots remaining
- All active rust cut out and replaced with welded metal, not filler
- Bare, sanded metal — no paint, primer, wax, or oil under the filler
- Dents pulled/hammered to within a few millimeters of final shape first
- Filler applied in thin layers (under 1/8″ each), fully cured between coats
- Block-sanded with guide coat until the surface reads flat, not just smooth


Frequently Asked Questions
How thick can body filler be before it’s a problem?
Keep any single area under roughly 1/8 inch (3mm). Beyond that, filler loses adhesion strength and is prone to cracking from vibration and temperature cycling. If a spot needs more material than that, the metal underneath needs to be pulled or patched first.
Can I put body filler directly over rust?
No. Filler does not stop corrosion — it traps moisture against bare metal and accelerates rusting underneath. Grind to clean metal and weld in new material before any filler goes on.
What’s the difference between body filler and glazing putty?
Standard filler fills larger imperfections and dents; it’s stronger but coarser. Glazing putty is a finer, lighter finishing product used in a thin final skim coat to fill pinholes and scratches that filler leaves behind. Putty isn’t meant to carry structural thickness.
Why is my cured filler cracking or popping off?
Usually one of three causes: it was applied over contamination (paint, wax, rust) instead of bare metal, it was mixed with the wrong hardener ratio, or it was applied too thick in one pass without the underlying metal being shaped close to final first.
Do I need a guide coat, or can I just sand until it looks smooth?
Smooth and flat aren’t the same thing — a panel can feel smooth to the hand while still having gradual low spots a guide coat will expose immediately. Skipping guide coat is how “smooth” repairs end up looking wavy once panel paint reflects light across them.
Is fiberglass-reinforced filler strong enough to fix a rust hole?
No. It can bridge small pinholes or minor weld porosity, but it has no real structural strength over an open hole. Rust-through needs a welded patch panel; fiberglass filler on top of a hole is a cosmetic fix that will fail.
Shop Paint & Body Supplies
Successful body filler work starts with proper materials and tools. Browse our Paint & Body selection for fillers, spreaders, primers, and finishing supplies.
- Polyester and fiberglass body fillers
- Application spreaders and sanding tools
- Guide coats, primers, and finishing compounds

The Toolsource Technical Team blends decades of real-world automotive service experience with up-to-date technical research. Our writers collaborate with professional mechanics, shop owners, and diagnostic specialists to deliver practical, workshop-ready guidance you can trust.


Follow us on social media