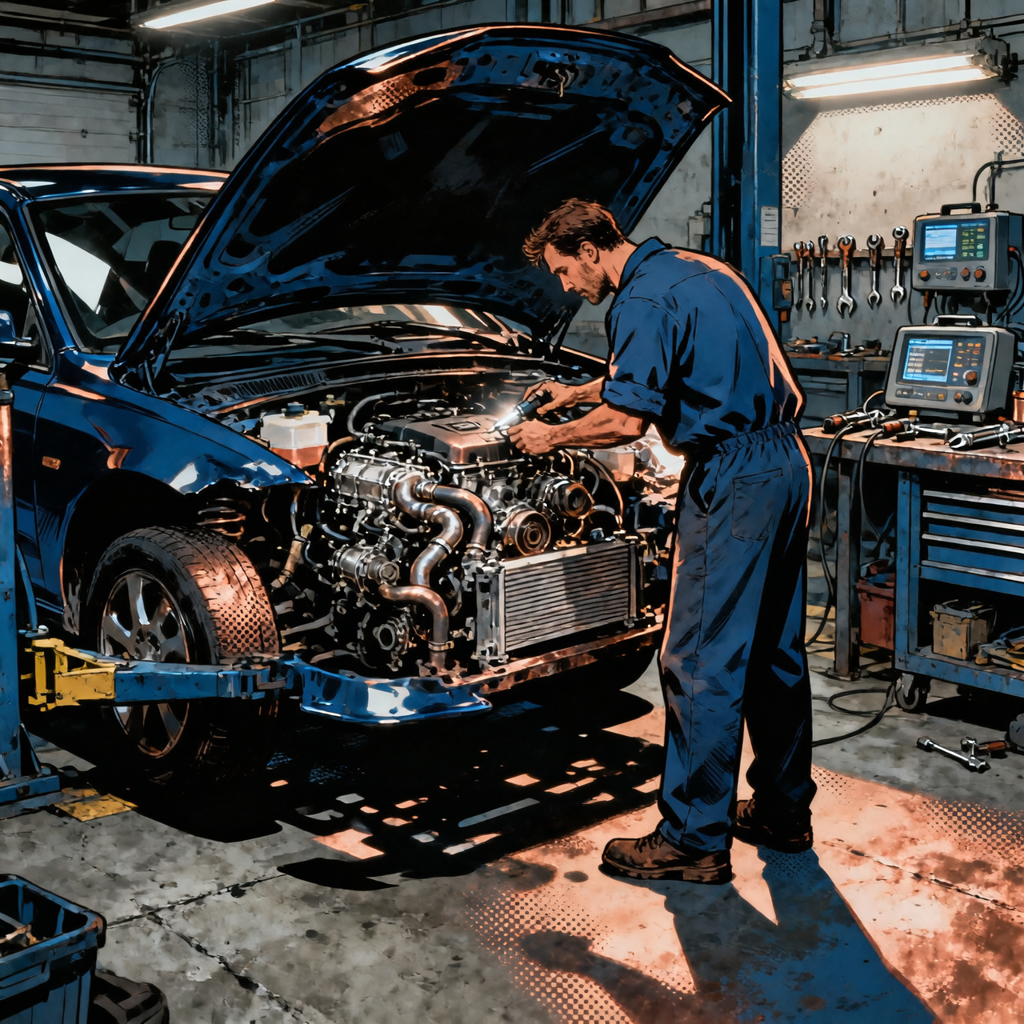
A check engine light with an EVAP code can mean repair bills topping $1,000. But understanding the evaporative emission system and knowing how to troubleshoot methodically can save hundreds. This guide covers practical DIY diagnostics, breaks down professional diagnosis costs, and shows when you need a shop’s smoke testing equipment versus what you can handle yourself.
EVAP System Basics
How it works
The EVAP system captures fuel vapors in a charcoal canister, then routes them back into the engine to burn. The purge valve controls when vapors flow from the canister to the intake, while the vent valve manages system pressure. Your fuel tank pressure sensor and engine control module (ECM) monitor everything. When something goes wrong—a leak or improper pressure—the ECM triggers a code.
Why codes appear
EVAP codes range from P0442 (small leak) to P0455 (large leak) to component-specific failures like P0443 (purge valve) or P0446 (vent valve). The ECM runs its test during highway driving once the engine’s warm and your fuel tank sits between quarter and three-quarter full. Most EVAP codes mean emissions control problems, not engine damage. Your car runs fine with an active EVAP code. According to the EPA, EVAP failures are one of the most common reasons for check engine lights, but rarely cause mechanical damage.
Common vehicles with known issues
Jeep Wranglers from 2007-2018 are notorious for bad vent valves and ESIM units ($400-600). Volkswagen Jettas and Passats (2011-2016) frequently fail purge valves and develop cracked vent lines. Check for Technical Service Bulletins (TSBs) for your vehicle—manufacturers publish these when they identify known issues, saving diagnostic time. The NHTSA database and manufacturer forums show if your vehicle is prone to EVAP problems.
Free and Cheap Troubleshooting ($0-$60)
Check and replace your gas cap first
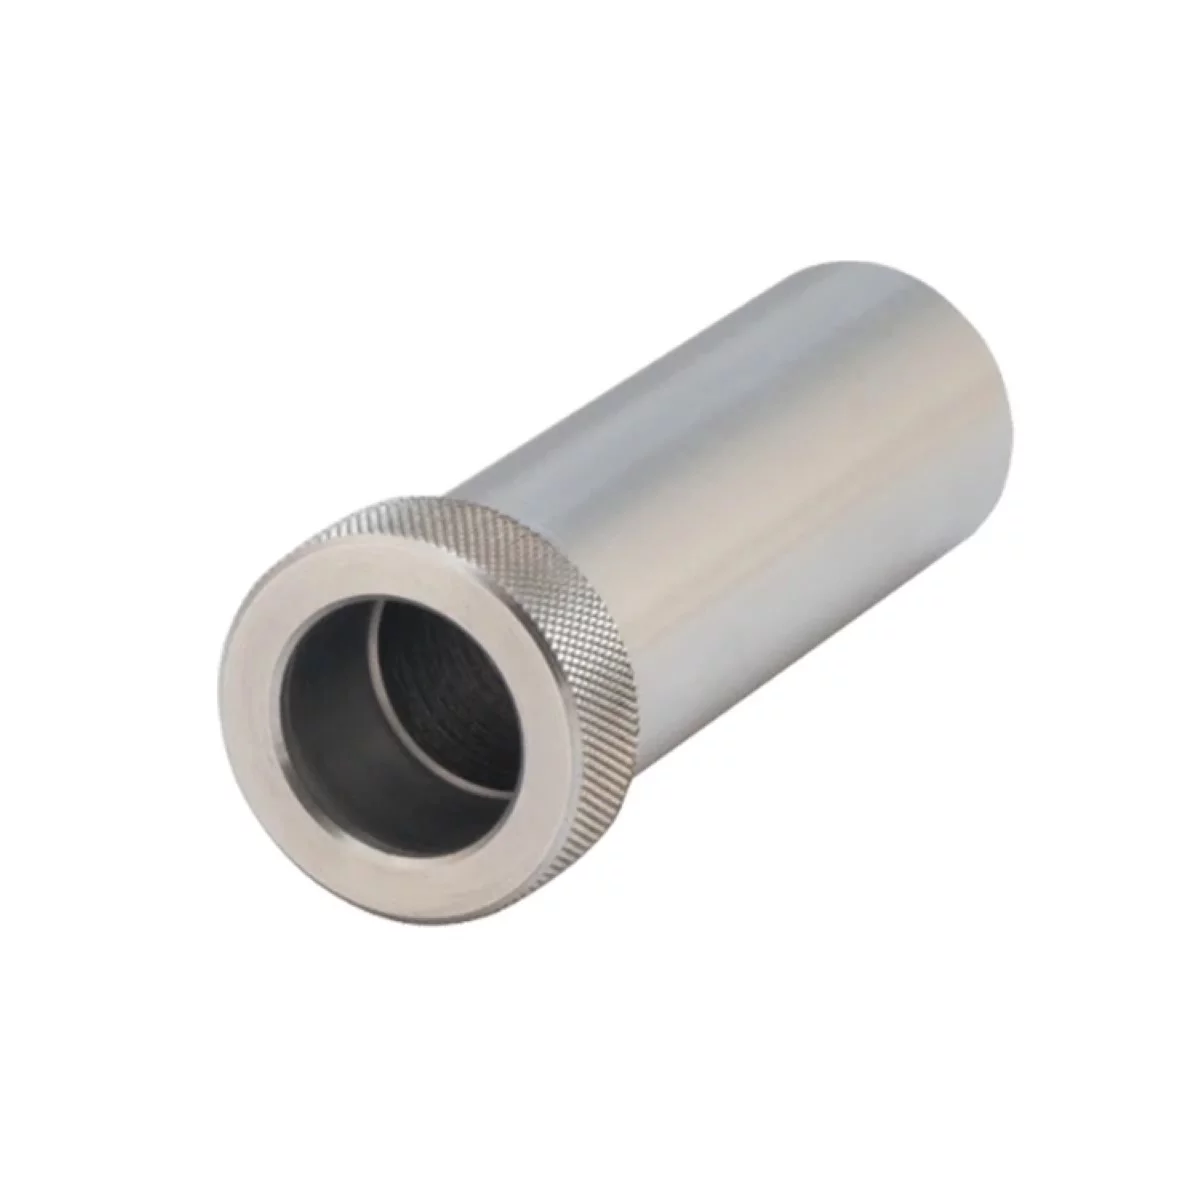

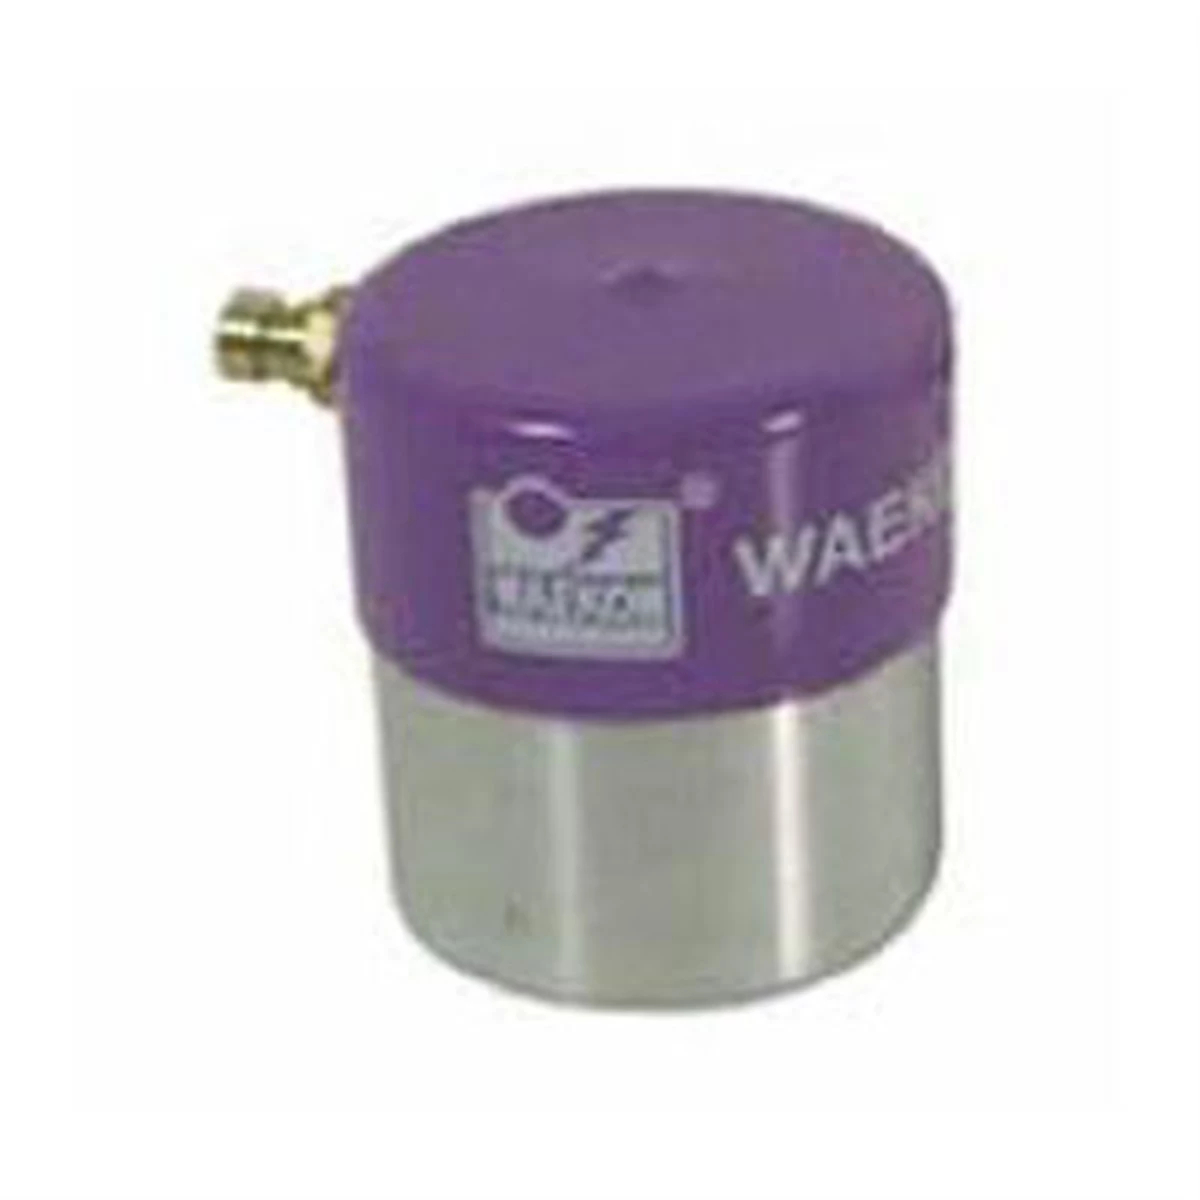
Your gas cap is the EVAP system’s most common failure point—and the cheapest fix. A loose, damaged, or worn seal lets fuel vapors escape and triggers leak codes within one to three drive cycles. Pop it off and inspect the rubber seal for cracks, hardening, or deformation. Screw it back on until you hear multiple clicks. If the cap or seal looks bad, replacement caps cost $20-60. After installing a new cap, drive 50-100 miles through normal driving to let the ECM complete its self-test and potentially clear the code.
Visual inspection of hoses and connections
Many EVAP leaks come from damaged hoses or loose fittings you can spot by looking. Pop your hood and find the purge valve—usually on or near the intake manifold. Trace those hoses toward the charcoal canister, typically under the vehicle near the fuel tank. Look for cracked rubber, disconnected fittings, or heat-damaged hoses. Rodents love chewing EVAP hoses. Any cracked or disconnected hose is a leak. Replacement EVAP hoses run $10-30 per section.
Reading codes yourself with an OBD-II scanner
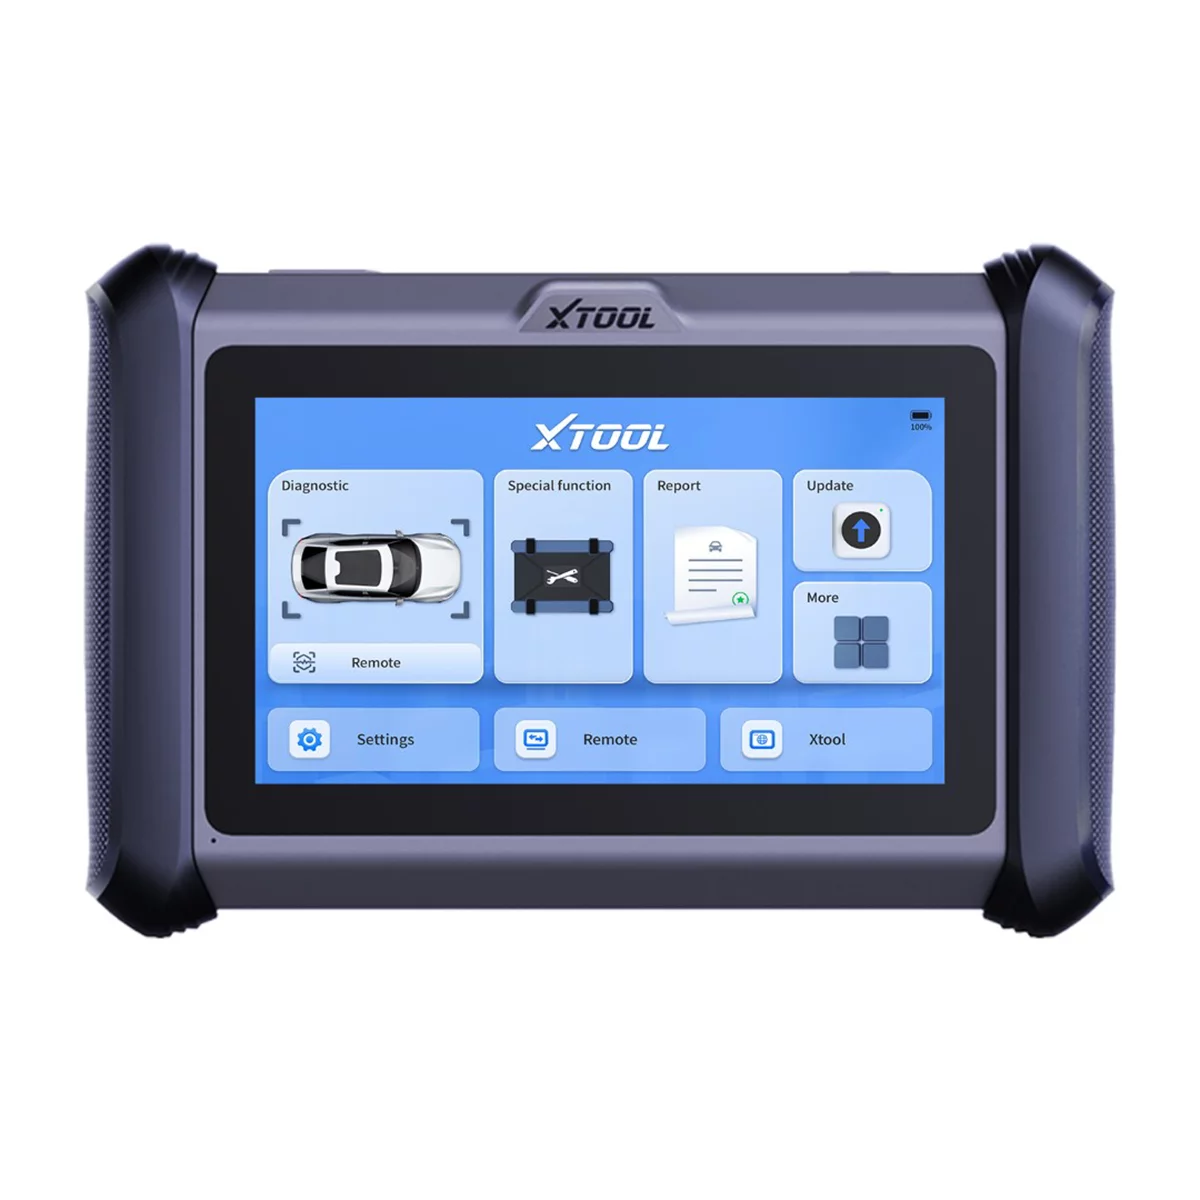

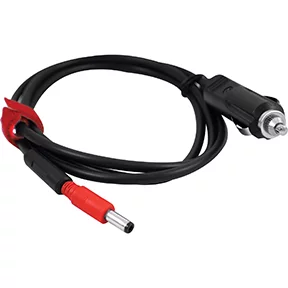
A basic OBD-II scanner costs $25-60 and reads your check engine light code immediately. Once you have the code, search its specific definition for your vehicle. Reading codes yourself stops you from paying $100-150 just to learn your gas cap is loose. Just know that scanners tell you what code was detected—not why it happened or where a leak is.
Intermediate DIY Diagnostics
Locating and inspecting EVAP components
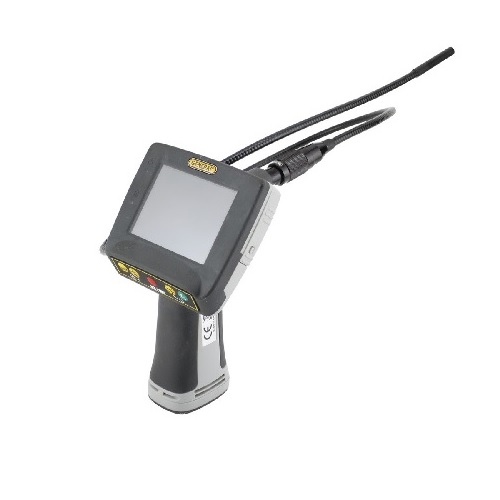
Waterproof Recording Video Inspection Camera/Borescope with 8mm
Mfg: General Tools & Instruments
Part #: DCS660A
Your purge valve typically mounts on the intake manifold as a cylindrical solenoid with an electrical connector and two hose attachments. Find component locations using factory service manual diagrams or diagnostic videos. Trace the hoses from the purge valve—one goes to the intake, the other toward the charcoal canister. Check electrical connections for corrosion, looseness, or damaged wires. The fuel tank pressure sensor usually lives inside the fuel pump assembly, requiring you to lift the vehicle.
Testing purge solenoid and charcoal canister
If you can reach the purge solenoid easily, test it with basic tools. Disconnect the electrical connector and use a multimeter to measure resistance across the solenoid terminals—most read 20-40 ohms when cold. Complete failure shows infinite resistance. Charcoal canisters rarely fail unless you’ve repeatedly overfilled your fuel tank and saturated them with liquid fuel. If you hear fuel sloshing inside or see fuel dripping from the vent port, the canister is contaminated and needs replacement—costs $150-400.
When to stop DIY and get professional smoke testing
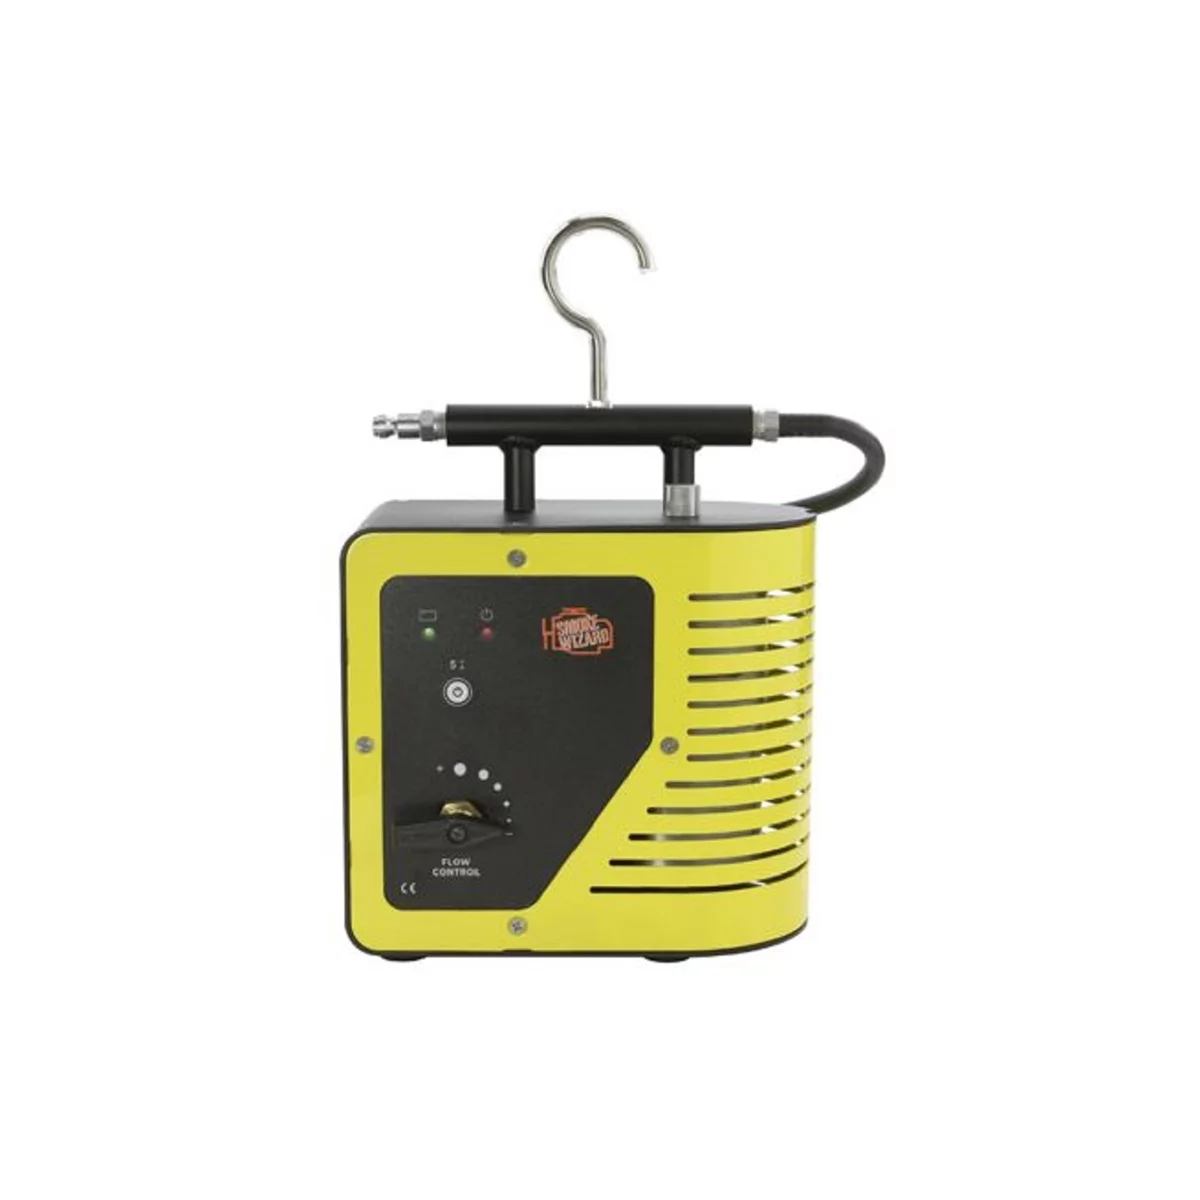
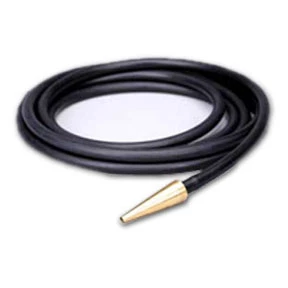
Tiny EVAP leaks—the kind triggering P0442 codes—can come from pinhole cracks you won’t see, degraded seals, or hairline fractures in plastic connectors. Professional shops use EVAP smoke testers that push visible smoke into the sealed system at controlled low pressure, showing exactly where smoke escapes. These machines cost $400-2,000, making them impractical for one repair. If you’ve replaced the gas cap, inspected visible hoses, checked electrical connections, and the code persists, professional smoke testing is your most cost-effective next step. Shops typically charge $100-150 for smoke testing, which gets credited toward repair if you have them fix it.
Understanding Professional EVAP Repair Costs
Why shops charge what they do
Diagnostic fees pay for shop equipment, technician training, and time spent isolating problems. A technician earning $25-35 per hour costs the shop $50-75 per hour when you factor in payroll taxes, insurance, and benefits. The shop charges $120-150 per hour in labor rates to cover that technician’s cost plus facility overhead. Parts markup typically runs 40-60% over wholesale cost. These markups sustain the business. Shops quoting parts at online retail prices just inflate labor rates instead.
Cost breakdown by failure point
| Component | Part Cost | Labor Time | Total Cost Range |
|---|---|---|---|
| Gas Cap | $20-60 | 0.1 hours | $30-75 (DIY) |
| Purge Valve | $50-150 | 0.5-1.0 hours | $125-300 |
| Vent Valve | $75-200 | 0.8-2.0 hours | $175-500 |
| Charcoal Canister | $150-450 | 1.5-3.5 hours | $350-950 |
| EVAP Lines/Hoses | $30-200 | 1.0-4.0 hours | $150-750 |
| Fuel Tank Pressure Sensor | $100-300 | 1.0-2.5 hours | $225-650 |
These ranges swing wildly based on vehicle design. A purge valve accessible from the engine top takes 20 minutes; the same valve buried under the intake manifold might need three hours. Always ask for labor time estimates based on your exact year, make, and model.
How to evaluate fair pricing
Ask for an itemized quote showing part numbers, costs, labor hours, and hourly rates separately. Compare the quoted labor time against factory service manual estimates—repair databases like AllData or Mitchell list standard labor times. Parts pricing should run 40-60% over retail prices online. Getting quoted $400 for a part you found for $180 exceeds normal markups—discuss it. Specifying aftermarket parts can cut your estimate while keeping quality high. For repairs over $500, get quotes from two shops to verify fair pricing.
DIY vs. Professional Repair
What requires professional smoke testing
Any EVAP code that sticks after you’ve replaced the gas cap and inspected visible parts needs professional smoke testing for cost-effective diagnosis. Small leak codes (P0442) especially require it because leaks smaller than 0.040 inches are completely invisible. Shops that offer to “try the purge valve and see if it fixes it” without proper diagnosis are gambling with your cash instead of troubleshooting properly.
Vehicle-specific factors
Some vehicles hide EVAP components in locations requiring major disassembly. BMWs often route EVAP lines through complex paths requiring significant interior trim removal. Subarus frequently put charcoal canisters where you need to remove rear suspension components. Before you start DIY work beyond gas cap and hose inspection, research your vehicle’s EVAP component locations. If accessing a failed component means removing the fuel tank, intake manifold, or rear axle, the repair needs professional expertise.
Getting written estimates
Always get a written estimate before authorizing EVAP repairs, itemizing all parts, labor, and fees. Specify that you want a phone call after smoke testing but before repairs start. Ask if the estimate includes taxes and supply fees (usually 5-8%). Get their warranty policy in writing—good shops warranty parts 12-24 months and stand behind their labor too.
EVAP System Repair Checklist
- Pull diagnostic codes using an OBD-II scanner
- Remove and inspect gas cap; replace if damaged ($20-60)
- Drive 50-100 miles through multiple drive cycles
- Visually inspect all accessible EVAP hoses and connections
- Check for disconnected hoses, rodent damage, and loose fittings
- Locate and inspect purge valve electrical connection
- Research TSBs for your specific year, make, and model
- If visual inspection reveals nothing, schedule professional smoke testing ($100-150)
- Request written estimate with part numbers, labor hours, and shop policies
- Compare estimate against expected costs and local labor rates
- Clarify warranty coverage before work begins
- After repair, verify the code clears and get documentation
Frequently Asked Questions About EVAP Repair
How much does EVAP repair typically cost?
EVAP repair ranges from $30 for a gas cap to $1,200 for charcoal canister replacement on vehicles requiring extensive disassembly. Most repairs fall between $200-600 when a purge valve, vent valve, or accessible hose needs replacement. Diagnostic fees add $100-150 if smoke testing is needed.
Can I drive my vehicle with an EVAP leak?
Yes, you can drive safely. The system handles emissions, not engine operation. You might lose 1-2 MPG or smell fuel after refueling, but that’s usually it. The main problem is emissions testing—vehicles with check engine lights fail inspections in states that require them, blocking registration renewal. While not an emergency, fix EVAP leaks within a reasonable timeframe for environmental responsibility and to avoid registration issues.
Will EVAP issues damage my engine?
No, EVAP system problems don’t damage your engine. The EVAP system operates separately from fuel delivery, ignition, and lubrication. A failed purge valve, leaking canister, or damaged line won’t hurt your engine’s internals. You won’t experience stalling, rough idle, or starting problems from typical EVAP failures.
What causes EVAP codes to appear suddenly?
EVAP codes set when the ECM completes its self-test during highway driving once the engine reaches operating temperature. Forgot to tighten your gas cap? The code sets during the next test cycle, often 20-50 miles later. Component failures happen gradually, but the code appears when degradation crosses the detection threshold. Seasonal temperature swings can crack brittle hoses. Rodents can chew through hoses overnight.
Do I need special tools to diagnose EVAP leaks?
Basic diagnostics need only an OBD-II code reader ($25-60) and your eyes. Finding tiny leaks requires professional smoke testing equipment. You can check gas caps, inspect visible hoses, and test purge valve resistance with a multimeter, but pinpointing a 0.040-inch leak demands specialized equipment. Some DIYers attempt homemade smoke testing using cigar smoke, but this rarely creates consistent pressure and risks contaminating components. Professional EVAP testers regulate pressure precisely. For diagnosis beyond basic gas cap and hose checks, professional equipment becomes cost-effective compared to randomly replacing parts.
How long does evaporative emission system repair take?
Gas cap replacement takes five minutes; fuel tank removal jobs take 6-8 hours. Most common repairs—purge valve replacement, accessible hose work, or vent valve swaps—need 1-3 hours. Smoke testing adds 0.5-1.0 hours before repair starts. Plan to leave your car for a full day to cover diagnostics and repair. Shops promising same-day EVAP repairs without knowing the specific failure are either very optimistic or have extensive parts inventory. If your repair needs special-order parts, expect 3-5 business days from diagnosis to completion.


Follow us on social media