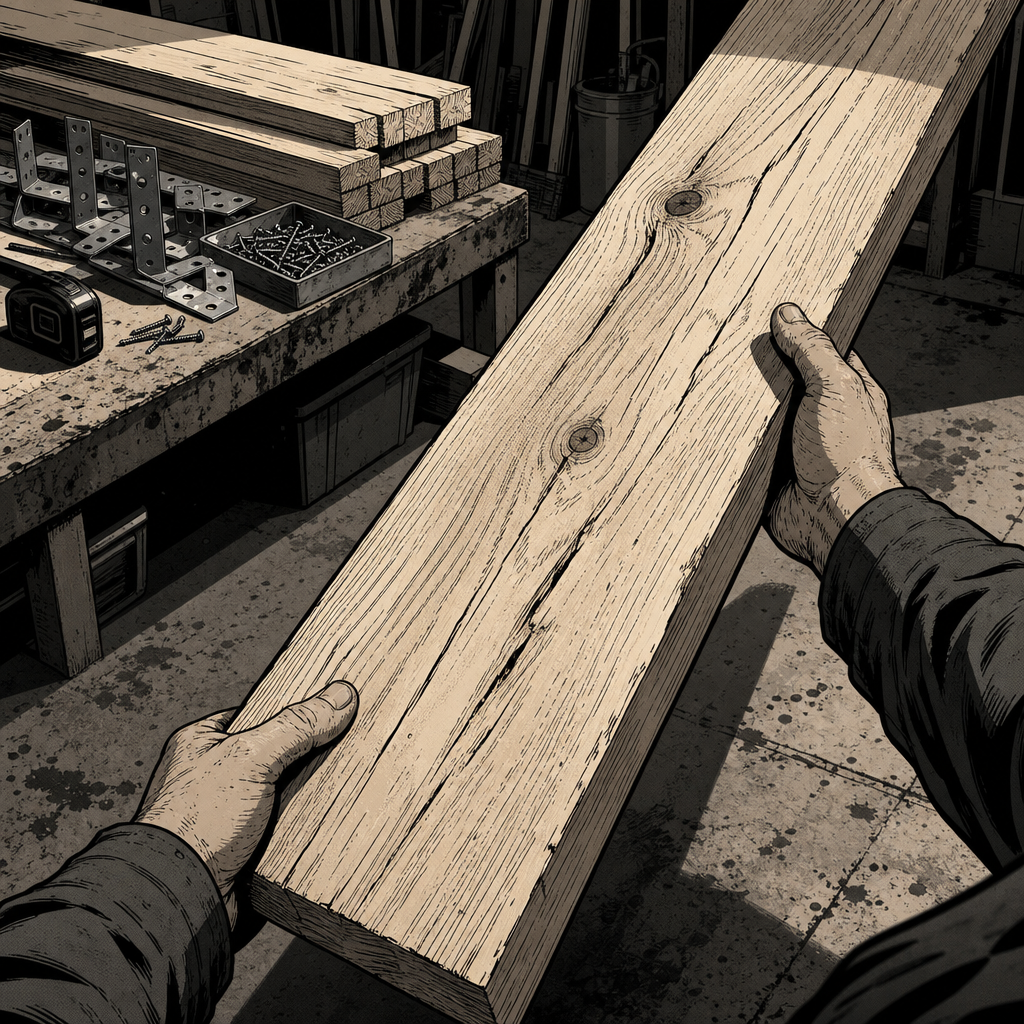
Wooden car ramps built from dimensional lumber have been a garage staple for decades. They’re inexpensive, stable, and won’t buckle like some metal or plastic alternatives. However, the difference between a safe set of ramps and a dangerous one comes down to understanding a few critical design principles. Get the proportions wrong, skip essential safety features, or use compromised lumber, and you’re setting yourself up for a vehicle that tips forward, rolls backward, or collapses entirely. This guide synthesizes field-tested advice on building wooden car ramps that will safely support your vehicle while you work underneath.
Understanding the Width-to-Height Stability Rule
The most critical factor in wooden ramp safety is the width-to-height ratio. Wood has exceptional compression strength—it won’t collapse under a vehicle’s weight—but narrow, tall ramps are inherently unstable and prone to tipping forward if you drive too far up.
The general rule: your ramp should be at least twice as wide as it is tall. If you’re stacking boards to create a ramp that’s 5.5 inches tall (two 2x12s), the bottom board should extend at least 11 inches in front of where the tire will rest. If you’re going three boards high (16.5 inches), you need at least 33 inches of forward extension.
Think pyramid, not skyscraper. A wider base provides a larger footprint that resists tipping. When you brake at the top of a ramp or accidentally overshoot your stopping point, forward momentum creates a tipping force. A narrow ramp with minimal forward extension will pivot on its front edge, potentially sending your vehicle crashing down nose-first.
For most passenger vehicles, three 2x12s stacked high provides enough clearance to access the oil pan and front suspension without going so tall that stability becomes difficult to achieve. Each board should be progressively longer: if your top board is 24 inches, the middle might be 36 inches, and the bottom should be 48 inches or longer. This creates a graduated profile with solid support well ahead of the tire contact point.
If you’re building ramps taller than three boards, seriously reconsider your approach. At four or five boards high, you’re entering territory where the width required for stability makes the ramps unwieldy and difficult to store. You’re also increasing the fall distance if something goes wrong. For higher lift requirements, quick jacks or a proper lift are safer investments.
Material Selection and Board Quality
Not all dimensional lumber is created equal. When you’re at the lumberyard, inspect every board carefully before loading it into your cart. Large splits, checking, or cracks significantly compromise structural integrity. A board with a 3-inch split running perpendicular to the grain could fail catastrophically under load.
Use 2x10s or 2x12s—nothing smaller. 2x8s don’t provide enough width for tire contact and stability. Avoid pressure-treated lumber unless you’re planning to store these outdoors; the chemicals add unnecessary weight and the wood is often wetter and more prone to warping. Standard kiln-dried framing lumber works perfectly and is lighter to move around.
Inspect for knots, especially large knots near the edges or in high-stress areas. A few small tight knots won’t hurt anything, but avoid boards with loose knots, knotholes, or large knot clusters. Check that boards are reasonably straight—a slight crown is fine and actually preferred (install crown-up), but severe warping or twisting makes assembly difficult and creates rocking.
If you’re building ramps for a heavier vehicle (full-size truck, SUV, or motorhome), consider going up to 2x12s even if you’re only stacking two or three high. The extra width provides more tire contact area and a more stable platform. For lighter vehicles and sedans, 2x10s are usually sufficient.


Assembly and Fastening Techniques
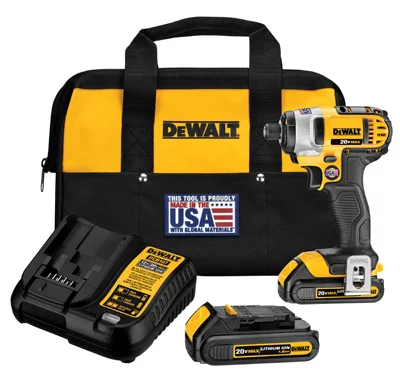
Secure each layer with construction screws or lag bolts—don’t rely on nails alone. Nails can work loose over time, especially with the repeated stress of driving up and down the ramps. Use 3-inch deck screws or construction screws, spacing them every 8-10 inches along the length of each board.
Pre-drill pilot holes to prevent splitting, especially near board ends. Drive screws from the top down so the heads are accessible if you ever need to disassemble for repairs or modifications. If you want maximum strength and permanent assembly, through-bolt with 3/8-inch carriage bolts, washers, and nuts. This creates a mechanical connection that won’t loosen over time.
Align boards carefully during assembly. The steps should be even and the front edges should be flush or stepped back—never overhanging beyond the board below. An overhanging top board reduces the effective footprint and moves the center of gravity forward, increasing tip risk.
For the approach angle at the front of the ramp, you have two options: cut a smooth angle or leave stepped edges. A 30-35 degree approach angle is ideal—steep enough to be compact but gradual enough that low vehicles won’t scrape. If you’re working with hand tools and cutting a smooth angle isn’t practical, stepped edges work fine. Round off or chamfer the sharp bottom edge slightly so it doesn’t dig into your garage floor or crack if you drag the ramps.
Some builders create modular ramps with sections that latch together: a climbing section with the steps, and a perch section where the tire rests. This allows you to remove the climbing section once the vehicle is up, giving you more clearance to work. The tradeoff is added complexity and potential failure points at the latches.
Wheel Stops and Roll-Off Prevention
This is where many DIY ramp projects fail. A thin metal plate, a piece of cardboard, or a small wood shim will not reliably stop a rolling vehicle. You need a substantial, positive wheel stop that will arrest forward motion without bending, breaking, or allowing the tire to climb over it.
The best approach: attach a 2×4 or 4×4 perpendicular to the top board, standing upright. This creates a 3.5-inch (or 5.5-inch) tall barrier that extends across the full width of the ramp. Secure it with multiple long screws or through-bolts. This gives you something substantial to bump against when positioning the vehicle, and it provides a hard stop if you misjudge your braking point.
Position this stop far enough back from the front edge that the tire center is well-supported when it contacts the stop. If your top board is 24 inches long, the stop might be at the 18-inch mark, leaving 6 inches of material in front of it. This ensures the tire is never hanging off the edge.
For additional safety, cut a shallow groove or recess in the top board where the tire will rest. This creates a “dimple” similar to commercial plastic ramps that helps center and hold the tire. Even a 1/4-inch deep groove provides noticeable resistance to rolling.
Remember that your wheel stop only addresses forward roll. Always use wheel chocks behind the rear tires, engage the parking brake, and leave the transmission in park (or in gear for manual transmissions). Redundancy is critical when you’re working under a vehicle. Any one safety measure can fail; multiple layers of protection save lives.
Anti-Slip Surface Treatment
Raw wood on smooth concrete can slide, especially if there’s any oil, dust, or moisture on the floor. Apply a non-slip treatment to both the ramp surface and the bottom.
For the top surface where the tire drives, you can:
- Staple or glue down strips of roofing shingle material
- Apply outdoor carpet or rubber mat material
- Coat with roll-on truck bed liner and sprinkle coarse sand into it while wet
- Cut shallow grooves or kerfs across the surface (creates texture but also collects debris)
For the bottom surface, the truck bed liner and sand treatment works exceptionally well. Roll on a coat of rubberized bed liner, sprinkle coarse sand liberally over the wet surface, and allow it to cure. This creates a rubberized, textured base that grips concrete and prevents the ramps from sliding forward when you drive up them.
Alternatively, glue or screw rubber stair tread material to the bottom. Cut it slightly smaller than the board dimensions so it doesn’t peel up at the edges. Some technicians use sections of old rubber floor mats, conveyor belting, or even cut-up tire sidewalls.
If you’re using the ramps on a particularly smooth epoxy-coated floor, consider adding small cleats or stops at the rear bottom edge. A 1×2 strip screwed perpendicular to the bottom back edge will dig in slightly and prevent backward sliding when you brake at the top.
Safe Operation Checklist
Before every use, verify:
- Ramps are on level, solid ground – no gravel, dirt, or uneven surfaces
- Wheel stops are secure – check bolts/screws haven’t loosened
- No cracks or splits have developed – inspect boards for new damage
- Ramps are properly aligned – parallel and correct distance apart for your track width
- Approach path is clear – no tools, cords, or obstacles
- Parking brake applied before ascending – reduces rollback risk if you stall
- Rear wheels chocked after ascending – use commercial chocks, not bricks or wood scraps
- Vehicle is in park/gear – manual transmissions in 1st or reverse
- Jack and stands positioned before getting under vehicle – ramps alone are not sufficient safety
When driving up, approach slowly and straight. If you feel the ramps shift or slide, stop immediately, back off, and address the problem. Never rush. Once positioned, rock the vehicle gently to verify stability before getting underneath.
Common Mistakes and How to Avoid Them
Overhanging top board: Some builders extend the top board forward past the lower boards to create more parking space. This is dangerous. It reduces your stability footprint and creates a lever arm that amplifies tipping forces. Keep the top board flush with or behind the board below it.
Insufficient forward extension: If the bottom board ends just in front of where the tire sits, you have zero margin for error. Extend the bottom board significantly—at least 12-18 inches beyond the tire contact point for most passenger cars. If you overshoot your stop by even 2 inches, you want that extra length to prevent tipping.
Inadequate wheel stop: Metal plates, thin wood strips, or cardboard are not wheel stops. Use a full-dimension 2×4 or 4×4 standing upright. Anything less will bend or break if you misjudge your positioning.
Going too steep: If your ramp requires significant throttle input to climb, it’s too steep. You want a gentle incline that allows smooth, controlled approach. Steep ramps are harder to climb, harder to descend without rolling, and more prone to tipping. Aim for no more than 20-25 degrees—longer and more gradual is safer.
Using damaged lumber: Splits, large knots, and checking compromise strength. Don’t use reject lumber for ramps just because it’s cheap. A $12 board is a bargain compared to medical bills or vehicle damage.
Skipping anti-slip treatment: Wood on concrete can slide. Don’t assume friction alone will hold the ramps in place, especially if you’re driving up with any speed or if there’s oil residue on your floor.
Building too tall: Four or five boards high might seem like it gives you great clearance, but it also creates serious stability challenges and a long fall if something goes wrong. For most under-vehicle work on passenger cars, three 2x12s provide adequate height. If you need more, consider a proper lift or jack stands on a lower ramp.
When to Buy Instead of Build
DIY wood ramps make sense if you have the lumber, tools, and space to store them. A set of three-board-high ramps from 2x12s will cost $60-80 in materials and take 2-3 hours to build properly. Commercial plastic or metal ramps run $45-70 on sale for a basic pair, or $150-300 for heavy-duty models.
Wood ramps are heavy—a set might weigh 60-80 pounds combined—but they’re also extremely stable and won’t buckle. Metal ramps can be lighter and more portable, but cheaper models have welds that fail and legs that collapse. Plastic ramps are lightest but can crack in cold weather and some feel unstable on smooth floors.
If you’re only changing oil twice a year and don’t have storage space for bulky ramps, buying might make more sense. But if you’re a frequent DIYer with room in the garage and access to decent lumber, wood ramps are a solid long-term investment. Some technicians report using the same set for 20+ years with zero issues.
For higher lifts, quick jacks (roughly $1000-1500 for a set) or a two-post lift (starting around $2000 plus installation) are safer and more versatile than trying to build extremely tall ramps. Know the limits of the DIY approach and invest in proper equipment when the application demands it.
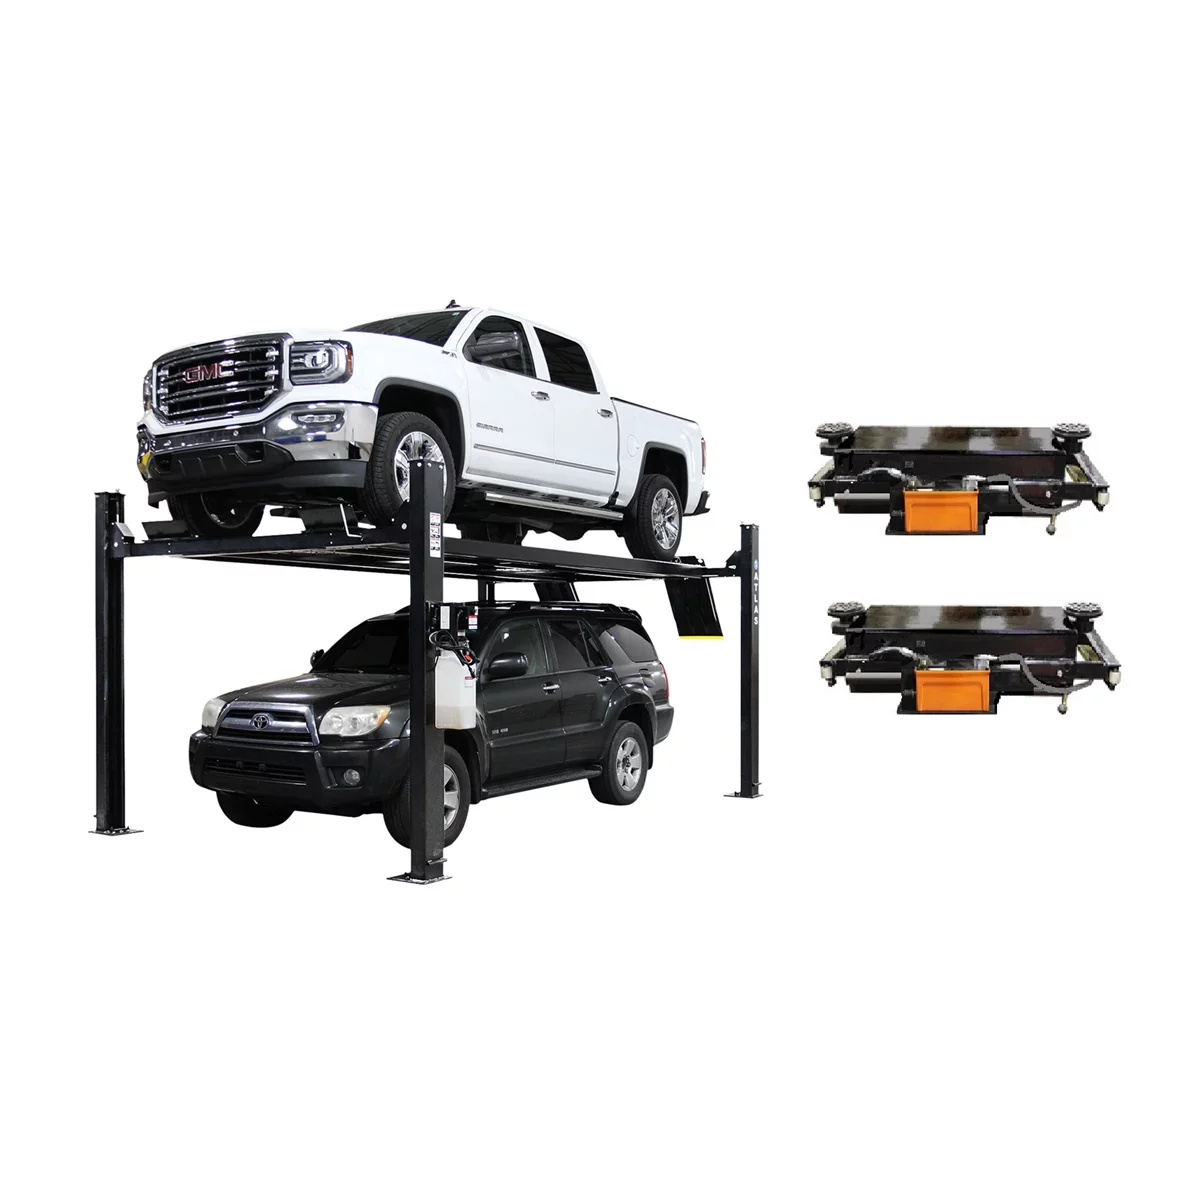
ALI Certified APEX9 w/ 2 x PROJACK45 Air Operated Jacks (WIL
Mfg: Atlas Automotive
Part #: APEX9-COMBO3
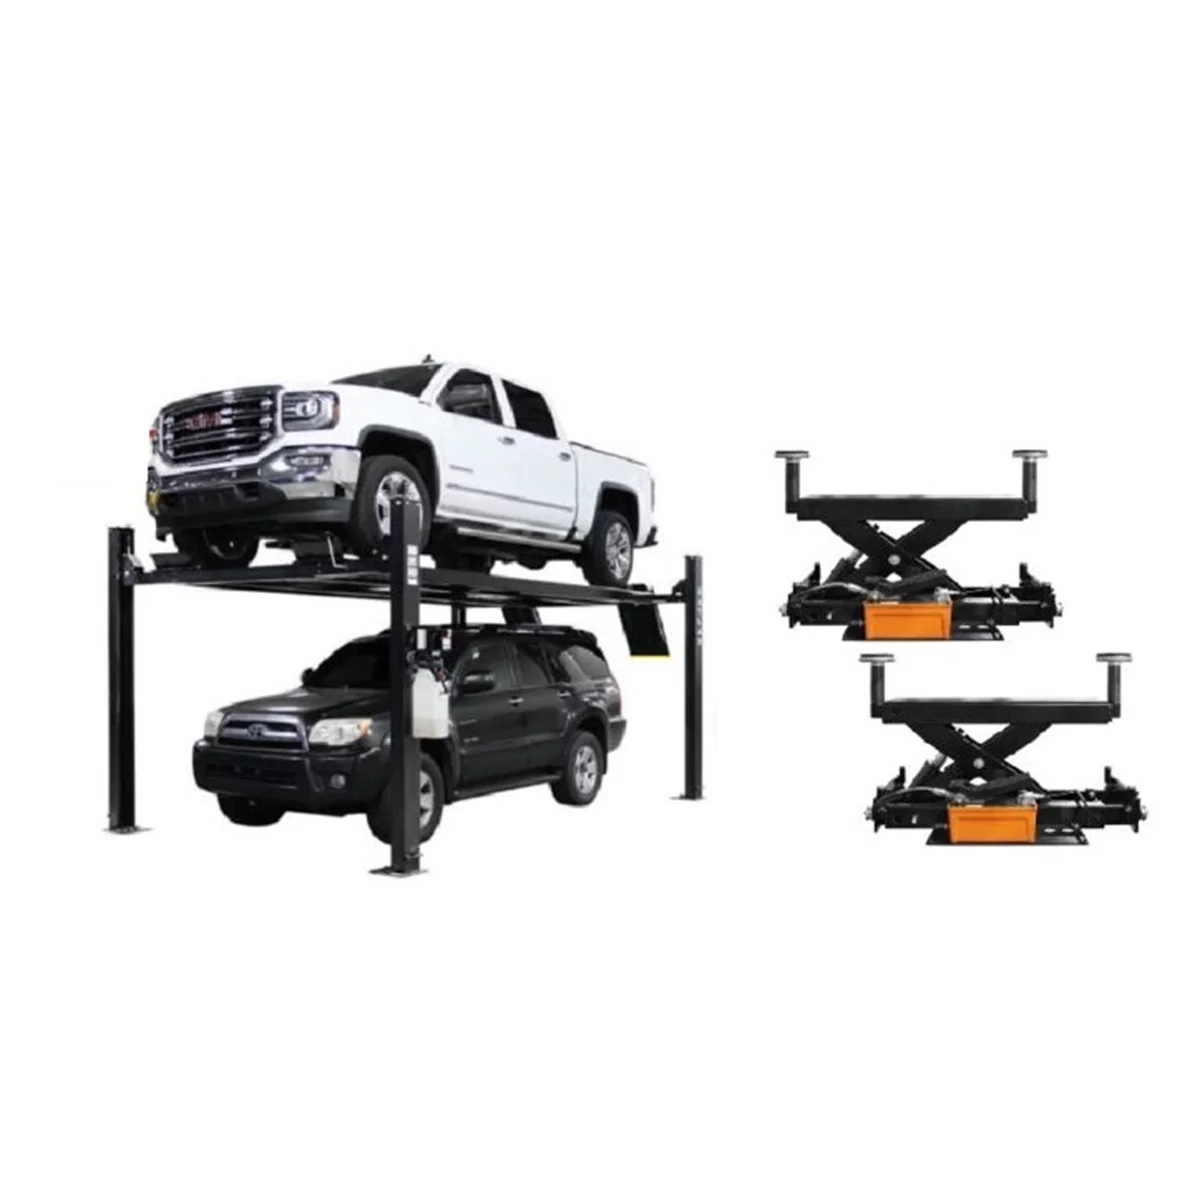
ATLAS CERTIFIED APEX9 AND RJ6 COMBO
Mfg: Atlas Automotive
Part #: APEX9-COMBO1-FPD

ATLAS CERTIFIED APEX8 AND RJ35 COMBO
Mfg: Atlas Automotive
Part #: ATTD-APEX8-COMBO-FPD
Frequently Asked Questions
What’s the minimum width for wooden car ramps?
Use 2x10s (9.25 inches actual width) as a minimum, but 2x12s (11.25 inches actual width) are preferred for better stability and tire contact area. Wider is always safer, especially for heavier vehicles.
Can I cut the front edges at a 45-degree angle?
Yes, but 45 degrees is quite steep. A 30-35 degree angle is better for low-clearance vehicles and creates a gentler approach. If you don’t have power tools, stepped edges work fine—just round off the sharp bottom corner slightly.
How tall should I build my ramps?
Three 2x12s high (16.5 inches) is the sweet spot for most passenger vehicle work. This gives enough clearance for oil changes, filter access, and front suspension work without going so high that stability becomes difficult to maintain. Two boards high (11 inches) works for oil-only access on many vehicles.
Do I need to treat or seal the wood?
For indoor use, raw wood is fine. For outdoor storage, apply a water sealer or exterior stain to prevent rot and warping. Don’t use motor oil as a wood treatment—it creates a slip hazard and soaks into your garage floor.
Are wooden ramps safer than metal or plastic ramps?
Well-built wooden ramps are extremely safe. Wood has high compression strength and won’t buckle like thin metal or crack like plastic. The main advantages of commercial ramps are portability (lighter weight) and built-in features like wheel stops and non-slip surfaces. The main advantage of wood is cost and stability.
How do I store wooden ramps?
Stand them on edge against a wall, or create a simple wall-mount rack. Their weight makes overhead storage impractical for most people. Some builders make modular designs that break down into sections for easier storage. Keep them dry to prevent warping and inspect them periodically for cracks or loose fasteners.
Recommended Lifting Equipment
Building solid wooden ramps is a practical approach for routine undercarriage work, but pairing them with proper lifting equipment gives you redundancy and safety. Jacks, jack stands, and other lifting tools ensure your vehicle stays secure while you work underneath.
- Jack stands and hydraulic jacks for supplemental support
- Quick jacks and portable lifts for higher clearance when needed
- Safety-rated equipment built for automotive work

The Toolsource Technical Team blends decades of real-world automotive service experience with up-to-date technical research. Our writers collaborate with professional mechanics, shop owners, and diagnostic specialists to deliver practical, workshop-ready guidance you can trust.


Follow us on social media