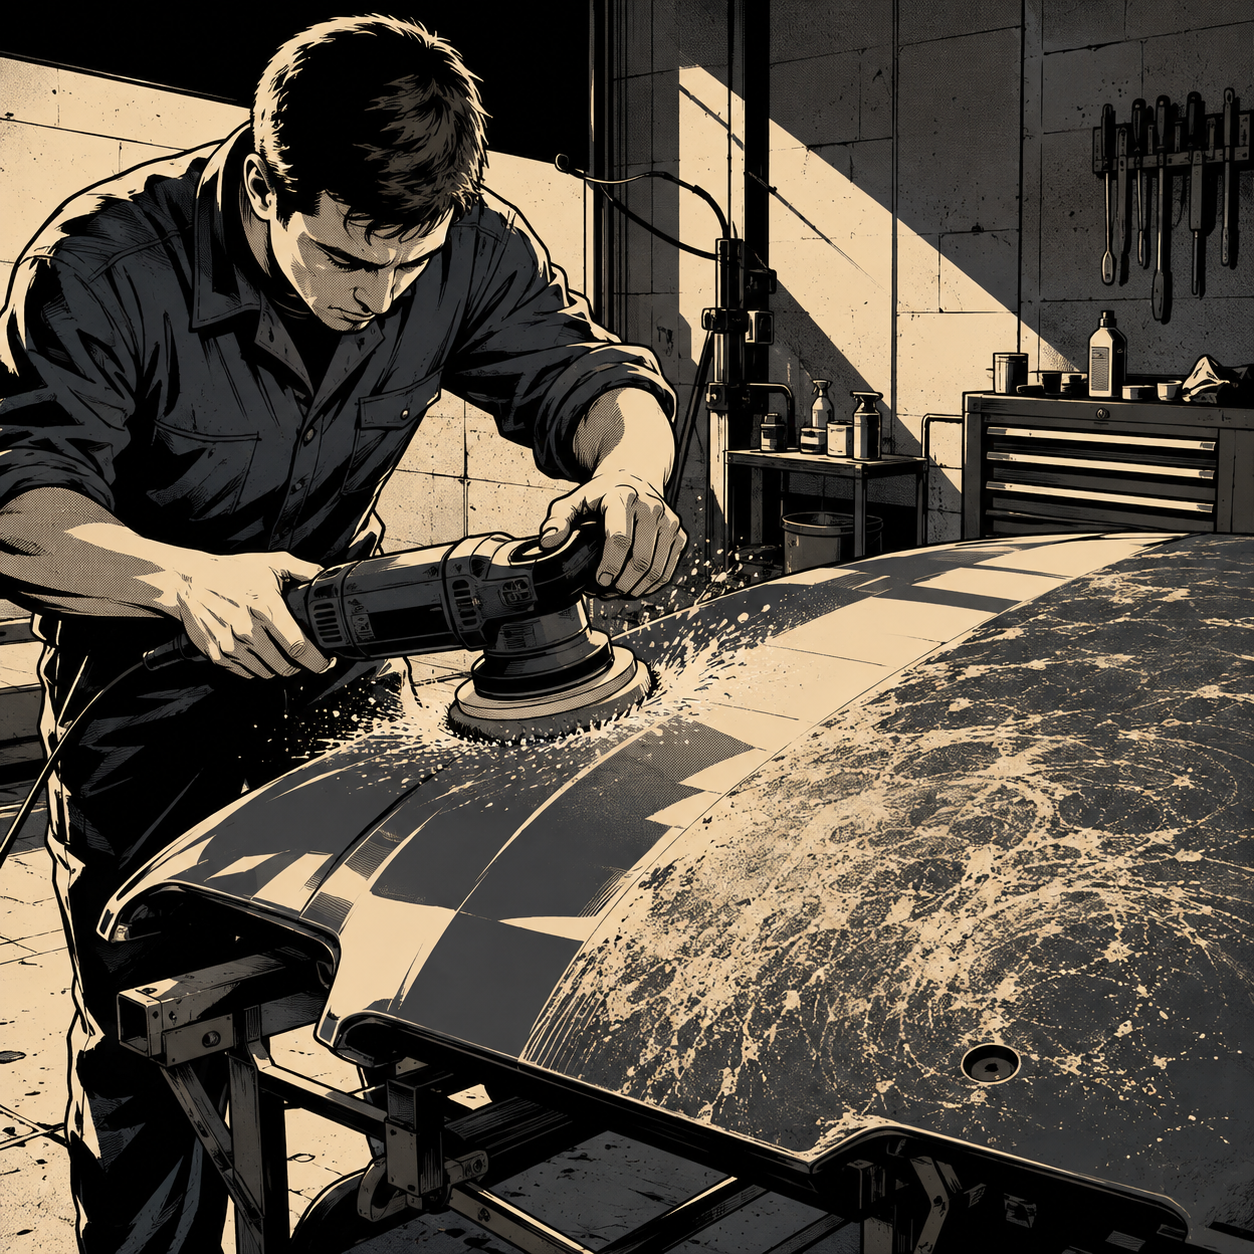
A car that looks like it needs a full respray often just needs the surface layer of dead clear coat removed. Neglected paint, chalky oxidation, swirl marks, and light scratches can frequently be corrected mechanically rather than sprayed over, but only if the clear coat has enough thickness left to work with and the paint system is actually correctable in the first place. This guide breaks down the process technicians use to assess, decontaminate, compound, and polish tired paint back to a usable finish, along with the point where correction stops being the right call and body work takes over.
Step 1: Determine What You’re Actually Working With
Before any product touches the panel, identify whether the vehicle has single-stage paint (color and clear mixed together) or two-stage paint (a separate basecoat with a clear topcoat). This matters because the failure mode is completely different for each. On single-stage paint, oxidation shows as chalky, faded color that transfers onto a rag when wiped, and correction is often forgiving since there’s more material to work with. On two-stage paint, failed clear coat shows as a hazy, cloudy, or “cracked” appearance, sometimes with visible micro-cracking or peeling at the edges. If you can see a spiderweb or crazing pattern under good light, the clear coat has already delaminated in that spot and no amount of compounding will fix it, that panel needs a respray.
Run a paint thickness gauge over several points on each panel and log the readings. Factory clear coat is typically 40-60 microns thick depending on manufacturer, and most techs consider anything under roughly 80-100 microns total (paint plus primer plus clear) as high risk for burn-through during correction. Panels that have been repainted before will often read thicker or thinner than factory panels, so check every panel individually rather than assuming uniform thickness across the car.
Step 2: Wash and Decontaminate Before Any Abrasive Touches the Paint
Skipping decontamination is the single most common reason a correction job introduces new scratches instead of removing old ones. Start with a two-bucket wash using a pH-neutral car shampoo to strip loose dirt and road film without stripping any remaining wax or sealant prematurely. Follow with an iron remover/fallout remover sprayed on cool, shaded panels, it will visibly bleed purple where it’s dissolving embedded brake dust and rail dust. Rinse thoroughly.
Once the surface is clean, run a plastic detailing clay bar or a clay mitt with a dedicated lubricant over every panel. You’ll feel the difference immediately, paint that looked clean but felt rough or gritty under a bare hand will glide smooth once the bonded contaminants are pulled out. This step alone dramatically improves how a compound bites and how even the finish looks, and doing it before polishing prevents embedded grit from being dragged across the clear coat by your pad.
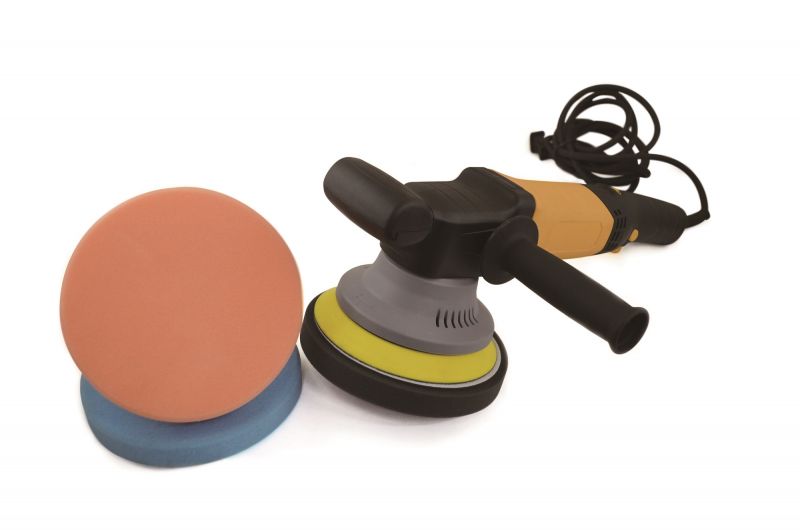
Electric 6" Dual Action Random Orbital Polisher W/ 3pc Pad Kit -
Mfg: Astro Pneumatic
Part #: 3058
Body Shop Professional Dual Action Cleaner / Polish - 32 Oz
Mfg: Meguiars
Part #: M8332
Step 3: Match the Compound and Pad to the Damage, Not the Marketing
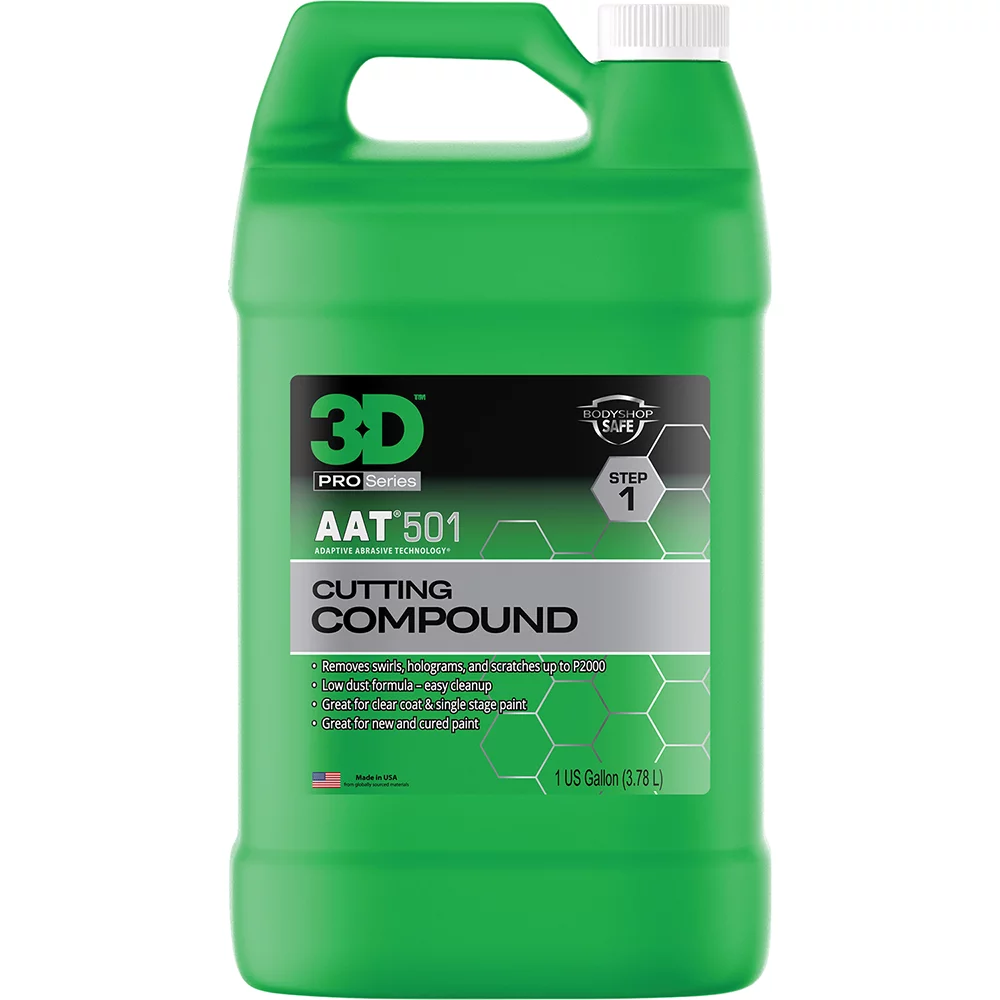
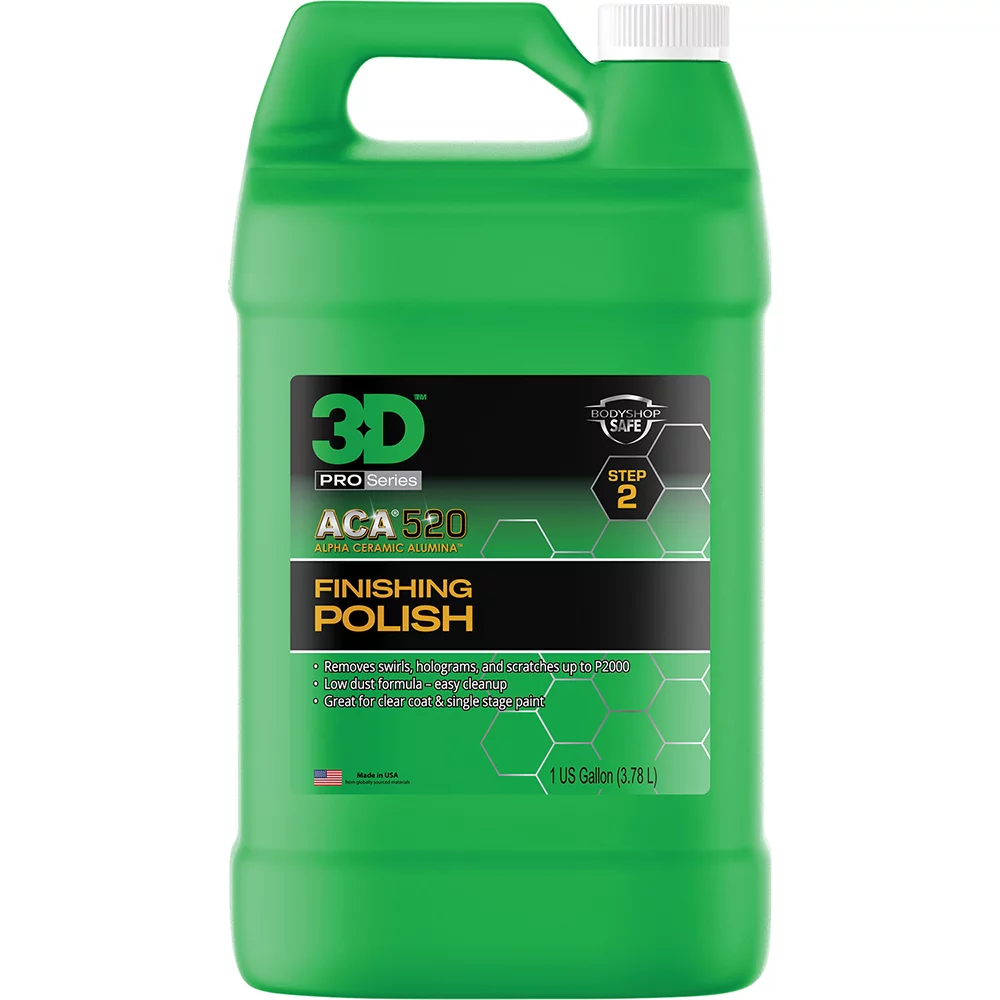
Paint correction products are graded by cut, how aggressively they remove clear coat, and finish, how much haze or micro-marring they leave behind. A heavy cutting compound on a wool or firm foam pad will remove deep swirl marks and moderate oxidation quickly, but it also removes the most clear coat and leaves marring that needs a second, finer step to clear up. A light polish on a soft foam or finishing pad refines the finish and removes fine haze but won’t touch anything with real depth.
The standard approach on genuinely neglected paint is a two-step process: a cutting compound to level oxidation and remove defects, followed by a finishing polish to remove the marring left by the compound and restore gloss. Work one panel at a time and test in a low-visibility area first, a compound that’s too aggressive for the remaining clear coat thickness will show as a slightly duller, hazier finish that no amount of polishing corrects, that’s a sign to back off pad aggressiveness and try a milder combination.
Step 4: Run the Machine Correctly to Avoid Burning Through
A dual-action (DA) polisher is the safer entry point compared to a rotary buffer because it’s far less likely to generate the concentrated heat that burns through clear coat. Work in overlapping sections roughly 2×2 feet, keep the pad flat against the panel, and use moderate pressure with slow, controlled arm speed rather than fast, erratic passes. Start at a lower speed setting to spread the product, then increase speed for the working passes, and always finish each section at a lower speed to remove excess product residue before moving on.
Watch pad and panel temperature. If the panel feels warm to the touch or the pad is caking with dried product, stop and let it cool, continuing on a hot panel accelerates the risk of thinning the clear coat unevenly. On edges, body lines, and anything near plastic trim or badges, reduce pressure and speed since these areas have thinner paint and are the most common places to burn through. Wipe down and inspect each section under a bright work light or the sun before moving to the next, correction that looks finished under shop lighting can still show holograms or missed defects outdoors.
Step 5: Lock In the Result With Protection
Corrected paint with no protection will start attracting contamination and losing gloss within days. Once a panel is fully corrected and wiped down with a panel prep or isopropyl alcohol solution to remove polishing oils, apply a sealant, wax, or ceramic coating suited to how much upkeep the owner is willing to do. A spray sealant is the lowest-maintenance option and a reasonable baseline, a carnauba wax gives strong depth on darker colors but needs reapplication every 6-8 weeks, and a ceramic coating requires more careful prep and cure time but offers the longest-lasting protection and easiest maintenance washing afterward. Whatever you choose, it needs to go on a fully decontaminated, oil-free surface or bonding will be inconsistent.
Step 6: Know When Correction Isn’t the Right Call
Not everything on a rough car should be polished. Deep clear coat cracking, peeling, or paint that shows bare metal or primer through the color coat is beyond mechanical correction, that’s a respray. Dents, deep scratches through the base color, and damaged panels (a cracked mirror housing, a dented tailgate) are body and paint repair items, not polishing jobs, and pricing those out separately, sometimes with a used panel from a salvage yard, is often far cheaper than a full repaint. Set expectations with the owner before starting: correction restores gloss and clarity to existing paint, it does not fix physical damage or paint that has already failed structurally.
Quick Reference Checklist
- Confirm single-stage vs two-stage paint and check for clear coat cracking/peeling
- Measure paint thickness across every panel with a gauge before starting
- Wash, use iron/fallout remover, then clay bar the entire car
- Test compound and pad combination in a low-visibility spot first
- Work small sections, moderate pressure, monitor heat, ease off on edges and body lines
- Follow cutting compound with a finishing polish to remove marring
- Apply sealant, wax, or ceramic coating on a fully clean, oil-free surface
- Flag damage (dents, cracks, missing panels) as separate repair items, not polishing jobs
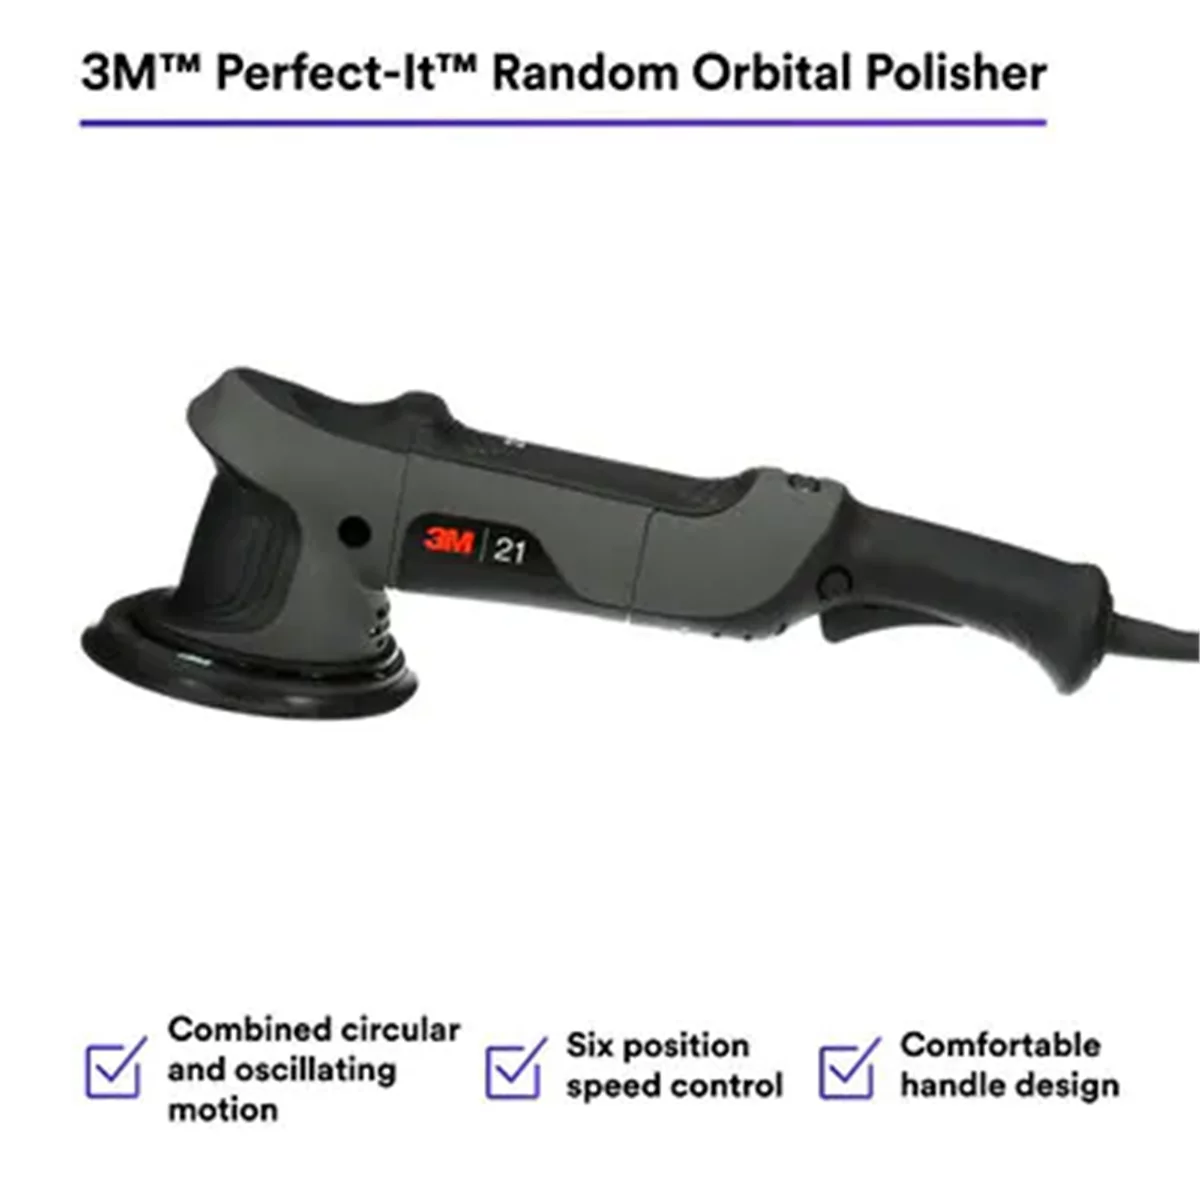
3Mâ„¢ Perfect-Itâ„¢ Random Orbital Polisher 34101, 21 mm, 120V
Mfg: 3M Automotive
Part #: 34101
FAQs
How do I know if my paint is single-stage or two-stage?
Check if color transfers onto a microfiber towel when you rub a worn area, that indicates single-stage paint. Two-stage paint has a separate clear layer over the color and typically shows haze or crazing rather than color transfer when it fails.
Can a clay bar scratch my paint?
Yes, if used on a dirty surface or without proper lubricant. Always wash the car first and keep the clay and panel wet with a dedicated clay lubricant throughout the process, and drop any piece of clay that’s been dropped on the ground since it will pick up grit.
How much clear coat is safe to remove during correction?
There’s no universal number, but most technicians treat readings below roughly 80-100 microns total paint thickness as high risk and use only light polishing steps, avoiding heavy cutting compounds, in those areas.
Do I need a rotary buffer or is a dual-action polisher enough?
For most DIY and shop correction work, a dual-action polisher is safer and produces excellent results with less risk of burn-through. Rotary buffers cut faster but require more experience to avoid heat damage and holograms.
How long does paint correction protection last?
A spray sealant typically lasts 2-3 months, carnauba wax around 6-8 weeks, and a properly applied ceramic coating can last one to several years depending on the product and how the car is maintained afterward.
Is it worth correcting paint on an older, low-value car?
Often yes for the cost of time and product, since a full correction and protection package can meaningfully improve resale value and curb appeal for a fraction of the cost of a repaint, as long as the paint itself is mechanically correctable rather than failed.
Shop Polishes, Compounds, and Protection
Effective paint correction starts with the right products for your panel’s condition. Browse our car care polishes and waxes selection to find cutting compounds, finishing polishes, and sealants.
- Heavy cutting compounds for oxidation and deep swirl removal
- Finishing polishes to remove marring and restore gloss
- Protective sealants, waxes, and ceramic coatings

The Toolsource Technical Team blends decades of real-world automotive service experience with up-to-date technical research. Our writers collaborate with professional mechanics, shop owners, and diagnostic specialists to deliver practical, workshop-ready guidance you can trust.


Follow us on social media