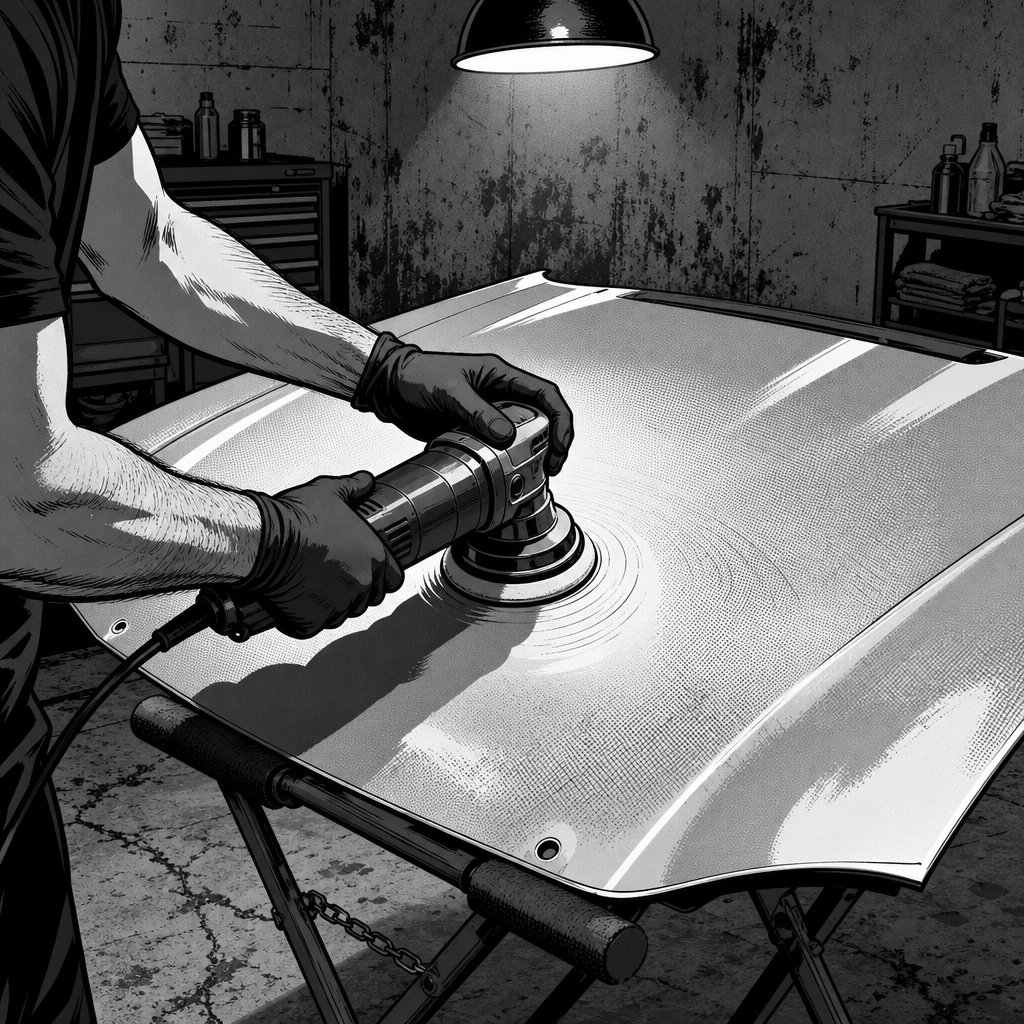
Swirl marks, wash-induced scratches, and dull clear coat are some of the most common complaints technicians hear from car owners — and most of it can be corrected in a driveway with the right tools and a patient process. Paint correction isn’t about achieving showroom perfection; it’s about getting the finish to look clean from a normal viewing distance while protecting as much clear coat as possible for future maintenance. Here’s a practical walkthrough of the process, drawn from real-world detailing experience, that covers assessment, prep, machine technique, and long-term protection.
Test Scratch Depth Before You Commit
Not every mark on a panel needs aggressive correction, and some marks shouldn’t be touched at all. Before pulling out a compound or polisher, do a simple water test: splash water over the deeper-looking scratches. If they visually disappear or fade significantly while wet, they’re likely sitting only in the clear coat layer and can be safely buffed out with a cutting compound. If a scratch stays clearly visible under water, it has likely gone through the clear coat into the base color or primer — machine polishing won’t fix that, and pushing harder will only remove good clear coat around it.
A second quick check is the fingernail test: run a fingernail lightly across a scratch. If you can catch your nail in it, the scratch is probably too deep to remove safely through polishing alone. Mark these areas mentally (or with painter’s tape) so you don’t waste time or clear coat trying to erase something that needs paint repair instead.
Prep the Surface and Protect Trim
Correction work should always start with a proper wash — and if the paint shows real neglect (heavy wax buildup, years of grime), wash with a dedicated wax-stripping shampoo or a diluted dish soap first so you’re polishing bare paint, not a layer of old product. Clay bar afterward to pull embedded contamination out of the clear coat; skipping this step means your pad will drag bonded grit across the surface during polishing, adding new marks instead of removing old ones.
Before any machine touches the car, tape off rubber trim, gaskets, and body seals — including the rubber strip between doors. Compound and polish residue will bake into rubber and turn it chalky or gray over time. If you’ve already made that mistake, a dedicated rubber trim restorer can bring faded trim back, but taping off beforehand is far less work. Pay extra attention to edges, character lines, and corners — clear coat is thinnest there, and it’s the easiest place to burn through during correction.
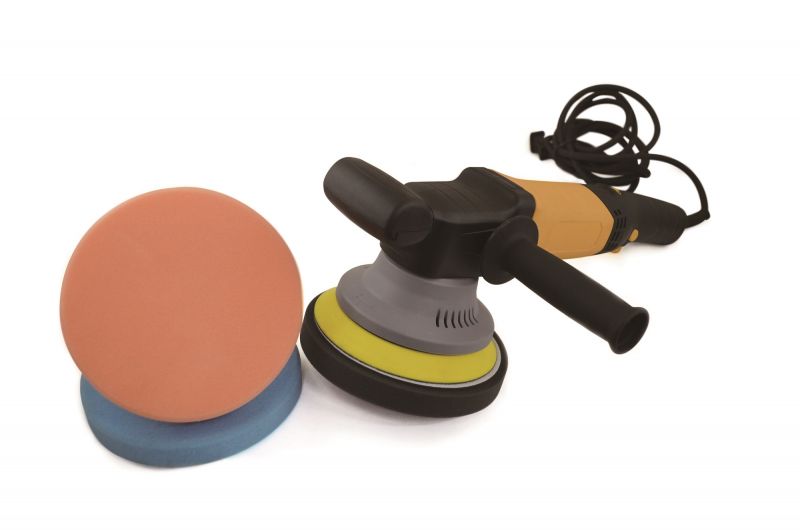
Electric 6" Dual Action Random Orbital Polisher W/ 3pc Pad Kit -
Mfg: Astro Pneumatic
Part #: 3058

Search Products: dual action orbital polisher kit with cutting and finishing pads
Choose the Right Machine for Your Skill Level
A rotary polisher generates more heat and cutting power, which means more correction per pass — but also a much higher risk of burning through clear coat if you don’t already have experience reading paint temperature and pad rotation. For anyone doing this for the first time, a dual-action (DA) polisher is the safer and more forgiving option. The random orbital motion is far less likely to create heat spikes or holograms, and it’s genuinely hard to cause serious damage with one if you use a light touch and check your progress often.
Start with a less aggressive pad and product combination than you think you need. You can always follow up with a heavier cutting compound or firmer pad if the first pass doesn’t remove enough defect — but you can’t put clear coat back on once it’s gone. Work in the shade or an area out of direct sun; product dries too fast in heat and sunlight also makes it harder to judge how much correction you’re actually achieving.
Work Methodically: Compound, Then Polish, Then Wipe Down
Break the process into two distinct stages. First, use a cutting compound to remove the actual defects — scratches, swirls, oxidation. Go section by section, keep the pad speed moderate, and check your progress under a bright LED light rather than relying on daylight, which can hide low-angle swirl marks. Second, follow with a finishing polish to remove the micro-marring (haze) that the cutting stage leaves behind. Skipping the polishing stage is one of the most common reasons a correction job looks better up close but hazy or dull from a few feet away.
Once you’re satisfied with a panel, wipe it down with isopropyl alcohol (IPA) or a dedicated paint-prep panel wipe before moving on to wax or sealant. This removes any oily residue left by the polish, which otherwise prevents your protective product from bonding properly to the paint.
Lock In the Results with the Right Protection
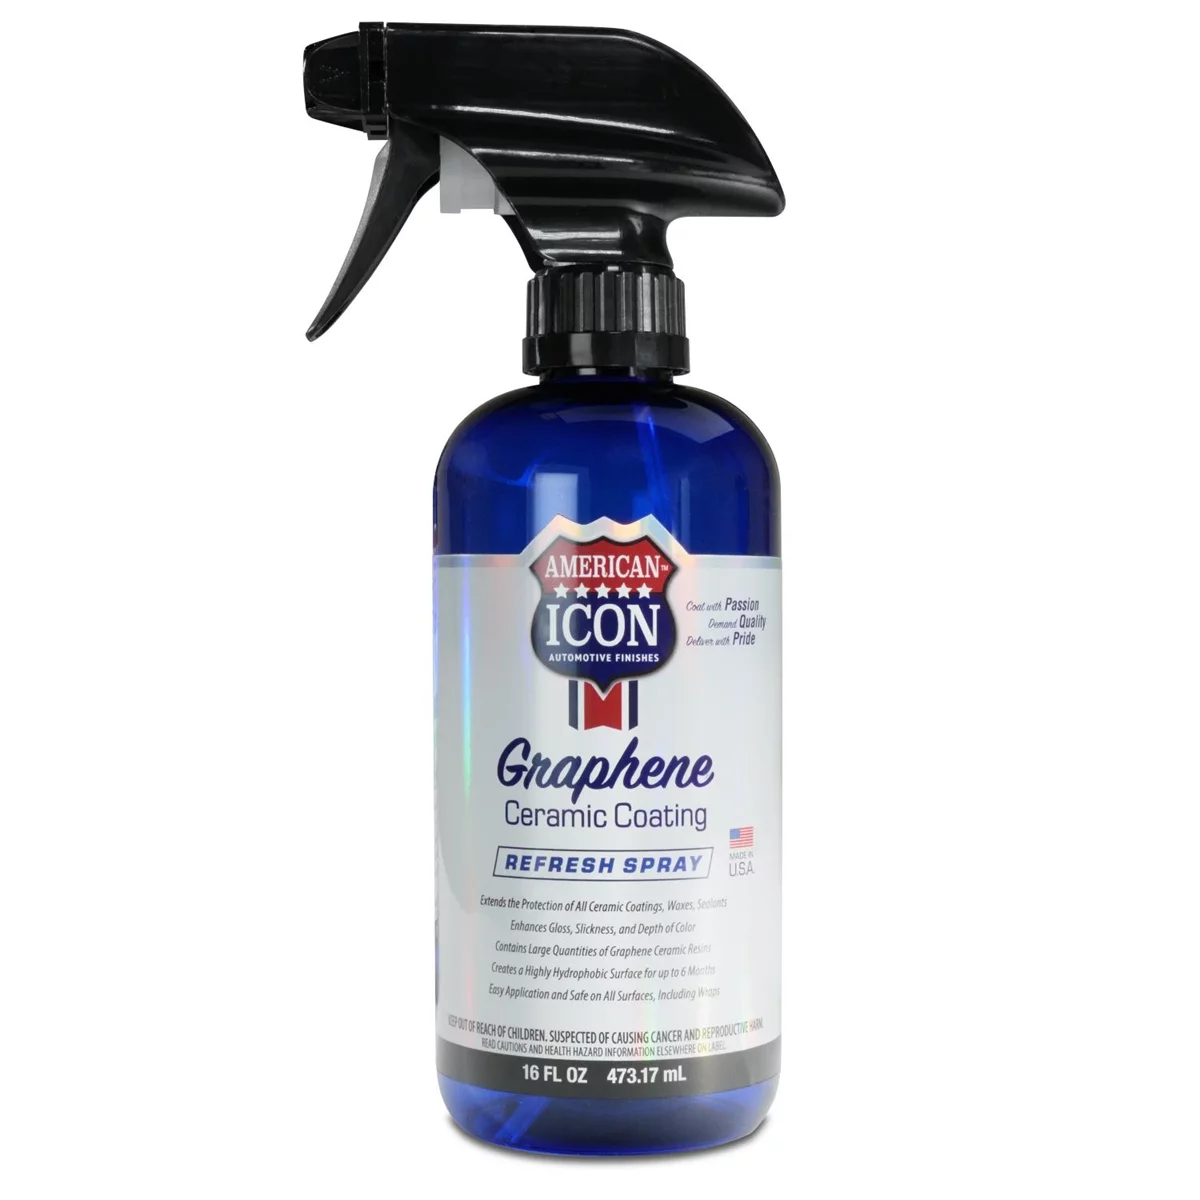
Correction work is wasted if you don’t protect it afterward, and the level of protection you choose should match how much time you’re willing to spend maintaining it. Traditional carnauba wax looks great but typically only lasts a matter of weeks. A spray sealant (such as a 3-in-1 ceramic spray) is a low-cost, easy-to-apply middle ground that commonly lasts anywhere from several months up to close to a year on a properly corrected surface — and contrary to popular belief, these don’t need to be “baked,” most can be applied in normal driveway conditions.
Professional ceramic coatings offer the longest protection (commonly backed by 2-year warranties) and the deepest, most durable shine, but professional installation is not cheap and pricing varies enormously by region — get more than one quote before committing. If professional pricing doesn’t make sense for your car, a disciplined maintenance routine of clay bar, light polish, and a quality spray sealant every few months can deliver most of the practical benefit at a fraction of the cost.
Quick Reference Checklist
- Wash with a wax-stripping shampoo, then clay bar to remove embedded contamination
- Tape off rubber trim, gaskets, and body seams before machine work
- Test deep scratches with water (and a fingernail) to confirm they’re correctable
- Use a DA polisher with a light-cutting pad/compound first; escalate only if needed
- Work in the shade, check progress under an LED light, avoid edges/corners
- Follow cutting compound with a finishing polish to remove haze
- Wipe down with IPA before applying wax, sealant, or ceramic
- Choose protection (wax, sealant, or ceramic) based on how often you’ll maintain it
Search Products: ceramic coating and paint sealant protection

Frequently Asked Questions
Can I remove all swirl marks with a DA polisher?
Most surface-level swirls and light scratches can be significantly reduced or eliminated with a DA polisher and the right pad/compound combination. Deep scratches that survive the water test (still visible when wet) have gone past the clear coat and need paint repair, not polishing.
Is a rotary polisher better than a dual-action for a first-timer?
No — a rotary generates more heat and cutting power but carries a real risk of burning through clear coat if you’re inexperienced. A DA polisher is safer to learn on and still delivers strong correction with proper technique.
How many times can I correct my car’s paint before I run out of clear coat?
Rather than counting corrections, aim to do the job right once with minimal clear coat removal, then maintain the finish with washing, clay bar, and light maintenance polish so heavy correction isn’t needed again. High-wear areas like the front bumper and hood will need attention sooner than lower-wear panels.
Do I need to bake a ceramic coating on with heat lamps?
No, for driveway or garage application. Many consumer-grade ceramic sprays and coatings cure fine at normal ambient temperatures; they just need to be kept dry and out of direct sun during the initial cure window listed on the product.
How long does a ceramic spray last compared to a professional ceramic coating?
A quality ceramic spray sealant typically lasts 9-12 months on a well-corrected, properly prepped surface. Professional multi-year ceramic coatings last considerably longer (often 2+ years) but cost significantly more and require professional-grade prep and application.
What’s the biggest mistake first-time DIYers make during paint correction?
Two common ones: skipping the tape-off step around rubber trim and seals (leading to discoloration), and jumping straight to an aggressive compound/pad instead of starting light and escalating only if needed.
Recommended Tools for Paint Correction
Whether you’re doing your first paint correction or maintaining a routine, the right equipment makes the job safer and more effective. Our Paint & Body selection includes everything you need from initial assessment through final protection.
- Dual-action and rotary polishers with orbital pads for safe, controlled correction
- Cutting compounds, finishing polishes, and detail sprays for multi-stage work
- Ceramic coatings, waxes, and spray sealants for long-term paint protection

The Toolsource Technical Team blends decades of real-world automotive service experience with up-to-date technical research. Our writers collaborate with professional mechanics, shop owners, and diagnostic specialists to deliver practical, workshop-ready guidance you can trust.


Follow us on social media