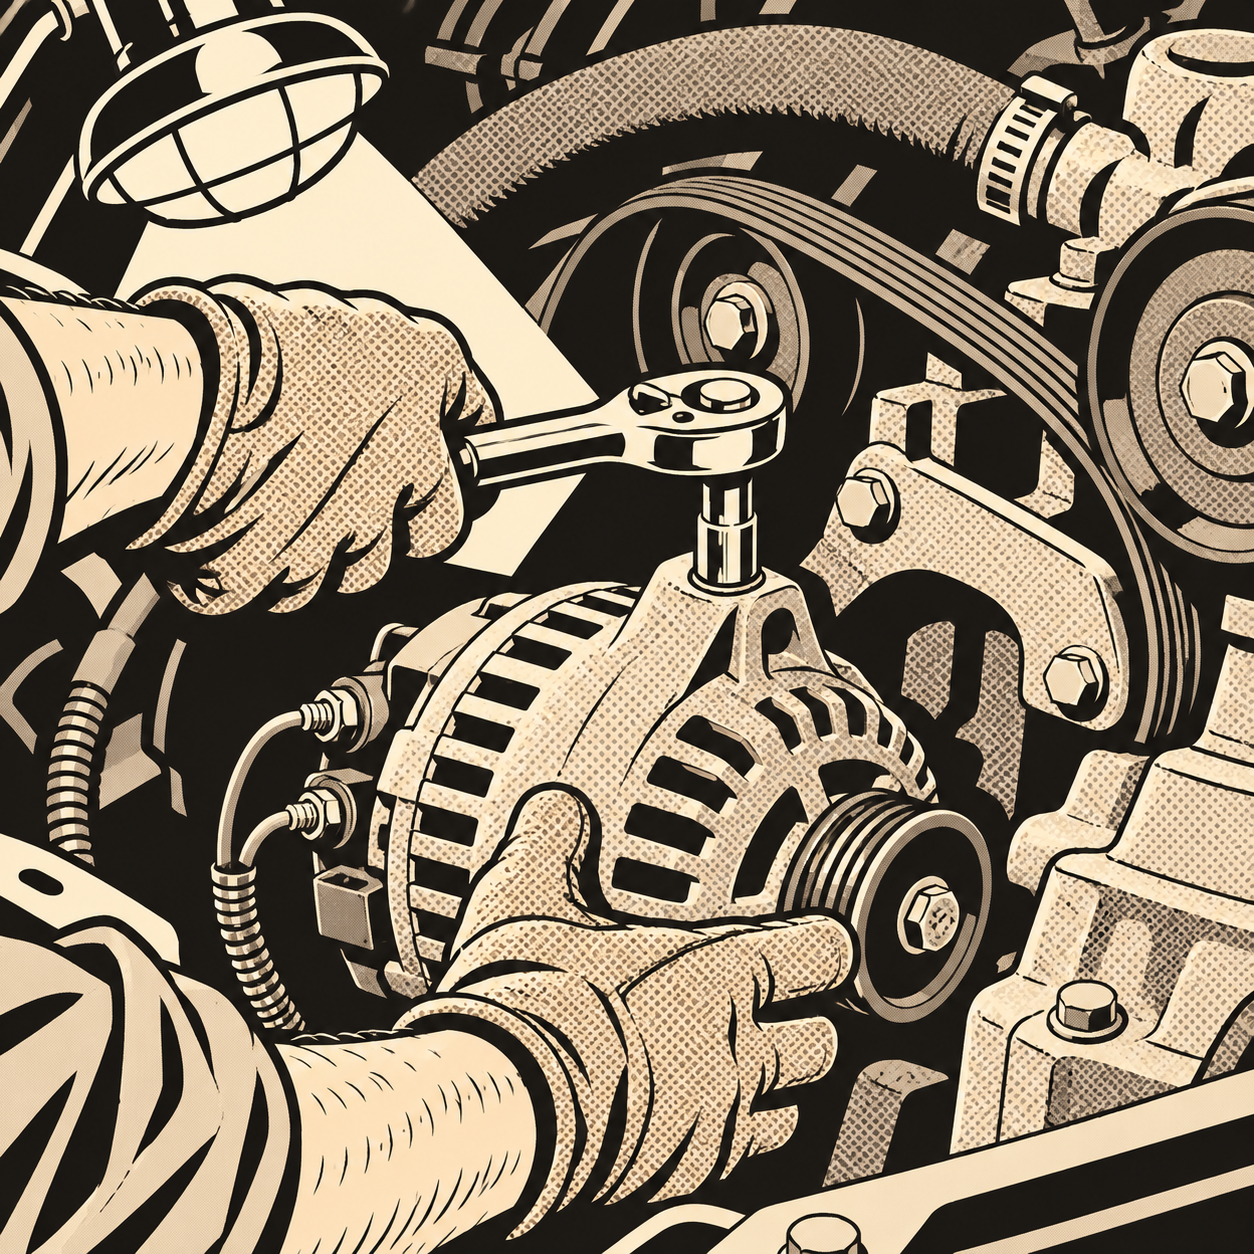
Replacing an alternator is one of the most commonly recommended “you can do this yourself” repairs in online forums, and for good reason—on most vehicles it only requires basic hand tools, a little patience, and a willingness to watch a few YouTube videos for your specific year, make, and model. But “simple” doesn’t mean “foolproof.” The difference between a 30-minute job and a 3-hour ordeal usually comes down to a handful of details: disconnecting the battery correctly, documenting belt routing before you remove anything, and knowing in advance whether your particular vehicle buries the alternator somewhere brutal. This guide walks through what to prepare, how to execute the swap safely, and where things typically go wrong.
Is This a Job You Should Take On Yourself?
Alternator replacement sits in a strange spot on the DIY difficulty scale. Mechanically, it’s straightforward: unbolt the old unit, disconnect the wiring, remove the belt, swap in the new part, and reverse the process. There’s no specialized diagnostic equipment required and no fluids to deal with in most cases. If you’ve handled other moderate jobs—brake pads, belts, batteries—you have the baseline skills needed here.
The honest caveat from people who’ve done this repeatedly is that accessibility varies enormously by vehicle. On something like an older Chevy Malibu with a four-cylinder engine, the alternator sits in open space and the whole job can take under 30 minutes. On other platforms, accessory brackets, engine mounts, or even the intake manifold can block a direct path to the bolts. Before committing, search specifically for your year/make/model and watch at least two or three different videos—not just one—since presentation quality and thoroughness vary a lot between creators, and a second video often shows a step or tool the first one skipped.
Tools and Parts to Gather First
Having everything on hand before you start prevents the most common source of frustration: stopping mid-job to run to the store. At minimum, plan for:
- A socket set with metric and/or SAE sockets matching your vehicle, plus extensions for tight spaces
- Combination wrenches for bolts a socket can’t reach
- A long flathead screwdriver or pry bar, often needed to lever the belt over a pulley
- Penetrating oil, applied the night before if bolts look corroded or haven’t been touched in years
- A torque wrench for reinstalling mounting bolts and the battery terminal to spec
- Safety glasses and gloves
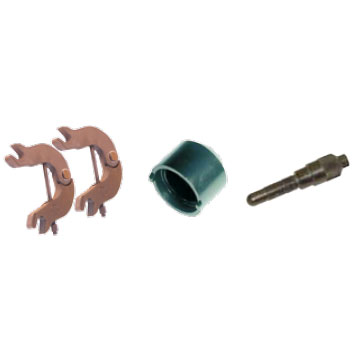
If your vehicle uses a serpentine belt tensioner, some cars require a specific tensioner tool or a 3/8″ breaker bar to relieve belt tension safely—check your service manual or video walkthrough for the exact size. Many chain auto parts stores offer loaner or rental tool programs for less common specialty tools, which is worth checking before buying something you’ll use once.


13 Piece Alternator Pulley Tool Kit - Cal-Van Tools 753
Mfg: Cal-van Tools
Part #: 753
Step-by-Step: The Core Swap
While specifics differ by vehicle, the general sequence that experienced DIYers follow looks like this:
- Disconnect the battery negative terminal first, before touching anything else. This is the single most repeated piece of advice across every alternator write-up, and for good reason—skipping it risks a short circuit, sparks, or damage to the vehicle’s electrical system while you’re working with a live charging circuit. Reconnect the negative terminal last when you’re done, after the positive.
- Photograph the belt routing before removing the belt. Serpentine belt paths wind around multiple pulleys in a specific pattern, and getting it wrong on reassembly is the most frequently cited “hardest part” of the whole job. A phone photo from two or three angles removes the guesswork.
- Relieve belt tension using the tensioner pulley (via breaker bar or dedicated tool) and slip the belt off the alternator pulley.
- Disconnect the wiring harness and battery cable from the back of the alternator, noting which terminal each wire came from.
- Remove the mounting bolts and lift the old alternator out. This step is where broken or seized bolts most often turn an easy job into a long one—another reason penetrating oil applied ahead of time pays off.
- Install the new alternator, torque the mounting bolts to spec, reconnect the wiring, and reinstall the belt using your reference photos.
- Reconnect the battery, negative last, and start the engine to confirm the charging system is working (most vehicles will show a dash warning light clear once the alternator is charging properly).
Vehicles That Make This Job Much Harder
Not every car treats this as a quick swap. Some platforms—certain minivans and crossovers in particular—pack the engine bay so tightly that alternator access requires removing other components first: intake ducting, coolant reservoirs, or even engine mounts. A few modern applications go further; some Kia models, for example, are laid out such that significant drivetrain or subframe work is required just to get a wrench on the alternator bolts.
Before you buy parts, search forums and video platforms for “[your exact model] alternator access” rather than just “alternator replacement,” since generic results won’t flag these harder cases. If your model is known for a difficult alternator location, factor in extra time, and consider whether a shop quote makes more sense for that specific vehicle even if you’re otherwise comfortable doing the work yourself.
Avoiding the Most Common Mistakes
A few recurring issues account for most of the trouble people run into:
- Wrong belt routing on reassembly. This is the top complaint in almost every alternator thread. Reference your photo, and if your vehicle has a routing diagram sticker under the hood, use that as a backup.
- Seized or broken mounting bolts. Years of heat cycling can weld bolts in place. Soak them with penetrating oil the night before, and if a bolt does shear off, stop and assess—extracting a broken bolt is a different job than a straightforward swap and may need a drill and extractor set or a trip to a shop.
- Battery disconnected in the wrong order (or not at all). Always negative first off, negative last on. Skipping this step risks sparks, shorts, or a jolt if a wrench bridges a live terminal.
- Not checking terminal wiring before disconnecting. Label or photograph which wire goes where on the back of the alternator before pulling connectors, especially if there are multiple similar-looking plugs.
- Underestimating specialty tool needs. Some tensioners need a specific tool shape; figure this out from your video research, not mid-job.
Quick Pre-Job Checklist
- Watched 2-3 vehicle-specific videos covering your exact year/make/model
- Confirmed correct socket/wrench sizes and any specialty tensioner tool
- Applied penetrating oil to mounting bolts the night before (if corroded)
- Have a torque wrench and know the spec for mounting bolts and battery terminal
- Phone ready to photograph belt routing and wiring connections
- Battery disconnect order confirmed: negative off first, negative on last


Frequently Asked Questions
How long does an alternator replacement usually take?
On an accessible engine layout, 30 minutes to an hour is typical for someone with basic tools and prior wrenching experience. Add significant time—up to several hours—if a bolt breaks, access is tight, or it’s your first time doing the job.
Do I really need to disconnect the battery first?
Yes. The alternator is wired directly to the battery’s positive terminal, so leaving the battery connected while you work risks sparks, short circuits, or damage to the vehicle’s electronics. Disconnect negative first, reconnect it last.
What’s the hardest part of the job?
Getting the belt back on correctly is the most commonly cited difficulty. Take reference photos before removal and double-check routing against any under-hood diagram before starting the engine.
Can I do this with basic tools, or do I need something specialized?
Most vehicles only need a standard socket and wrench set plus a long screwdriver or pry bar for the belt. Some tensioners require a specific tool shape—check your vehicle’s service info first, and ask a local auto parts store about tool rental programs if needed.
How do I know if my vehicle is one of the “hard” ones?
Search specifically for your model plus “alternator access” or “alternator replacement” on video platforms and forums. If multiple sources mention removing intake components, engine mounts, or subframe work, budget significantly more time or consider a shop.
What should I do if a mounting bolt breaks during removal?
Stop and assess before forcing anything further. A broken bolt usually needs a drill and extractor set, and depending on depth and location, it may be more practical to have a shop handle just that part of the repair.
Recommended Tools for Your Alternator Swap
Having the right tools on hand before you start prevents frustration and ensures you can complete the job safely. Our Engine Repair Tools selection includes everything needed for an alternator replacement, from socket sets and wrenches to specialty tensioner tools and torque wrenches.
- Socket sets, extensions, and combination wrenches for bolt removal and installation
- Pry bars and breaker bars for belt tension relief and pulley access
- Torque wrenches and specialty tools for proper reinstallation to spec

The Toolsource Technical Team blends decades of real-world automotive service experience with up-to-date technical research. Our writers collaborate with professional mechanics, shop owners, and diagnostic specialists to deliver practical, workshop-ready guidance you can trust.


Follow us on social media