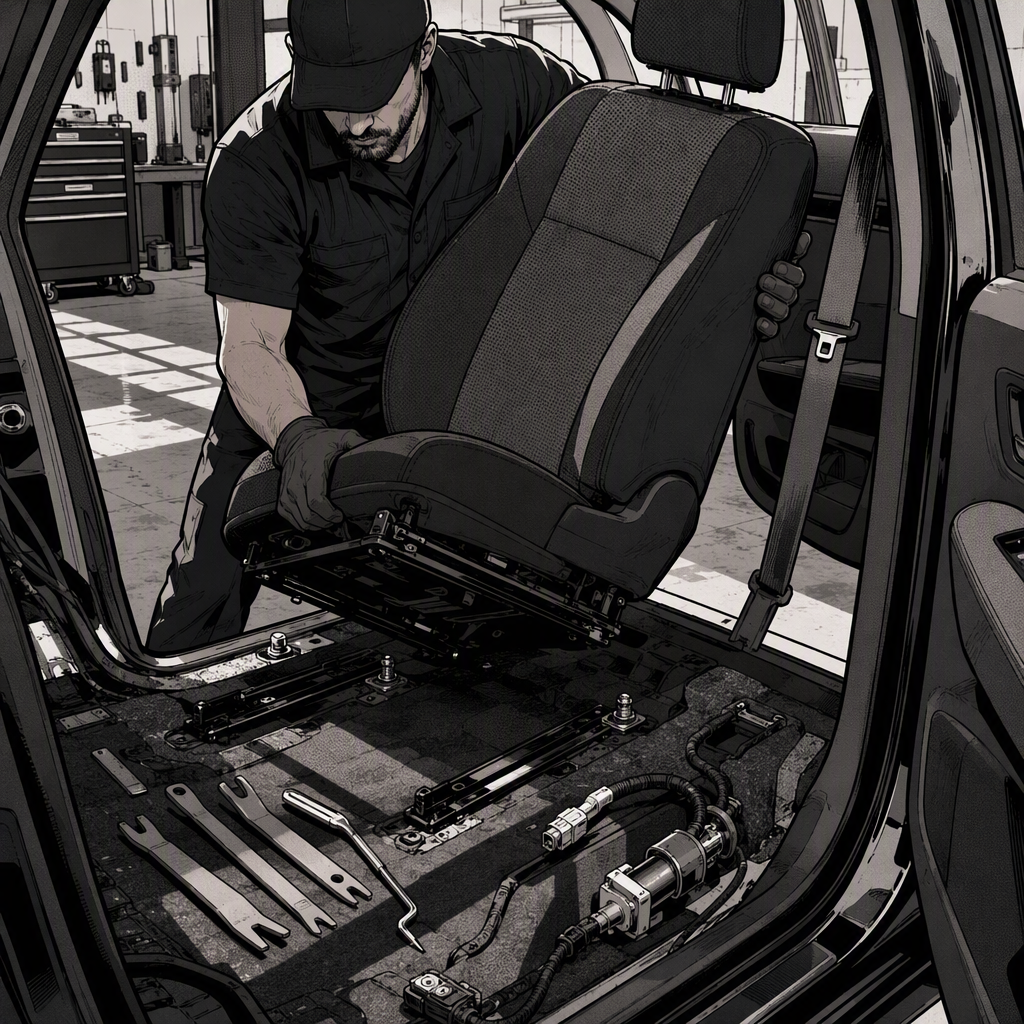
Most interior details stop at a vacuum, an interior surface wipe-down, and maybe a shampoo pass on the carpet. That’s fine for a car that’s seen regular upkeep. It does almost nothing for a cabin that’s had years of buildup—the kind that shows up more often than techs like to admit, especially on vehicles owned by people who’ve lost the ability or energy to keep up with cleaning. Getting one of these cars back to a usable, sellable condition requires pulling the seats, removing trim panels, and treating every hidden surface underneath. Here’s how to approach that job methodically, plus a maintenance item worth checking while you’re in there.
Assessing the Job Before You Touch a Panel
Before pulling a single screw, walk the vehicle and categorize what you’re dealing with. Organic buildup (food, spills, mold, pet residue) behaves differently than dry debris (sand, crumbs, pet hair) or biohazard-level contamination (mold colonies, rodent activity, bodily fluids). This determines your PPE, your cleaning chemicals, and whether the job is even safe to do without respiratory protection.
- Photograph everything before disassembly—this protects you if a customer questions pre-existing damage and gives you a reference for reassembly order.
- Check for mold in seat foam and under carpet padding. If you find it, plan for an enzymatic cleaner and extended dry time, not just a shampoo.
- Note trim panel condition. Fifteen-year-old plastic clips are brittle. If a customer’s expecting a “quick clean,” this is the moment to reset expectations on time and cost.
- Set a labor estimate based on teardown level, not just visible mess. A biohazard interior with seats and door panels off routinely runs 8-15 hours of hands-on time.
Removing Seats and Trim Panels Safely
Pulling seats and trim isn’t optional if you want to actually clean the vehicle rather than just make it look clean on the surface—crumbs and moisture migrate under seat tracks, into carpet padding, and behind door cards, and none of that gets touched by a wet-vac hose alone.
- Disconnect the battery first. Seats with side airbags and seatbelt pretensioners are live pyrotechnic devices. Skipping this step risks accidental deployment and personal injury.
- Torque seat bolts to spec on reinstall. These are structural fasteners tied to occupant safety; don’t eyeball it with an impact driver.
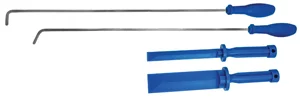
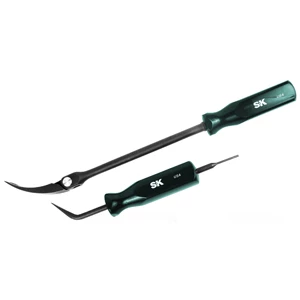
- Use dedicated trim removal tools—nylon or plastic pry tools, panel poppers, and clip pullers—rather than flathead screwdrivers. Metal tools crack plastic bezels and mar paint and trim finishes, turning a cleaning job into a parts-replacement job.
- Bag and label fasteners by panel. Door card clips, kick panel screws, and sill retainers are rarely interchangeable, and buying an assortment of replacement clips ahead of time saves a return trip when old ones snap.
- Photograph wiring harness routing before disconnecting door speakers, courtesy lights, or seat heater/airbag connectors, so reassembly doesn’t leave anything pinched or misrouted.
{{PRODUCT_SEARCH_1}}

Deep Cleaning Upholstery, Carpet, and Hard Surfaces
With seats and panels out, you’re cleaning three distinct zones, each with a different approach:
- Upholstery and seat foam: Pre-treat stains with an appropriate cleaner (enzymatic for organic/biological stains, an all-purpose interior cleaner for general grime), agitate with a soft brush, then hot-water extract. Let foam dry fully before reinstalling seat covers—trapped moisture breeds mold and odor comes right back.
- Carpet and padding: Vacuum thoroughly first to pull loose debris before wet cleaning; wet debris turns to paste and is harder to remove. Extract with a hot-water carpet extractor rather than just spraying and wiping—surface cleaning on carpet only moves dirt around. If padding is saturated or moldy, replace it; drying it in place rarely fully resolves contamination.
- Hard plastics and trim: Use an interior-safe all-purpose cleaner and detail brushes to get into vents, seams, and stitching. Avoid high-gloss dressings on dashboards and steering wheels—they look good in photos but create glare and slick surfaces that are a safety issue.
- Headliner: Clean with minimal moisture and a soft brush; oversaturating headliner fabric causes sagging and delamination that’s expensive to fix.
Run an ozone treatment or odor-neutralizing fogger only after everything is fully dry and reassembled—running it on damp materials just seals odor-causing bacteria in rather than eliminating it.
Don’t Overlook Mechanical Items While the Interior Is Apart
A full interior teardown is a good moment to flag maintenance items a neglected vehicle has likely also missed—and CVT-equipped vehicles are a common blind spot. Many owners never service the transmission fluid because there’s no dipstick and no obvious symptom until shift quality degrades. If the vehicle in front of you uses a CVT, particularly older Toyota/Aisin units, this is worth raising with the customer:
- It’s a drain-and-fill, not a flush. Flushing a CVT can dislodge debris and push contamination through the valve body—stick with a manufacturer-specified drain-and-fill procedure, repeated two to three times to adequately turn over the fluid.
- Use the correct fluid spec. CVT fluid is not interchangeable with conventional ATF. Match the OEM specification exactly—Toyota-branded CVT fluid or an equivalent CVT-FE fluid from the actual supplying manufacturer (Aisin, in many Toyota applications) is the safe choice.
- Respect the overfill plug. These units typically use an overflow-style fill plug to set fluid level precisely. It’s a small, often plastic fitting—strip or snap it and you’ve turned a routine service into a bigger repair.
- Access usually requires wheel and splash shield removal. Budget the extra time; it’s a fully doable job on a lift but not a five-minute top-off.
This isn’t part of the detailing job itself, but flagging it while the vehicle is already on the lift for interior work is a low-effort way to add value and catch a maintenance gap before it becomes a drivability complaint.
Documenting the Job and Setting Customer Expectations
Neglected-interior jobs generate strong before/after results, but they also generate strong opinions from customers who didn’t expect the scope. Manage that with documentation:
- Time-stamp photos at each stage: as-received, mid-teardown, post-extraction, final reassembly. This substantiates labor hours if a customer questions the invoice.
- Quote hourly or by tier (light/moderate/severe) rather than a flat “detail” price—severe interior jobs can run several times the cost of a routine detail, and customers need to see why before work starts, not after.
- Note any pre-existing damage (cracked trim clips, stained fabric that won’t lift, worn bolsters) in writing before disassembly so it’s not attributed to your work.
Preventing the Next Buildup
For repeat customers or fleet vehicles, a quick conversation about maintenance intervals goes a long way—especially for owners who may not be physically able to keep up with regular cleaning themselves. Recommending a seasonal vacuum-and-wipe service, floor mat protection, and prompt spill cleanup can prevent the six-hour teardown job from recurring in two years.
{{PRODUCT_SEARCH_2}}
Quick Reference Checklist
- Disconnect battery before removing seats (airbag/pretensioner safety)
- Photograph before disassembly; bag and label fasteners by panel
- Use plastic trim tools, not metal, to avoid cracked clips and marred finishes
- Vacuum before wet cleaning; hot-water extract carpet and upholstery
- Fully dry foam and padding before reassembly to prevent odor and mold return
- Torque seat bolts to spec on reinstall
- Flag CVT fluid service (drain-and-fill, correct spec fluid, careful overfill plug handling) if applicable
- Document time and pre-existing damage before starting the teardown
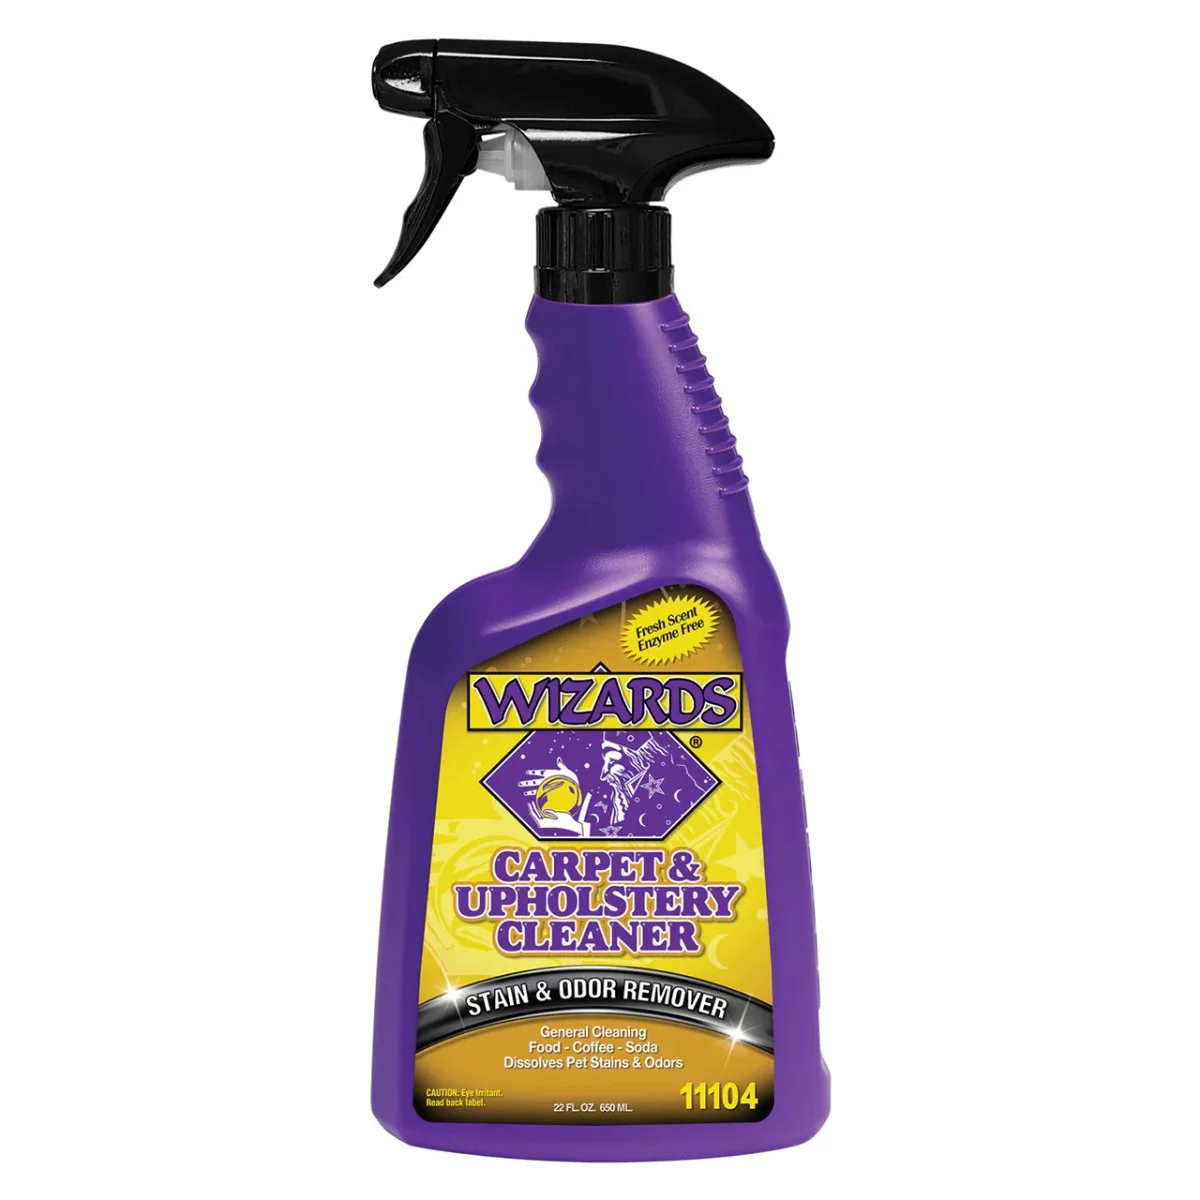
11104 Carpet and Upholstery Cleaner, 22 oz Spray Bottle
Mfg: Wizard Industries
Part #: 11104
FAQs
Do I need to disconnect the battery to remove seats?
Yes, on any vehicle with side airbags or seatbelt pretensioners built into the seat. These are pyrotechnic devices, and working around them with the battery connected risks accidental deployment.
How do I stop trim clips from breaking during removal?
Use dedicated nylon or plastic trim removal tools instead of screwdrivers, work slowly along the clip line rather than prying from one spot, and expect a percentage of clips on older vehicles to need replacement regardless of technique—stock common sizes ahead of time.
Is a CVT drain-and-fill the same as a flush?
No. A flush pushes fluid through the system under pressure and can dislodge debris into the valve body on CVTs. A drain-and-fill removes what’s in the pan/system and replaces it, typically repeated two to three times to adequately refresh the fluid without that risk.
Can I use generic CVT fluid instead of OEM-spec fluid?
Only if it meets the exact OEM specification. On many Toyota CVTs, an Aisin-branded CVT-FE fluid is the same fluid without the dealer markup, since Aisin supplies many of these transmissions. Using an off-spec fluid can cause shift shudder or long-term damage.
How long should a full interior teardown detail take?
Depending on contamination level, a job involving seat and trim removal, mold treatment, and full extraction commonly runs 8-15 hours of labor. Quote by severity tier rather than a flat rate.
What causes a car interior to get this neglected in the first place?
It’s often gradual—reduced mobility, no support system to help with upkeep, or simply months turning into years without anyone addressing small spills or debris. Recognizing this helps set a respectful tone with the customer rather than treating the job as unusual.
Shop Equipment and Supplies
A full interior teardown and deep clean requires specialized tools and supplies—trim removal tools, wet-extraction equipment, and appropriate cleaning chemicals for different contamination types. Our Shop Equipment and Supplies category stocks the detail brushes, trim tools, extractors, and cleaners needed to do this work efficiently and safely.
- Trim removal tools—nylon and plastic pry tools, panel poppers, and clip pullers designed to avoid cracking brittle clips and marring finishes.
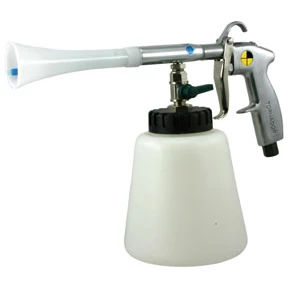
- Extraction and cleaning equipment—wet-vac hoses, detail brushes, and soft-bristle tools for reaching vents, seams, and tight spaces.
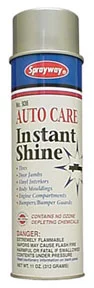
- Cleaners and treatments—enzymatic formulas for organic stains, all-purpose interior cleaners, and odor-neutralizing solutions.

The Toolsource Technical Team blends decades of real-world automotive service experience with up-to-date technical research. Our writers collaborate with professional mechanics, shop owners, and diagnostic specialists to deliver practical, workshop-ready guidance you can trust.


Follow us on social media