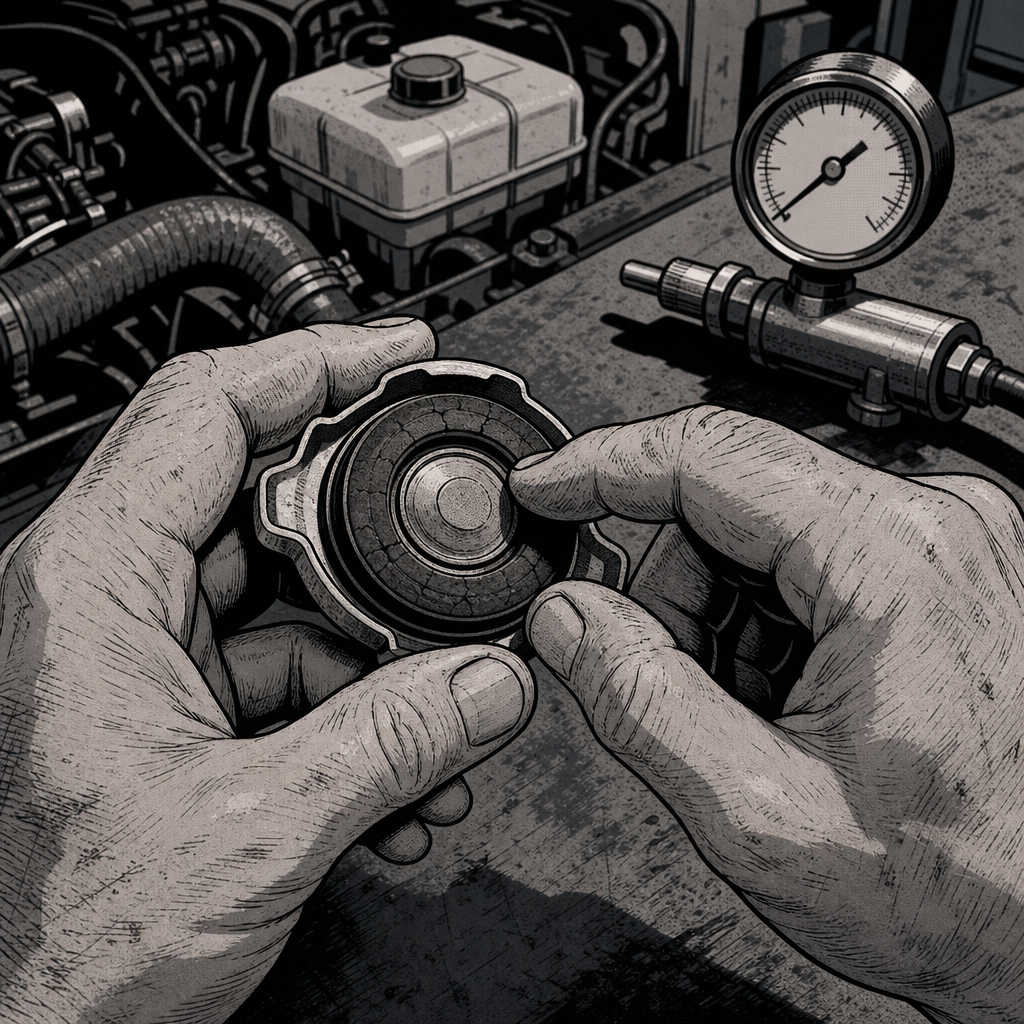
A customer walks in with coolant bubbling out of the reservoir, a cap that won’t stay clean, or a “boiling” expansion tank even though the temp gauge reads normal. It’s one of the more misdiagnosed complaints in the bay, because the symptom — visible coolant loss or froth at the reservoir — can point to half a dozen different root causes, from a five-dollar cap to a cracked head. This guide walks through the diagnostic order that actually narrows it down fast, based on real-world troubleshooting patterns techs use every day.
Step 1: Confirm the Fill Level Against the Actual Spec
Before touching anything else, verify how the vehicle is supposed to be filled — and don’t assume “fill to MAX” applies universally. Fill specs vary significantly by manufacturer and even by platform within the same brand:
- Many manufacturers spec filling to MIN when cold, expecting the level to rise toward MAX once the engine reaches operating temperature and the coolant expands.
- Some platforms (certain Peugeot/Stellantis applications, for example) spec filling to MAX when cold.
- Honda has models that spec roughly halfway between MIN and MAX when cold.
- Some JLR platforms spec around two-thirds full when cold.
Pull the fill procedure from service data for the specific platform rather than relying on generic MIN/MAX habits. A vehicle filled to MAX cold on a system designed for MIN cold will have nowhere for the coolant to expand into as it heats up, and the excess volume has to go somewhere — usually out through the cap.
Step 2: Rule Out Simple Overfill Before Chasing Leaks
Overfilling is one of the most common self-inflicted causes of a “boiling over” complaint, and it’s easy to overlook because the symptom looks dramatic — bubbling, hissing, coolant creeping up the neck of the reservoir. What’s actually happening in many overfill cases is mechanical, not thermal: the system’s return line is pushing coolant and air back into the reservoir as designed, but there’s no headroom left for the gas to compress or the fluid to expand. That backpressure finds the path of least resistance, which is usually past the cap seal.
If the reservoir is filled well past the MAX line, drain it down to the correct cold level before doing any further diagnosis. Trying to pressure test or leak-check an overfilled system will give you false leads every time, because the overfill itself is producing symptoms that mimic a real fault.
===FYP-PRODUCT-SEARCH-1===

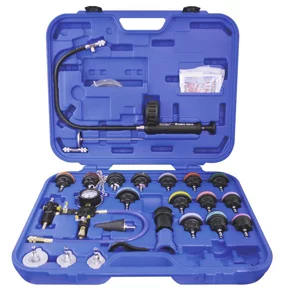
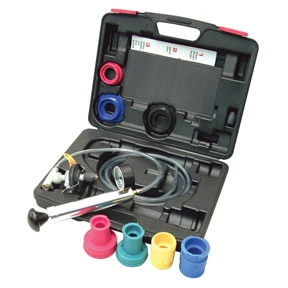
Radiator Pressure Tester & Vacuum Type Cooling System Kit w 7858
Mfg: Astro Pneumatic
Part #: 78585
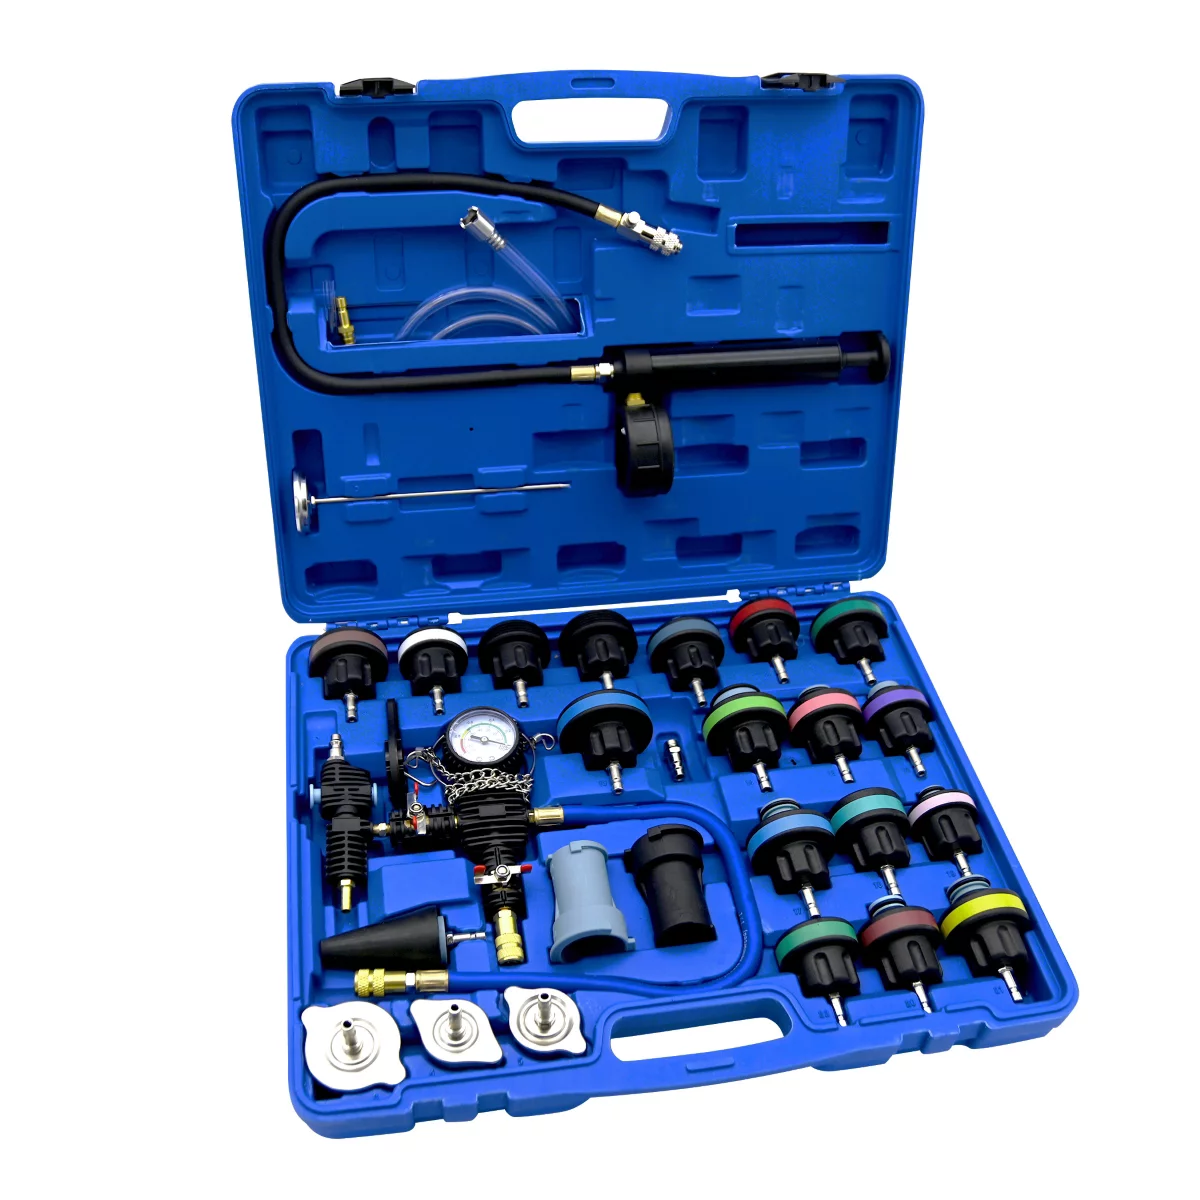
Universal Radiator Pressure Tester & Vacuum Type Cooling System
Mfg: Astro Pneumatic
Part #: 78584
Step 3: Inspect and Test the Radiator/Reservoir Cap
Once the fill level is correct and the symptom persists, the pressure cap is the next and most frequently overlooked culprit. The cap isn’t just a lid — it’s a calibrated pressure-relief valve, typically rated in the 13-16 psi range depending on application, and its seal directly determines the coolant’s boiling point. A worn, cracked, or improperly seated gasket will bleed off pressure prematurely. Since boiling point is pressure-dependent, a system that can’t hold its rated pressure will let coolant boil at a lower temperature than the gauge suggests — producing bubbling and overflow even when the engine isn’t actually running hot.
Diagnostic steps for the cap:
- Visually inspect the rubber seal for cracking, glazing, or deformation — this happens even on brand-new aftermarket caps, so “new” doesn’t mean “good.”
- Test the cap on a cooling system pressure tester with the correct adapter. It should hold its rated pressure without creeping down.
- Replace with an OEM or OEM-spec cap if there’s any doubt. This is a low-cost part relative to the diagnostic time it can save, and it’s a common miss on vehicles that have had other cooling system work done recently (radiator, hose, or reservoir replacement).
A telling pattern: if a shop or DIYer recently replaced a hose, radiator, or reservoir and the overflow issue started or continued afterward, check whether the cap was reused or swapped for a cheap replacement. Techs regularly find a fresh water pump and radiator on a car with a visibly failed cap seal that nobody checked.
Step 4: Quantify the Loss Rate and Check Where It’s Going
Not all coolant loss is created equal, and the rate matters as much as the fact that it’s happening. A system needing a small top-off once or twice a year is often within normal tolerance for a closed system with minor evaporation. A system losing coolant every few days is not normal under any circumstance and points to an active leak — external or internal.
Work through this in order:
- Check the engine oil. Pull the dipstick and look at the oil on the cap and dipstick. Coolant intrusion produces a milky, latte-colored froth. If you see this, stop and treat it as a probable head gasket or intake gasket failure — do not continue driving the vehicle, as this risks catastrophic engine damage.
- Look for external leaks. Trace hose connections, the water pump weep hole, radiator seams, heater core lines, and the reservoir itself for visible wet trails, dried mineral deposits, or active drips.
- Pressure test the system. A cooling system pressure tester will hold the system at rated pressure with the engine off, making slow leaks visible that wouldn’t show during a quick visual check. Remember that most pressure testers attach where the cap goes, so they won’t test the cap itself — test the cap separately as described above.
- Consider internal leaks. If external leaks are ruled out and oil isn’t contaminated, coolant may be entering the combustion chamber and burning off as vapor through the exhaust. A chemical block/combustion leak test (checking for combustion gases in the coolant) or a cylinder leakdown test can confirm this without a full teardown.
A loss rate on the order of a liter every few days, with no obvious external puddle, should be treated as a strong indicator of an internal leak until proven otherwise.
Step 5: Check for Trapped Air, Especially After Recent Service
If the vehicle runs at a normal temperature while driving but boils over or bubbles after shutdown — and there’s no evidence of a head gasket issue — trapped air in the system is a strong possibility, particularly if a thermostat, hose, or radiator was replaced recently without a proper bleed. Air pockets reduce coolant flow efficiency, create hot spots, and can produce bubbling in the reservoir that looks like boiling.
A standard bleed procedure: with the radiator/reservoir cap off (only on a cool system, or using the vehicle’s designated bleed screw if pressurized bleeding isn’t safe), set the cabin heat to maximum and let the engine idle up to operating temperature. Alternate between gently revving the engine and squeezing the upper radiator hose to help work air pockets toward the highest point in the system. Top off coolant as the level drops during this process. Some platforms have dedicated bleed screws on the thermostat housing or radiator — always check service data, since a system bled incorrectly can trap air indefinitely and mimic an ongoing leak or overheating condition. This process can take 30-40 minutes on some platforms, so don’t rush it or call it done after five minutes of idling.
Step 6: Reassess Thermostat Behavior and Gauge Readings
A normal-reading temperature gauge doesn’t fully clear the thermostat. A thermostat that’s stuck partially open — a “fail-safe open” design malfunctioning at, say, 30% open — can allow enough flow-through to keep the gauge looking normal while still letting excess pressure and volume cycle back into the reservoir abnormally. If the gauge sits lower than the vehicle’s typical operating temperature (for example, hovering near 70°C on a platform that should run closer to 90°C), don’t assume the thermostat is “working” just because the engine isn’t overheating — verify actual open/close behavior with a scan tool reading coolant temp against known thermostat opening specs, or physically inspect/test the thermostat once removed.
===FYP-PRODUCT-SEARCH-2===
Quick Diagnostic Checklist
- Confirm correct fill level and cold-fill procedure for the specific platform
- Drain to spec if overfilled before testing further
- Inspect and pressure-test the radiator/reservoir cap separately from the system
- Check engine oil for milky contamination
- Pressure test the system and inspect for external leaks
- Bleed the system fully if recent service work was performed
- Verify thermostat operation against actual temperature spec, not just gauge position
FAQs
Should I always fill the coolant reservoir to the MAX line?
No. Many vehicles spec filling to MIN when cold, letting the level rise to MAX as the coolant heats and expands. Always check the platform-specific procedure — filling to MAX cold on a system designed for MIN cold can cause overflow with no other fault present.
Is it normal for coolant to bubble in the reservoir?
Minor bubbling from the return line during normal operation can be normal on some designs. Persistent bubbling, boiling-like activity, or coolant escaping past the cap is not normal and should be diagnosed, typically starting with the cap and fill level.
How much coolant loss is considered a real problem?
Needing to top off a small amount once or twice a year is generally within tolerance. Needing to add coolant every few days indicates an active leak — external or internal — and should be diagnosed immediately, starting with an oil check for contamination.
Can a bad radiator cap really cause boiling and overflow on its own?
Yes. The cap maintains system pressure, which raises the coolant’s boiling point. A worn or improperly sealing cap — even a new one with a bad gasket — lets pressure escape, lowering the effective boiling point and causing coolant to boil and overflow at normal operating temperatures.
My oil looks fine — can I rule out a head gasket?
Not entirely. Clean oil rules out coolant entering the oil galleys, but coolant can still be leaking into the combustion chamber and burning off as vapor without contaminating the oil. A combustion leak test or leakdown test is needed to fully rule out a head gasket issue.
Why would coolant only overflow after the engine is shut off, not while driving?
This pattern often points to trapped air in the system, especially after recent thermostat, hose, or radiator work. Air pockets can cause pressure and bubbling behavior after shutdown even when the vehicle ran at a normal temperature the whole drive. A proper bleed procedure is the next step.
What tools do I need to properly diagnose this?
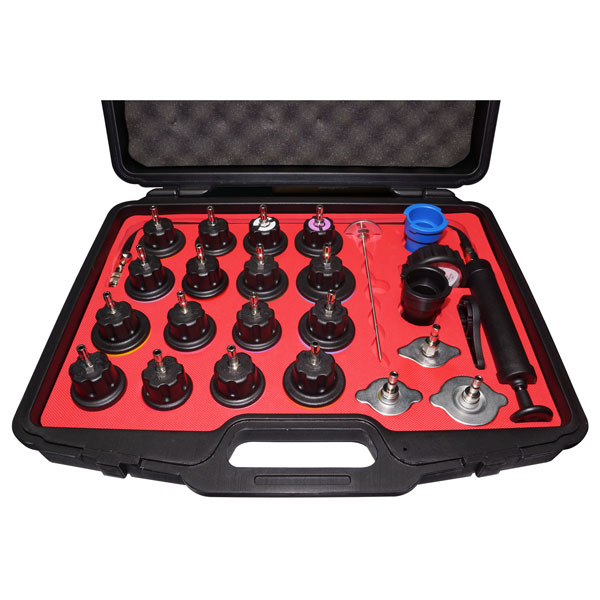
A cooling system pressure tester with cap adapter, an OEM-spec replacement cap for comparison testing, a combustion leak test kit, and access to platform-specific fill/bleed procedures cover the vast majority of diagnostic cases.
Recommended Cooling System Tools
Effective coolant system diagnostics require the right equipment. Browse our Automotive Cooling System selection for pressure testers, replacement caps, and diagnostic kits.
- Cooling system pressure testers with cap-testing adapters
- OEM-spec replacement radiator and reservoir caps
- Combustion leak test kits and air-bleeding tools

The Toolsource Technical Team blends decades of real-world automotive service experience with up-to-date technical research. Our writers collaborate with professional mechanics, shop owners, and diagnostic specialists to deliver practical, workshop-ready guidance you can trust.


Follow us on social media