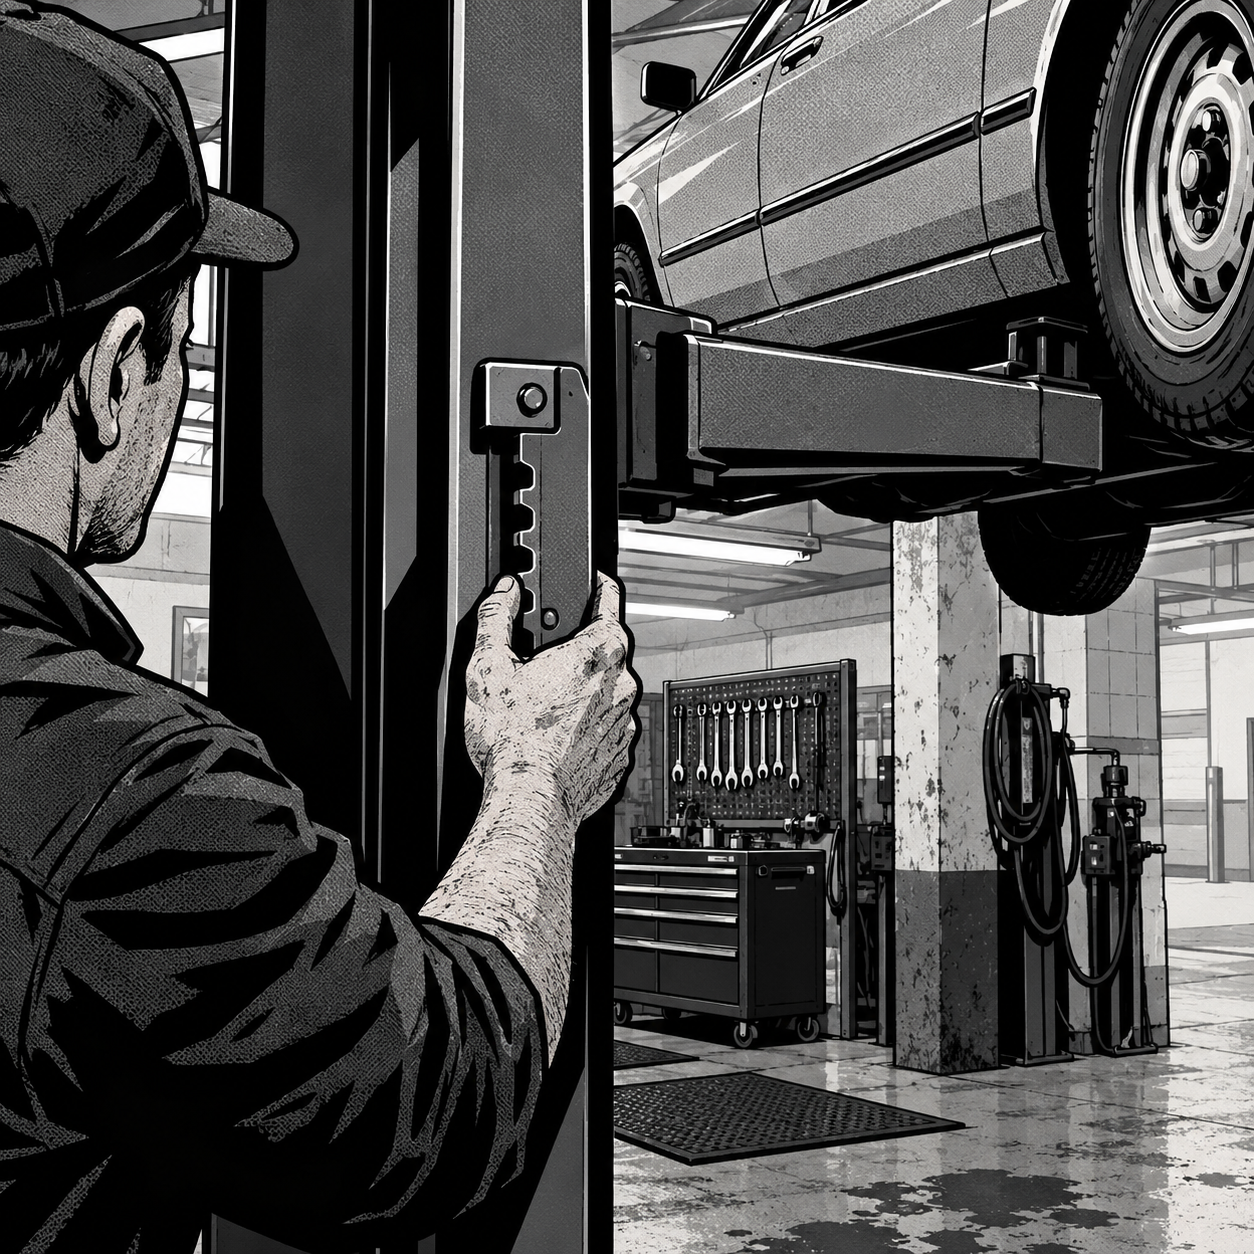
A recent story made the rounds online: a classic car ended up stuck mid-air on a mid-rise scissor lift after a latch failed to seat, and the owner had to improvise a recovery with a forklift before the lift manufacturer’s support fell short. No one was hurt and the car wasn’t damaged, but the near-miss is a useful prompt for every shop running lifts, whether it’s a single home-garage column lift or a bay full of four-posters. Lifts are mechanical systems with wear parts, and the failure points that cause them to drop or pretzel are well documented. Here’s what techs and shop owners should actually be checking, anchoring, and planning for before trusting a lift with a customer’s car — or their own.
Why Lifts Fail: The Mechanics Behind the Drop
Most lift failures trace back to one of a handful of root causes, and they’re mechanical, not mysterious. On scissor and two-post lifts, the safety mechanism is usually a ratcheting latch or lock bar that engages teeth on the column or arm as the lift rises, catching the load if hydraulic pressure is lost. If that latch doesn’t fully seat — because of debris, wear, a bent retaining plate, or a tech who didn’t pause to confirm engagement — the load has nothing holding it except hydraulic pressure, and a slow leak or seal failure becomes a sudden drop.
Four-post lifts have a different failure mode: a cross bar or carriage can walk out of its retaining track under uneven loading, especially when a vehicle’s weight is biased heavily toward the front or rear axle. That uplift on one end of the lift can pop a bar free of the track that’s supposed to keep it captured. In both cases, the common thread reported by techs who’ve seen these failures is complacency — not pausing to visually and audibly confirm each latch has engaged before walking away from the lift controls.
Choosing the Right Lift Type for Your Shop
There’s a reason experienced techs tend to favor two-post and four-post lifts over scissor and mid-rise designs for heavier or longer-duration work: the failure modes on column lifts are generally better understood, more visible to inspect, and the locking mechanisms are easier to confirm by eye. Scissor lifts and mobile mid-rise units are convenient for quick jobs and tight spaces, but their lower profile means less margin if something lets go, and the ratcheting mechanisms are harder to visually verify once a vehicle is loaded.
Four-post lifts solve some of those visibility issues but introduce their own risk if they’re not installed correctly. Being freestanding is part of their appeal, but freestanding doesn’t mean unanchored — that’s a separate decision, covered below. If you’re running a shop in a seismically active region, or you’re simply getting past the point of comfortably crawling around on a creeper, a four-post lift with a leveling ramp is often the more ergonomic and arguably safer choice for routine service work, provided it’s properly anchored and maintained.


Anchoring: The Step Shops Skip and Shouldn’t
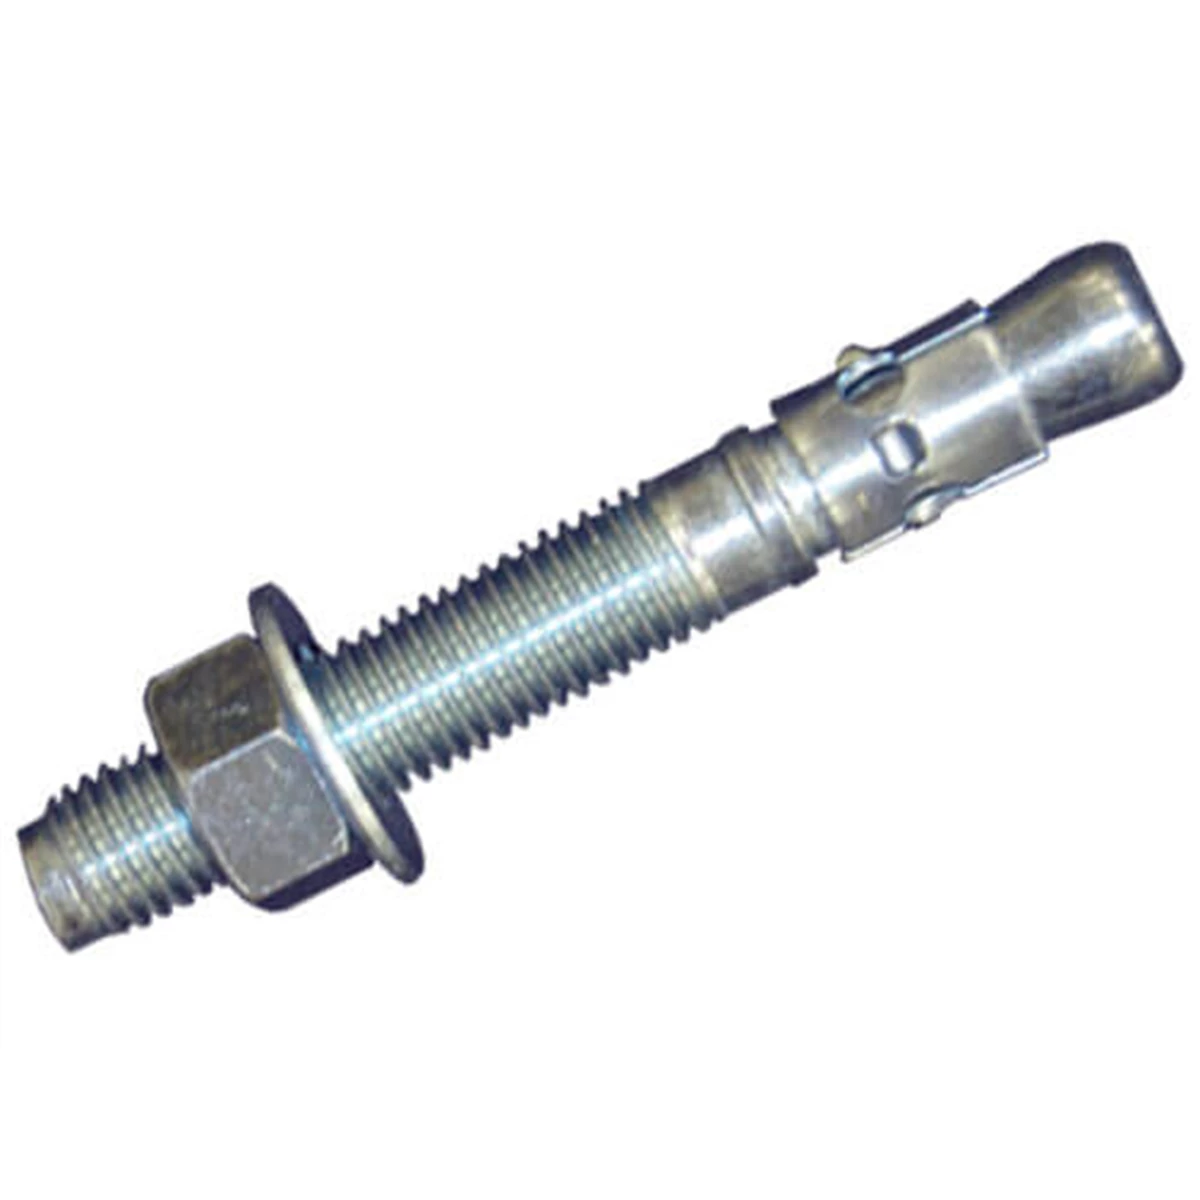
Four-post lifts are often sold and installed with rubber isolation pads under the feet instead of bolted anchors, largely for convenience and to avoid drilling into a shop floor. That’s a mistake. Dealership service departments that have experienced a four-post lift shift or fold with a car on it have, in more than one documented case, traced the cause back to unanchored feet — and fixed it permanently by removing the rubber pads and bolting the lift to the slab. An anchored lift resists the lateral and torsional forces that build up when a vehicle is driven on or off, or when weight shifts during service (engine pulls, transmission work, suspension jobs with components hanging off one corner).
If your four-post lift isn’t anchored, treat that as an open safety item, not a cosmetic preference. Confirm your shop floor’s slab thickness and rebar schedule meet the manufacturer’s anchoring spec before drilling, and use the anchor bolts specified in the lift’s installation manual — not generic concrete anchors bought off a shelf because they “look about right.”
Pre-Use and Periodic Inspection Routine
Most lift failures are preventable with a consistent inspection habit, not a full teardown every time. Before loading any lift:
- Visually confirm every latch, pawl, or locking pin is fully seated at the height you’re stopping at — don’t rely on the sound alone.
- Check hydraulic hoses and fittings for seepage, especially at the base and cylinder connections.
- Inspect cables and pulleys (on cable-equalized lifts) for fraying, kinks, or uneven tension side to side.
- Confirm anchor bolts are present, torqued, and not backed out — especially on four-post lifts.
- Look at retaining tracks and cross-bar channels for bends, cracks, or gaps that would let a bar walk out under load.
- Check that arm pads or carriage contact points are rated for the vehicle’s actual weight and loaded unevenly if needed (engine out, etc.).
Beyond the daily check, most manufacturers specify an annual inspection schedule covering structural welds, hydraulic cylinder wear, and cable replacement intervals. Keep that paperwork — it matters if you ever need to make a warranty or liability claim.
If a Lift Fails With a Vehicle On It
If a lift’s latch doesn’t seat or a lift starts to settle unevenly with a vehicle loaded, the immediate priority is getting people clear and not attempting a fix while anything is still under load. Clear the bay, shut off the lift’s power at the source if it’s safe to reach, and do not attempt to manually release a stuck latch or jack against a partially failed lift without support blocking rated for the vehicle’s weight underneath first.
Recovery from a stuck or partially collapsed lift — as in the viral case that prompted this piece — often requires outside equipment like a forklift with proper rigging, or a second lift/jack system to stabilize the vehicle before any load is removed from the failed unit. This is not an improvisation to do solo; get a rigger, a tow operator with recovery experience, or your lift manufacturer’s field service on the phone before touching anything. Document the failure with photos before and during recovery — you’ll want that record for an insurance claim, a warranty dispute, or a regulatory report.
Buying, Warranty, and Reporting a Failure
Lift failures that happen on reputable, well-maintained equipment are rare enough that when one occurs, it’s worth having it formally evaluated rather than quietly swapped out. In the UK that means a report to the Health and Safety Executive; in the US, OSHA and your state’s equivalent agency both take equipment-failure reports from commercial shops, and many will do so even for a home garage incident if a manufacturer defect is suspected. A paper trail matters if the manufacturer’s customer support is slow to acknowledge the issue — public accountability and a regulatory record tend to move a company faster than a private warranty complaint.

K-900 Stationary Vehicle Lift - 6,000 Lb Capacity
Mfg: Herkules Equipment
Part #: K-900

Extra Tall, Extra Wide Portable Heavy Duty 4-Post Lift 9000lb
Mfg: Atlas Automotive
Part #: XH-PRO9000-FPD

FAQ
How often should a car lift be inspected?
Daily visual checks before use, plus a full manufacturer-specified inspection — typically annual — covering welds, hydraulics, and cables. Shops with heavy daily use should inspect latches and anchor bolts more frequently.
Do four-post lifts really need to be bolted down?
Yes, if the manufacturer’s installation spec calls for anchoring. Rubber isolation pads alone have been linked to lifts shifting or folding under uneven loading; bolting to the slab resists the lateral forces that cause that.
What’s the first sign a lift latch isn’t seated?
Listen and look: a properly seated latch makes a distinct, consistent click and sits flush against the locking teeth. If you have to guess or the sound is inconsistent between sides, stop and lower the lift to re-check before trusting it.
Are scissor lifts less safe than two-post or four-post lifts?
Not inherently, but their lower ride height and enclosed latch mechanisms make visual confirmation harder, and techs report more difficulty catching a partially engaged latch before it’s loaded. Regular inspection matters more on these designs.
What should I do if my lift fails with a vehicle on it?
Clear the area, cut power at the source if safe, and don’t attempt a fix under load. Call in rigging or recovery help rather than improvising alone, and document everything with photos for insurance and regulatory reporting.
Who do I report a lift failure to?
In the US, OSHA or your state occupational safety agency; in the UK, the Health and Safety Executive (HSE). Also notify the manufacturer in writing and keep your own inspection and incident records.
Recommended Lifting Equipment
The lift types and safety essentials covered in this guide form the foundation of reliable shop operations. Browse our lifting equipment selection for two-post, four-post, scissor, and mobile mid-rise lifts, along with the hydraulic components, latches, cables, and anchoring hardware that keep them running safely.
- Two-post, four-post, and mobile mid-rise lift systems for various shop layouts
- Replacement latches, cables, pulleys, and hydraulic cylinders
- Anchoring hardware and maintenance kits

The Toolsource Technical Team blends decades of real-world automotive service experience with up-to-date technical research. Our writers collaborate with professional mechanics, shop owners, and diagnostic specialists to deliver practical, workshop-ready guidance you can trust.


Follow us on social media