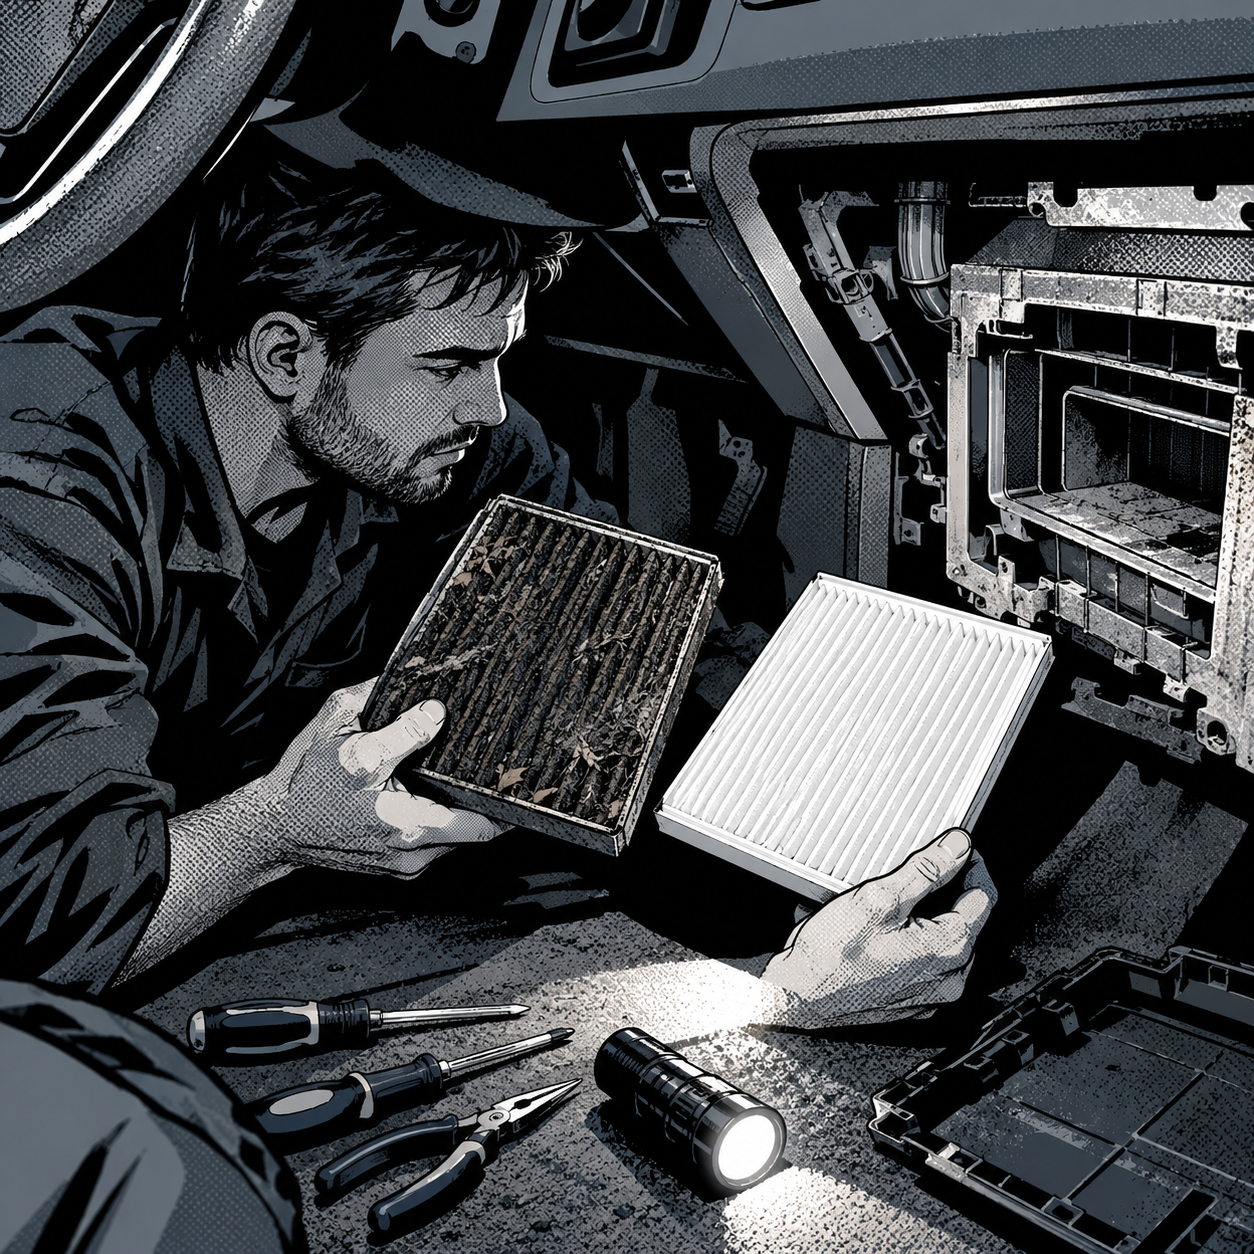
Cabin air filter service gets treated as a throwaway upsell, but it’s one of the more mismanaged items on a multi-point inspection. Techs regularly run into three problems: the vehicle doesn’t have a cabin filter at all, the housing is hidden somewhere non-obvious, or the customer has absorbed a myth (dirty filters “filter better,” new filters make AC smell worse) that leads to bad decisions. None of that is complicated once you know where to look and what the filter can and can’t fix. Here’s a practical runthrough for confirming fitment, locating the housing, replacing the filter correctly, and handling the AC odor complaints that follow a filter swap.
Confirm the Vehicle Actually Has a Cabin Air Filter
Don’t assume every vehicle on the lot has a cabin filter just because most modern ones do. A large number of pre-2000s vehicles, and plenty of budget or older-generation platforms, were built without a filter slot in the HVAC box at all — third-gen 4Runners and their Hilux Surf twins, older Jeep Cherokees, early Corollas, and early Miatas are common examples that show up in shop conversations precisely because owners spend time looking for a filter that was never installed.
Before you quote the job or tell a customer “you’re due,” pull the vehicle up in your parts catalog and service information by VIN. If there’s no cabin filter part number listed and no filter cavity shown in the HVAC diagram, there’s no filter — full stop. Charging for a filter change on a car that doesn’t have one, or telling a customer their nonexistent filter is “probably clogged,” is an easy way to lose trust. If the vehicle genuinely has no filter, the incoming air is unfiltered through the blower box, which is worth noting for customers with dust or allergy complaints — the fix there is managing expectations, not inventing a service.
Locate the Filter Housing
Once you’ve confirmed a filter exists, don’t guess at the location — verify it in service data, because cover panels are frequently designed to blend into the dash or trim with no obvious release tab. The most common locations are:
- Behind the glovebox (most mainstream passenger cars since roughly 2000)
- Under the hood at the base of the windshield, in the cowl panel (common on several Honda and Ford platforms)
- Under the dash on the driver or passenger side, behind a small access panel
- Behind a kick panel or lower dash trim on some SUVs and trucks
Some platforms hide the access cover well enough that even long-time owners never find it — Miata owners in particular are known for burning significant time hunting for theirs. When in doubt, check the service manual or a VIN-specific repair database rather than relying on forum photos of a different model year, since housing design and release mechanisms change across trim levels and facelifts.
Atlas Automotive Equipment VACUUM FILTER FOR SANDBLAST CABIN
Mfg: Atlas Automotive
Part #: HTSBC420-29

Inspection and Replacement Procedure
The job itself is simple, but a few steps prevent callbacks:
- Release the glovebox stops or housing tabs per the service procedure — forcing it usually cracks a plastic tab that then becomes its own warranty comeback.
- Note the airflow direction arrow printed on the filter frame before sliding the old one out. Reversed filters reduce efficiency and can cause whistling noise at speed.
- Inspect the old filter and housing for debris, leaves, mold growth, or rodent nesting material. Rodent intrusion is common in vehicles parked outdoors or stored for long periods, and it’s worth photographing for the customer.
- Compare the physical dimensions of the new filter to the old one rather than trusting the part number alone — aftermarket cross-references are not always a perfect fit, and a filter that’s slightly undersized will let unfiltered air bypass around the edges.
- Install with the airflow arrow matching the original orientation, and reset any maintenance reminder the vehicle tracks.
Separating Fact From Myth: Dirty Filters and AC Odor
“Dirty filters filter better than clean filters” comes up often enough to address directly: it’s not generally true for automotive cabin filters. There’s a kernel of real filtration science here — depth-loading media can, in some industrial contexts, catch marginally finer particulate once a thin dust cake builds up early in its life. But for pleated panel filters in a car, that theoretical benefit is overwhelmed by the downsides: restricted airflow, reduced blower performance, and a filter material that retains moisture and organic debris. A loaded filter sitting in a warm, humid HVAC box is exactly the environment that breeds the musty smell customers complain about — especially in vehicles that have sat with the AC off, or vehicles previously driven by smokers or used on farms, where the filter can absorb enough particulate and odor-causing residue that it becomes a standing odor source rather than a barrier against one.
The practical takeaway for customer-facing conversations: a heavily saturated filter isn’t “better,” it’s a liability that restricts airflow and can make cabin odor worse, not better. Standard replacement intervals of 12,000–15,000 miles or 12 months are reasonable for most driving conditions, but tighten that interval for customers in dusty, rural, wildfire-prone, or heavy-smoke environments.
When Filter Replacement Won’t Fix the Complaint
A new filter resolves airflow restriction and removes a debris source, but it doesn’t fix everything a customer blames on “the AC filter”:
- Persistent musty odor after a new filter: look at the evaporator core for mold or biofilm buildup and check the evaporator drain for a clog causing standing water in the housing. An evaporator/foam cleaner treatment addresses this; filter changes alone don’t touch it.
- No airflow improvement after replacement: verify the new filter’s dimensions actually seal against the housing — a loose-fitting aftermarket filter allows bypass air around the frame, which can mask the benefit of the swap. Also check the blower motor resistor or module if the complaint was weak airflow rather than odor.
- New noise after the swap: double check the airflow direction arrow was installed correctly; a reversed filter is a common source of a new whistle or hiss customers notice right after a filter service.
Shop Checklist
- Confirm the vehicle has a cabin filter in parts/service data before quoting the job
- Locate the housing using service information, not guesswork
- Note the airflow direction arrow before removing the old filter
- Inspect for mold, debris, and pest intrusion
- Match physical dimensions, don’t rely on part number cross-reference alone
- If odor persists after the swap, inspect the evaporator core and drain
- Set a replacement interval reminder, shortened for dusty or smoke-heavy environments


FAQs
How often should a cabin air filter be replaced?
Every 12,000–15,000 miles or about once a year for typical driving. Shorten that interval for customers in dusty, rural, or wildfire-smoke-prone areas.
Can I just blow out and reuse a cabin air filter instead of replacing it?
Not recommended. Pleated paper and synthetic media degrade and tear under compressed air, and embedded fine debris doesn’t fully clear out, so you end up with reduced filtration and a weakened filter frame.
Why does the AC still smell musty after I installed a new filter?
The odor is likely coming from the evaporator core or a clogged evaporator drain, not the filter. A new filter removes one potential odor source but won’t clean mold or biofilm already on the evaporator fins.
How do I know if a vehicle even has a cabin air filter?
Check the parts catalog and HVAC service diagram by VIN. Many pre-2000s vehicles and some budget or older-generation platforms were never built with a cabin filter cavity.
Is it true that a dirty cabin filter filters better than a clean one?
No — that’s a myth. A loaded filter restricts airflow, retains moisture, and can become its own odor source rather than improving filtration in any meaningful way for automotive use.
Where should I check first if I can’t find the cabin filter housing?
The back wall of the glovebox is the most common location on mainstream vehicles since roughly 2000. If it’s not there, check the service manual rather than guessing — cowl and under-dash locations are common on certain platforms and the access panels aren’t always obvious.
Tools for Air Conditioning Diagnostics & Service
Cabin filter replacement often reveals underlying AC system issues—weak airflow, musty odors from evaporator mold, or blower performance problems. Our Auto Air Conditioning Tools collection includes the diagnostic and service equipment to address these issues when filter replacement alone doesn’t resolve the complaint.
- Evaporator and foam cleaner kits for persistent odor after filter replacement
- AC system diagnostic gauges and tools for airflow and compressor testing
- Blower motor testers for diagnosing weak airflow performance

The Toolsource Technical Team blends decades of real-world automotive service experience with up-to-date technical research. Our writers collaborate with professional mechanics, shop owners, and diagnostic specialists to deliver practical, workshop-ready guidance you can trust.


Follow us on social media