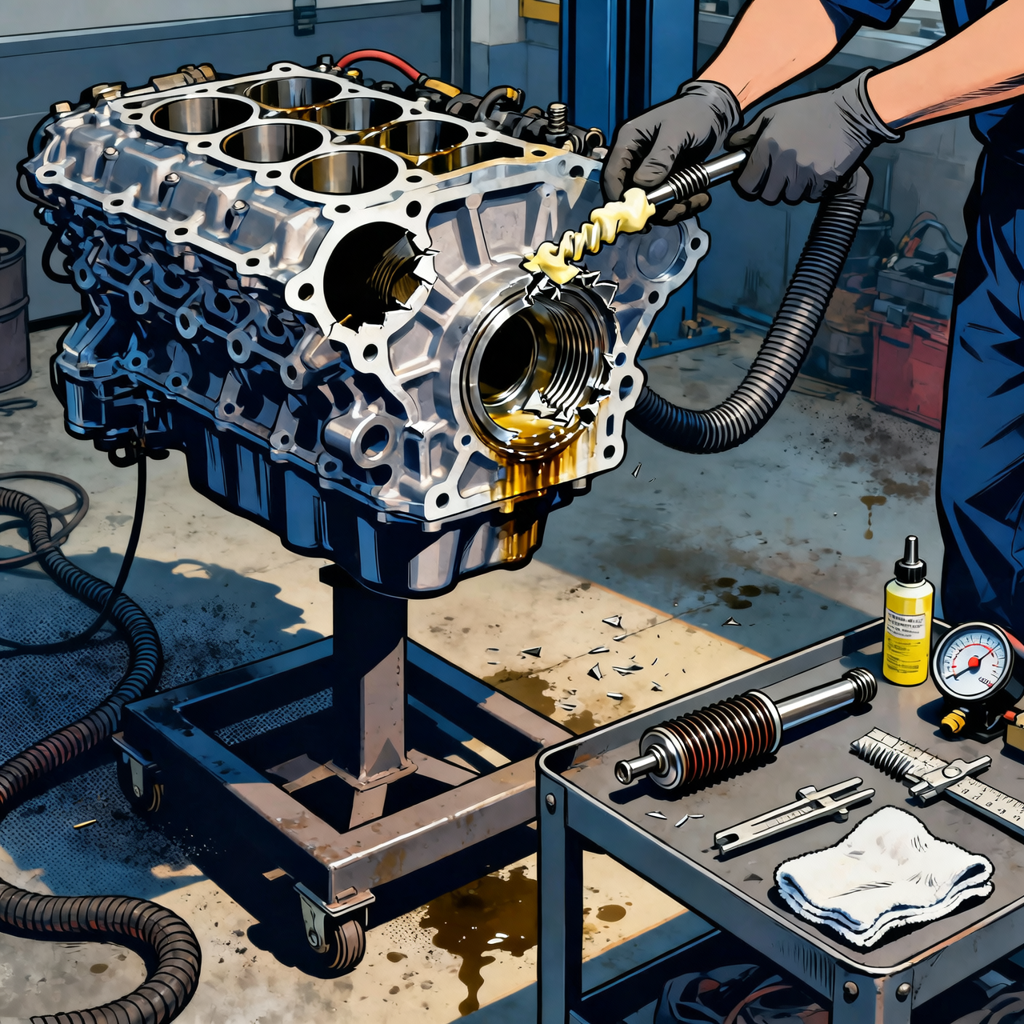
Snapped the oil filter mount off an aluminum case or block? It happens—typically after an over-tightened filter (especially those with built-in hex heads), cross-threading, or an aggressive removal. The challenge is twofold: that boss is part of a pressure oil circuit, and the aluminum is now contaminated with oil. This guide outlines pragmatic options—from knowing when to replace the case/block to thread salvage, remote filter relocation, welding/machining, and temporary epoxy measures—so you can choose a path that suits the vehicle, budget, and risk tolerance.
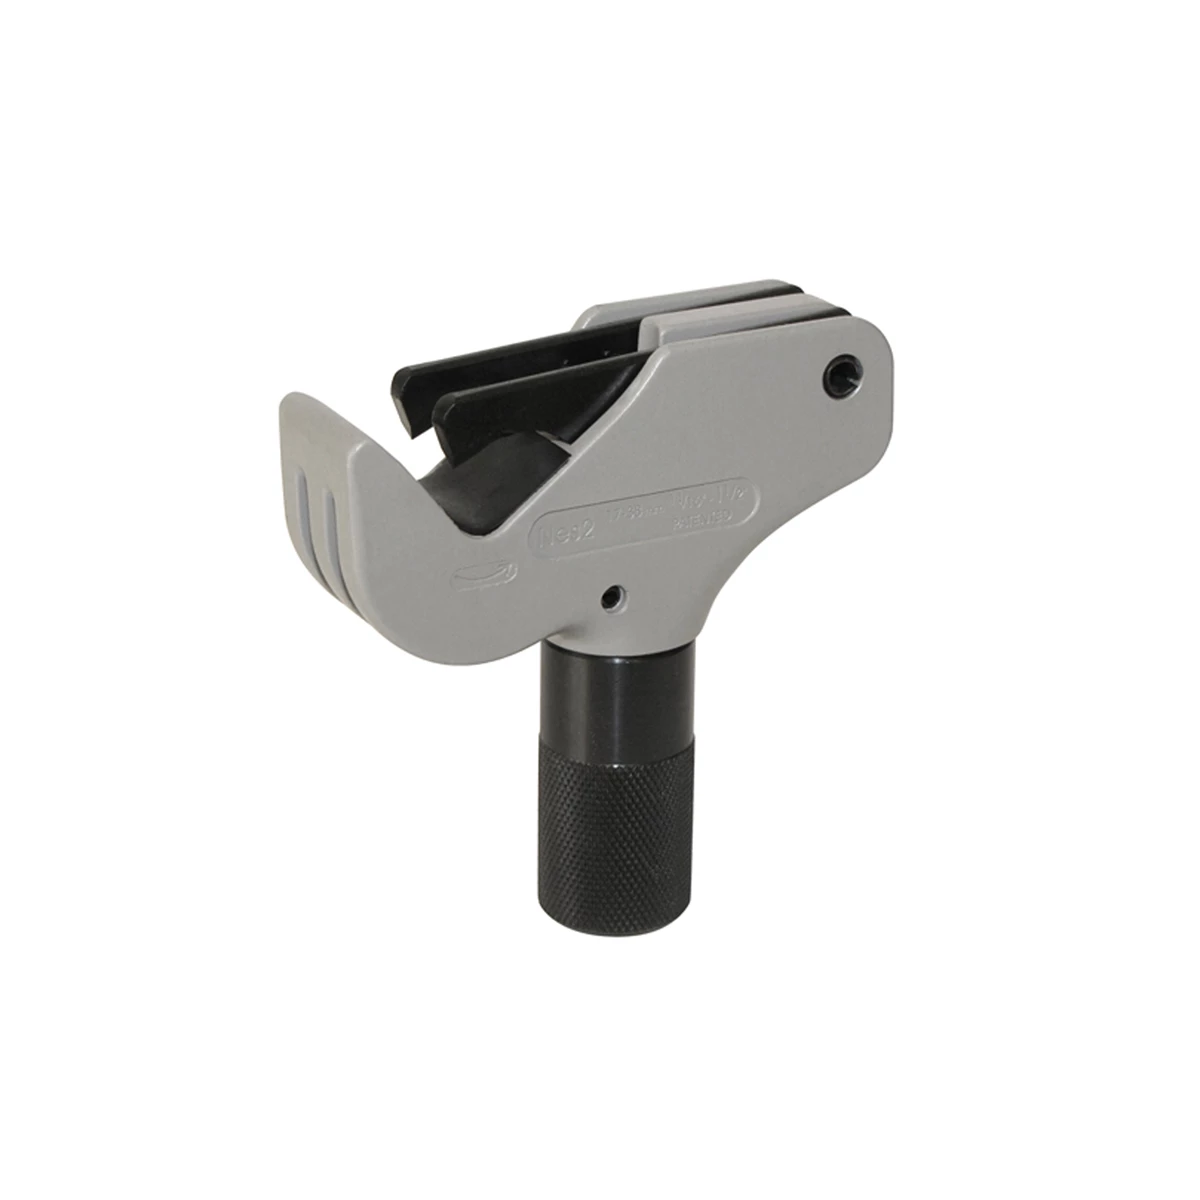
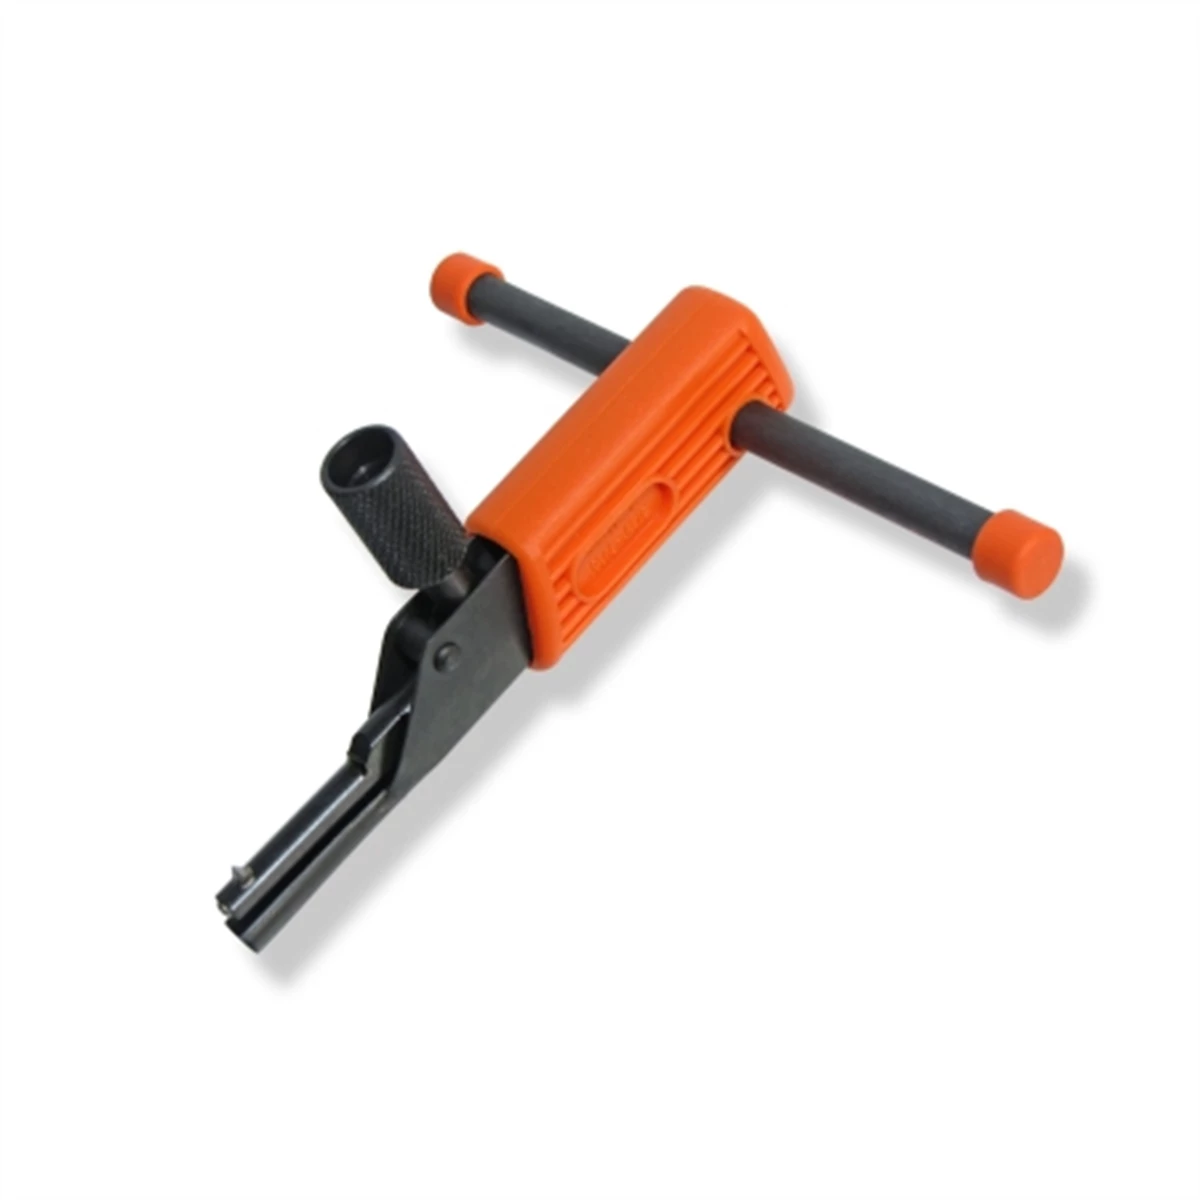
Universal External Thread Repair Tool - 17-38 mm 11/16- one and one two inch for Automotive and Industrial Use
Mfg: NES Thread Repair
Part #: NES 2

External Thread Repair Set M4 - M152 5/32 to 6 Inch for Automotive and Industrial Use
Mfg: NES Thread Repair
Part #: NES1300
External Thread Repair Set - 4-38mm 5/32 - 6 In for Automotive and Industrial Use
Mfg: NES Thread Repair
Part #: NES 123

Universal Thread Repair Tool Internal 22-32 mm 7/8 to one and one four inch for Automotive and Industrial Use
Mfg: NES Thread Repair
Part #: NES 24
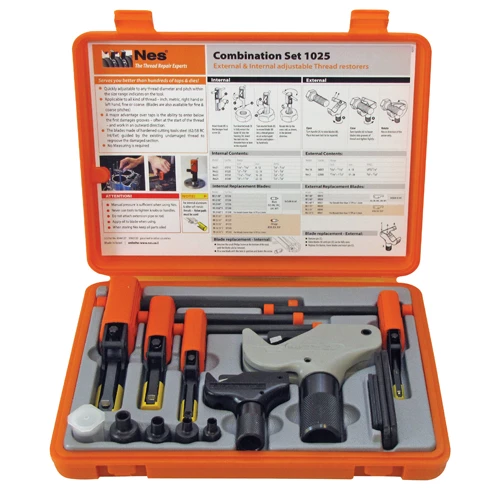
Combination Thread Repair Set - External 4-38mm 5/32-one and one two inch, Internal 8-32mm 5/16-one and one four inch for Automo
Mfg: NES Thread Repair
Part #: NES 1025
Universal Internal Thread Repair Tool - 12-16mm 1/two and five eight inch for Automotive and Industrial Use
Mfg: NES Thread Repair
Part #: NES 22
1) Diagnose the Damage and Control Contamination
Before deciding how to proceed, capture a clear picture of the damage and prevent debris from entering oil galleries.
- Do not start or crank the engine. Pressure and vibration can propagate cracks and push debris into the system.
- Drain the oil and capture any fragments in a clean pan.
- Thoroughly clean the area with non-chlorinated brake cleaner and compressed air. Keep solvent out of electrical connectors and seals.
- Visually inspect the remaining boss and sealing land. Use a small straightedge to check for flatness and a borescope to look into the center oil passage.
- Identify thread spec and condition. Most spin-on filters use M20×1.5 or 3/4-16. Verify with a thread gauge; do not guess.
- Assess the crack path. If you see radial cracks extending into the case or porosity that reaches an oil gallery, you are likely in replacement/welding territory.
Minimum viable conditions for an on-vehicle thread-based repair:
- At least 3–4 full threads of intact, concentric female thread remain in the bore (or you can safely cut deeper threads below the fracture).
- The sealing land for the filter gasket can be preserved or duplicated via an adapter/plate.
- You can capture chips during any machining and flush the gallery completely.
2) Decide: Replace the Case/Block or Attempt Repair
Be candid about risk. A failure at the oil filter boss can dump oil instantly. On motorcycles, this can put oil on the rear tire—an unacceptable safety hazard. On cars, rapid oil loss can wipe the engine.
Choose replacement of the case or block if any of the following apply:
- Fracture propagates into the casting beyond the boss or into a pressurized gallery you cannot access.
- Less than 3 full threads can be salvaged, or the bore is severely oval/out-of-axis (>0.25 mm runout).
- Sealing face is destroyed and cannot be spot-faced without violating oil passage geometry.
- You cannot guarantee chip control and gallery flushing during repair.
- Vehicle use and liability (e.g., high-speed road riding) make any temporary repair unacceptable.
When repair may be justified:
- Budget/time constraints and the engine otherwise tests healthy.
- You can achieve a mechanically sound thread engagement with an extended stud, or you can implement a proven remote filter relocation with robust sealing.
- You have access to competent machining/welding resources if needed.
Cost and downtime reality check:
- Used lower case/short block: parts cost moderate; requires rebuild time and gaskets/seals; low risk once done.
- TIG weld + machine: typically higher than you think; engine must be stripped and baked clean; demands top-tier talent.
- Thread salvage/relocation: lowest upfront cost and can be durable if executed with proper tooling and sealing; must be pressure-tested.
3) Salvage the Center Thread and Install an Extended Filter Stud
If the internal female threads in the case are intact or can be cut deeper, you can install a longer filter stud (nipple) to re-establish a secure mount. This works when the removable stud originally broke and the surrounding sealing land remains usable.
Tools and materials:
- Thread pitch gauge; calipers.
- Bottoming tap sized to the OEM thread (commonly M20×1.5 or 3/4-16). Use a high-quality tap and cutting fluid.
- Grease for chip capture; strong shop vacuum; lint-free swabs.
- Extended filter stud in the correct thread/length. Choose high-strength steel with proper nose geometry and a sealing face/washer as required.
- Sealants: For straight metric threads with sealing washer, use oil on the washer only; for tapered pipe threads in adapters, use PTFE paste or Loctite 565. For straight threads that must resist vibration without sealing duty, Loctite 243 is appropriate. Do not use tape that can shed strings into oil.
- Spot-face/end mill (optional) to true the sealing land if distorted.
- Mechanical oil pressure gauge for validation.
Procedure:
- Mask off surrounding areas. Pack the tap flutes with grease. Insert a snug-fitting pilot to center your tap if possible.
- Chase existing threads to clean them. If the original threads are compromised but the bore has depth, carefully cut deeper threads with a bottoming tap. Advance a fraction turn at a time; back off to break chips. Maintain strict axial alignment.
- Continuously vacuum and clean. Frequently remove the tap to wipe grease and chips. Use swabs to clean the gallery entrance.
- Evaluate thread engagement. You want ≥1× nominal diameter of engaged threads (e.g., ≥20 mm for M20) or an absolute minimum of 3–4 full turns for low-load mounts. More is better.
- Optional: Lightly spot-face the sealing land if it was nicked. Do not remove more material than needed; you must preserve gasket crush geometry.
- Install the extended stud. If the interface is straight metric with a sealing washer, oil the washer and seat the stud snugly (hand tight plus a modest nip, typically 10–15 N·m if spec unknown). If it’s a pipe thread in an adapter, apply appropriate paste sealant and tighten to engagement without over-stressing the casting.
- Install a 90° angle adapter or shorter filter if clearance is tight; it reduces wrench-induced stress on the boss.
- Prime the oil system. Disable ignition/fuel and crank to build pressure; verify with a mechanical gauge. Inspect for seepage. Then idle and inspect at temperature. Re-check fastener torque after heat soak.
Notes:
- Thread inserts (helicoil/Time-Sert) in a thin, oil-wet boss are rarely ideal for the center stud due to sealing and wall thickness. Use only if an engineered insert size exists for your application and you can machine the boss true.
- Never rely on thread locker to seal a straight-thread oil gallery connection. Seal with a washer or a designed seal interface.
4) Use a Remote Oil Filter Relocation Kit
When the boss is damaged but you can still grab a secure, sealed feed/return from the block, a quality relocation kit can save the engine and future headaches. This approach also reduces stress at the original boss.
What you need to determine first:
- How the block expects oil to flow through the filter path (in/out orientation through the center and perimeter annulus).
- Whether the original female bore can accept an adapter fitting that seals at the block (O-ring, washer, or tapered thread) without depending on the broken boss.
- Whether you have a bolt circle or flat face to mount a plate adapter if the center boss is gone.
Two common patterns:
- Center-thread adapter: An adapter fitting screws into the existing female bore and routes oil to AN lines. The adapter seals with an O-ring or washer; the remote mount holds the spin-on filter.
- Plate adapter: A machined plate with O-rings seals against the block face and is secured with bolts you drill/tap into surrounding material (only if there’s sufficient meat and you can ensure correct oil path alignment). This is more custom and should be machined precisely.
Best practices for relocation:
- Use name-brand mounts and fittings. AN flare (37°) seals dry. ORB uses an O-ring. NPT is tapered and needs paste sealant. Do not mix thread forms.
- Hose sizing: AN-8 (1/2 in) is common for filter circuits; match OEM flow. Avoid sharp bends; keep runs short.
- Mount the remote filter base upright to keep the gasket flooded and make changes clean. Allow clearance for a strap wrench.
- Secure hoses away from exhaust, chain/belt, and moving parts. Use abrasion sleeves and proper clamps or P-clips.
- Prime the remote filter with oil before startup. Fill lines if practical.
- Pressure test: Crank with ignition/fuel disabled and monitor a mechanical gauge. Leak-check every joint at idle and operating temperature. Re-torque after the first heat cycle.
5) If Welding Is on the Table: Prep and Machining Expectations
Welding oil-contaminated cast aluminum is possible but unforgiving. It nearly always requires full disassembly so the case can be cleaned, baked, welded, and machined correctly.
What a competent weld/machine repair entails:
- Strip the engine or split the cases. Remove seals and components affected by heat.
- Decontaminate: Degrease repeatedly, then bake the case at approximately 160–175°C (320–350°F) long enough to sweat oil out of the pores (commonly ~1 hour per inch of section or per several pounds of mass). Repeat clean/bake cycles as needed.
- Preheat to reduce thermal shock. Skilled TIG with appropriate filler (4043 is common for castings) and control of porosity. The welder may add material to rebuild the boss entirely.
- Post-weld machining: Spot-face the sealing land, re-drill, and tap the center bore to the original spec and alignment. Verify concentricity and surface finish. Deburr internal passages.
- Ultrasonic cleaning and final flushing of oil galleries to remove inclusions. Replace filters and consider a one-heat-cycle oil and filter change to catch residuals.
Pros:
- Restores original geometry and strength if done by a top-tier welder/machinist.
Cons:
- Costly relative to a used case/short block. Lead time can be long.
- Risk of porosity, leaks, or distortion remains if the casting is highly contaminated or brittle.
6) Temporary Epoxy Patching: Last Resort Only
Two-part metal-filled epoxies can adhere to degreased aluminum and slow a leak, but they are not a structural substitute for the boss on a pressurized oil circuit. Consider this a stopgap to move the vehicle onto a trailer or to buy very short-term time while you source parts. If you choose to proceed, monitor obsessively.
Procedure for a temporary patch:
- Thoroughly degrease with acetone or brake cleaner. Mechanically roughen the area (80–120 grit). Drill tiny stop-holes at crack tips to prevent propagation (do not drill into galleries).
- Warm the area to drive out oil; cool before mixing epoxy. Follow exact mix ratios. Wet out the surface, then build a fillet.
- If bonding a threaded adapter or plate, key the surfaces, use through-bolts where available, and avoid relying on epoxy threads in tension.
- Cure per manufacturer spec (often 24–48 hours at room temp). Post-cure gentle heat if allowed.
- Install a mechanical oil pressure gauge and perform no-load pressure testing before any road operation.
Risks:
- Sudden failure and oil dump. On bikes, this can cause immediate loss of traction. On cars, it can irreparably damage the engine.
Quick checklist
- Identify thread: confirm M20×1.5 vs 3/4-16 (use gauge).
- Measure remaining threads and sealing land.
- Decide: replace case/block vs repair (safety first).
- If repairing: chase/cut threads with chip control; install extended stud or relocation adapter; use correct sealant types.
- Prime and pressure test with a mechanical gauge before first start; heat-cycle and re-check.
FAQs
How many threads do I need to safely hold an oil filter stud?
As a rule of thumb, target engagement equal to 1× the nominal diameter (e.g., ~20 mm engagement for M20) with minimum 3–4 full threads in sound material. More is better, and concentricity matters.
What size are common oil filter threads?
The two most common are M20×1.5 (many European/Asian) and 3/4-16 (many domestic). Always verify with a pitch gauge and test-fit a known-straight sample in a bench block before committing.
Can I use a helicoil or Time-Sert in the boss?
In thin, cracked, or oil-wet castings, general-purpose inserts can compromise sealing and strength. If you have sufficient wall thickness and can machine the boss true, a solid bushing-style insert engineered for the application may work, but it’s usually safer to cut deeper native threads or relocate the filter.
What sealant should I use on the stud/adapter?
Use the seal the interface was designed for: sealing washer or O-ring for straight threads; PTFE paste or Loctite 565 for tapered NPT. Use Loctite 243 on non-sealing straight threads for vibration resistance. Do not use thread tape inside oil systems where strings can shed.
Do I need to split the cases to weld?
For a quality TIG repair, yes. The case must be stripped, decontaminated (clean/bake), welded, and then machined. On-vehicle welding of an oil-wet casting usually results in porous, weak, or contaminated welds.
How do I prevent over-tightening filters in the future?
Lightly oil the gasket; spin the filter on until the gasket touches, then tighten per spec (commonly 3/4 turn by hand, or torque to the manufacturer’s value if specified). Use the hex or cup only for removal. Wipe the base clean and verify the old gasket isn’t stuck before install.
Shop Paint & Finishing Tools
After repair work around the oil filter boss, clean up and protect the area with Cutting, Threading and Drilling and Thread Repair suitable for surface prep and refinishing.
- Abrasives and surface prep: sanding discs, scuff pads, and blocks for blending welds or machined areas.
- Masking and protection: tapes, films, and plugs to keep galleries and hardware clean while painting.
- Spray equipment and coatings: touch-up guns, primers, and finishes for corrosion protection.
The Toolsource Technical Team blends decades of real-world automotive service experience with up-to-date technical research. Our writers collaborate with professional mechanics, shop owners, and diagnostic specialists to deliver practical, workshop-ready guidance you can trust.


Follow us on social media