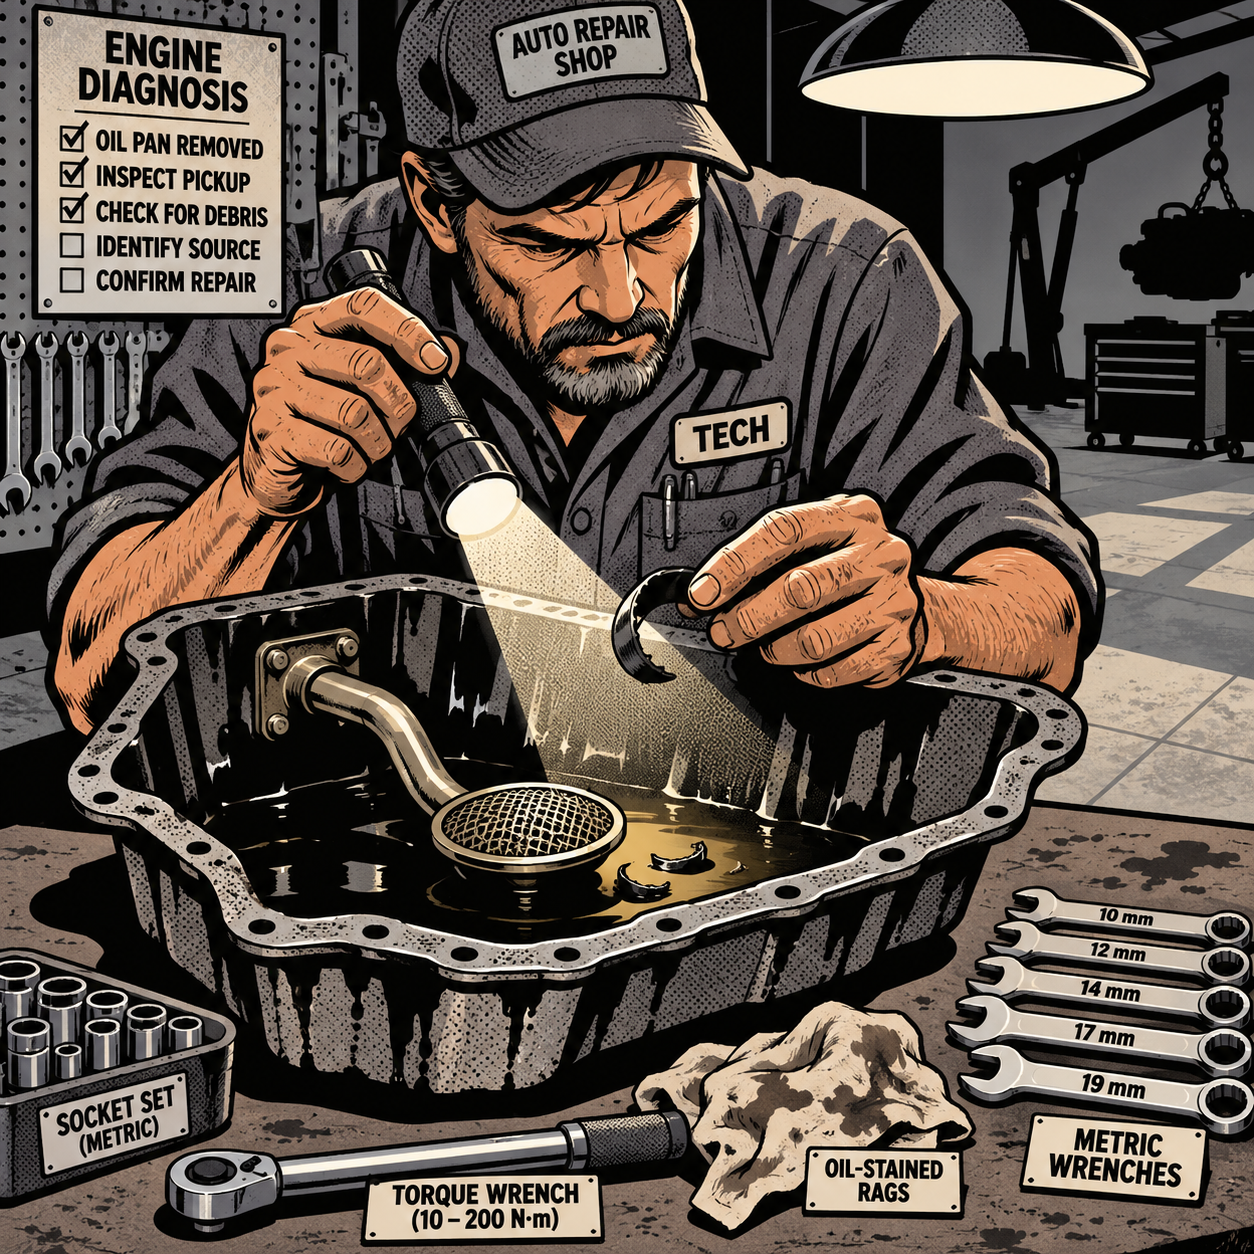
A tech drops an oil pan expecting sludge and finds something that looks nothing like it belongs — a chewed-up length of plastic tubing, or worse, a fragment wedged near the pickup screen. Before assuming the worst, it helps to know what’s actually common inside oil pans, how dipstick tubes fail, and how to separate that finding from an unrelated drivability complaint. This guide walks through the diagnostic steps techs actually use when they open a pan and find debris they didn’t expect.
Why Oil Extraction Through the Dipstick Tube Isn’t Automatically a Red Flag
Top-side oil extraction via the dipstick tube gets a bad reputation in some shops, but it’s a factory-sanctioned method on a number of platforms — Mercedes-Benz is a well-known example, where the oil filter housing sits on top of the engine specifically so the system can be serviced without going underneath. On vehicles with plastic oil pans, brass drain plug inserts, or a history of stripped threads, extraction is often the lower-risk option compared to a drain plug that’s been over-torqued one too many times.
The method itself extracts oil through a rigid or semi-rigid probe fed down the dipstick tube to the bottom of the pan. Done correctly, it can pull out as much or more oil than a gravity drain, especially on engines where the drain plug sits off-center from the lowest point of the pan. The problem isn’t the technique — it’s when it’s performed with worn equipment, the wrong probe length, or on a dipstick tube that’s already brittle from age and heat cycling.
How Dipstick Tubes Actually Break
Dipstick tubes on many vehicles are plastic, not metal, and they sit in one of the hottest, most heat-cycled areas of the engine bay for years. Over time the plastic becomes brittle. A tech feeding a metal extractor probe down that tube can catch a lip, a seam, or a crack, and either shear off a piece of the tube or snap the tip of the extractor probe itself. If the broken piece isn’t noticed immediately, it drops straight into the pan and stays there — often doing no damage at all, since it tends to settle at the bottom away from the pickup.
This is also a known failure mode during dipstick tube replacement: if a tech or DIYer swaps a cracked tube, a piece of the old one can break off and fall in during removal, with nobody catching it because it happened before the extractor was even involved. Either way, the result on teardown looks similar — a curled, oil-soaked strip of plastic that’s easy to mistake for a stuck extractor tip or a chewed hose fragment.
[PRODUCT_SEARCH: dipstick tube replacement kit]
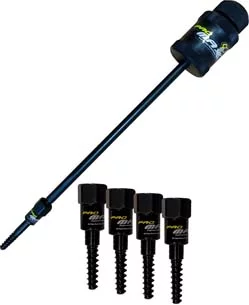
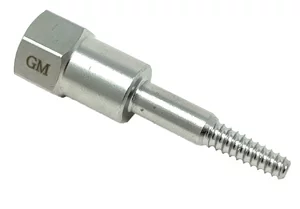
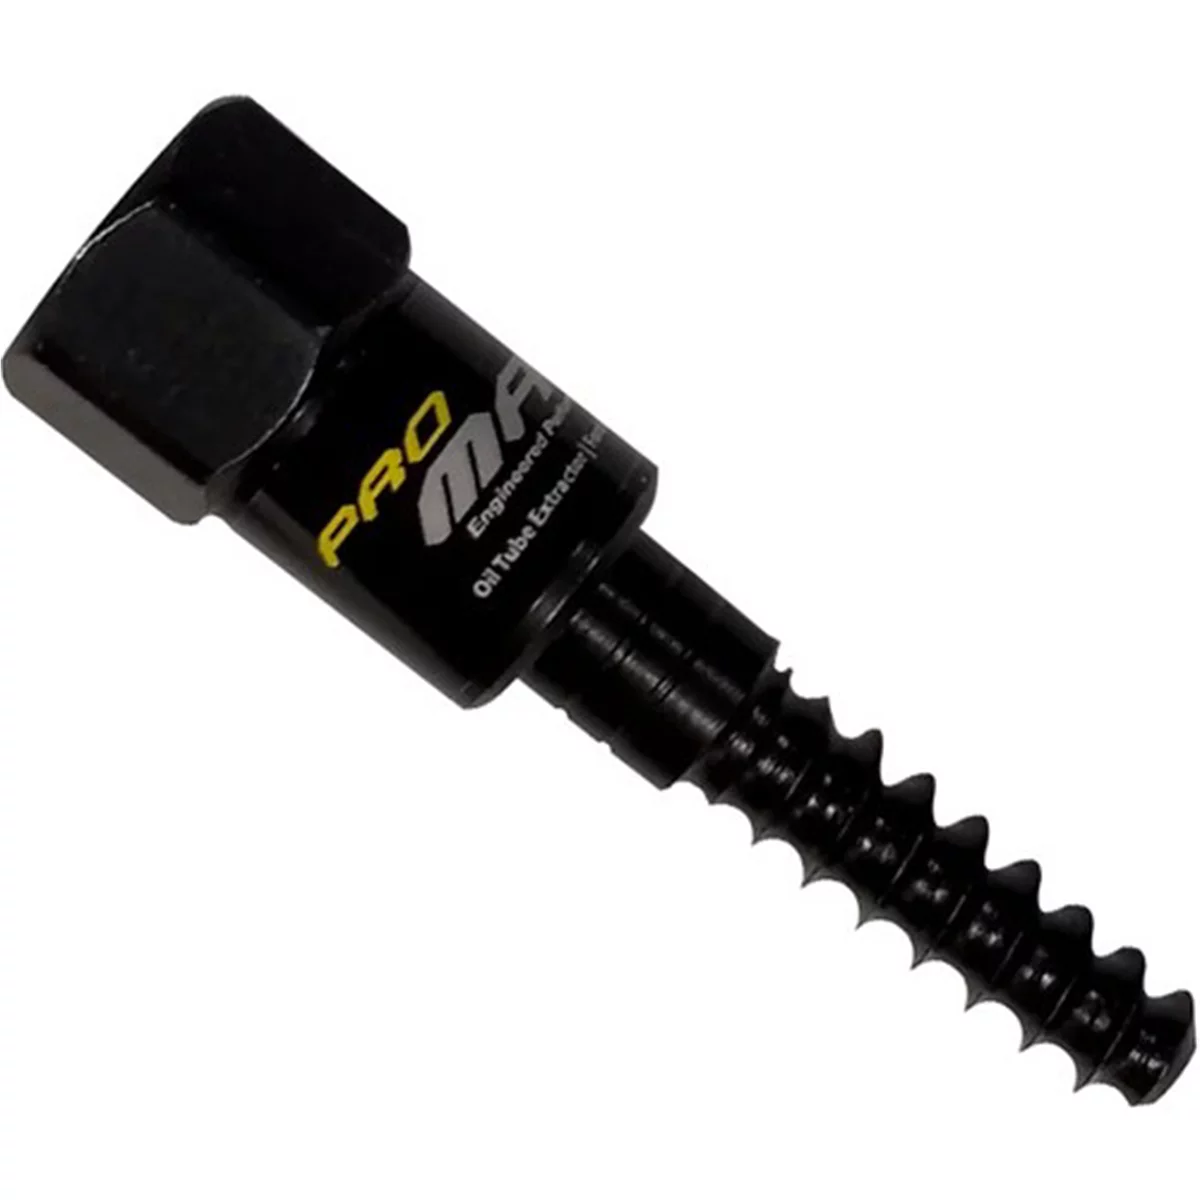
ProMaxx Ford 6.2L PowerPull Oil Tube Extractor ProKit 11" Sl
Mfg: ProMaxx Tool by Milton
Part #: OTE360
Diagnosing Debris Found in the Oil Pan During Teardown
Finding something unidentified in a pan is more common than most people assume — quick-lube and general repair techs report pulling out everything from broken extension bits to fuel line segments to jewelry. Most of it is historical, not causal. When you find debris, work through it methodically:
- Photograph the item in place before moving it, and note its position relative to the pickup tube and screen.
- Compare the material and shape against the dipstick tube — plastic dipstick tubes are often ribbed, curved to match the tube’s routing, and discolored from oil saturation, which helps distinguish them from drain plug gaskets, filter media, or aftermarket extractor tips.
- Check the dipstick tube itself for a missing section, a jagged break point, or a loose fit at the block — this confirms the source instead of leaving it as a guess.
- Pull a service history if available. A recent oil change, especially at a quick-lube chain, raises the likelihood that an extraction attempt is the source.
If you can’t find a corresponding break point on the dipstick tube itself, don’t stop there — the oil pickup assembly is a different part entirely and deserves its own inspection.
Dipstick Tube Debris vs. Oil Pickup Tube and Screen Damage
This is the distinction that matters most for liability and repair scope. The oil pickup assembly is a metal tube with a mesh strainer at the bottom of the pan, feeding oil to the pump. It’s a separate component from the dipstick tube, and it’s far more structurally significant — damage or blockage here affects oil delivery to the pump, not just housekeeping inside the pan.
With the pan off, you should be able to see the pickup tube and screen directly. Check for:
- Visible debris packed against or inside the screen mesh
- Cracks, dents, or separation at the tube’s mounting flange
- Any foreign material lodged between the screen and the pump inlet
A broken dipstick tube fragment is almost always too large to pass through the strainer mesh and will typically be found loose nearby, not jammed into the screen — which is one reason techs report that these fragments “do not normally cause any problems” even when left for years. If you do find something actually obstructing the pickup screen, that’s a different and more urgent finding: pull the pan, clean the screen thoroughly, inspect for pump damage, and verify oil pressure before returning the vehicle to service.
When Stalling or Stuttering Under Braking Isn’t Related to the Pan Debris
It’s tempting to link any pan debris to a drivability complaint, especially an engine stall or stutter under hard braking, but on most modern gasoline engines there’s no low-oil-pressure cutout that kills the engine — a drop in pressure triggers a warning light, not a shutdown. If a vehicle stalls or hesitates specifically during hard braking, work the more likely causes first:
- Brake booster vacuum leak — check for a rough or changing idle when the booster is exhausted, and inspect the booster check valve and hose
- Throttle body or idle air control issues — look for vacuum leaks or carbon buildup affecting airflow during deceleration
- Torque converter clutch (TCC) apply/release behavior — a TCC that doesn’t release cleanly under braking can feel like a stall
- Loose battery or grounding issue — confirm the battery is secured and not shifting against the chassis under deceleration, which can cause an intermittent electrical dropout
Treat the oil pan debris and the stalling complaint as two separate diagnostic threads unless you find direct evidence connecting them, such as actual pickup screen blockage with corresponding low oil pressure codes or readings.
Best Practices: Extraction, Drain Plugs, and Documentation
Whichever method your shop uses, the fix for comments blaming “lazy” extraction isn’t to ban the method — it’s proper technique and equipment:
- Inspect the dipstick tube visually before inserting an extractor probe; don’t force past resistance
- Use a probe sized and lengthed correctly for the vehicle, and retrieve it slowly, watching for drag
- If a probe or tube fragment breaks off during extraction, stop and document it immediately rather than hoping it settled harmlessly — pull the pan if there’s any doubt about pickup tube interference
- For drain-plug service, always use a torque wrench on plastic pans, brass inserts, or any pan with a known history of stripped threads
- Note any pre-existing debris or tube condition on the repair order before performing service, protecting both the shop and the customer from disputed blame later
Quick Reference Checklist
- Photograph debris in place before removing it from the pan
- Confirm whether the dipstick tube has a matching break point
- Inspect the pickup tube and screen separately for blockage or damage
- Rule out brake booster, throttle body, TCC, and battery grounding for braking-related stalls
- Use a torque wrench on drain plugs, especially on plastic pans or brass inserts
- Document findings and tube/pan condition on the repair order before service
[PRODUCT_SEARCH: oil extractor and oil change tools]

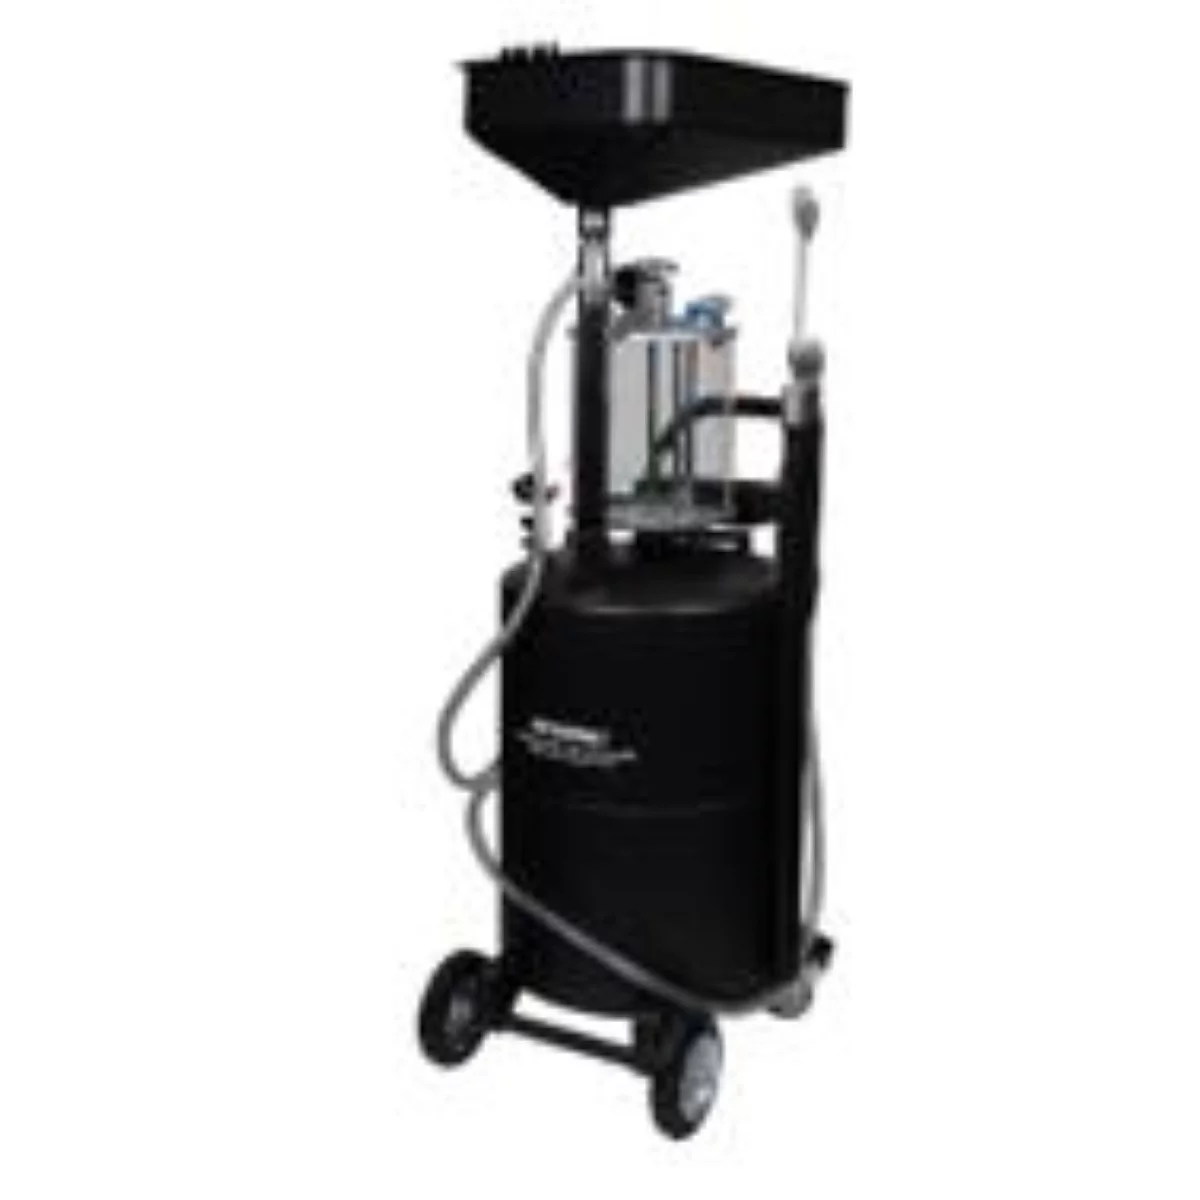

LiquiVac Small Engine Oil Extractor - 3 Qt Capacity
Mfg: United Marketing
Part #: 2005LV
FAQs
Is sucking oil out through the dipstick tube actually bad for the engine?
No — it’s a factory-approved method on several makes and can remove as much oil as a gravity drain. Problems arise from worn tubes or improper technique, not the method itself.
Can a broken dipstick tube fragment damage the engine if left in the pan?
Usually not. These fragments tend to settle at the bottom of the pan away from the pickup tube and are too large to enter the strainer mesh, so they’re often found after years of trouble-free operation.
How do I tell if debris came from the dipstick tube or the oil pickup assembly?
Compare the material and shape to the dipstick tube — plastic, ribbed, oil-saturated pieces usually match a tube break. The pickup assembly is a separate metal tube with a screen; inspect it directly with the pan off rather than assuming.
Should I remove debris I find in an oil pan even if it’s not causing symptoms?
Yes, while the pan is off anyway — clean out any loose material and inspect the pickup screen before reassembly, even if the item looks harmless.
What’s the most common cause of an engine stalling under hard braking?
On most gasoline engines it’s unrelated to oil pressure. Check the brake booster for a vacuum leak, the throttle body for airflow issues, and torque converter clutch apply/release behavior first.
Do I need a torque wrench for every oil drain plug?
It’s strongly recommended, especially on plastic pans or pans with brass threaded inserts, since these strip easily when over-tightened and are a common reason shops switch to extraction instead.
Shop Oil Change Tools
Safe oil extraction and proper drain-plug maintenance depend on having the right tools. Visit our Automotive Oil Change Tools selection for extractors, torque wrenches, and accessories that support both methods.
- Oil extractors and suction pumps for safe panel-off service
- Calibrated torque wrenches to prevent over-torquing and thread stripping
- Drain pans, drain plugs, and gaskets for routine oil changes

The Toolsource Technical Team blends decades of real-world automotive service experience with up-to-date technical research. Our writers collaborate with professional mechanics, shop owners, and diagnostic specialists to deliver practical, workshop-ready guidance you can trust.


Follow us on social media