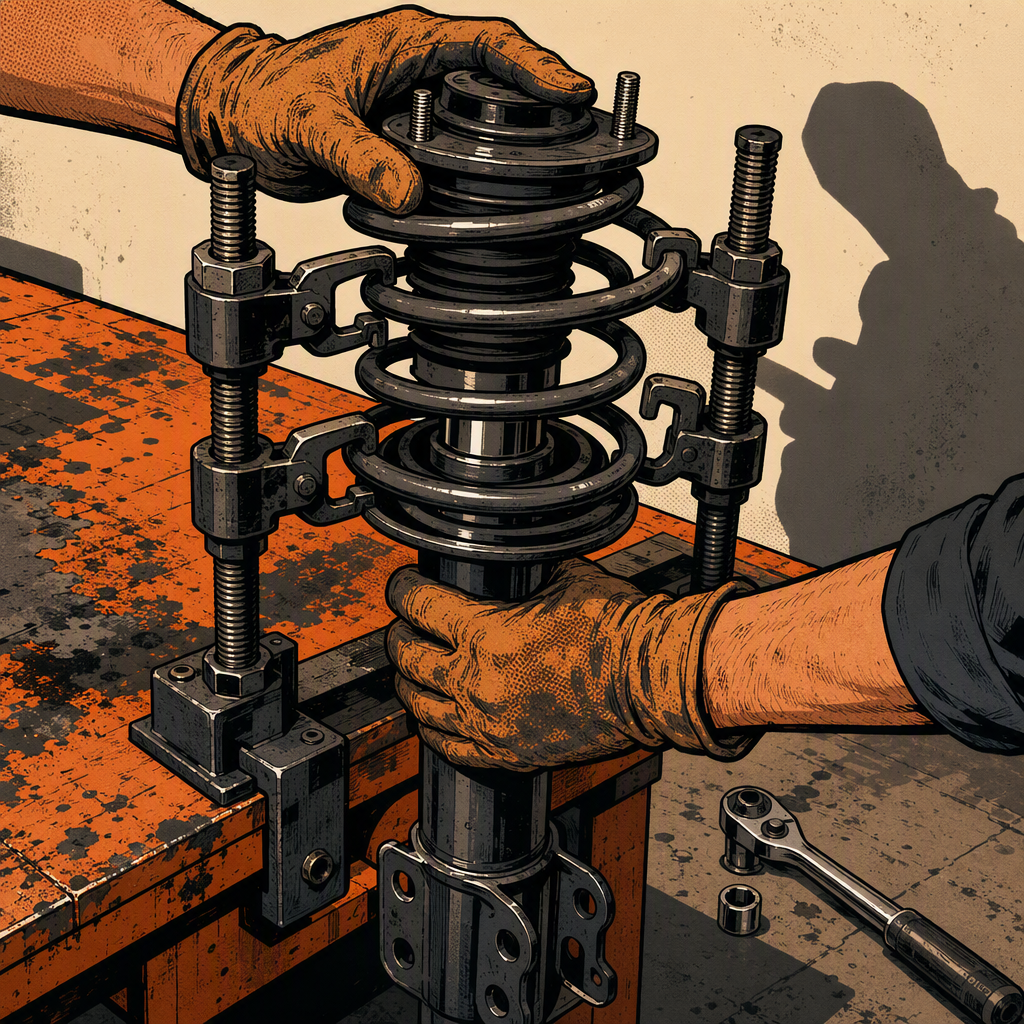
A photo has been making the rounds of a strut assembly that should never have left a driveway: a homemade top plate welded onto a sealed, gas-charged strut body, a castle nut spun on cross-threaded, a 3/8″ socket left permanently stuck to a fastener, and a coil spring hanging loose because it was never seated in its perch to begin with. It reads like a joke, but every one of those failures is a real hazard, and most techs have seen a milder version of the same thing roll into their bay under a customer who “had a buddy do it for less.” This guide walks through what a correct strut and spring job actually requires, the specific failure points that turn a routine repair into a safety risk, and how to handle a car that shows up with someone else’s shortcuts already installed.
Why You Never Weld or Drill a Gas-Charged Strut
Every OEM strut cartridge is a sealed pressure vessel — pressurized nitrogen gas over hydraulic oil, contained by a thin-wall steel tube. That’s why the housing is stamped “do not heat” directly from the factory. Applying an arc, a torch, or even sustained grinding heat near the body risks igniting the oil, weakening the tube wall, or causing the seal to fail explosively. There is no scenario where welding a mounting tab, a spring perch, or a top plate onto an existing strut tube is an acceptable repair, regardless of how clean the bead looks after it’s ground and painted.
If a strut’s mounting point is damaged, corroded, or doesn’t match the vehicle, the fix is to replace the strut, the knuckle, or the mount — not to fabricate a new attachment point on a pressurized tube. If you’re inspecting a vehicle and see grind marks, overspray, or a top hat that doesn’t match the factory casting, treat it as a structural failure waiting to happen and pull the strut before doing anything else.
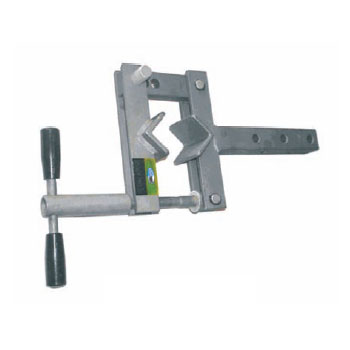
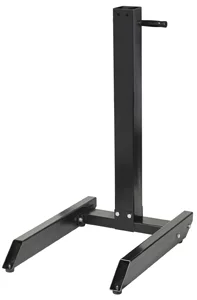
StrutTamer Elite Tool Stand Automotive Strut Spring Coil Compres
Mfg: OTC Tools and Equipment
Part #: 6582
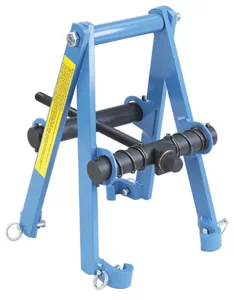
MacPherson Automotive Strut Spring Coil Compressor tool Clamshel
Mfg: OTC Tools and Equipment
Part #: 6494
Correct Spring and Mount Assembly, Step by Step
A coil-over strut assembly only works if the spring seats correctly at both ends. On most vehicles the coil has a specific orientation — the flat end registers against a stepped or notched perch — and getting that wrong lets the spring walk under load, which is exactly the “spring hanging off the strut” failure mode seen in the viral photos. When reassembling:
- Compress the spring only with a rated spring compressor, matched to the coil diameter, with both hooks fully engaged before releasing tension.
- Confirm the spring’s flat/ground end seats flush against the lower perch, and that the upper isolator pad is in place and not pinched.
- Verify the upper strut mount bearing rotates freely — a seized bearing will bind the spring and cause clunking, uneven wear, and steering feedback issues even if every fastener is correct.
- Inspect the dust boot and bump stop before final assembly; a torn boot lets contaminants into the strut rod and shortens its life dramatically.
Professional Suspension Tools
Strut and spring work done correctly requires the proper tools and equipment. Find spring compressors, strut removal tools, and suspension diagnostic equipment in our Tire Tools, Wheels & Suspension section.
- Spring compressors rated for your vehicle’s coil diameter
- Strut and spring assembly and removal tools
- Suspension bearing inspection and diagnostic equipment

The Toolsource Technical Team blends decades of real-world automotive service experience with up-to-date technical research. Our writers collaborate with professional mechanics, shop owners, and diagnostic specialists to deliver practical, workshop-ready guidance you can trust.


Follow us on social media