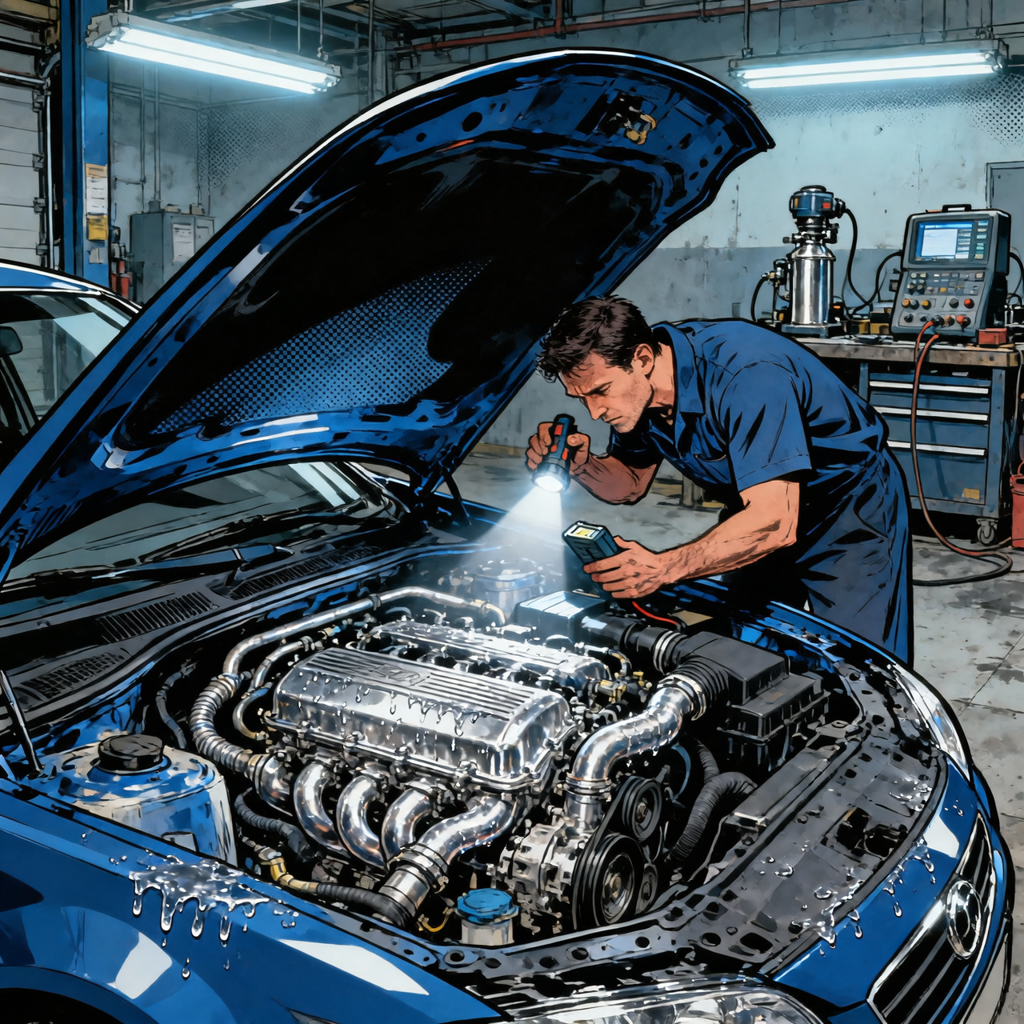
When your car’s A/C blows warm air, you likely have a refrigerant leak. Repairs range from replacing a seal to swapping the compressor. Knowing when to DIY versus call a pro saves money. Modern A/C systems require precise refrigerant amounts, so accurate diagnosis is critical.
Signs Your Car’s A/C Has a Leak
Early leak detection prevents compressor damage. Common warning signs include weak cooling that gradually worsens, oily residue around the compressor shaft seal and hose connections (indicating escaping oil), and hissing sounds when the A/C engages (suggesting major leaks).
DIY Diagnosis
UV Dye Detection
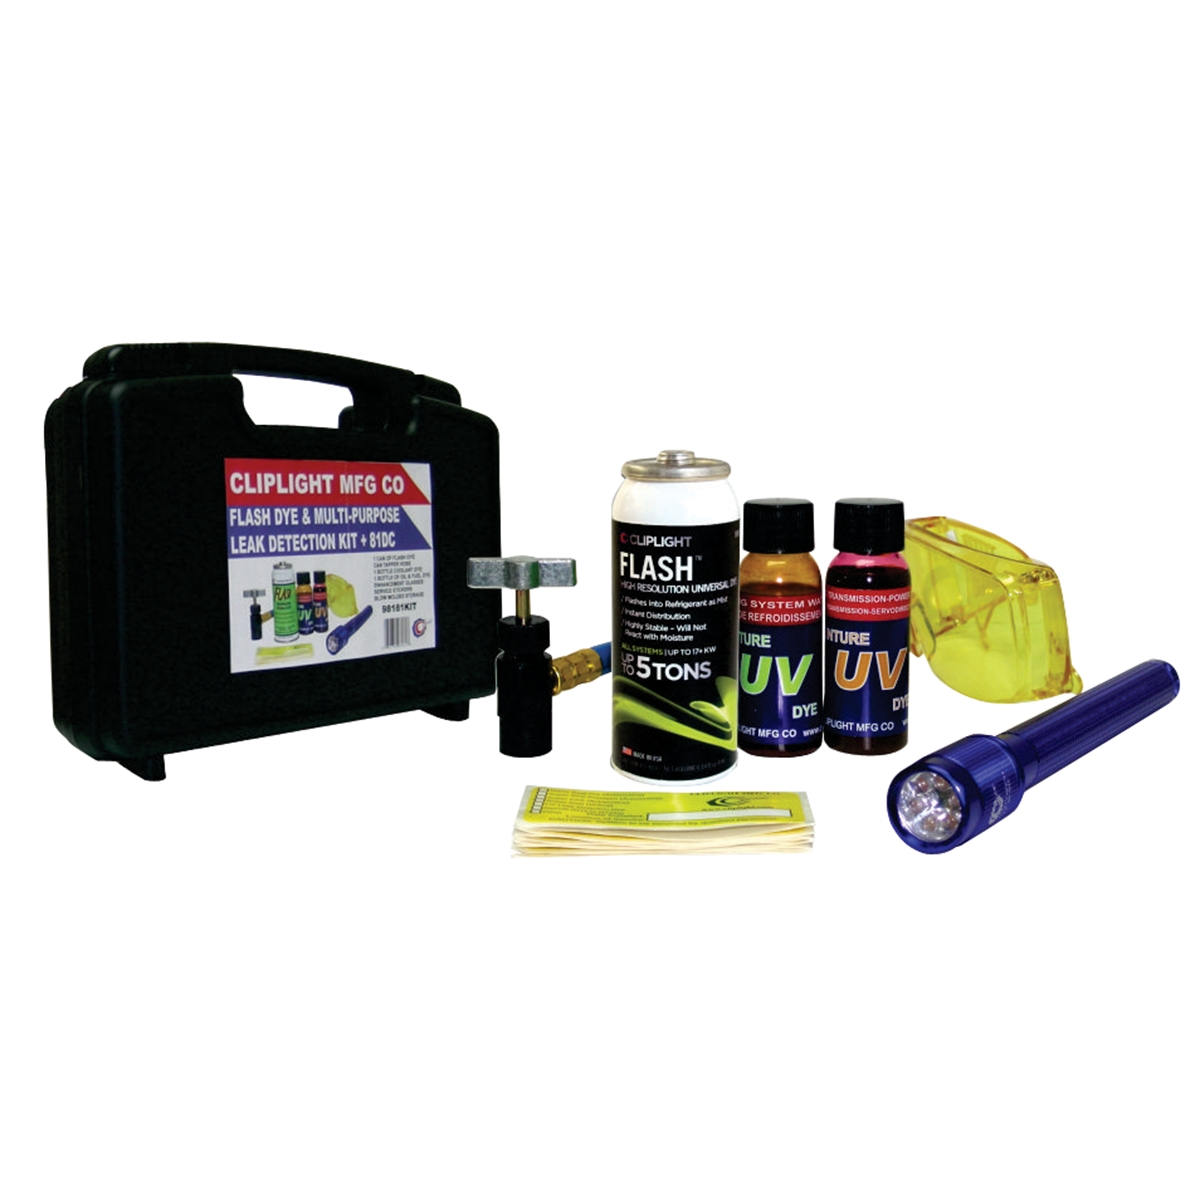
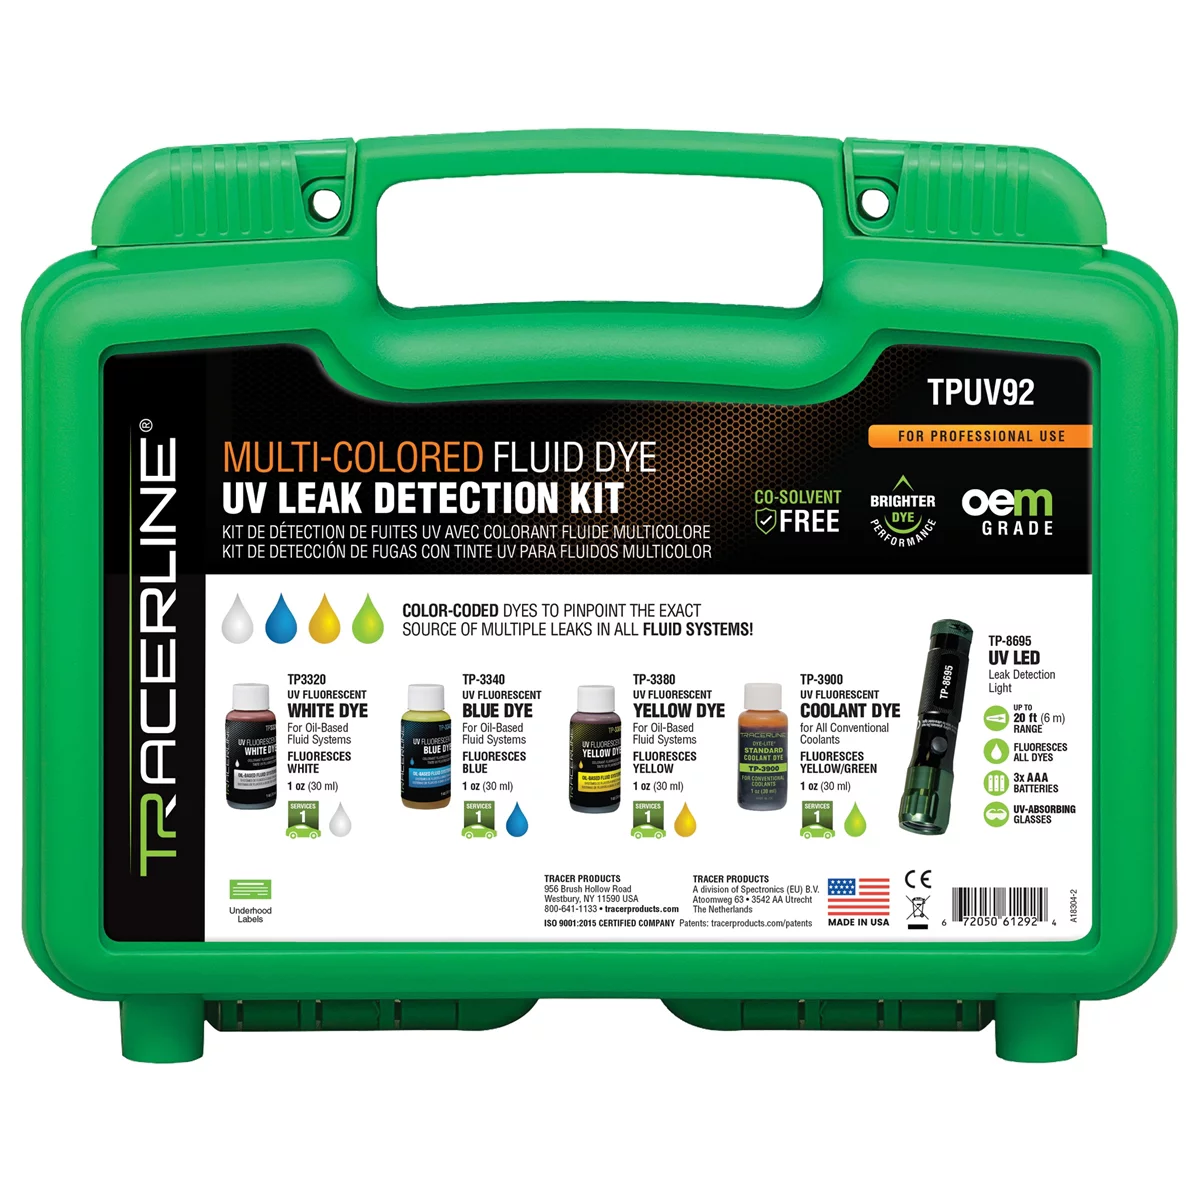
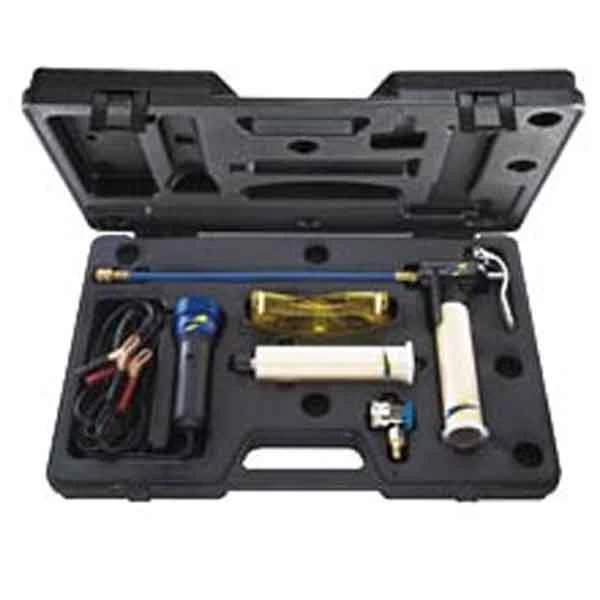
UV dye kits from auto parts stores let you find slow leaks yourself. Inject fluorescent dye through the low-pressure service port, run the A/C for 15-20 minutes, then use a UV flashlight to spot glowing residue at leak points—compressor seal, hose connections, condenser seams, or evaporator drain.
Pressure Testing
A manifold gauge set reveals refrigerant levels. Plug the blue hose into the low-side port and red into the high-side port. Engine off, both should read 70-90 PSI at 70°F. Running at max A/C, expect 25-45 PSI low-side and 200-250 PSI high-side at idle with 75-80°F outside air. Much lower readings indicate low refrigerant from a leak.
Clutch Engagement Check


The compressor clutch should click and engage within seconds. No click means no power—check the fuse, pressure switch, or control module. The low-pressure cutoff switch prevents running the compressor dry below 25-30 PSI, which many people mistake for clutch failure.
Dealer vs. Independent Shops
| Factor | Dealership | Independent A/C Specialist | General Shop |
|---|---|---|---|
| Diagnostic Cost | $150-$200 | $80-$120 | $75-$100 |
| Labor Rate | $140-$180/hr | $90-$130/hr | $85-$120/hr |
| Parts Quality | OEM guaranteed | OEM or quality aftermarket | Aftermarket variable |
| Warranty | 12-24 months nationwide | 12 months local | 6-12 months local |
Cost Comparison: Dealerships cost 25-40% more. Compressor replacement at a dealer runs $1,200-$1,800 versus $800-$1,200 at independent shops.
When Dealers Make Sense: Choose dealerships for in-warranty vehicles, newer cars with computer-integrated A/C controls, R-1234yf systems (2017+), or recurring problems requiring manufacturer technical bulletins.
Finding Certified Independents: Look for ASE A7 certification (Heating and Air Conditioning) and MACS (Mobile Air Climate Systems Association) membership. Verify they have EPA-certified recovery equipment for both R-134a and R-1234yf.
Common Failures & Costs
Compressor Seal Failures
The shaft seal commonly leaks at 80,000+ miles. While seal-only replacement is possible, shops recommend full compressor replacement ($600-$1,400) since internal wear is usually significant. The job includes draining, installing a new accumulator/receiver-drier, replacing the orifice tube or expansion valve, flushing, pulling vacuum, and recharging to factory specs.
Overcharged Systems
Too much refrigerant immediately breaks cooling. High-side pressure exceeds 300-350 PSI while low-side abnormally reaches 50-70 PSI. Liquid refrigerant entering the compressor causes immediate damage. Professional evacuation and weight-based recharge to factory specs (14-40 ounces depending on system) is required.
Why DIY Kits Fail
Pressure-Based Charging: Retail kits measure by pressure, not weight. A normal-looking gauge reading can mean a system that’s 50% over or under-charged. Systems need specific ounce amounts, not guesses based on PSI.
Missing Equipment: Professional A/C service requires recovery machines, vacuum pumps (pulling 29+ inches Hg), electronic charging scales, nitrogen testers, and electronic leak detectors—equipment costing thousands and unavailable for DIY use.
Professional Diagnosis Pays: Spending $100-$150 on diagnosis saves money versus DIY guessing. A pro identifies the real problem—a leak needing repair, dead clutch coil, blocked expansion valve, or electrical fault—rather than just adding refrigerant.
Pre-Shop Diagnosis Checklist
- Verify cabin air filter isn’t clogged
- Check compressor clutch engagement
- Inspect hoses and connections for oily residue
- Listen for hissing, grinding, or squealing
- Note if cooling gradually worsens or failed suddenly
- Check if condenser fan runs during A/C operation
- Verify A/C fuse hasn’t blown
- Document when the problem started
- Test if problem occurs at idle and while driving
- Note vehicle mileage and last A/C service date
EPA regulations require Section 609 certification for professional A/C service. DIYers can work on their own cars, but releasing refrigerant damages the ozone. EPA’s Mobile Vehicle Air Conditioning resources explain the rules. ChrisFix’s YouTube channel offers step-by-step diagnosis tutorials. Department of Energy resources explain refrigeration cycles and charge requirements.
Frequently Asked Questions
Where can I find reliable A/C repair shops?
Look for ASE-certified A/C specialists rather than general shops. Check for MACS membership indicating ongoing training. Read Google and Yelp reviews specifically for A/C repairs. Ask references for recommendations. Verify EPA-certified recovery equipment and capability with both R-134a and R-1234yf refrigerants. Ask about separate diagnosis fees, warranty coverage, and ASE A7 tech certification.
How do I know if my A/C is overcharged?
Symptoms include cool but not cold air (55-65°F instead of 38-42°F), constant compressor cycling, high-side pressure above 300 PSI with low-side 50-70 PSI, hissing high-pressure relief valve, frost on the high-pressure line, increased engine load, and cooling that worsened after adding DIY refrigerant.
Can I charge my A/C myself?
DIY charging risks compressor destruction and often doesn’t fix the problem. Dangers include liquid refrigerant damage, overcharging, unrepaired leaks, and moisture causing corrosion. If you must try: add refrigerant ONLY through the low-pressure port with engine running and A/C on maximum cold; add small amounts and check vent temperature between additions; stop at 38-42°F vent temperature regardless of leftover refrigerant; never add an entire can. Better option: pay $150 for professional leak detection, evacuation, and weight-based charging.
What causes clutch failure?
True clutch failure is rare. Actual causes include electromagnetic coil failure, friction plate wear, bearing failure, low refrigerant blocking engagement, blown fuses, bad relays, failed pressure switches, or control module failure. Before replacing a clutch, verify 12 volts at the coil connector when A/C is on and check that refrigerant pressure is adequate to close the low-pressure switch.
How much does leak repair cost?
Schrader valve core: $50-$100. Hose replacement: $200-$400. Condenser: $400-$800. Evaporator: $800-$1,500. Prices include parts, labor, evacuation, and recharge. Diagnosis typically costs $100-$150, sometimes waived when approving repairs.
Should I use stop-leak additives?
Avoid stop-leak products. They risk clogging the expansion valve or orifice tube, voiding warranties, and contaminating refrigerant for recycling. These work only on tiny rubber leaks and do nothing for seal, condenser, or fitting failures. If the leak is small enough for stop-leak, it’s small enough to repair properly. Professionals consistently recommend proper leak repair over sealants.
Essential AC & Cooling Tools
Whether you’re tackling a refrigerant leak or performing routine maintenance, having the right tools and products is crucial for successful air conditioning repairs. Our AC & Cooling category offers everything you need to diagnose and fix common cooling system issues.
- Refrigerant Leak Detectors – Precision instruments to locate hard-to-find leaks quickly and accurately
- AC Manifold Gauge Sets – Professional-grade gauges for pressure diagnosis and system monitoring
- Vacuum Pumps & Recovery Equipment – Essential tools for properly evacuating and recharging AC systems
Essential Tools for Air Conditioning Repairs
Whether you’re tackling a DIY AC leak diagnosis or preparing for a professional repair visit, having the right tools on hand makes all the difference. Browse our complete selection of automotive air conditioning tools and equipment to handle both preventative maintenance and emergency fixes.
Recommended products for AC system work:
- AC Refrigerant Leak Detection Kits – Essential for identifying leak sources before calling in the pros
- Manifold Gauge Sets – Professional-grade tools for diagnosing pressure and performance issues
- AC System Evacuation & Recovery Equipment – Critical for proper refrigerant handling during repairs
For the tools in this guide, browse A/C Leak Detectors at Tool Source.

The Toolsource Technical Team blends decades of real-world automotive service experience with up-to-date technical research. Our writers collaborate with professional mechanics, shop owners, and diagnostic specialists to deliver practical, workshop-ready guidance you can trust.


Follow us on social media