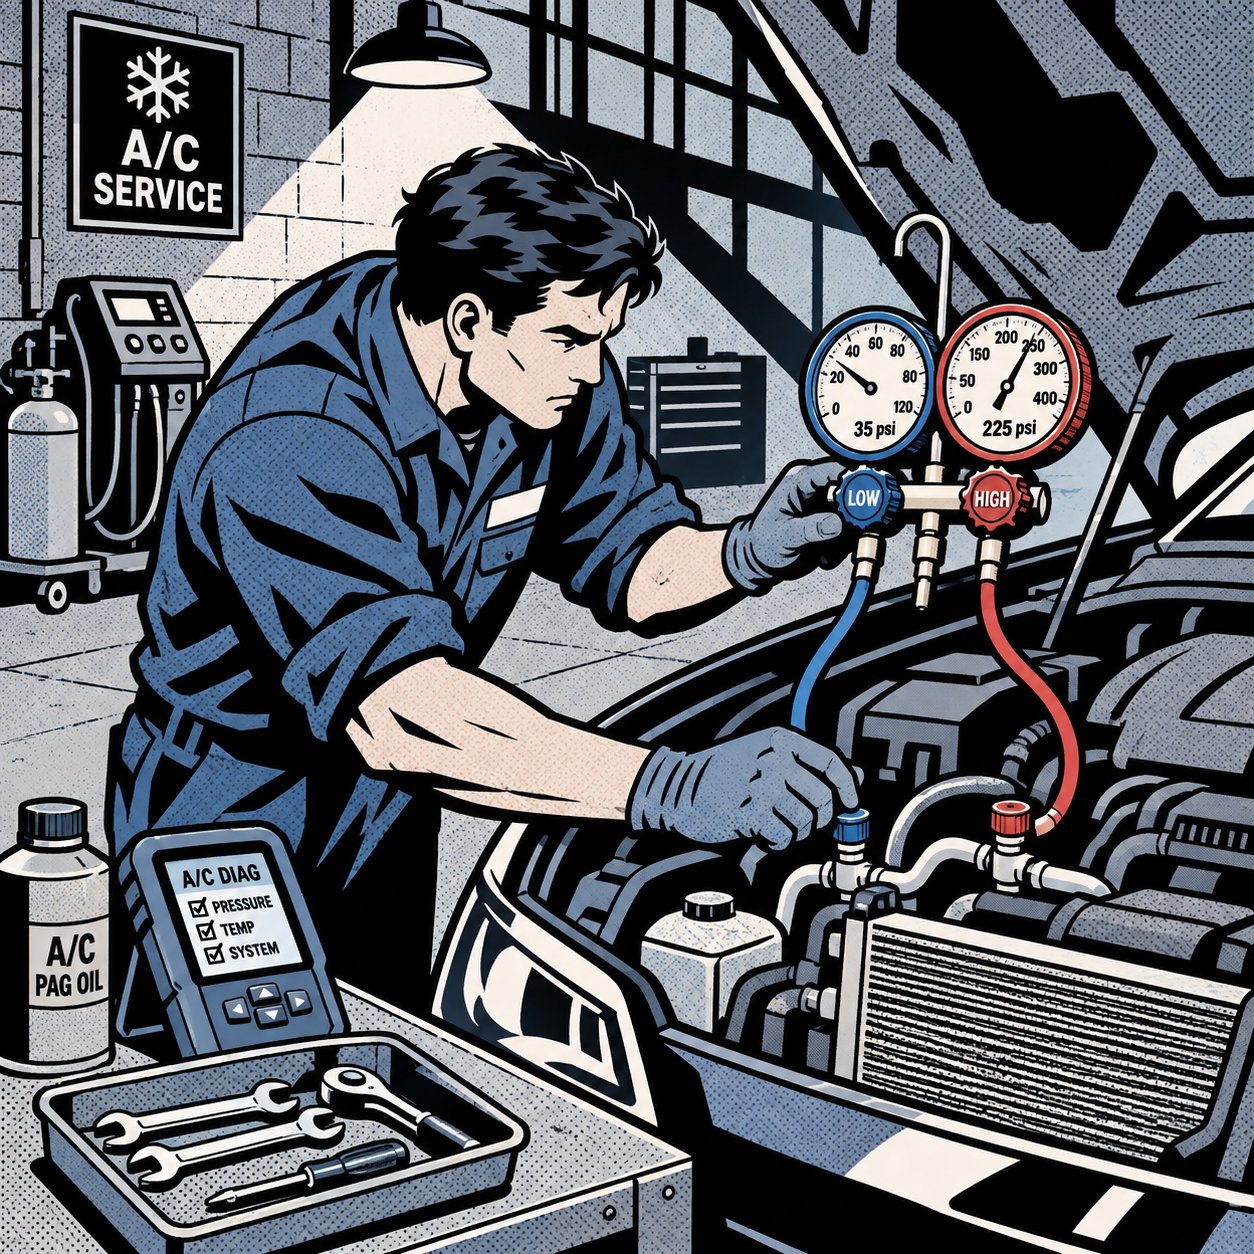
“My A/C used to be ice cold, now it’s just okay” is one of the most common complaints at the service counter, especially on newer vehicles with downsized compressors and updated refrigerant systems. Customers compare their current car to an older truck or sedan and assume something’s broken. Sometimes it is — but often the system is performing exactly to its design spec, and the real issue is a worn component, a restricted airflow path, or a charge that’s slightly off. This guide walks through a practical diagnostic sequence for separating “working as designed” from “needs repair,” so you can give customers an accurate answer instead of a guess.
Why Modern A/C Systems Often Feel Weaker
Before chasing a phantom fault, it helps to understand what actually changed under the hood. Three industry-wide shifts explain most of the generational gap customers notice:
- Refrigerant transition. The move from R134a to R1234yf (and HFO blends before that) changed thermodynamic properties slightly. R1234yf systems are engineered around it, but they run different pressure targets and are less forgiving of undercharge than older R134a setups.
- Compressor downsizing for fuel economy and emissions. CAFE standards push manufacturers toward smaller, lighter, variable-displacement compressors that sip less engine power. That’s a direct trade-off against peak cooling capacity.
- Packaging constraints. Smaller engine bays, electrification, and aero-focused front ends leave less room for large condensers, so some platforms simply have less heat-rejection capacity than an older vehicle with a bigger grille opening and condenser core.
None of this means a modern system can’t perform well — it just means “cold” is measured against a different baseline than it was 20-30 years ago. Your job is to confirm the system is hitting its own spec, not a spec from a different era.
Establish a Baseline Before You Diagnose Anything
Don’t start pulling parts based on a subjective complaint. Get objective numbers first:
- Run the engine at idle, A/C on max cold, blower on high, recirculation on, doors closed, for at least 5 minutes to stabilize.
- Measure center vent discharge temperature with a probe thermometer, not your hand.
- Record ambient temperature and relative humidity — both directly affect achievable vent temps.
- Compare the reading against the OEM spec for that platform (typically 35-45°F vent temp at moderate ambient conditions, though specs vary by manufacturer and system type).
- Repeat the test at a simulated road speed (shop fan on the condenser) to rule out low-speed airflow issues skewing your idle reading.
If vent temps are within spec but the customer still isn’t satisfied, that’s a calibration-of-expectations conversation, not a repair order. If vent temps are out of spec, you now have a real fault to chase.
{{PRODUCT_SEARCH_1}}


Check Refrigerant Charge and System Pressure
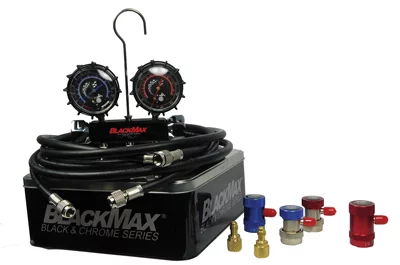
With a baseline established, connect gauges and compare static and running pressures against the vehicle’s charge chart:
- Static pressure (engine off) should roughly match ambient temperature on a pressure-temperature chart. A reading well off that curve suggests contamination, non-condensables, or a charge issue before the compressor even runs.
- Running pressures — compare high side and low side against the manufacturer’s chart for current ambient conditions. Low-side pressure that’s too low with a high side that’s also low usually points to undercharge; a low side that’s too high often points to a restriction or airflow problem.
- Superheat and subcooling checks, where supported by the service data, give a more precise picture than pressure alone and help you avoid overcharging a system that reads “a little low” but is actually fine.
- Always recover, weigh in a full evacuation and recharge with the exact OEM-specified refrigerant and oil type if charge is in question — “topping off” an unknown quantity is guesswork that often makes the next diagnosis harder.
Remember that R1234yf systems have tighter tolerances than older R134a systems. A charge that’s a few ounces off can produce a noticeably bigger performance drop than techs are used to seeing on legacy systems.
Inspect Airflow Restrictions Before Blaming the Compressor
A huge share of “weak A/C” complaints trace back to airflow, not refrigerant. Check these before condemning expensive components:
- Condenser fins — bugs, leaves, and road debris packed into the condenser core reduce heat rejection significantly. A visual inspection with a flashlight, followed by a low-pressure rinse from the engine side out, often restores several degrees of vent temperature.
- Cabin air filter — a clogged filter chokes airflow across the evaporator core, and this is frequently overlooked because it’s hidden behind the glovebox. Replace it as a standard step in any A/C complaint, even if the customer doesn’t mention it.
- Blend door and actuator operation — a blend door stuck partially open lets warm air bleed into the cold air stream. Listen for actuator clicking or run a self-test through the scan tool if the platform supports it.
- Recirculation mode function — confirm the recirc door is actually closing when selected. A door that defaults back to fresh-air intake pulls in hot ambient air and masks an otherwise healthy system.
Evaluate Compressor, Condenser, and Evaporator Condition
If charge and airflow check out but performance is still below spec, move to component-level diagnosis:
- Compressor clutch and variable-displacement function — check for clutch slip, worn bearings, or a variable-displacement compressor stuck at partial stroke. Many modern compressors modulate output electronically; a scan tool can confirm whether the PCM/HVAC module is actually commanding full capacity.
- Condenser capacity limitations — on some platforms, the OEM condenser is simply undersized relative to what the compressor can produce, especially after an A/C delete option was later reintroduced as standard equipment. This is a design limitation, not a failure, and should be communicated as such.
- Evaporator core condition — a partially clogged or iced-over evaporator (from a sticking expansion valve or orifice tube issue) reduces heat absorption even with correct charge and clean airflow upstream.
- Aftermarket upgrade paths — for customers chasing more performance than factory spec allows, larger parallel-flow condensers and higher-capacity compressors exist for some popular platforms. Set expectations that this is a performance modification, not a warranty-covered repair.
When to Recommend Repair vs. Set Expectations
Document before/after vent temps and pressures on every A/C job. This protects you from repeat come-backs and gives customers a factual basis for understanding what their system can and can’t do. If a system is hitting factory spec and the customer wants more, frame it as an upgrade conversation (bigger condenser, verified compressor duty cycle) rather than a comeback repair.
Quick Diagnostic Checklist
- Measure and record vent temp and ambient temp before touching the system
- Compare static and running pressures against the OEM pressure-temperature chart
- Replace or inspect the cabin air filter
- Visually inspect and clean the condenser core
- Verify blend door and recirculation actuator operation
- Confirm compressor is reaching full commanded displacement via scan tool
- Document before/after readings on the repair order
{{PRODUCT_SEARCH_2}}

COMMANDER4100 AUTOMATIC R1234yf & HYBRID RRR MACHINE
Mfg: Mastercool
Part #: COMMANDER4100


Replacement Filter for ACX1280 and ACX1285
Mfg: AirPro Diagnostics
Part #: 360-82739-00
FAQs
Why does a brand-new car’s A/C feel weaker than an older vehicle’s?
Smaller compressors (for fuel economy), tighter engine bay packaging that limits condenser size, and the R1234yf refrigerant transition all contribute to lower peak cooling capacity on many modern platforms compared to older, larger systems.
Is R1234yf worse at cooling than R134a?
Not inherently — systems are engineered around its specific properties. But R1234yf systems have tighter charge tolerances, so a slightly undercharged system shows a bigger performance drop than the same undercharge would on an older R134a system.
What vent temperature should a healthy system produce?
It varies by platform and ambient conditions, but most healthy systems should produce vent temps in the 35-45°F range at idle with moderate ambient temperature and humidity. Always check the manufacturer’s spec rather than a generic number.
Can a clogged cabin air filter really cause a major cooling complaint?
Yes. Restricted airflow across the evaporator reduces heat absorption and can mimic the symptoms of a charge or compressor problem. It’s a cheap, fast check that should happen on every A/C diagnosis.
Should I recommend an aftermarket condenser upgrade for more cooling power?
Only after confirming the factory system is functioning at spec. If it is, and the customer still wants more capacity, an aftermarket high-capacity condenser or verified compressor duty cycle check can help — but set clear expectations that this is a performance upgrade, not a warranty repair.
Why does A/C take longer to cool down in extreme heat even when it’s working correctly?
Higher ambient temperatures increase the heat load the condenser has to reject, which raises system pressures and slows the rate of cooling even on a fully functional system. This is normal thermodynamic behavior, not necessarily a fault.
Recommended Tools for A/C Diagnosis & Service
Once you’ve established a baseline and need to perform pressure tests, airflow checks, and component inspections, having the right tools on hand makes the diagnostic sequence faster and more accurate. Our Auto Air Conditioning Tools section carries the instruments and equipment techs rely on for A/C work.
- Manifold gauges, charging scales, and evacuation equipment for pressure testing and refrigerant service
- Probe thermometers and diagnostic instruments for measuring vent temperature and system performance
- Specialized fittings and adapters for R134a and R1234yf systems

The Toolsource Technical Team blends decades of real-world automotive service experience with up-to-date technical research. Our writers collaborate with professional mechanics, shop owners, and diagnostic specialists to deliver practical, workshop-ready guidance you can trust.


Follow us on social media