If you’ve uncovered a rocker or dogleg that’s essentially sculpted out of body filler, you’re not looking at a cosmetic issue—you’re staring at a compromised unibody reinforcement and a fast track to corrosion. This guide walks technicians and serious DIYers through practical diagnostics, short-term stabilization, and the right way to repair rocker/dogleg damage, including tool recommendations and refinishing best practices.
What You’re Looking At: Rocker/Dogleg Anatomy and Why It Matters
On unibody vehicles, the rocker panel and the dogleg (the trailing lower corner of the quarter panel just behind the rear door) are part of the body’s load path. The outer rocker is often a cover, but the inner rocker and reinforcement are structural members that contribute to side-impact performance, door aperture stiffness, and jacking support. Filling this area with inches of polyester glaze or body filler hides deformation, traps moisture, and eliminates the designed steel section that manages crash energy.
Key points to understand:
- Outer vs. inner: The outer rocker and quarter skin can sometimes be sectioned and replaced. The inner rocker and reinforcement require OEM-compliant welding procedures. Adhesives alone are not acceptable for structural replacement unless explicitly allowed by the OEM with rivets and specific substrates.
- Dogleg stress: The dogleg area ties the quarter panel to the rocker. When folded or crushed, it should be pulled on a bench and metal-finished as close as practical before any cosmetic filler is used.
- Filler limits: Body filler and glazing putty are for minor contour correction. Aim for under 1/8 in (3 mm) after metal is corrected. Anything thicker invites cracking, sinkage, and moisture intrusion.
Assessing a Previous Filler-Heavy Repair: Practical Checks and Tools
Before you plan repairs, establish the scope and safety. Here’s an efficient workflow and the tools that make it faster.
Visual and tactile inspection:
- Edge mapping: Look for sharp transitions, pinholes, and cracking where filler feathers to paint. These indicate thick, unsupported filler.
- Filler identification: Fiberglass-reinforced filler (short/long strand) shows visible fibers and sands coarsely; conventional polyester filler produces fine dust and smooth edges. Either can be present in layers—fiberglass first, then body filler, then glaze.
- Corrosion clues: Dark moisture stains, rust-colored bleed-through at pinholes, and soft edges suggest water intrusion under filler.
Measurement and geometry:
- Paint/filler thickness gauge: Magnetic or ultrasonic gauges help estimate filler depth. Readings far above normal paint build (typical OEM 3–7 mils; refinish 8–12 mils) suggest heavy filler. Ultrasonic tools can read non-ferrous and over filler.
- Panel gaps and flushness: Compare door-to-quarter gaps both sides; look for tapering gaps, door edge shine-through from contact, and flushness variations at the sill.
- Pinch weld straightness: Inspect the pinch weld for buckles and tears. Distortions here indicate a harder hit and potential inner rocker distortion.
- Tram or datum measurements: Use a tram gauge and OEM dimension charts to check critical points: front/rear rocker holes, B-/C-pillar base points, and rear suspension pickup points.
Hidden areas:
- Borescope: Access the inner rocker cavities through factory drains. Look for torn metal, heat discoloration, missing reinforcements, and lack of seam sealer.
- Wheelhouse and inner quarter: Remove trim to inspect for sectioning seams, spot weld footprints, and proper corrosion protection.
Safety systems and drivability:
- Seat belt mounts: Many attach near the B-pillar/rocker. Verify integrity and thread condition.
- Suspension alignment: Review recent alignment printouts; thrust angle or rear toe out of spec can indicate rear body displacement.
- Airbag readiness: Scan for SRS codes after battery disconnect/reconnect during inspection. Prior undeclared collision can coincide with unaddressed SRS faults.
Short-Term Triage: Corrosion Control and Drivability While You Plan the Repair
If filler has fallen off and bare or contaminated metal is exposed, moisture will migrate quickly. Stabilize the area to slow corrosion and keep the vehicle usable while you plan a proper repair.
Immediate steps:
- Drying: Park under cover. Use gentle heat (not open flame) and moving air to ensure the area is bone dry. Moisture trapped under temporary coatings defeats the purpose.
- Decontamination: Wipe with a dedicated wax and grease remover. Avoid household solvents that can attack existing finishes or leave oily residue.
- Mechanical prep: Feather edges and scuff surrounding paint 180–320 grit. On bare steel, a quick pass with 80–120 grit will create proper tooth. Vacuum and tack rag.
- Seal with a true 2K epoxy primer: Epoxy provides a moisture barrier. Use a 2K aerosol epoxy if you don’t have a spray gun. Avoid lacquer or 1K “primer” as they’re porous. If you can’t epoxy immediately, a temporary corrosion-inhibiting primer is better than nothing, but prioritize epoxy as soon as practical.
- Top protection: Once epoxy cures, apply a light color-matched topcoat or even a neutral topcoat to shield epoxy from UV. This is still temporary—it’s not a cosmetic repair.
- Underside protection: Apply seam sealer to any exposed seams you can access without trapping water, and fog the cavity with cavity wax via a wand through drain holes. Reapply cavity wax after the final repair.
Quick checklist: temporary stabilization
- Dry area thoroughly (warm air, no open flame)
- Degrease with automotive wax/grease remover
- Feather and scuff surrounding finish
- Apply 2K epoxy primer to bare steel and edges
- Light topcoat to shield epoxy from UV
- Cavity wax inside rocker/dogleg
- Schedule a comprehensive structural inspection
Note: Do not smear more filler over an unknown, possibly deformed structure. Thick filler will fail again and can hide corrosion you need to address.
The Correct Repair Pathway: Pull, Section, Weld, Protect, Refinish
Every OEM has a published procedure. Always retrieve the specific model-year repair manual and follow its sectioning locations, weld counts, and corrosion protection steps. The overview below outlines a typical best practice for a deformed rocker/dogleg that was previously filled over.
1) Measure, anchor, and pull:
- Pre-measure: Document datum points with a tram gauge and record gaps. Photograph before/after.
- Anchor the vehicle on a bench or racks with pinch-weld clamps and secondary restraints. Do not pull on compromised sheet metal without proper anchoring.
- Rough pull: Use a pulling tower, chains, and appropriate clamps to reverse major deformation. A stud welder with pull tabs can assist outer skin correction, but do not overheat HSLA steel.
2) Disassemble and expose:
- Remove adjacent trim, seals, and interior panels. Disconnect the battery and follow SRS handling procedures.
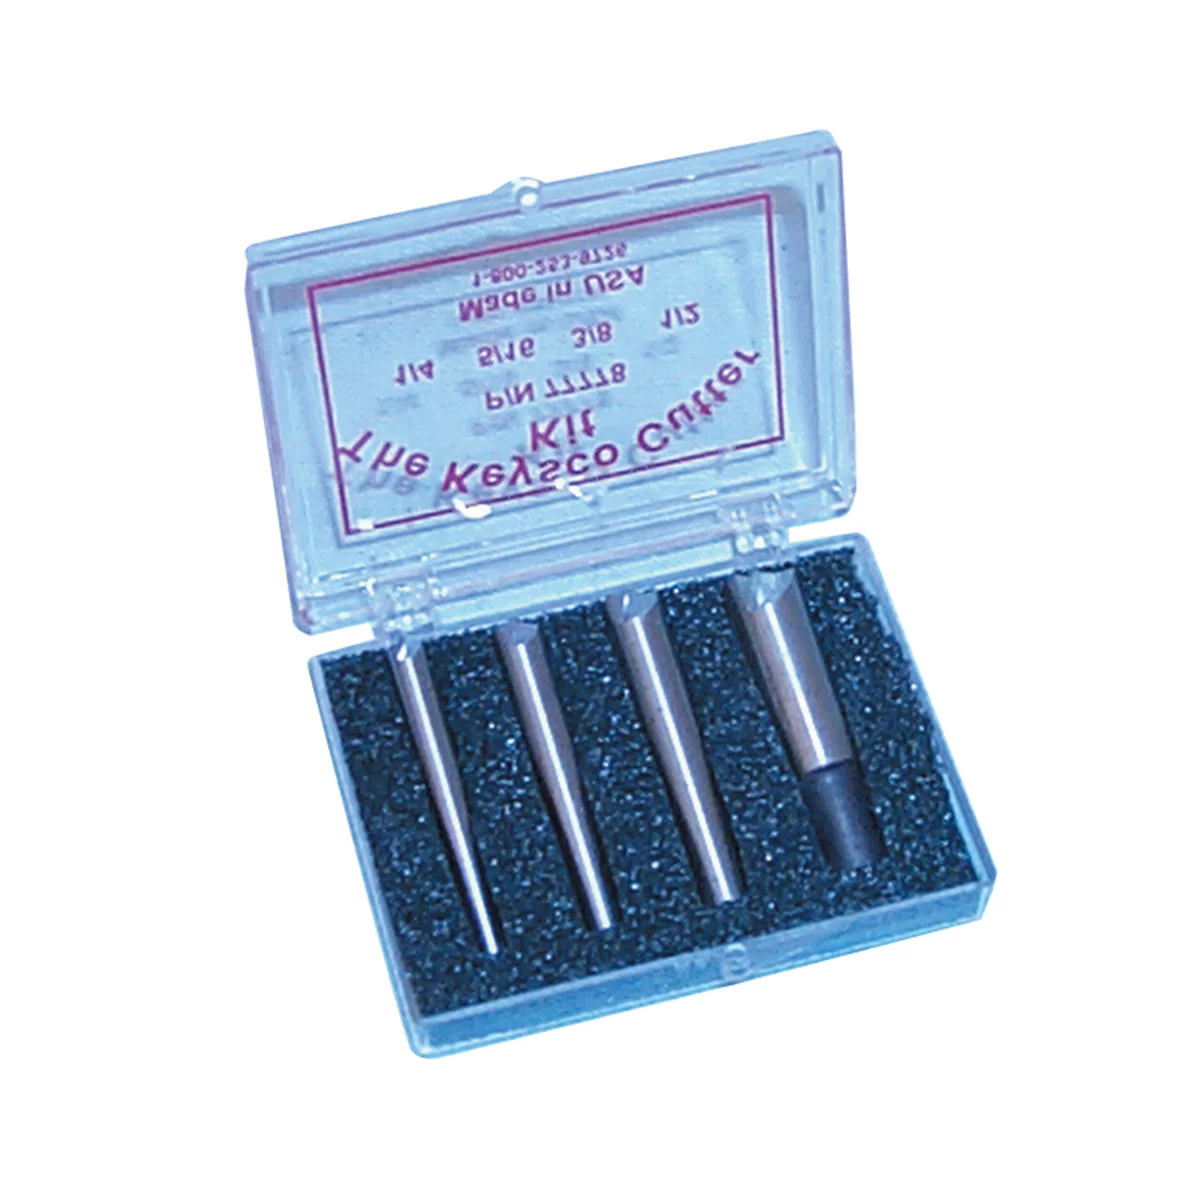
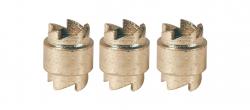
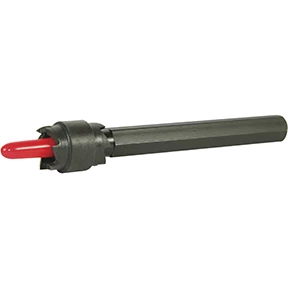
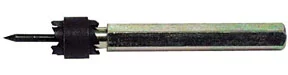
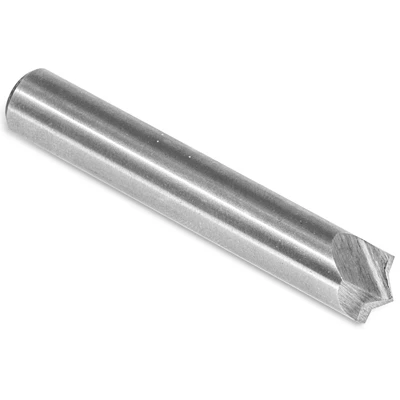
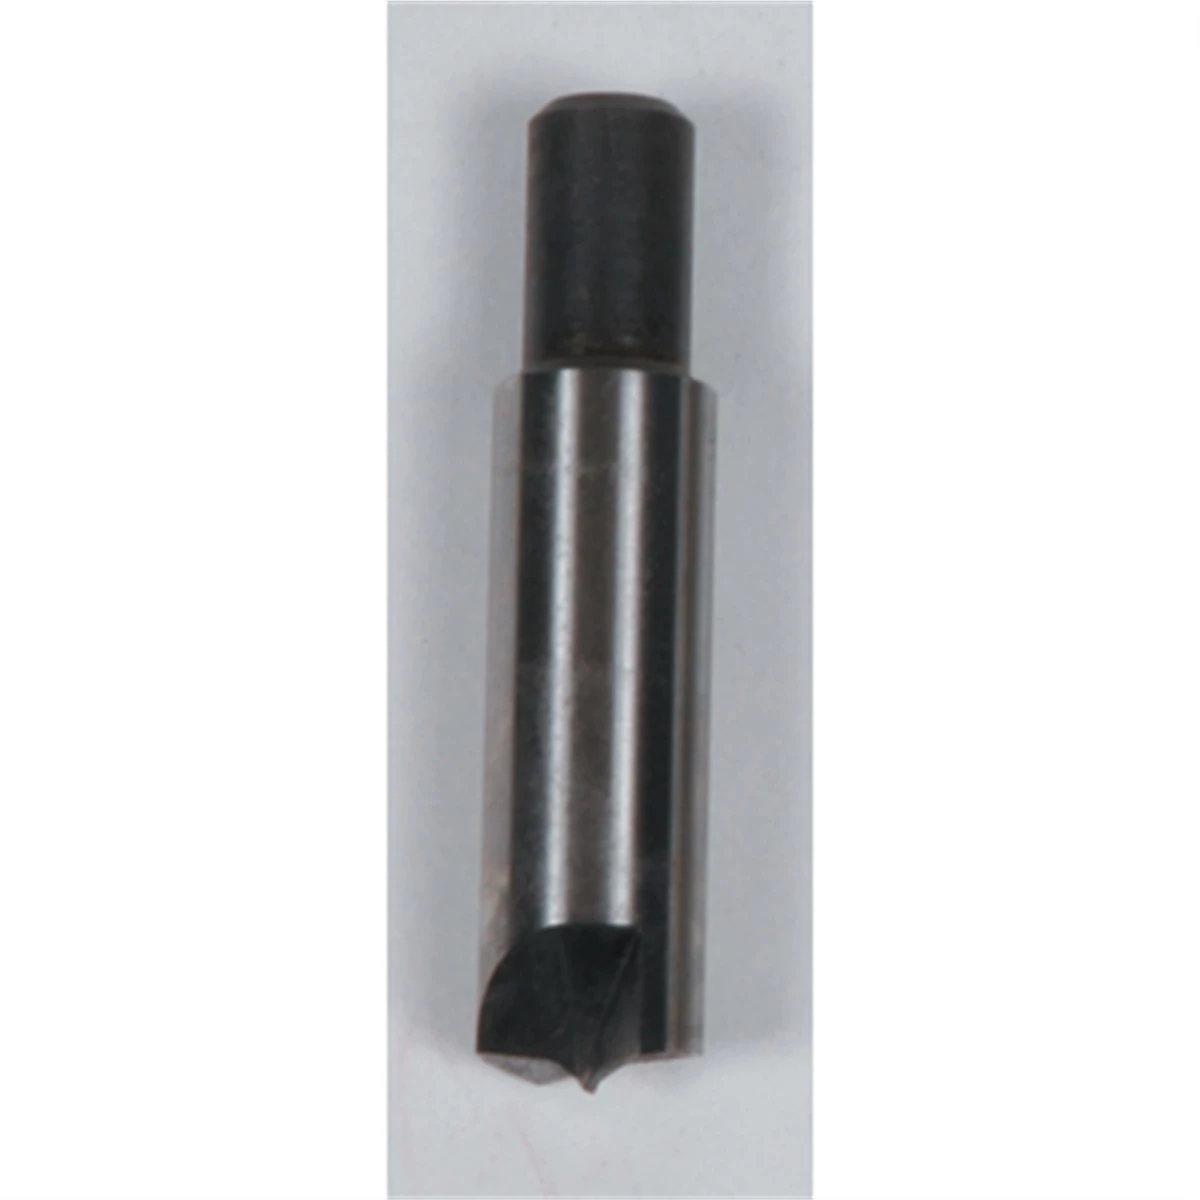
- Strip paint around suspected section lines. Use a spot weld cutter to locate and remove factory spot welds. Expect seam sealer and adhesive in certain joints.
- Assess inner rocker and reinforcement. Any tearing, buckling, or corrosion requires replacement—not a cosmetic patch.
3) Cut back to sound metal:
- Follow OEM sectioning guidelines: Many call for butt joints with a backing strap or specific overlap methods. Avoid random section points near reinforcements or load paths.
- Trial-fit the replacement outer rocker or quarter repair section (dogleg). Confirm door gaps and flushness with panel installed using Clecos or self-tapping screws in sacrificial locations.
4) Prepare and weld:
- Surface prep: Clean mating flanges to bright metal. Apply weld-through primer to overlap joints as specified.
- Welding method: MIG plug welds to replicate spot welds where STRSW is not available. Use correct wire and gas; manage heat input to avoid burn-through on thin panels and preserve HSLA properties.
- Quality checks: Verify weld nugget size, spacing, and penetration. Dress welds as needed without thinning base metal.
5) Corrosion protection and sealing:
- Immediately epoxy prime bare metal and dressed weld areas.
- Reapply OEM-style seam sealer to joints. Texture and brush patterns to match factory appearance.
- Flood cavities with cavity wax using a wand, reaching inner rocker, wheelhouse lips, and dogleg pocket. Repeat after refinishing.
6) Cosmetic finishing:
- Minimal filler: After metal finishing and epoxy, apply a thin skim of filler where needed (ideally under 1/8 in). Block sand with a guide coat to maintain contours.
- Primer surfacer: Build with 2K urethane primer, block sand to straighten, and reprime if required.
- Color and clear: Blend into the adjacent panel(s) as needed. Expect a blend into the rear door for colors sensitive to flop or metallic orientation.
7) Post-repair validation:
- Re-measure key datums and confirm panel gaps.
- Four-wheel alignment and road test for NVH changes.
- Final SRS scan and calibration routines as needed.
What Not to Do: Common Shortcuts That Fail
These practices lead to repeat failure, corrosion, or unsafe outcomes:
- Building structure with filler: Filler is not a replacement for missing or bent steel. Anything more than minor contour work is a red flag.
- Using 1K lacquer primer as a sealer: It’s porous. Moisture migrates through and attacks the metal beneath.
- House paint, “oil-based sealers,” or hardware-store foams: Not automotive-grade. They contaminate future repairs and mask corrosion.
- Adhesive-only structural replacement: Panel bonding adhesives can be OEM-approved for outer skins only. They do not replace welds for structural members unless explicitly approved in a rivet-bond procedure.
- Skipping cavity wax: Even perfect welds will corrode from the inside out without internal protection.
- Sectioning at random: Cutting where it’s convenient instead of where the OEM specifies can weaken load paths or interfere with reinforcements.
Paint Transfer vs. Paint Damage: Quick Cleanup Without Harming Finish
Barrier or pole paint often transfers onto your finish and can look worse than it is. If the panel is structurally intact and only has transfer:
- Start mild: Wash, then use a dedicated paint prep solvent or tar/adhesive remover on a microfiber towel. Work slowly.
- Mechanical decontamination: Use a lubricated clay bar to lift remaining transfer.
- Polish: A light-cut compound on a DA polisher with a foam pad can finish removal and restore gloss. Avoid aggressive cutting at edges and body lines.
- Know when to stop: If you see primer, basecoat loss, or clearcoat edge strike-through, further polishing won’t help—you’re into refinish territory.
Costs, Insurance, and Reality Checks
Proper rocker/dogleg repair is labor-intensive. After market-rate pulling, sectioning, welding, and refinishing, totals can climb high enough for insurers to deem older vehicles uneconomical to repair, even if drivable. Used-vehicle history reports can miss prior events, and title status doesn’t guarantee repair quality. As a technician advising a customer—or as an owner planning work—set expectations:
- Safety first: If inner rocker/reinforcement damage is present, prioritize structural repairs before cosmetics.
- Budgeting: Plan for replacement sections, welding supplies, primers/sealers, and blending adjacent panels. Build in time for corrosion protection.
- Inspection payoff: A professional structural inspection with measurements can prevent throwing parts and labor at a car that’s fundamentally out of spec.
FAQs
Is it body filler or fiberglass filler—and does it matter?
Fiberglass-reinforced filler contains short or long glass fibers for higher strength and moisture resistance than standard polyester filler. You can see fibers at torn edges. In practice, both are still fillers and should not be used to “rebuild” missing or heavily deformed structure. Fiberglass filler can bridge small holes in non-structural skins but is not a substitute for metal replacement in rocker/dogleg areas.
Does body filler rust?
Filler itself doesn’t rust, but it is permeable. Once exposed, it absorbs moisture and holds it against steel, accelerating corrosion. That’s why sealing with 2K epoxy and restoring proper metal and seam sealing is critical.
Can I just re-bondo and spray paint it?
You can hide it for a while, but thick filler will crack, absorb water, and fail. If underlying metal is bent, torn, or missing, the only durable fix is proper metal work and sectioning per OEM guidelines. Use filler sparingly after metal is corrected.
Is it safe to drive short-term?
If the inner rocker and reinforcement are intact and alignment is stable, short-term driving after corrosion stabilization may be acceptable. If there’s evidence of inner rocker damage, torn pinch welds, door aperture distortion, or seat belt anchor compromise, park it and perform structural repairs first.
What’s the best way to seal exposed areas temporarily?
After drying and degreasing, use a 2K epoxy primer on bare steel and exposed filler edges. Avoid 1K lacquer primers. Add a light topcoat for UV protection and apply cavity wax inside the rocker/dogleg. Plan for full repair soon—temporary sealing slows, but doesn’t stop, corrosion.
How do I remove barrier paint transfer without making it worse?
Use a body-shop-safe solvent or tar remover, then a lubricated clay bar, then a light polish. If you see primer or clear loss, stop and plan a refinish. Do not use harsh household solvents that can soften or stain automotive finishes.
Shop Body & Collision Repair Tools
For structural triage and proper rocker/dogleg repairs, explore our Body & Collision Repair Tools to outfit your measuring, pulling, and welding workflow.
- Measuring and layout: tram gauges, thickness gauges, and gap tools.
- Pulling and sectioning: pinch-weld clamps, stud welders, and spot weld cutters.
- Protection and finishing: cavity wax applicators, seam sealer tools, and sanding/blocking essentials.
The Toolsource Technical Team blends decades of real-world automotive service experience with up-to-date technical research. Our writers collaborate with professional mechanics, shop owners, and diagnostic specialists to deliver practical, workshop-ready guidance you can trust.

Follow us on social media