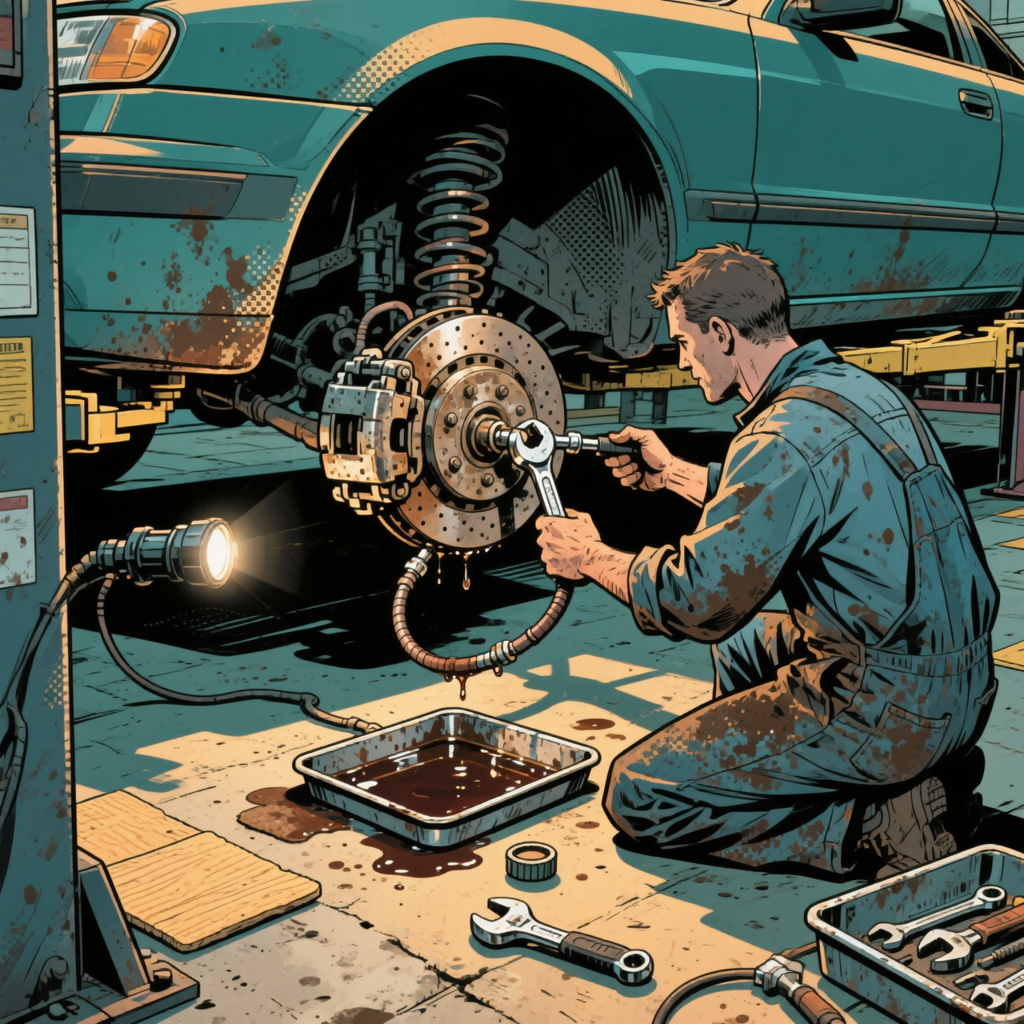
Pressing the brake pedal with a drum removed is a common shop mistake that can push wheel cylinder pistons out past their boots, contaminate the braking assembly with fluid, and introduce air and corrosion. This guide is a practical, technician-oriented workflow: how the failure happens, immediate actions, step-by-step diagnosis, removal/replacement or rebuild guidance, reassembly and bleeding best practices, a short checklist for the job, and answers to frequently asked questions.
Why a wheel cylinder pops when the drum is off
Drum brakes rely on the drum to provide a physical backstop for the brake shoes. When the drum is removed and you press the pedal, the shoes have nothing to stop them from traveling outward when hydraulic pressure forces the wheel cylinder pistons out. Without the drum’s radial constraint the pistons can extend beyond their dust boots and seals, blow the boots back or rupture the seals, and allow brake fluid to spray onto the backing plate, shoes, springs and hub. Once a piston has been pushed beyond its intended travel it commonly contaminates the shoes, corrodes the cylinder bore, or carries abrasive debris into the seal area — all of which necessitate at least a wheel cylinder rebuild and commonly a replacement.
Immediate on-vehicle inspection and safety steps
Before attempting any repairs or bleeding, follow these steps to secure the vehicle and limit contamination:
- Park on level ground, block the wheels, and use jackstands under the axle or lift arms. Do not rely on a jack.
- Confirm reservoir level and cap condition. If fluid overflowed, clean the cap area to avoid contamination entering the reservoir.
- Visually inspect the exposed backing plate and hub area for fresh brake fluid. Fluid on the shoes or springs means contamination and likely shoe replacement.
- Look for a piston(s) protruding beyond the boot or for a torn/rolled boot flange. If the piston is visible and free of external corrosion, note its position but do not attempt to push it back by pressing the pedal with the drum off.
- Plug the brake line or cap it with a temporary brake-line cap to prevent fluid loss and contaminants entering the system while you work.
- Do not press the brake pedal with the drum off. If you must move the vehicle, reassemble the drum or use a pedal block and ensure the master cylinder reservoir has correct level.

Diagnosis: tell a popped cylinder apart from other failures
Diagnosis should establish whether the cylinder is physically damaged, whether seals failed from overtravel, and whether shoes and springs were contaminated or misassembled. Use these checks:
- Remove the drum and clean the area with brake parts cleaner—observe fluid source: a distinct leak streak from the wheel cylinder indicates a seal failure. Fluid more widely splattered suggests pedal actuation with drum off.
- Carefully pry the rubber boots to inspect the piston face and cylinder bore. Surface rust, scoring, or a pitted bore indicates replacement; light corrosion may allow a rebuild with new seals and pistons if the surface is smooth and within tolerance.
- Check the shoes: if brake fluid soaked the friction lining, shoes must be replaced. Do not attempt to clean contaminated linings for reuse—the bonding and friction characteristics are lost.
- Inspect return springs, hold-downs and adjuster hardware. Broken or incorrect spring routing can allow excessive piston travel or uneven shoe movement that exacerbates cylinder movement.
- Confirm the rest of the hydraulic system: if the master cylinder had a sudden loss of fluid or internal failure, it can cause unusual pressure behavior. Verify reservoir level, caps, and fitment.
Removal, replacement and rebuild workflow
Decide rebuild vs replace based on bore condition, cost, and availability. Wheel cylinders are typically inexpensive; replacement is quicker and often more reliable than a rebuild if the bore is corroded. Follow this workflow:
- Gather tools: line wrench set (brake line flare nut wrenches), 8–12 mm sockets, screwdriver and punch for springs and retainers, brake spring pliers, C-clamp or piston press (for shoes), a container for fluid, shop rags, new seals/pistons or replacement wheel cylinder, new shoes if contaminated, and replacement springs/adjuster if needed.
- Relieve hydraulic pressure: have an assistant hold the pedal depressed and then open the bleeder to reduce pressure, or carefully loosen the flare nut to let pressure equalize. If uncertain, leave the line connected until you can clamp or cap it.
- Remove the brake line: use a line wrench to avoid rounding the nut. Have a drip pan ready and install a plug/cap immediately or use a short length of hose to direct fluid into the pan. Do not allow dirt into the line.
- Remove the wheel cylinder retaining hardware. Note location of any shims, clips or dust plates; take photos for correct reassembly.
- Remove the wheel cylinder. If reusing the backing plate, clean mating surfaces and inspect for scoring where cylinder mounts. If rebuilding, bench-clean the bore with fine abrasive pads only if minimal corrosion exists; otherwise replace. Install rebuild kit parts per kit instructions—lubricate seals with brake fluid only and seat pistons carefully to avoid nicking seals.
- If replacing, transfer any backing plate shims or brackets and torque retainers to spec. Replace contaminated shoes and hardware now while the assembly is apart.
- Reconnect the hydraulic line with a line wrench and torque to the vehicle spec. Avoid over-tightening; line fittings are vulnerable to damage.
Bleeding, reassembly and preventing recurrence
Key principle: do not push pistons past the boots without the drum installed. The drum must be on for any pedal bleeding that applies hydraulic pressure.
- Reassemble shoes, springs, adjuster and backing plate hardware correctly. Make sure springs are routed properly and the adjuster is functional—incorrect spring positioning can allow excess piston travel.
- Adjust the shoes inward until they lightly contact the drum when it is installed. This provides the needed backstop before any pedal actuation.
- Install the drum and wheel. If you need to pump the brakes to set the shoes, do so only with the drum installed.
- Bleeding options: use a pressure/bleeder bottle, vacuum bleeder, or traditional two-person pump-bleed method. If using pedal pumps, do it with the drum installed to avoid re-popping pistons.
- Sequence: follow manufacturer bleeding order (commonly farthest wheel first). If uncertain, use the sequence: right rear, left rear, right front, left front for many older vehicles, but verify for the specific model.
- Initial bleed: crack the bleeder and have an assistant press the pedal several times and hold while you open the bleeder, then close and repeat until clear fluid appears and no air bubbles show. Do not allow the master cylinder reservoir to run low; top with correct DOT fluid and keep it capped between steps.
- Final setting: adjust shoes so drum rotates with a slight drag and then back off adjuster a click or two. Spin the wheel to verify no grabbing. Road test at low speed and verify pedal firmness and absence of leaks.
Short checklist before returning vehicle:
- Wheel cylinder: new or rebuilt and fitted with fresh seals
- Shoes: replaced if contaminated
- Brake hardware: springs and adjuster inspected or replaced
- Brake lines: flare nut tight, no leaks at connection
- Drum: installed and shoes adjusted to light drag
- System bled: pedal firm, no air, reservoir level correct
- Test drive completed and final inspection for leaks
FAQs
Q: Can I push a piston back into the wheel cylinder if it’s popped out?
A: If the piston is only slightly extended and the boots and seals are undamaged, you can carefully retract it by pushing the piston back into the bore with plastic or wood block to avoid damaging the face. However, exposure to dirt or fluid contamination usually means seals are compromised; replacement or rebuild is safer. Never push it back and then bleed with the drum off.
Q: Can I reuse shoes that got brake fluid on them?
A: No. Brake lining that has absorbed fluid must be replaced. Contaminated linings lose friction characteristics and pose a safety risk.
Q: If only one piston was pushed out, do I need to replace both wheel cylinders?
A: Replace or rebuild the damaged cylinder. Inspect the opposite cylinder and entire axle for similar wear or leakage. If service history is unknown or the opposite cylinder shows corrosion, consider replacing both for matched performance.
Q: Why do comments say you can cause the other cylinder to move when one side is pushed out?
A: With drum assemblies, shoe movement is coupled via adjuster and shoe routing. For example, rotating the shoes or an imbalance in spring tension can translate movement to the opposite piston mechanically, especially if the adjuster is free and shoes are loose. Also, hydraulic pressure in the system can push pistons outward if there is nowhere for the shoes to stop.
Q: What tools reduce damage risk when removing brake lines?
A: Flare nut (line) wrenches, proper-size sockets for retaining bolts, brake spring pliers, and a soft-jawed vice or block when bench-pressing pistons reduce damage risk. Avoid channel-lock pliers on flare nuts—they round off fittings.
Q: Is bench-bleeding the wheel cylinder necessary?
A: Wheel cylinders are typically bled on-vehicle as part of system bleeding. If you rebuild a cylinder on the bench, you can bench-press the pistons partially to seat seals and push old fluid out prior to installation, but the final bleed must be done with the drum installed and the wheel on to prevent re-popping pistons.
Recommended Tools
Explore our General Brake Service Tools for drum brake and wheel-cylinder service, including inspection, rebuild, and replacement work.
-
- Wheel cylinder rebuild kits and replacement cylinders
-
- Brake line wrenches, flare nut tools, and bleeding equipment
-
- Drum brake inspection, replacement shoes, and hardware for reliable reassembly

The Toolsource Technical Team blends decades of real-world automotive service experience with up-to-date technical research. Our writers collaborate with professional mechanics, shop owners, and diagnostic specialists to deliver practical, workshop-ready guidance you can trust.


Follow us on social media