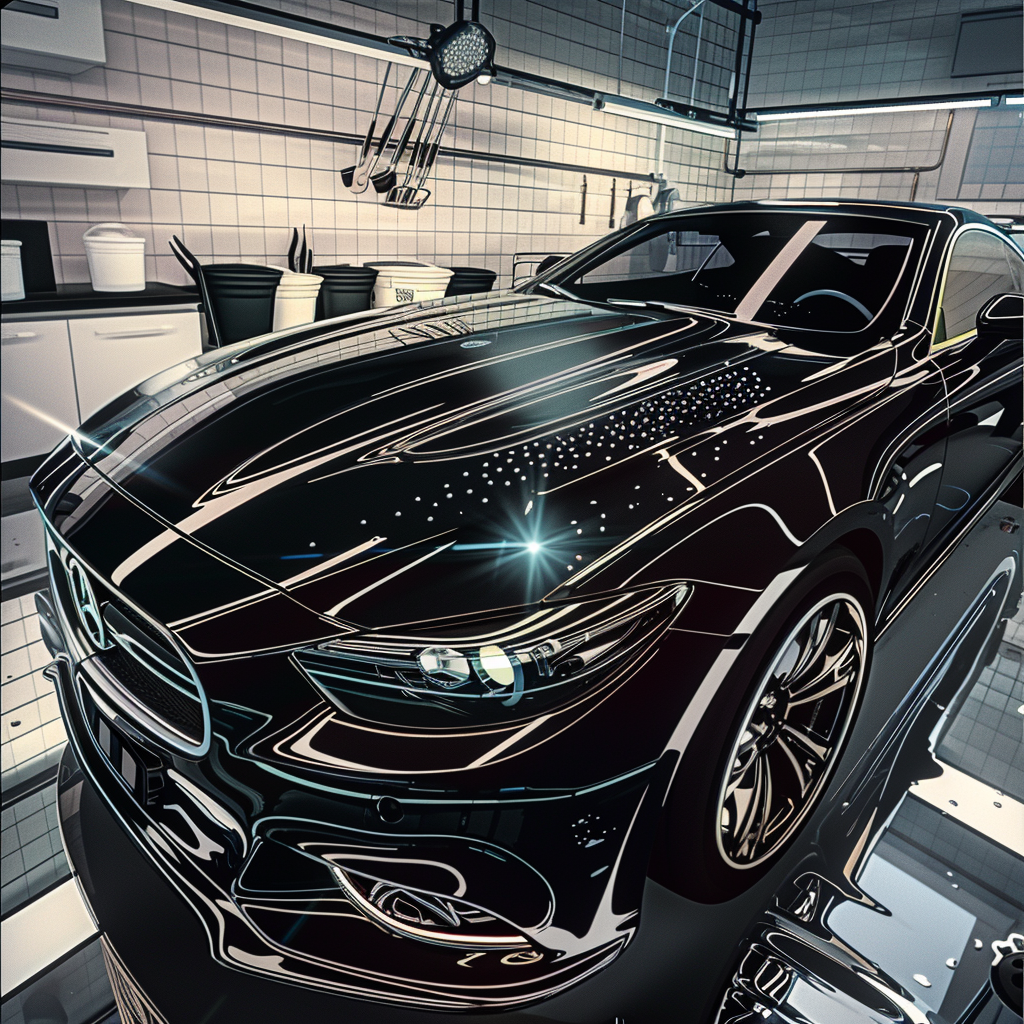
Paint swirls are micro-scratches in the clear coat that dull gloss and show up under sun or shop lights. They come from dirt being dragged across paint, harsh or dirty wash media, poor drying technique, and aggressive polishing. You can cut risk dramatically with the right process and tools, even if you rely on automatic washes during bad weather or tight schedules.



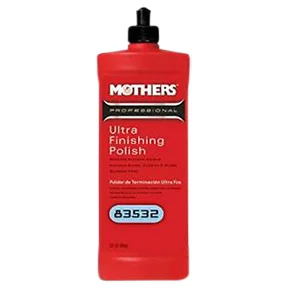
Professional Ultra Finishing Polish, 6 Case 32oz
Mfg: Mothers Wax & Polish
Part #: 83532

How Swirl Marks Happen (and Why They Look Circular)
Technically, “swirls” are directional micro-marring that catch light. They often appear circular around a light source because point light creates a radial highlight—any scratch oriented in multiple directions appears as a ring. Rotary polisher holograms can also produce arc-shaped patterns, but most daily-driver “swirls” come from washing and drying.
- Primary causes: dry wiping dust, using dirty wash brushes (especially shared bay brushes), cheap rags/towels, automatic friction washes with contaminated media, and wiping bonded contaminants (bird droppings, bug guts, sap) before softening them.
- Why color matters: Black and dark colors reveal marring the most. White hides it better but still loses gloss from scattered light.
- Water spots vs. swirls: Spots are mineral deposits that etch or sit atop clear coat. Swirls are scratches. Both reduce clarity and gloss.
Bottom line: Treat every contact with paint as a controlled operation. Remove as much dirt as possible before touching the surface, and use clean, lubricated media when you do.
When You Must Use an Automatic Wash: Risk-Reduction Protocol
If weather, time, mobility, or building rules push you to an automatic wash, use these steps to minimize damage:
- Prefer touchless systems: They rely on chemistry and pressure over contact. Expect stronger detergents; they can reduce wax longevity but are generally safer for clear coat than friction brushes.
- Choose a newer, well-maintained tunnel: Clean bays, clear signage, and tidy equipment are signals. Avoid locations with visibly dirty curtains/brushes.
- Buy the top package only if it adds useful features: Pre-soak and undercarriage rinse matter in winter; “wax” sprays rarely offer lasting protection.
- Pre-rinse heavy soil first: If allowed, use a self-serve pressure wand to knock off mud and grit before entering the automatic. Reduces mechanical load and micro-marring.
- Prep the vehicle: Remove or retract antennas where possible, fold mirrors, and confirm roof racks are secure. Soft convertible tops should avoid harsh chemicals/brushes.
- Post-wash quick detail: Park in shade, sheet-rinse if possible, then use a high-lubricity drying aid with a clean plush microfiber towel (or a blower) to reduce towel pressure and eliminate remaining film.
- Service visits: Ask the dealer to skip the “complimentary” wash. Many swirl issues start there. Use a “No Wash” hangtag or service note.
Touchless caveat: Strong alkaline/acidic detergents improve cleaning but shorten the life of wax/sealant. Ceramic coatings tolerate touchless detergents better; top with a compatible SiO2 spray after washes to maintain slickness and hydrophobics.
Fast, Safe Hand Wash Setup for Daily Drivers
Hand washing is the gold standard when done efficiently. Set up to minimize contact pressure, time, and re-contamination.
- Tools you need:
- Two sturdy buckets with grit guards (wash and rinse)
- pH-neutral shampoo with high lubricity (separate wheel cleaner/shampoo)
- Dedicated wheel brushes and a separate wheel bucket
- Quality microfiber wash mitts (body) and separate mitt for lower panels
- Foam cannon or pump foamer for pre-soak
- Pressure washer (1,200–2,000 PSI) or high-flow hose; 40° fan nozzle for paint
- Plush drying towels and/or a cordless blower
- Drying aid or spray sealant for glide and protection
- Pre-rinse and pre-foam:
- Rinse top-down to remove loose grit. Keep 12–24 inches from paint. Never use 0° tips on paint.
- Apply snow foam and allow 3–5 minutes of dwell (no drying). This lifts film and reduces contact cleaning.
- Contact wash (top to bottom):
- Load mitt in shampoo bucket, wash 1–2 panels with straight-line motions. Rinse mitt in the rinse bucket across a grit guard before reloading.
- Use a dedicated mitt for lower doors, rocker panels, and rear bumper. These are the grittiest.
- Keep mitt pressure light; lubrication and frequent rinsing do the work.
- Rinse and dry:
- Sheet water by removing the nozzle to let a smooth stream carry water off panels. This reduces towel work.
- Use a blower for mirrors, grills, emblems, and trim to purge water traps.
- Lightly glide a plush towel with a drying aid to finish.
- Wheels and tires last:
- Use wheel-safe brushes and chemistry. Do not reuse wheel towels on paint.
- Rinse wells and tires with a 25° nozzle if needed. Avoid hitting sidewalls point-blank with high pressure.
Time-saver options: A “mitt on a stick” or telescopic wash mop speeds roofs and SUVs while reducing ladder use. In apartments, a battery sprayer and rinseless shampoo with multiple clean towels can replace a hose while still limiting marring.
Self-Serve Bay Best Practices (Bring Your Own Tools)
Self-serve bays are useful if you control contact. The communal foam brush is the number one marring culprit.
- Avoid the bay brush: If you must use it, pressure-wash the bristles thoroughly and test on glass only. Better: bring your own mitts and shampoo in a bucket with a gamma-seal lid.
- Use the bay pressure wand smartly:
- 40° fan pattern for paint. Maintain 12–24 inches of standoff.
- Rinse heavy soil first, then choose “soap” for a basic pre-soak. You can also apply your own foam via a hand foamer.
- Contact wash with your mitts: Work one panel at a time, rinse mitts with bay water between panels to keep grit out of the fibers.
- Final rinse and spot control:
- If the bay has RO/spot-free rinse, use it last. Otherwise, plan to move the car to shade and dry immediately with a drying aid.
- A compact cordless blower helps prevent drips and reduces towel contact.
- Wheels off to the side: Don’t sling brake dust onto paint you just cleaned. Dedicated wheel towels only.
Handling bonded contaminants: For bird droppings, sap, or bugs, pre-soak the spot with a dedicated remover or waterless wash, lay a soaked microfiber over it for several minutes, then lift—don’t scrub dry. Neutralize acidic etching from droppings quickly; time is the enemy.
Winter Operations: Salt, Undercarriage, and Cold-Weather Wash Plans
Salt and brine demand a different strategy to control corrosion without adding marring.
- Frequency: Rinse the vehicle and undercarriage after each major salt event or every 1–2 weeks in active salt periods. A deep contact wash can wait for milder days to avoid flash-freeze and water-spotting.
- Undercarriage rinsing:
- Use a dedicated underbody wand or automatic wash with a directed undercarriage cycle. Focus on seams, pinch welds, fuel/brake line runs, and rear subframes.
- Rinsing dislodges salt; it doesn’t “accelerate” corrosion if water drains properly. The risk is leaving concentrated brine behind. A thorough rinse that reaches cavities is beneficial; annual rustproofing (e.g., creeping oil/wax coatings) enhances protection.
- Cold-weather contact wash:
- Use a touchless pre-rinse at a bay to remove bulk grime, then a quick two-bucket wash if temperatures and drainage allow.
- Favor rinseless methods in a closed garage above freezing using multiple clean towels and high-lubricity rinseless shampoo. Work small sections and replace towels as they load.
- Water spot mitigation:
- Hard water plus cold panels equals spots. Use RO/DI final rinse if available, or add a drying aid for glide and spot resistance.
- Keep the car moving after washing to sling water from wheels and brakes and to encourage panel drying.
Pro tip: Apply a durable sealant or ceramic coating before winter. This reduces adhesion of salty film, speeds rinsing, and lowers contact needed to get the car clean—directly reducing swirl risk.
Correcting Existing Swirls and Protecting the Finish
If swirls are already present, you can restore gloss and add protection with a sensible, low-risk process.
- Decontamination:
- Pre-wash, contact wash, and chemical decon (iron remover for ferrous deposits).
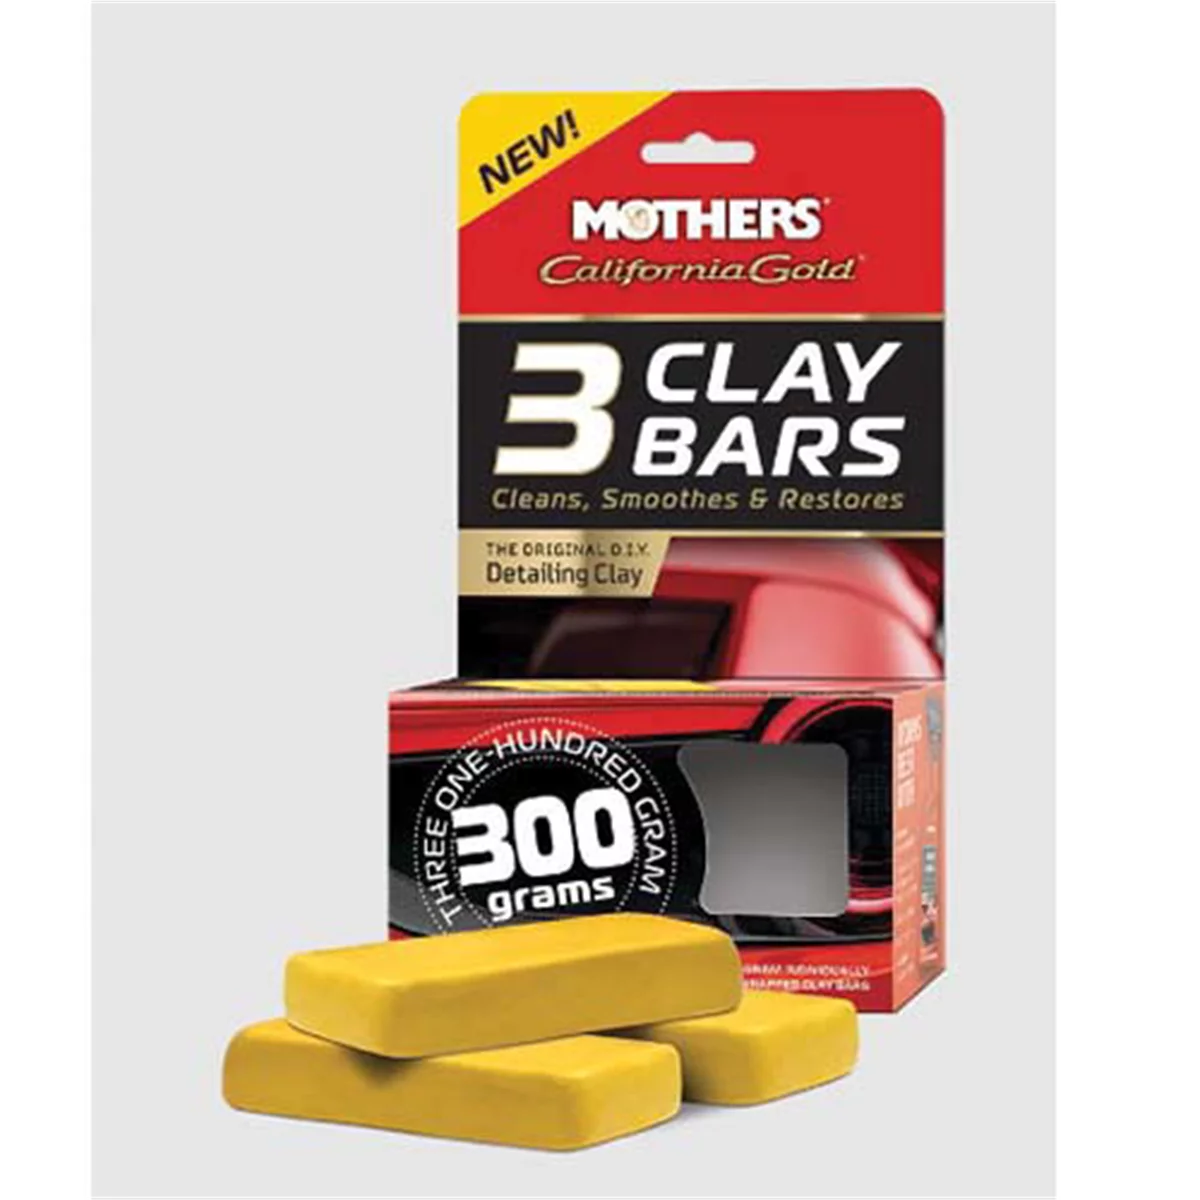
- Mechanical decon: Clay bar or synthetic clay with clay lube on only the contaminated panels. Expect to polish after—clay can add micro-marring.
- Test-spot polishing:
- Start with a finishing polish on a soft foam pad with a dual-action polisher. Inspect. Only step up to a light/medium cut as needed.
- Avoid rotary polishers unless you’re trained; they correct faster but can leave holograms and risk edge burn-through.
- Panel wipe and protection:
- After polishing, wipe with a panel prep solution to remove oils. Apply a sealant or ceramic coating per manufacturer instructions.
- For daily drivers, a modern spray sealant/SiO2 topper every 4–8 weeks keeps slickness high and wash-induced marring low.
- Maintenance wash discipline:
- Stick to pre-rinse, foam, and gentle contact. Replace mitts/towels that don’t release grit after washing.
- Use a drying aid and soft plush towels; consider a blower to minimize towel contact.
Accessibility and efficiency: If mobility is a concern, use a “mitt on a stick,” telescoping wash mops, and a stationary chair or rolling stool on flat surfaces. A pressure washer with quick-connect tips and a foam cannon reduces physical effort while improving safety.
Quick Wash Kit Checklist
- Two buckets with grit guards and a pH-neutral shampoo
- Foam cannon or hand foamer for pre-soak
- Two microfiber wash mitts (upper panels and lower panels)
- Plush drying towels plus a drying aid, or a cordless blower
- Dedicated wheel bucket, wheel brushes, and wheel-safe cleaner
- Spot-free or DI rinse option, or plan for shaded drying
FAQs
Do automatic car washes always scratch paint?
Not always, but friction systems with contaminated media are a leading cause of micro-marring. Risk depends on equipment cleanliness, vehicle soil level, and your post-wash drying method. Touchless systems reduce mechanical risk but use stronger detergents that shorten wax/sealant life.
Are touchless washes safer for coated cars? Do they strip protection?
Touchless is generally safer for swirl control. Strong alkaline/acid pre-soaks can reduce the performance of waxes and some sealants over time. Quality ceramic coatings resist chemicals better; maintain with a compatible SiO2 topper after a few washes to restore slickness and hydrophobics.
How often should I wash in winter salt?
Rinse the vehicle and undercarriage after each storm or at least every 1–2 weeks in active salt periods. Perform a full contact wash when temperatures and conditions allow for thorough drying. Pre-winter protection reduces the need for heavy contact washing.
What’s the best way to avoid water spots without DI water?
Wash in shade on cool panels, sheet-rinse with a gentle stream, use a drying aid for lubrication, and dry immediately with a plush towel and/or blower. If your water is very hard, consider an inline filter for final rinse or a portable DI unit.
Does vehicle color change anything besides visibility of swirls?
Dark colors reveal marring more readily, which encourages better habits. Light colors hide it, but the finish still loses clarity when scratched. The same safe-wash process applies to all colors.
Is an undercarriage wash worth it?
Yes, particularly in salted regions. A directed underbody rinse helps remove brine from seams and components. For best results, combine regular rinsing with annual rustproofing and ensure good drainage/drying after washes.
Shop Washing & Drying Tools
Put these swirl-safe methods into practice with washing and drying tools designed for controlled contact and efficient winter cleanups. See our Polishes and Waxes here.
- Buckets with grit guards, high-lubricity shampoos, and foam cannons
- Microfiber wash mitts, plush drying towels, and blowers
- Wheel brushes, separate wheel buckets, and undercarriage rinse tools

The Toolsource Technical Team blends decades of real-world automotive service experience with up-to-date technical research. Our writers collaborate with professional mechanics, shop owners, and diagnostic specialists to deliver practical, workshop-ready guidance you can trust.


Follow us on social media