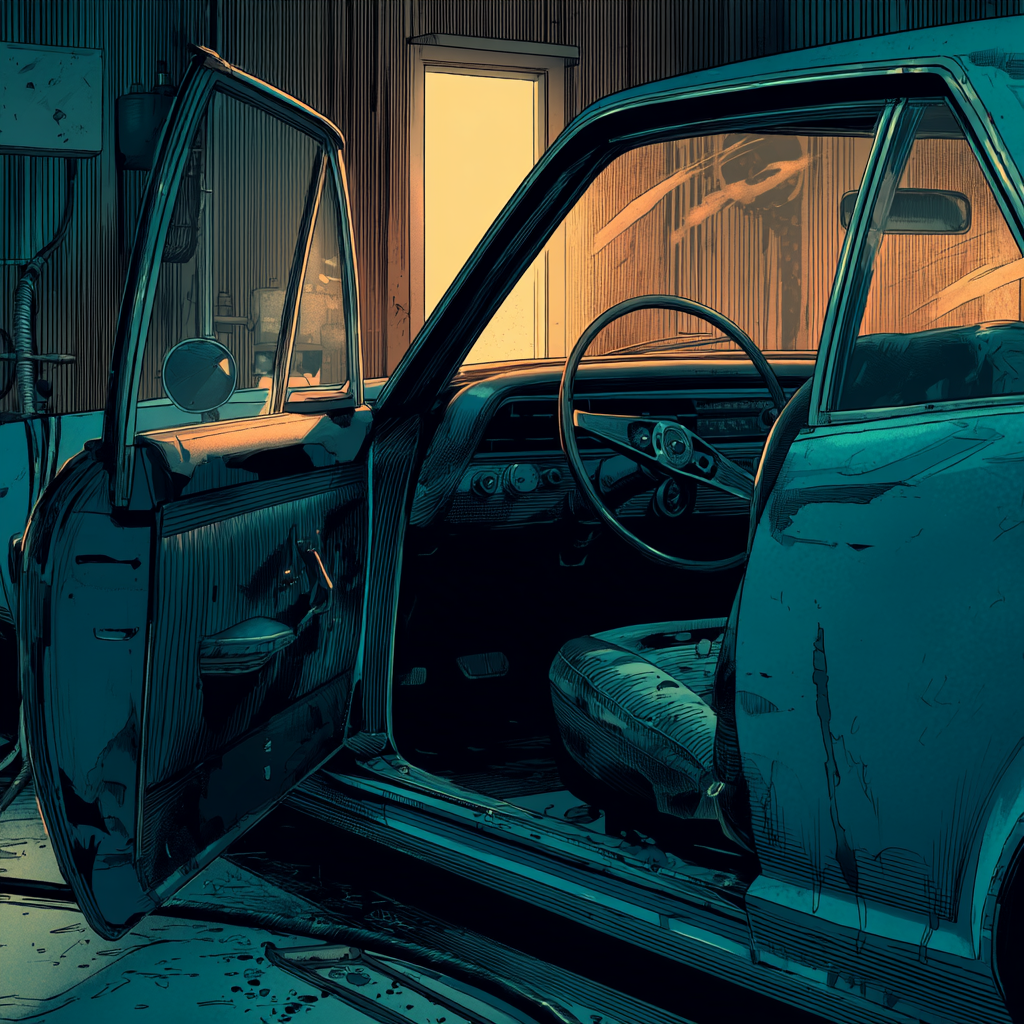
Mold that has visibly colonized a vehicle’s interior is not a routine detail. At heavy growth levels, you are dealing with a bio-contamination event that can compromise occupant health and permanently damage porous materials. This guide gives working technicians a practical framework to decide when to decline the job and, if you accept it, how to plan, price, and perform a professional-grade remediation with appropriate tools, methods, and safety controls.
Before anything else, identify and fix the moisture source. Without moisture control, mold returns—regardless of how aggressive your cleaning is.
Reference: see the Interior Damage Field Guide for more context and decision trees: Interior Damage Field Guide.
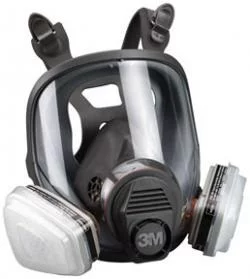
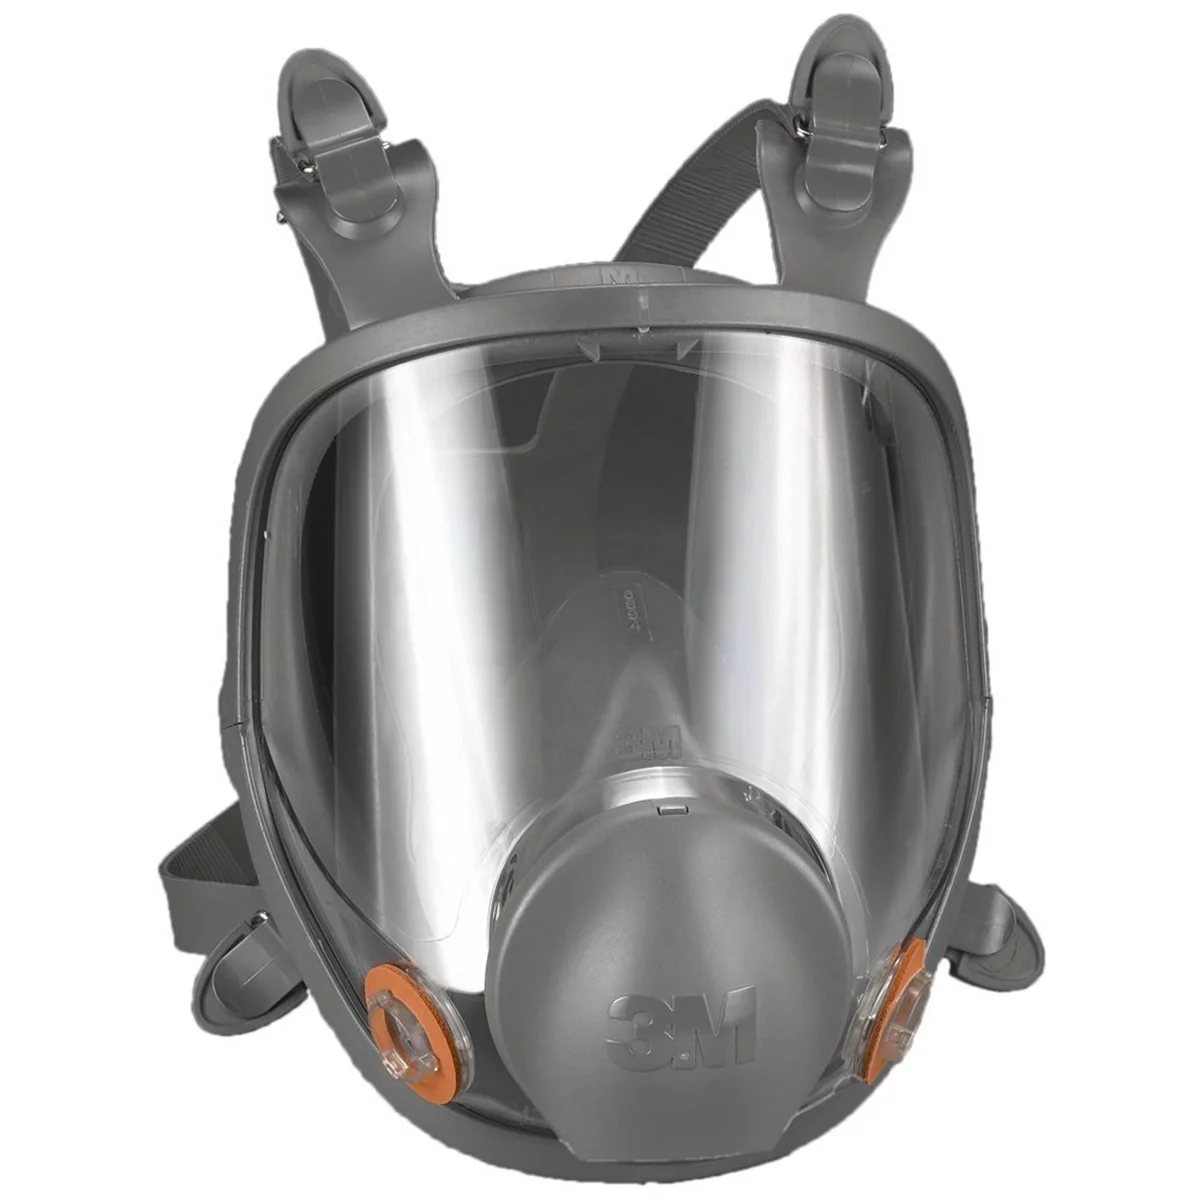
Full Facepiece Respirator Packout 07162, Organic Vapor/P95, Medi
Mfg: 3M Automotive
Part #: 7162
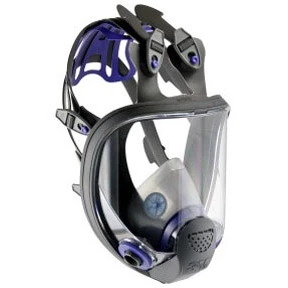
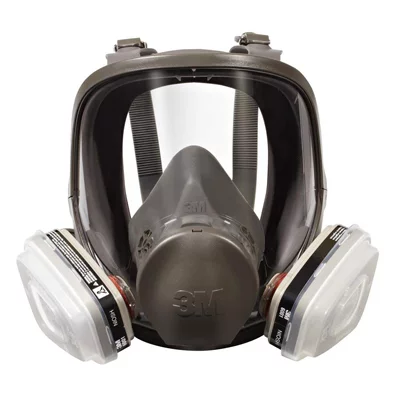
Full Facepiece Respirator Packout 07163, Organic Vapor/P95, Larg
Mfg: 3M Automotive
Part #: 7163

Recognize When It’s Not a Detailing Job
Not all mold jobs are serviceable at a rational cost or risk. Use these indicators to determine whether you should decline and refer to a dedicated water damage/mold remediation contractor—or advise the owner to pursue insurance or total loss.
- Colonization depth: Fuzzy growth on seats, belts, carpet, headliner, and across multiple panels indicates established colonies within foams, jute, and fibers. Surface wiping won’t reach embedded growth.
- Extent of contamination: Growth on 25%+ of surfaces, visible across several zones (front/rear, headliner, trunk, HVAC outlets) usually means full strip-out with significant replacement.
- Time dormant and climate: Vehicles stored sealed in warm, humid conditions can harbor growth behind trim, in ducts, under carpet, and inside cushions that you cannot fully access without complete teardown.
- Vehicle economics: For economy models, the labor and parts to remediate (often $4k–$7k) may exceed the vehicle’s cash value. In those cases, recommend insurance evaluation.
- Health and liability: This is a respiratory irritant exposure scenario. If your shop lacks respirators (P100), containment practices, and bio-waste handling, do not take the job. Use a clear declination script explaining limitations and risks.
Bottom line: detailing makes it look clean; remediation aims to remove contamination, stop moisture, and return the interior to a dry, odor-neutral state. If the client only wants a “quick clean” for a low fee, walk away.
If You Accept the Job: Safety, Containment, and Assessment
Start with safety. Treat the cabin like a contaminated workspace, not a showroom detail.
PPE and site controls
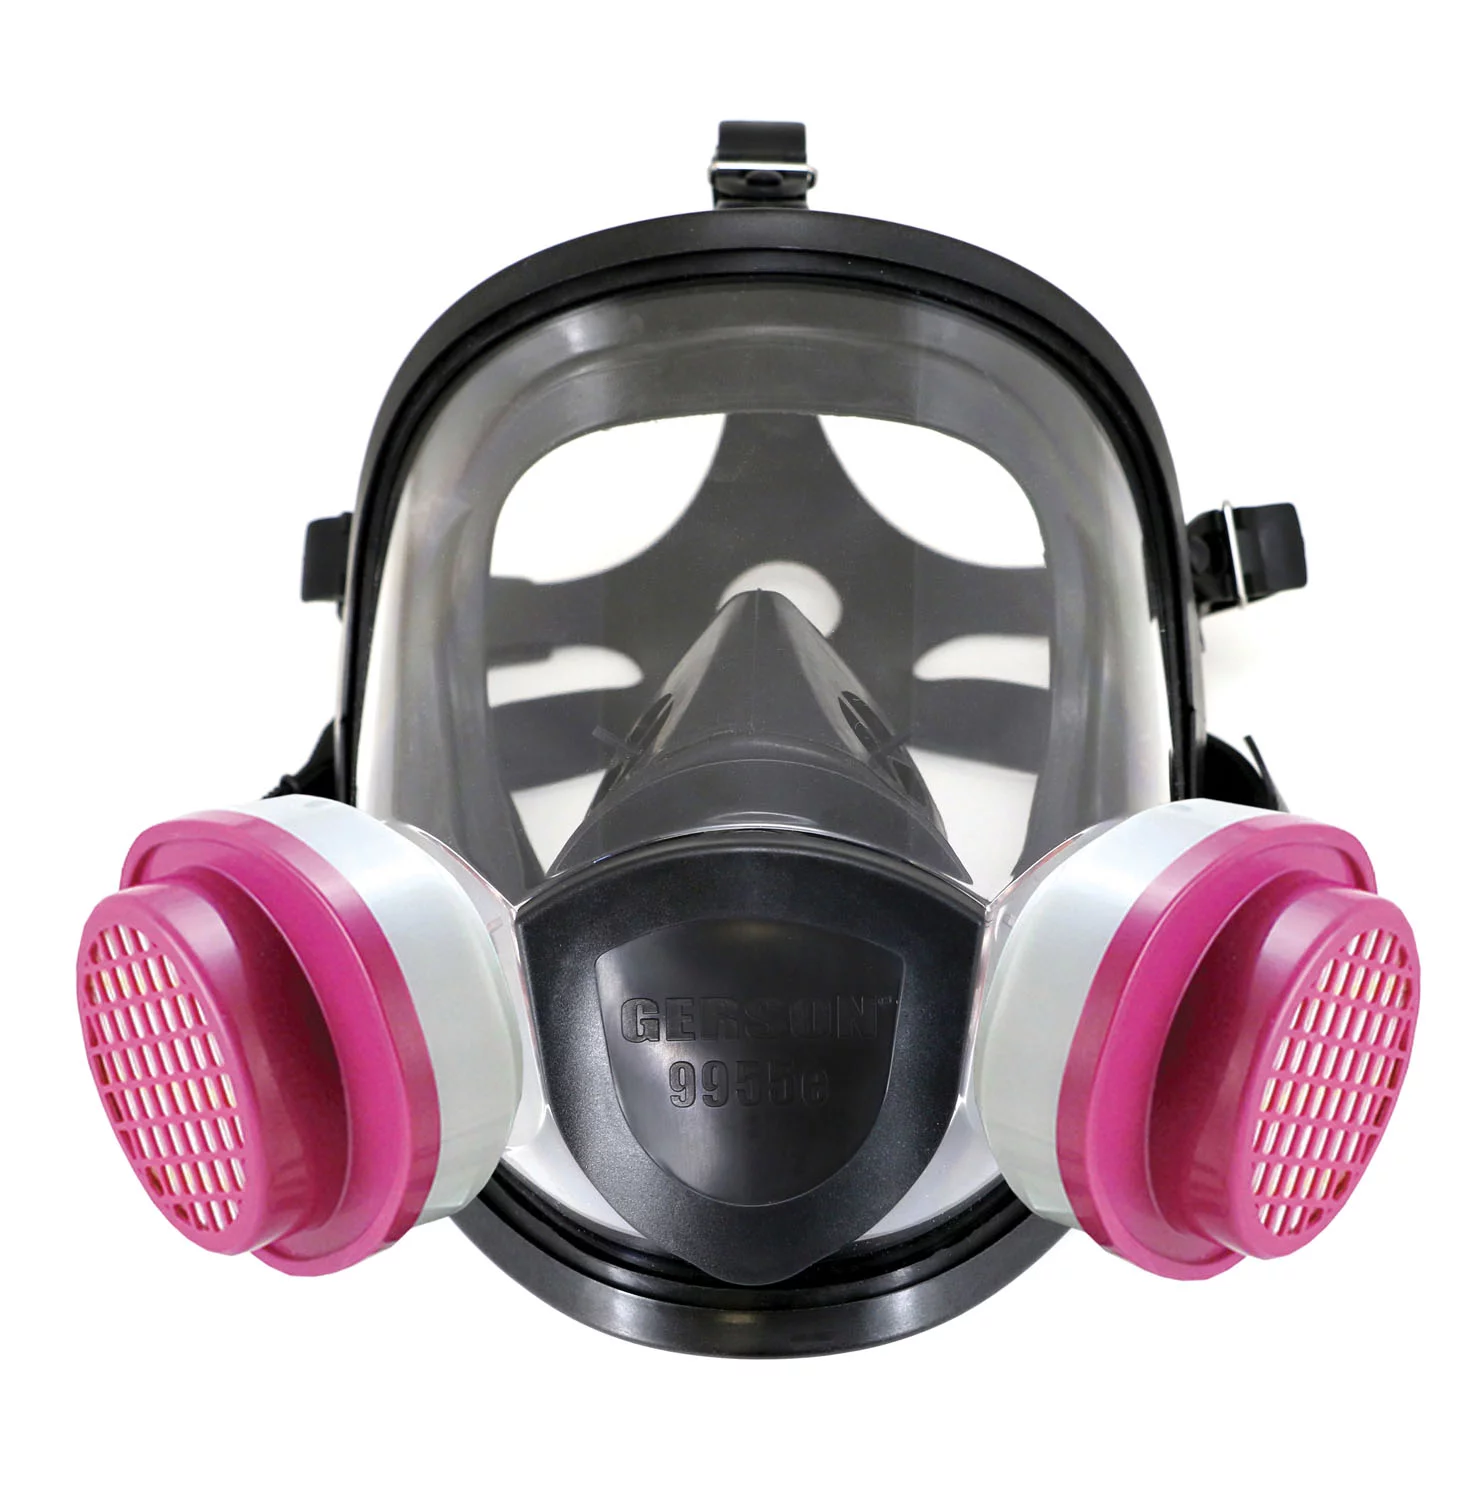
- Full- or half-face respirator with P100/ABEK-P3 cartridges rated for particulates and organic vapors; fit test for each technician.
- Disposable hooded suit (e.g., Tyvek), nitrile gloves (double glove for disassembly), and eye protection if not using a full-face respirator.
- Dedicated HEPA vacuum (sealed unit) and, ideally, a portable negative air machine with HEPA to keep airborne load down during tear-down.
Initial assessment and documentation
- Photograph all interior zones, including under-seat areas, trunk/spare well, under floor mats, A/C outlets, and headliner. Document odors and visible moisture.
- Use a moisture meter on carpet, jute padding, seat foam, and door card backings. Probe the HVAC evaporator drain area if accessible.
- Trace water intrusion sources: sunroof drain tubes and nipples, windshield/cowl seals, door vapor barriers, tail lamp gaskets, hatch seals, and HVAC evaporator drain. Verify and repair before remediation.
- Set a scope: what will be replaced versus cleaned. Get client sign-off and include a “no guarantee of complete spore elimination” clause with a moisture-intrusion warranty limited to corrected leaks only.
Quoting
- Labor: 20–40 hours for full interior strip, cleaning, HVAC treatment, and reassembly in moderate cases; severe cases can exceed 60 hours.
- Disposables: PPE, contractor bags, tape, absorbents, and filters.
- Parts: carpet set and jute/insulation, headliner board and fabric, cabin air filter, seat foams/covers, seat belts, sometimes entire seats.
- Equipment: dehumidifier rental if you don’t own one, additional HEPA filters, enzymatic/oxidizing cleaners, and disinfectants labeled for the application.
Disassembly and Disposal: What Must Be Replaced vs. Cleaned
Successful remediation hinges on removing colonized porous materials. If you leave contaminated padding or foam, regrowth and odor almost always return.
Typically replace (bag and discard as contaminated waste):
- Headliner assembly: Foam-backed fabric almost always colonized; replacement is faster and more reliable than cleaning.
- Carpet and jute/underlayment: Jute is a mold sponge. Replace both; consider closed-cell alternatives on reassembly.
- Seat foam and heavily colonized covers: Light surface growth on leather can sometimes be saved; fabric covers with deep growth should be discarded.
- Seat belts and child safety seats: Woven belts are porous and safety-critical; replace. Child seats must be discarded and replaced—do not attempt to remediate.
- Heavily colonized felt pads, insulation, and sound deadening felts: Remove and replace. Butyl/rubber sheets may be cleanable if growth is only on the surface.
Usually cleanable:
- Painted/coated metal, glass, and most hard plastics: HEPA vacuum, detergent wash, then disinfectant with proper dwell time. Rinse/wipe and dry.
- Wiring harnesses, seat frames, rails, and hardware: Clean and disinfect; lubricate rails after dry-out.
- Leather (coated automotive leather): If growth is superficial and the hide is structurally sound, clean, disinfect with leather-safe chemistry, and recondition. If growth has penetrated stitching and backing foams, replace.
Disassembly tips
- HEPA vacuum before touching fasteners to minimize disturbance.
- Use trim tools, label hardware, and bag components zone-by-zone to avoid cross-contamination.
- Plug wiring connectors and HVAC ducts during demo to prevent debris entry.
- Stage contaminated waste in double contractor bags; keep separate from clean parts.
Cleaning Protocol for Non-Porous and Semi-Porous Surfaces
1) Dry vacuum with HEPA: Thoroughly vacuum all exposed surfaces, seams, and channels to capture spores and fragments before introducing liquids.
2) Detergent wash: Apply an interior-safe alkaline or neutral detergent to physically lift biofilm. Agitate with soft/medium brushes. Extract or wipe with clean microfiber.
3) Disinfectant application with dwell: Use a product appropriate for vehicle interiors and the surface material. Options include:
- Stabilized hydrogen peroxide formulations designed for porous/semi-porous surfaces; observe label dilution and 5–10+ minute dwell.
- Quaternary ammonium disinfectants labeled for mold remediation on hard, non-porous surfaces; respect contact time and avoid oversaturation near electronics.
- Enzymatic cleaners for organic load reduction; use as a pre-treatment, then follow with a disinfectant step.
Avoid household chlorine bleach in cabins; it can off-gas, corrode metals, degrade fabrics, and is not appropriate for many automotive materials.
4) Steam judiciously: Low-moisture steam can assist on hard plastics and metal seams. Do not drive moisture into foams or electronics. Immediately follow with HEPA vacuum and dry wipes.
5) Rinse and neutralize: After dwell, remove chemical residues with clean water wipes/extraction where appropriate. Residues can cause re-soiling and odor.
6) Odor control: After physical removal and disinfection, consider an oxidizer or chlorine dioxide release per manufacturer guidance to address remaining odor molecules—not as a primary remediation step. Use only in an unoccupied, sealed vehicle, then purge thoroughly.
7) Protect and recondition: Apply interior-safe protectants to plastics and leather after full dry-out to restore sheen and add a light soil barrier.
About ozone: Ozone can reduce odors but is not a substitute for physical removal and disinfection. Overuse can degrade elastomers, wiring sheaths, and textiles. If used, keep exposure within manufacturer limits and only after the interior is cleaned, dried, and reassembled.
HVAC and Airflow Path Decontamination
Ignoring the HVAC system guarantees odors and potential irritants will persist.
- Replace the cabin air filter (and pre-filter screens). Inspect the housing for growth and debris.
- Evaporator box and drain: Verify the drain isn’t clogged and isn’t leaking into the cabin. Use an HVAC-safe foaming coil cleaner or disinfectant labeled for evaporators. Apply via intake or service port per product instructions; allow dwell, then run blower to dry.
- Ductwork: Access ducts as feasible with panels removed. Use a borescope to inspect. HEPA vacuum accessible sections and wipe with disinfectant-saturated foam swabs. Avoid saturating electronics or airbag connectors.
- Dry cycle: Run the HVAC on heat and max blower with windows open for 20–30 minutes to accelerate dry-out. Then run A/C to confirm condensate draining properly.
If the vehicle has known cowl or plenum leaks, address them immediately or your remediation will fail.
Dry-Out, Rebuild, and Post-Remediation Verification
Dehumidification
- With the interior stripped, place a refrigerant dehumidifier (50–70 pint class) in the cabin. Duct the drain outside the car.
- Deploy air movers to create crossflow without blowing directly into electronics. Keep doors closed or the vehicle tented to create a controlled dry chamber.
- Target interior RH < 50% and material moisture readings at or near ambient targets (carpet underlayment < 12% or per manufacturer). Expect 24–72 hours depending on climate.
Reassembly
- Install new carpet/underlayment, headliner, seat foams/covers, and belts as scoped. Wipe all mating surfaces before install.
- Use fresh butyl/tape for vapor barriers. Replace compromised door membrane where necessary.
- Lubricate seat rails and moving hardware after final cleaning; torque critical fasteners to spec, especially seats and belts.
Verification
- Perform a white-glove inspection with bright lighting. No visible growth or residue.
- Odor check after sitting closed 12–24 hours. No musty or chemical odors should be present; a mild new-material scent is acceptable.
- Recheck moisture sources with a hose test (controlled): wet the roof/cowl/doors while monitoring for interior ingress. Verify dry floor pans and no drip trails.
- Document before/after photos, moisture readings, products used, and parts replaced. Provide the client with a maintenance sheet.
Owner aftercare recommendations
- Repair all leaks promptly; check sunroof drains seasonally.
- Run A/C regularly to keep the evaporator dry; use the last minute of each drive on fan-only in humid climates to purge moisture.
- Use small, automotive-safe desiccant packs during long storage and crack windows slightly where secure.
- Schedule a semiannual HVAC refresh (filter and evaporator cleaning) in high-humidity regions.
Quick Go/No-Go Checklist
- Moisture source identified and fix approved?
- Full PPE, HEPA vacuum, and dehumidifier available?
- Scope allows for replacing headliner, carpet/jute, belts, and colonized foams?
- Client agrees to multi-day dry-out and a no-absolute-guarantee clause?
- Quoted price covers 20–40+ labor hours plus parts and disposables?
FAQs
Does ozone kill mold in cars?
Ozone can oxidize odor molecules and may inactivate some surface organisms, but it does not remove biomass or reach embedded colonies in foams, carpets, and ducts. It also risks degrading rubbers and plastics if misused. Only consider ozone after full physical cleaning, disinfection, and dry-out—and follow manufacturer exposure limits.
Are vinegar, alcohol, or bleach good options?
Vinegar and alcohol can help on some hard surfaces with proper dwell, but they are not ideal for automotive interiors due to material compatibility and evaporation limits. Household bleach is generally not recommended for cabins; it can corrode metals, discolor textiles, and leave harmful residues. Use interior-safe detergents followed by disinfectants labeled for the application (e.g., stabilized hydrogen peroxide or quaternary ammonium on hard, non-porous surfaces). Always test in a hidden area and observe dwell times.
Will dehumidifiers alone solve the problem?
Lowering humidity (< 50% RH) stops mold from thriving and aids die-off over time, but it does not remove existing colonies, residues, or odors. Dehumidification is essential to remediation, not a stand-alone cure. You still need physical removal and surface disinfection.
Can I save seat belts and child seats?
Replace both. Seat belts are woven and safety-critical; contamination plus aggressive cleaning can compromise integrity. Child seats carry manufacturer guidance to replace after contamination events. Do not return them to service after mold colonization.
How do I price a severe mold job?
Expect $4,000–$7,000+ depending on vehicle and parts availability. Labor for full strip/clean/HVAC/rebuild often runs 20–40+ hours, with significant parts replacement (carpet set, headliner, belts, seat foams/covers). Anything close to a basic interior detail price is not feasible for proper remediation.
Will the mold come back?
If you remove colonized porous materials, correct leaks, disinfect non-porous surfaces, dry the cabin thoroughly, and keep RH under control, recurrence is unlikely. If moisture returns or contaminated padding remains, expect re-growth and odors.
Recommended Tools & PPE
If you’re planning professional interior remediation, browse our mold remediation tools and PPE to outfit your workflow safely and efficiently.
- Respirators, disposable suits, nitrile gloves, and eye protection.
- HEPA vacuums, moisture meters, and negative air options.
- Dehumidifiers, air movers, and interior-safe cleaners/disinfectants.

The Toolsource Technical Team blends decades of real-world automotive service experience with up-to-date technical research. Our writers collaborate with professional mechanics, shop owners, and diagnostic specialists to deliver practical, workshop-ready guidance you can trust.


Follow us on social media